For 1990-2009 cars only
Removal Procedure
- Disconnect the negative battery cable. Refer to Battery Negative Cable Disconnection and Connection in Engine Electrical.
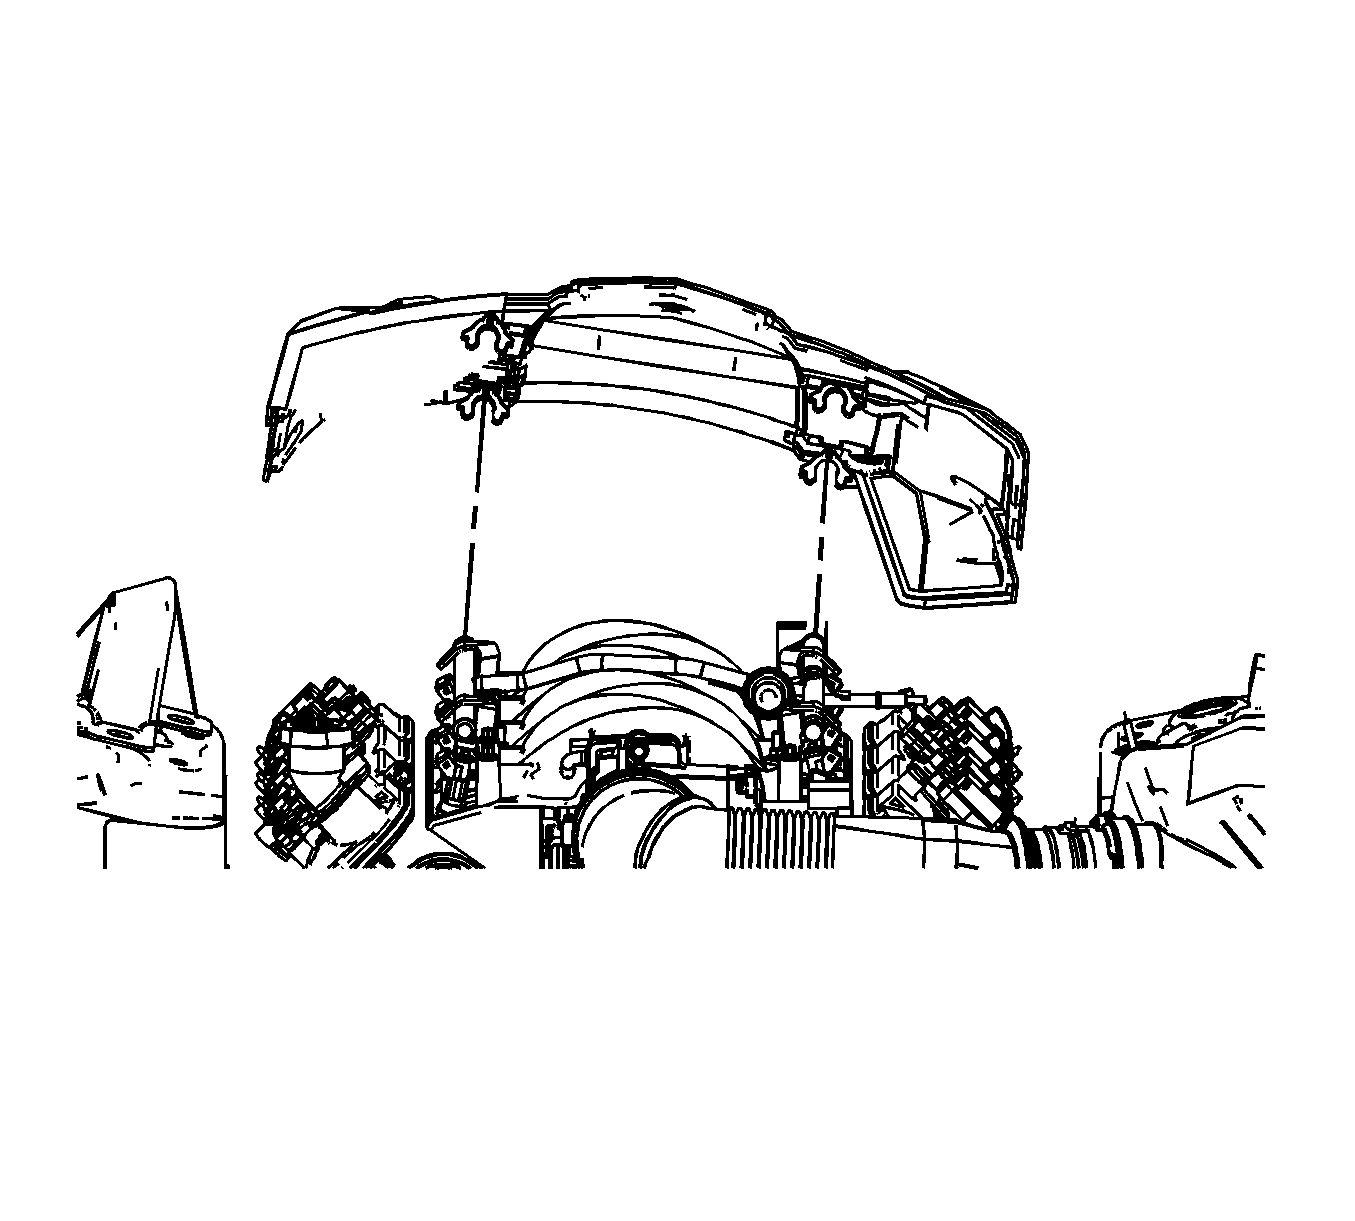
- Remove the fuel injector sight shield. Refer to Fuel Injector Sight Shield Replacement .
- Disconnect the spark plug wires from the ignition coils.
- Disconnect the ignition coil wire harness main electrical connector.
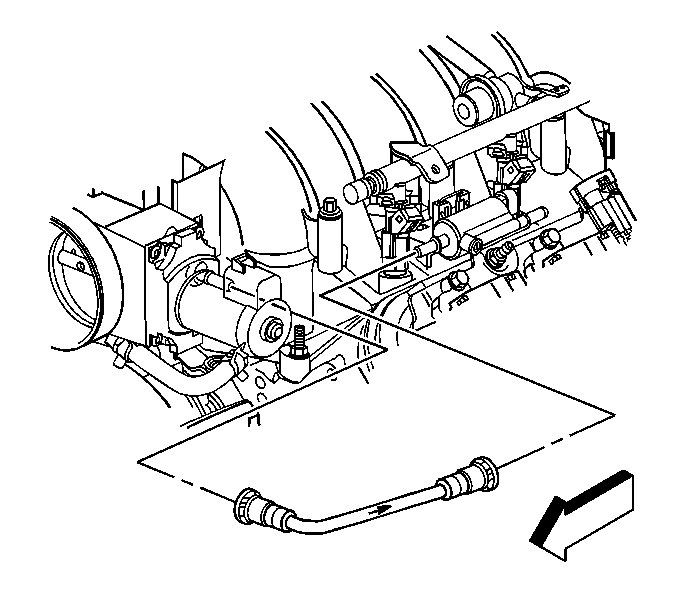
- Disconnect the evaporative emission (EVAP) canister purge tube from the intake manifold.
- Disconnect the EVAP canister purge tube from the EVAP canister purge solenoid valve.
- Remove the EVAP canister purge tube.
- Disconnect the EVAP canister purge tube from the EVAP canister purge solenoid valve.
- Disconnect the EVAP canister purge tube from the fuel feed pipe.
- Remove the EVAP canister purge tube.
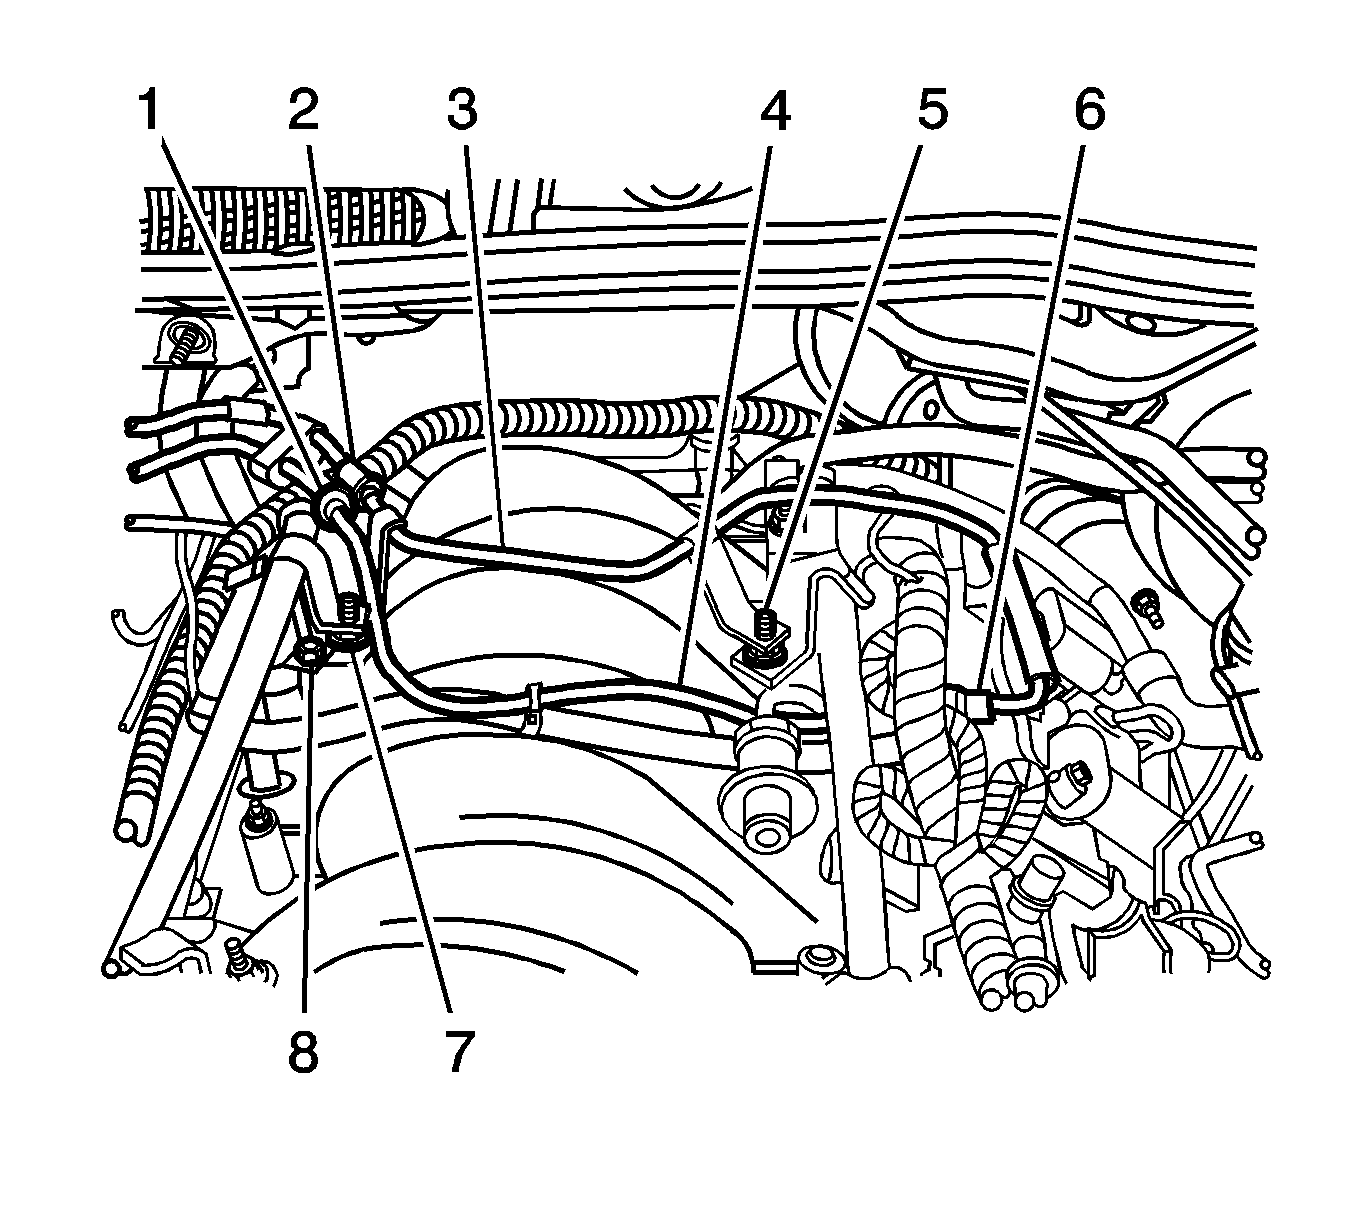
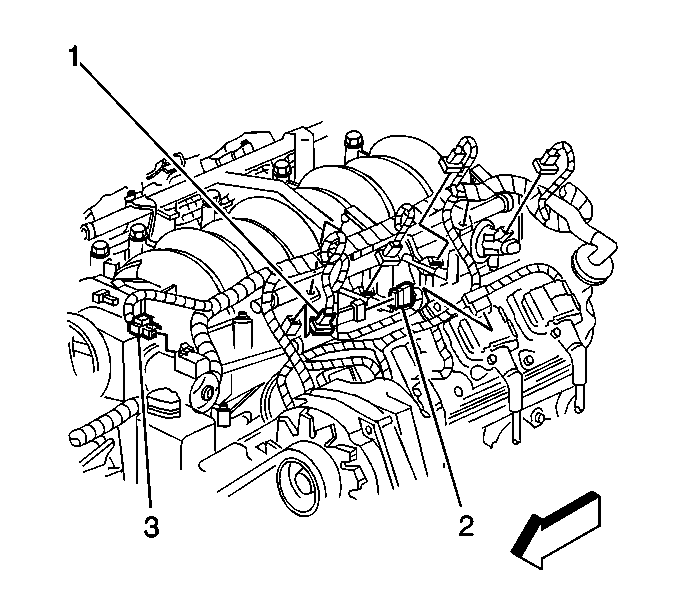
- Disconnect the EVAP canister purge tube from the connector at the rear of the right head (1).
- Disconnect the EVAP canister purge solenoid valve electrical connector (2).
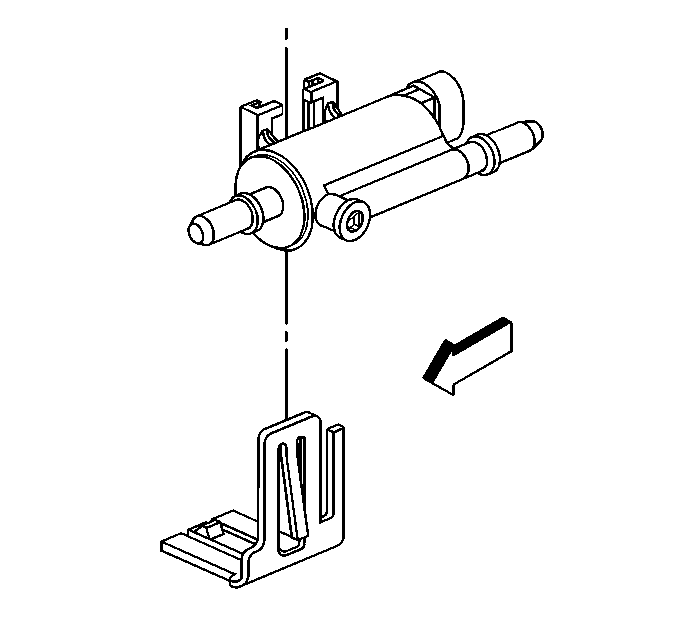
- Remove the EVAP canister purge solenoid valve from the bracket.
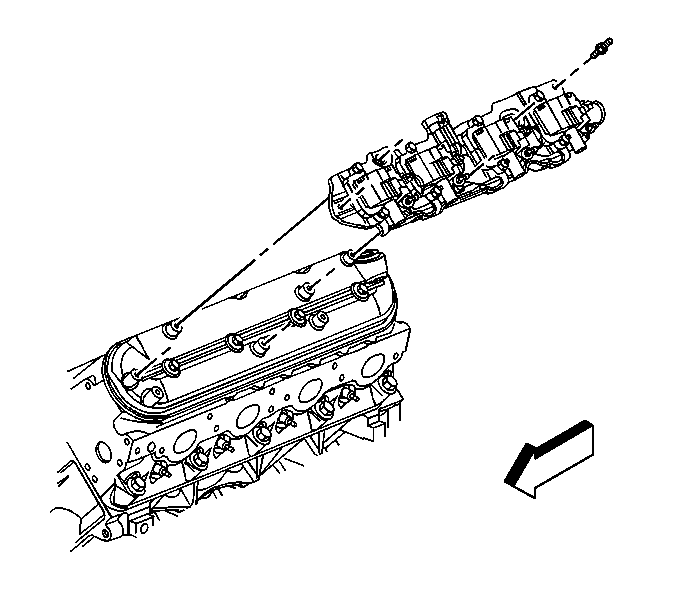
- Remove the ignition coil bracket studs.
- Remove the ignition coil bracket.
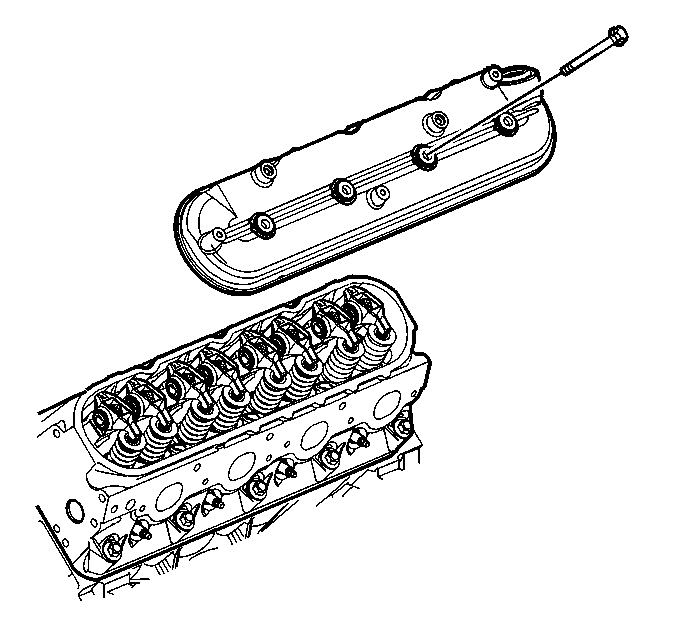
- Loosen the valve rocker arm cover bolts.
- Remove the valve rocker cover.
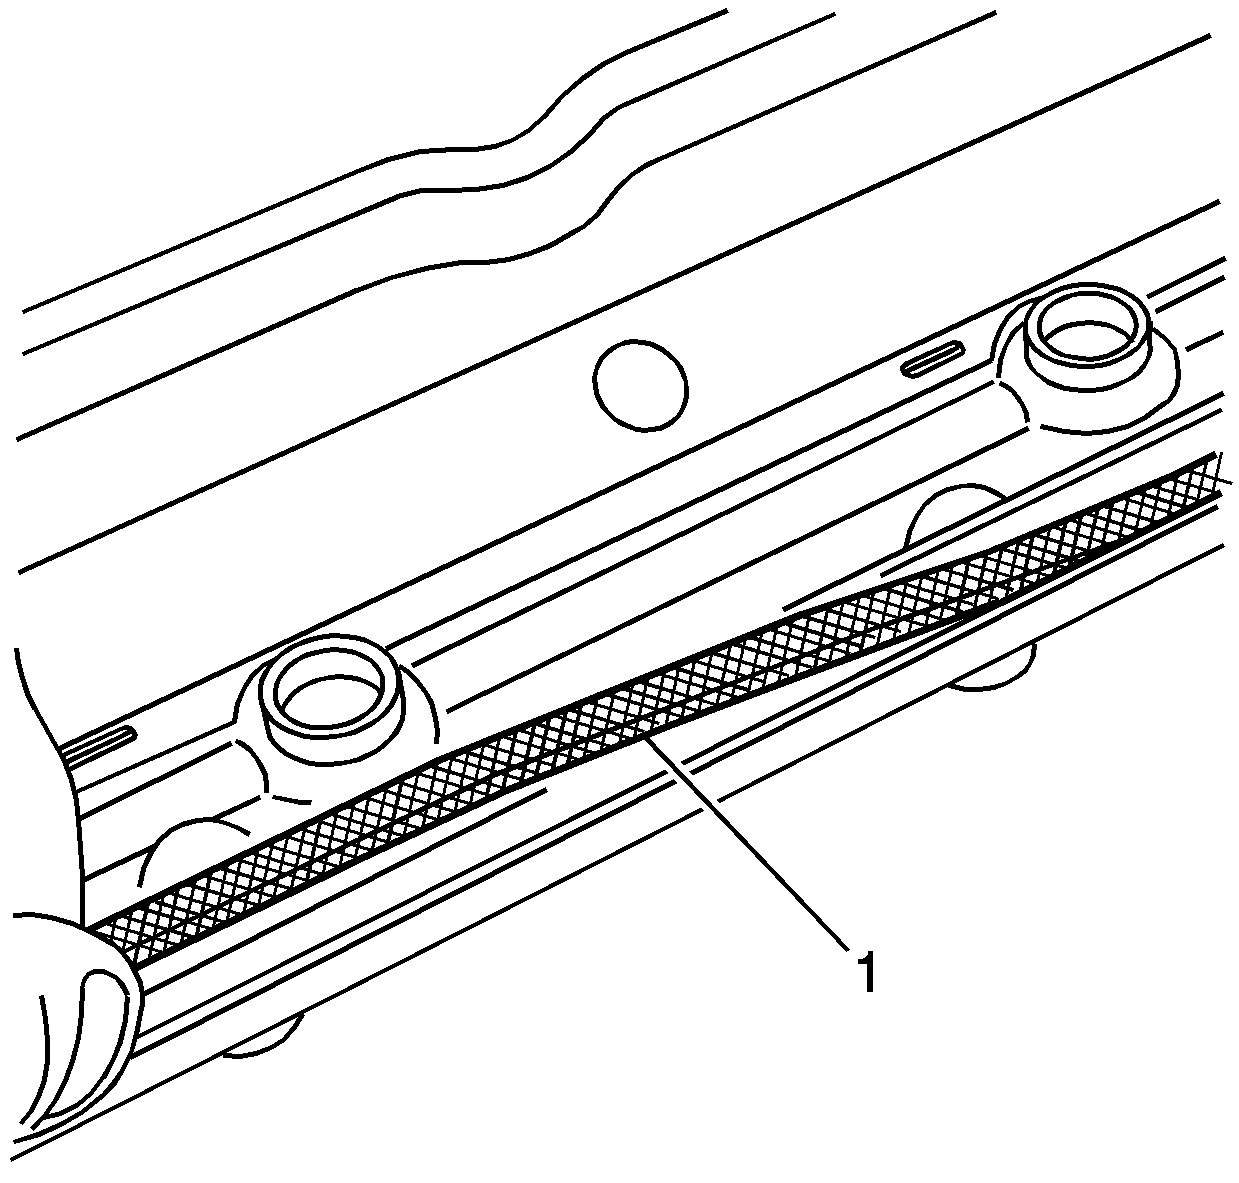
- Remove the gasket (1) from the rocker cover. Discard the OLD gasket.
- Clean and inspect the rocker arm cover. Refer to Valve Rocker Arm Cover Cleaning and Inspection .
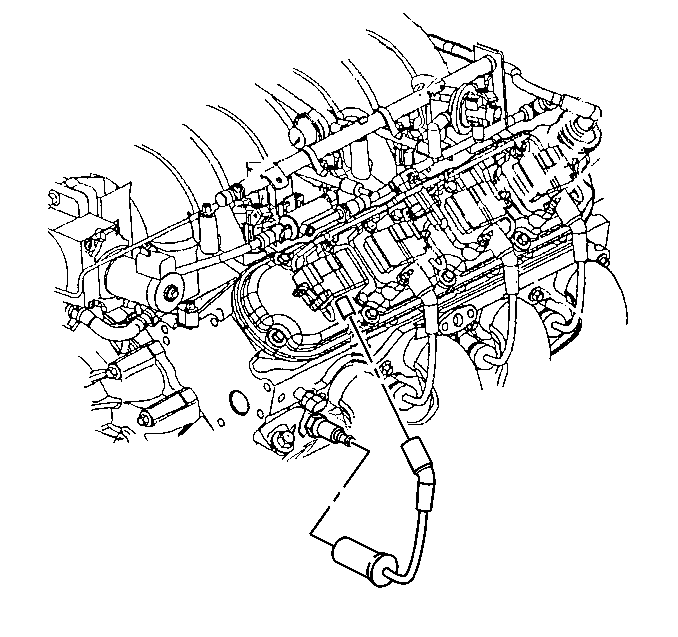
| • | Twist the spark plug wire boot 1/2 turn. |
| • | Pull only on the boot in order to remove the wire from the ignition coil. |
Installation Procedure
Important:
• All gasket surfaces should be free of oil and other foreign material
during assembly. • DO NOT reuse the valve rocker arm cover gasket. • The valve rocker arm cover bolt grommets may be reused.
- Install a NEW rocker cover gasket (1) into the valve rocker cover lip.
- Install the valve rocker arm cover.
- Tighten the valve rocker cover bolts.
- Install the ignition coil bracket.
- Apply threadlock GM P/N 12345382 (Canadian P/N 10953489), or equivalent to the threads of the ignition coil bracket studs.
- Install the ignition coil bracket studs.
- Install the EVAP canister purge solenoid valve to the bracket.
- Connect the EVAP canister purge solenoid valve electrical connector (2).
- Connect the EVAP canister purge tube to the EVAP canister purge solenoid valve.
- Connect the EVAP canister purge tube to the connection at the rear of the right head (1).
- Connect the EVAP canister purge tube to the fuel feed pipe.
- Connect the EVAP canister purge tube to the intake manifold.
- Connect the EVAP canister purge tube to the EVAP canister purge solenoid valve.
- Connect the ignition coil wire harness main electrical connector.
- Install the spark plug wires to the ignition coils.
- Install the fuel injector sight shield. Refer to Fuel Injector Sight Shield Replacement .
- Connect the battery negative cable. Refer to Battery Negative Cable Disconnection and Connection in Engine Electrical.


Notice: Refer to Fastener Notice in the Preface section.
Tighten
Tighten the valve rocker arm cover bolts to 12 N·m (106 lb in).

Tighten
Tighten the ignition coil bracket studs to 12 N·m (106 lb in).


