For 1990-2009 cars only
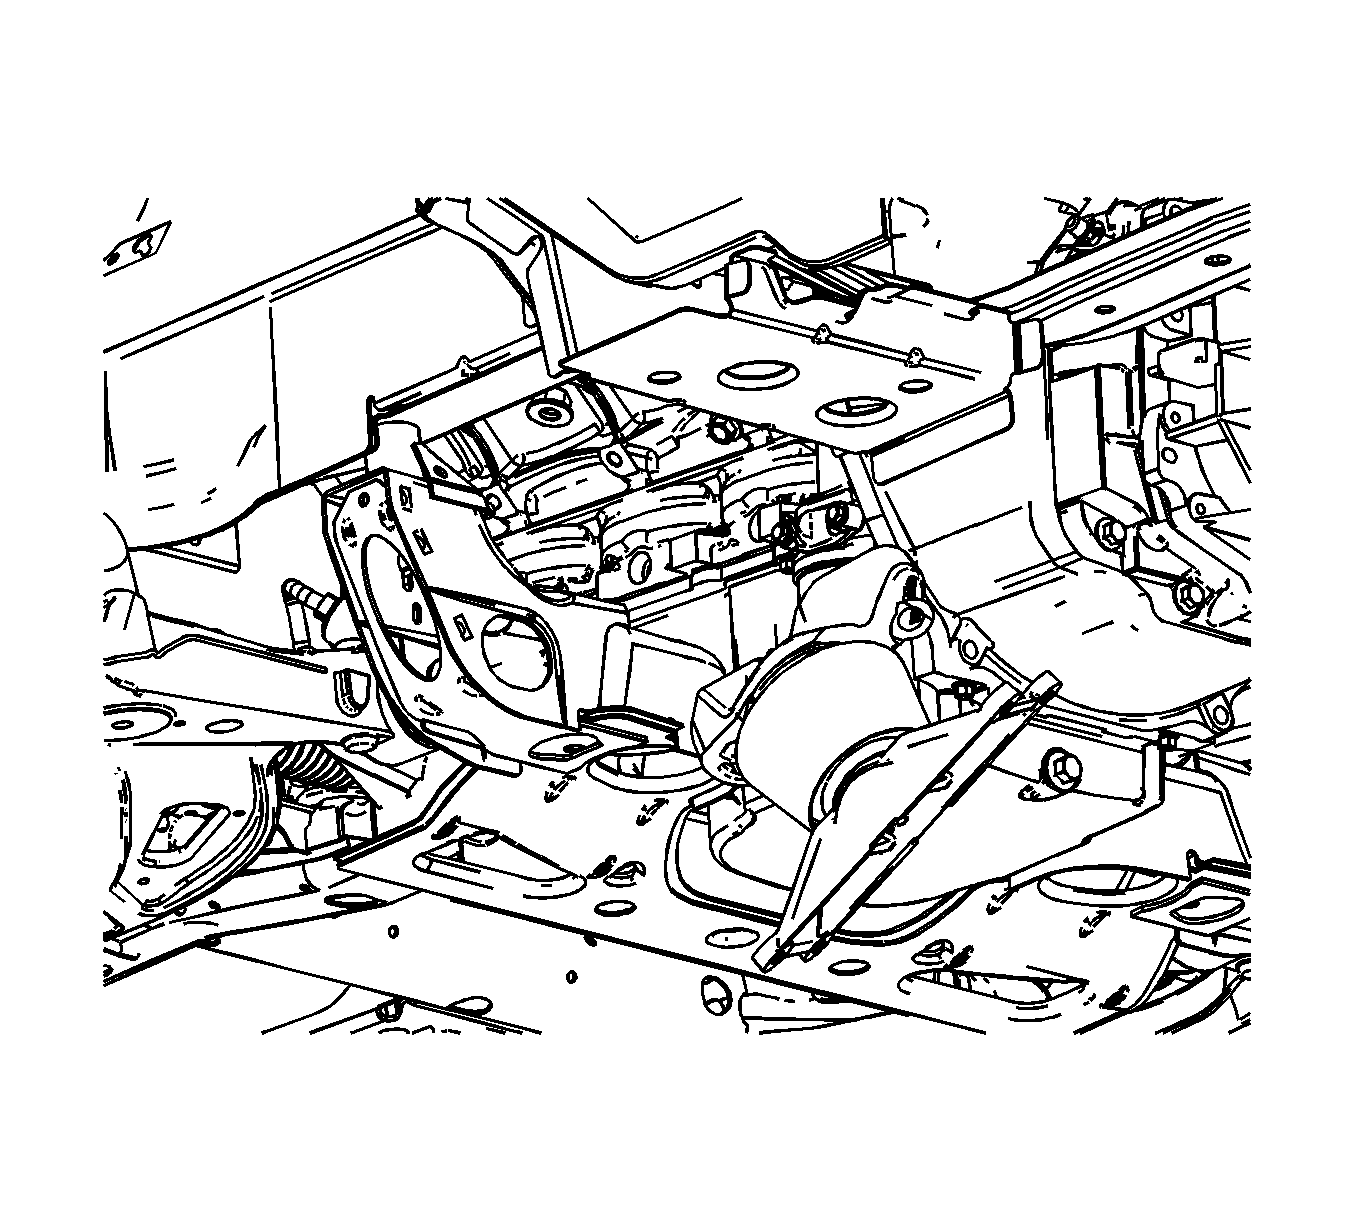
Removal Procedure
- Raise and support the vehicle. Refer to Lifting and Jacking the Vehicle in General Information.
- Install a screw jack with a block of wood under the oil pan for support.
- Remove the engine mount bracket to engine retaining bolts.
- Remove the engine mount bracket to frame retaining bolts.
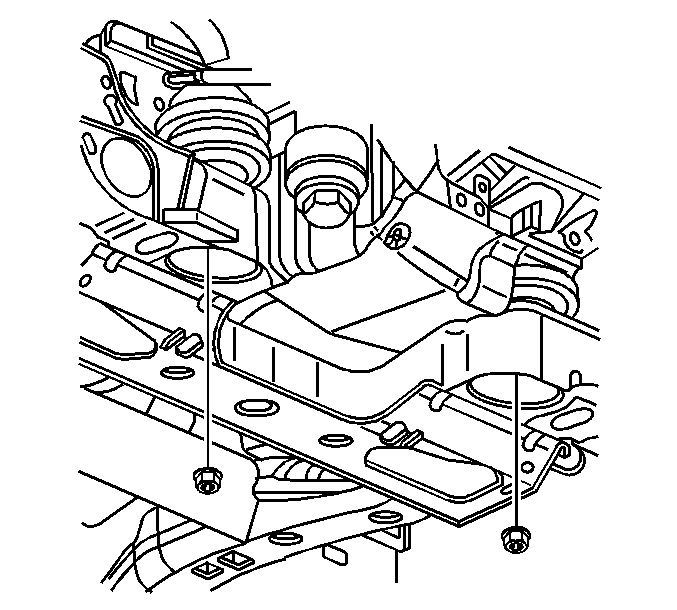
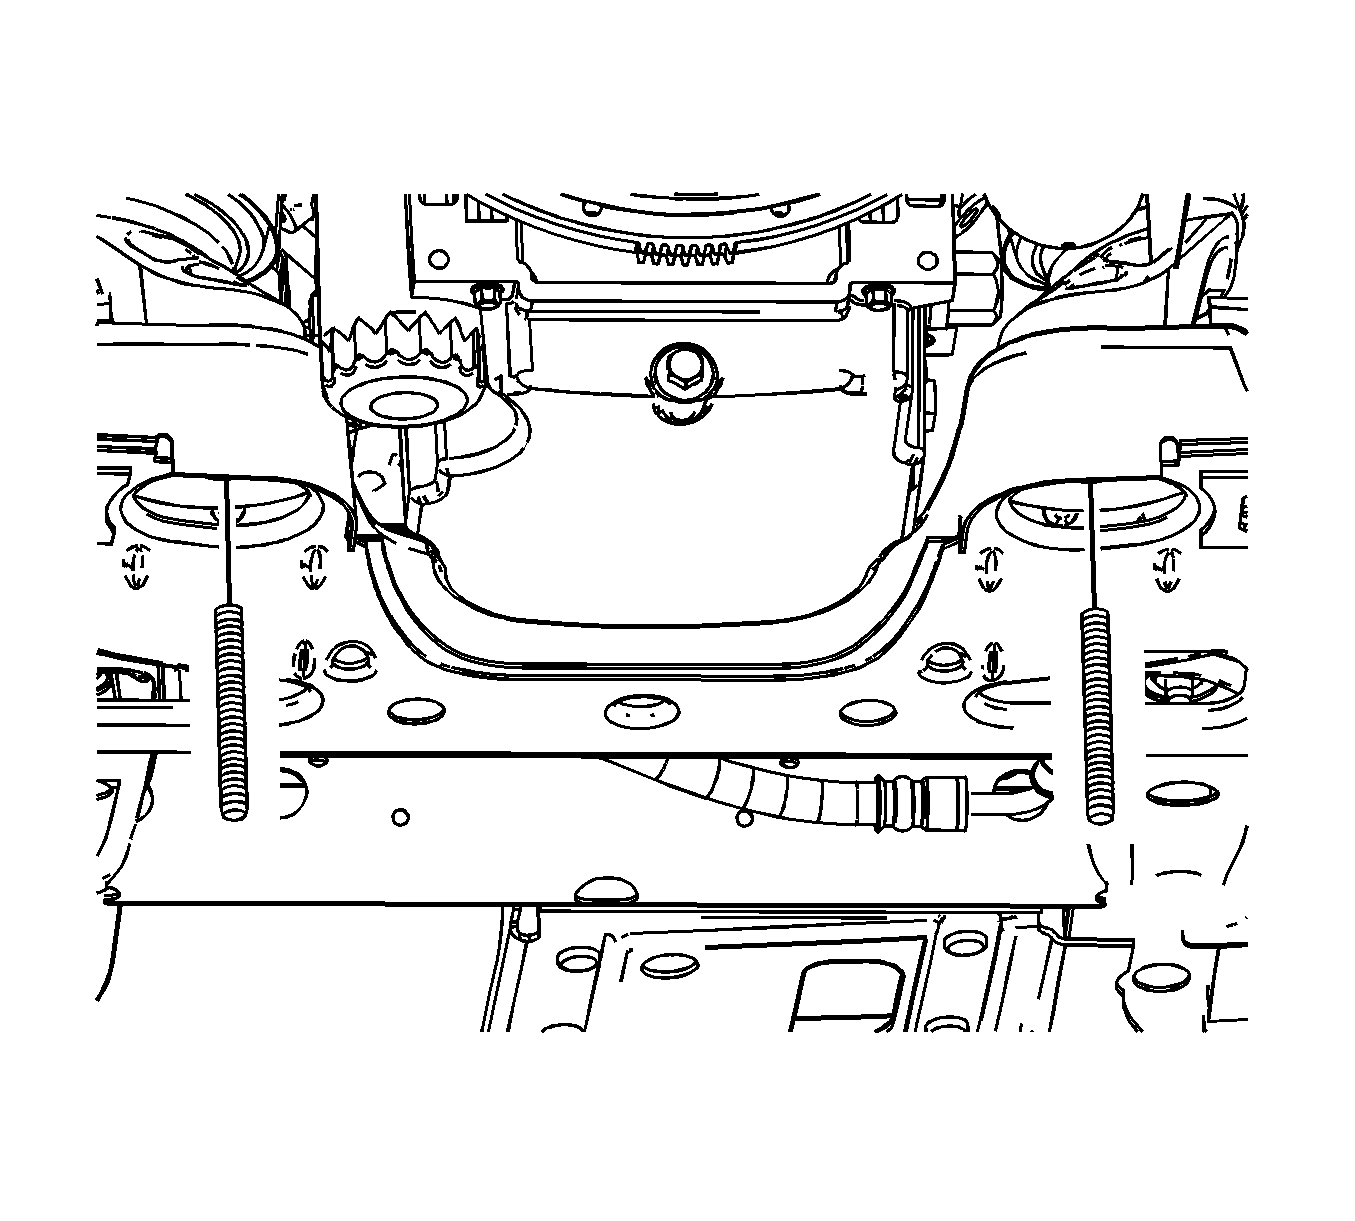
- Remove lower engine mount bracket retaining nuts.
- Remove the left engine mount bracket to the frame stud.
- Remove the left engine mount bracket assembly from the vehicle.
- Remove the engine mount from the engine mount brackets. Refer to Engine Mount Replacement - Left Side .
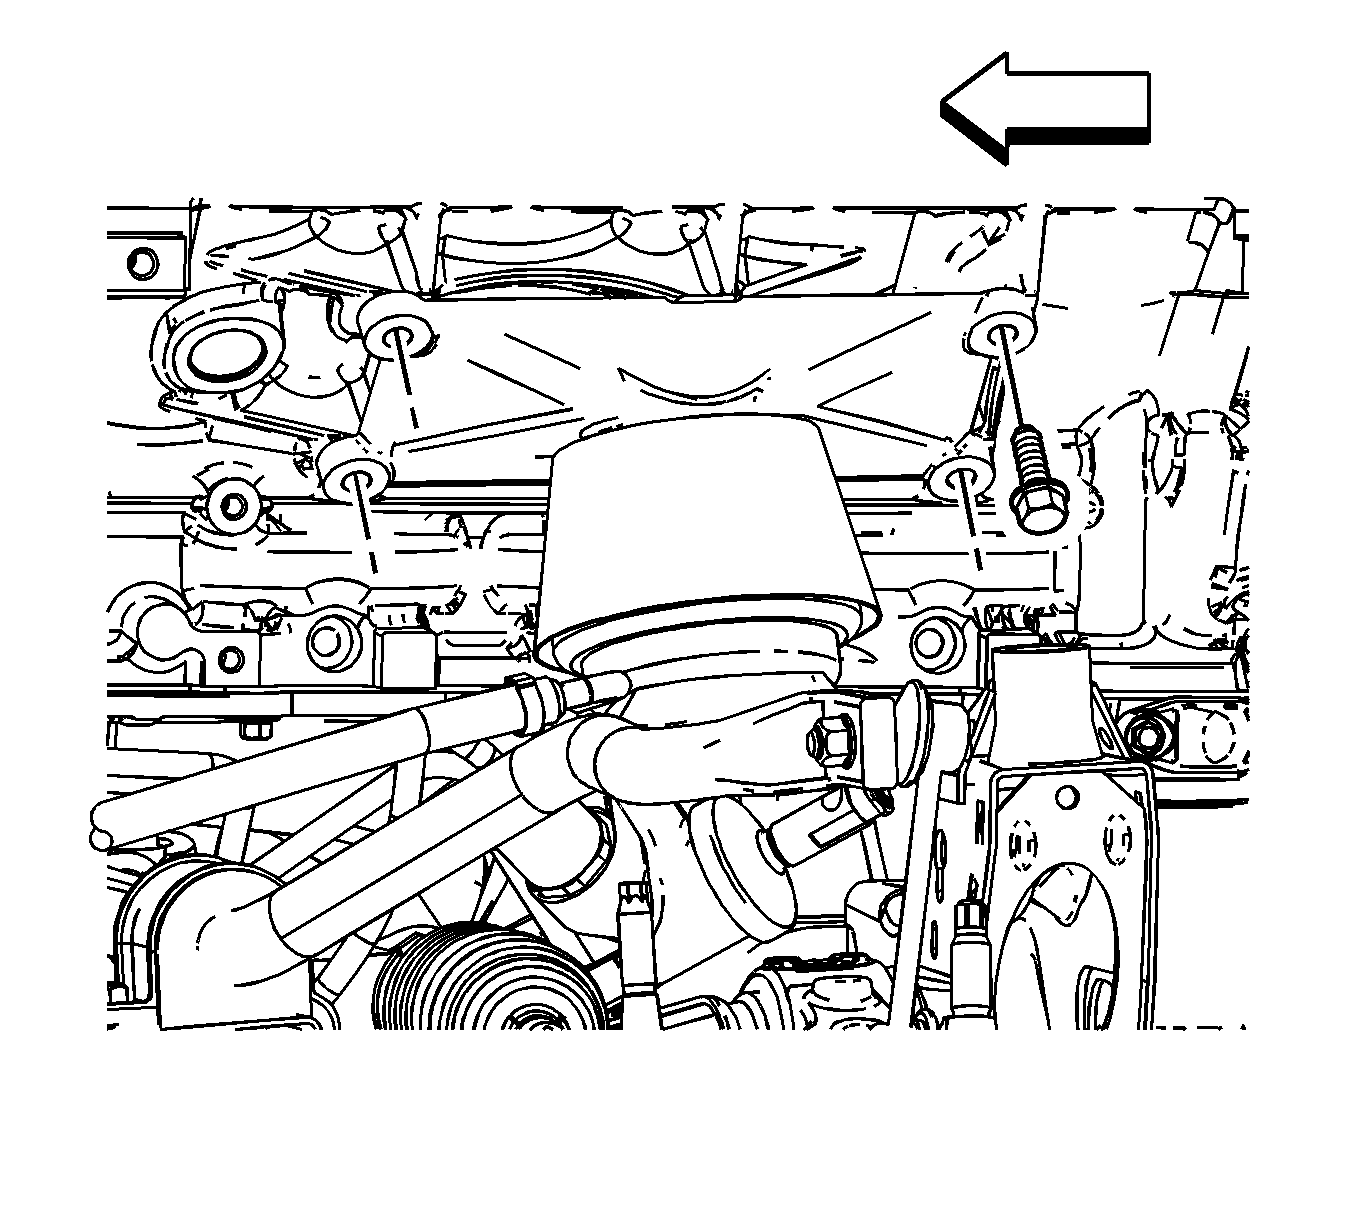
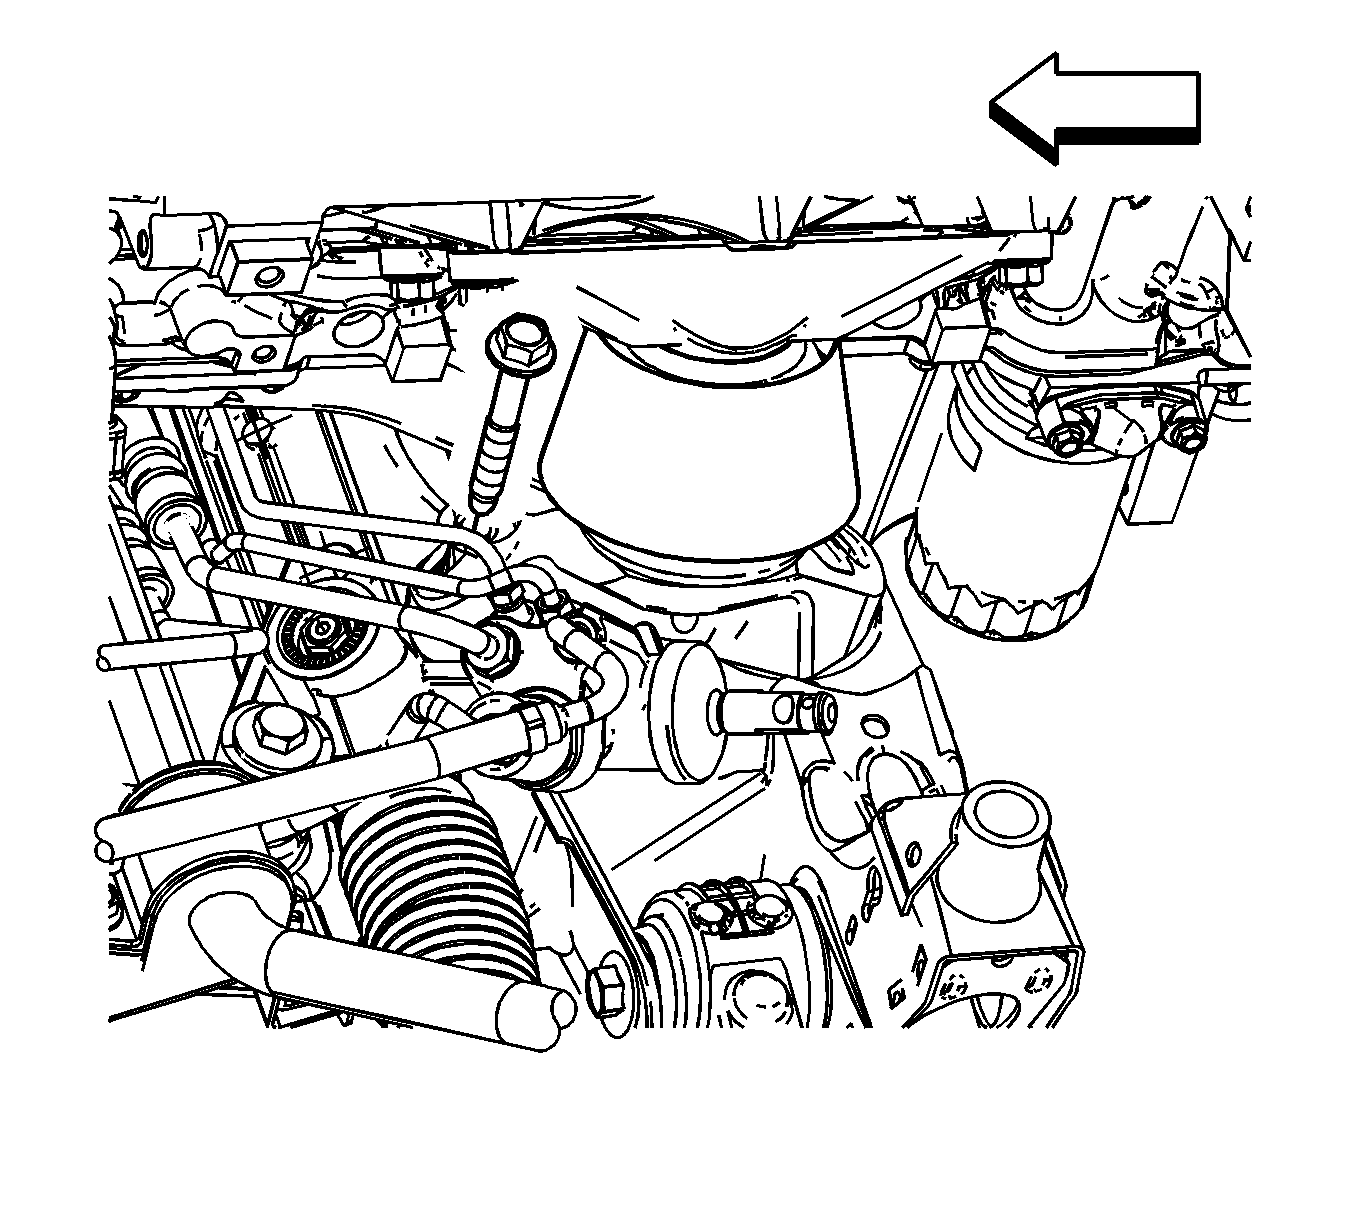
Important: Ensure not to distort or bend the engine mount heat shield.
Installation Procedure
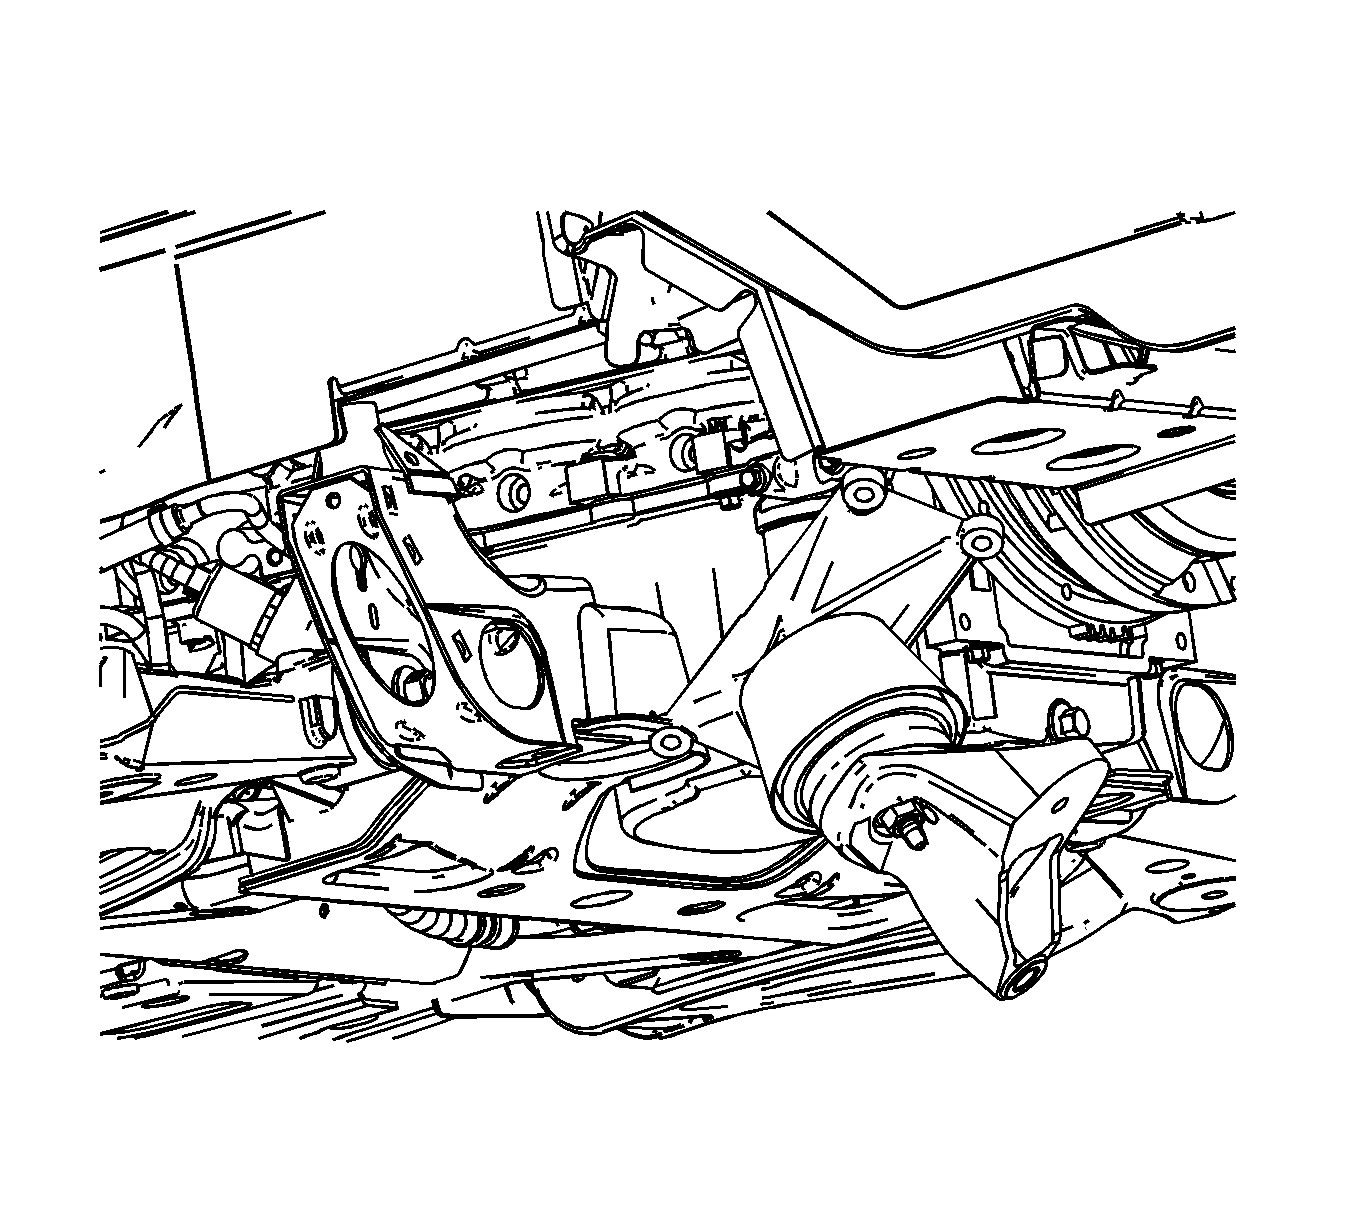
- Install the engine mount to the engine mount brackets. Refer to Engine Mount Replacement - Left Side .
- Install the left engine mount bracket assembly to the vehicle.
- Install the left engine mount bracket to engine retaining bolts.
- Install the left engine mount bracket to the frame stud.
- Install the lower engine mount bracket retaining bolts.
- Install the lower engine mount bracket retaining nut.
- Remove the screw jack.
- Lower the vehicle.
Notice: Refer to Fastener Notice in the Preface section.

Tighten
Tighten the bolts to 60 N·m (44 lb ft).

Tighten
Tighten the stud to 25 N·m (19 lb ft).

Tighten
Tighten the nut to 80 N·m (59 lb ft).

Tighten
Tighten the nut to 80 N·m (59 lb ft).
