The following symbols are the most common symbols that appear on a map screen.
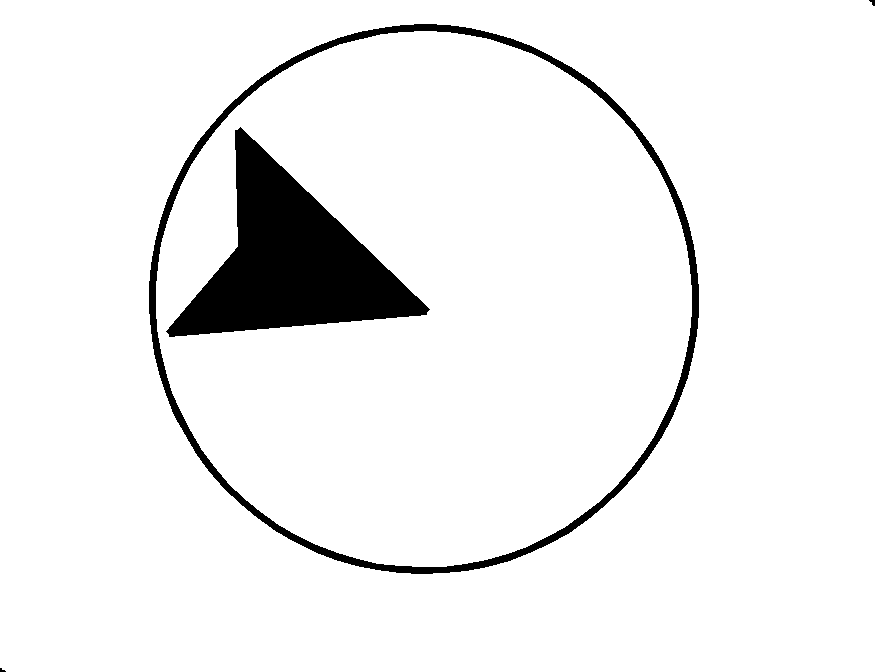
Your vehicle is shown as this symbol. It indicates the current position and heading direction of the vehicle on the map.
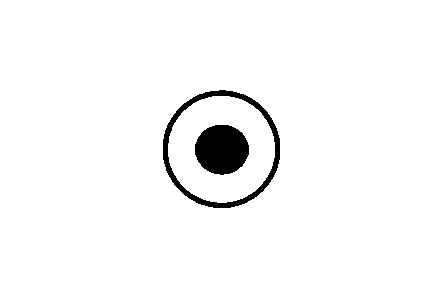
The destination symbol appears on the map, after a route has been planned, marking the final destination.
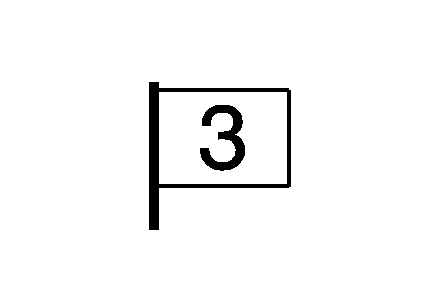
The waypoint number displays on the map after a waypoint has been added to your route.
A waypoint is a series of two or more marked stopovers on the way to the final destination. This feature allows you to add up to three waypoints to the current route, between your start point and final destination. Once a waypoint has been added, the points can be edited or deleted.
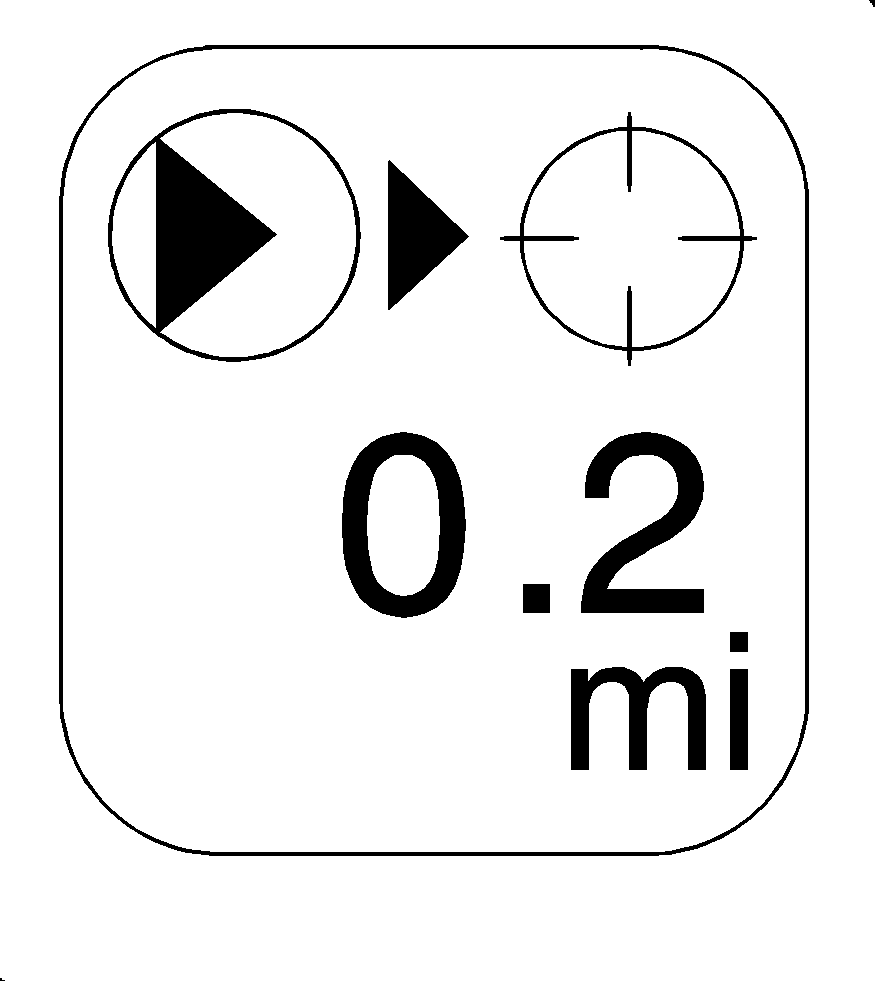
The distance to crosshairs indicates the distance to the crosshair area displayed on the screen while touch-tapping the map.
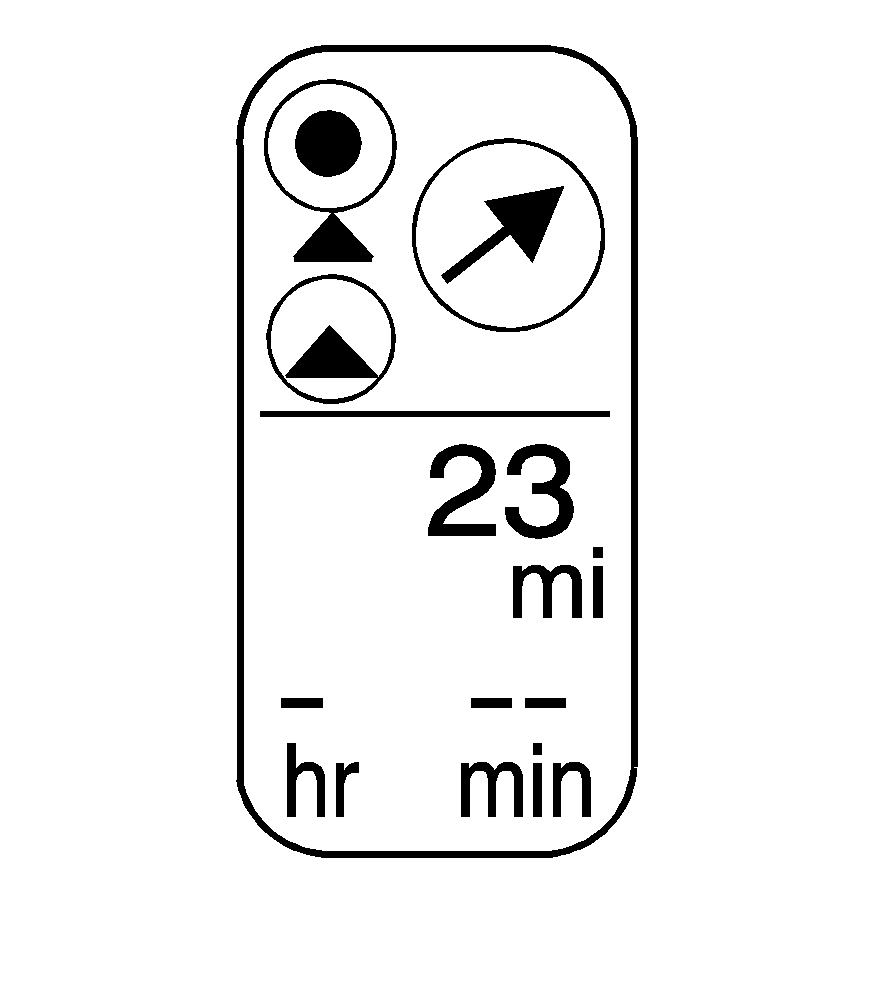
This symbol only appears when time is not available.
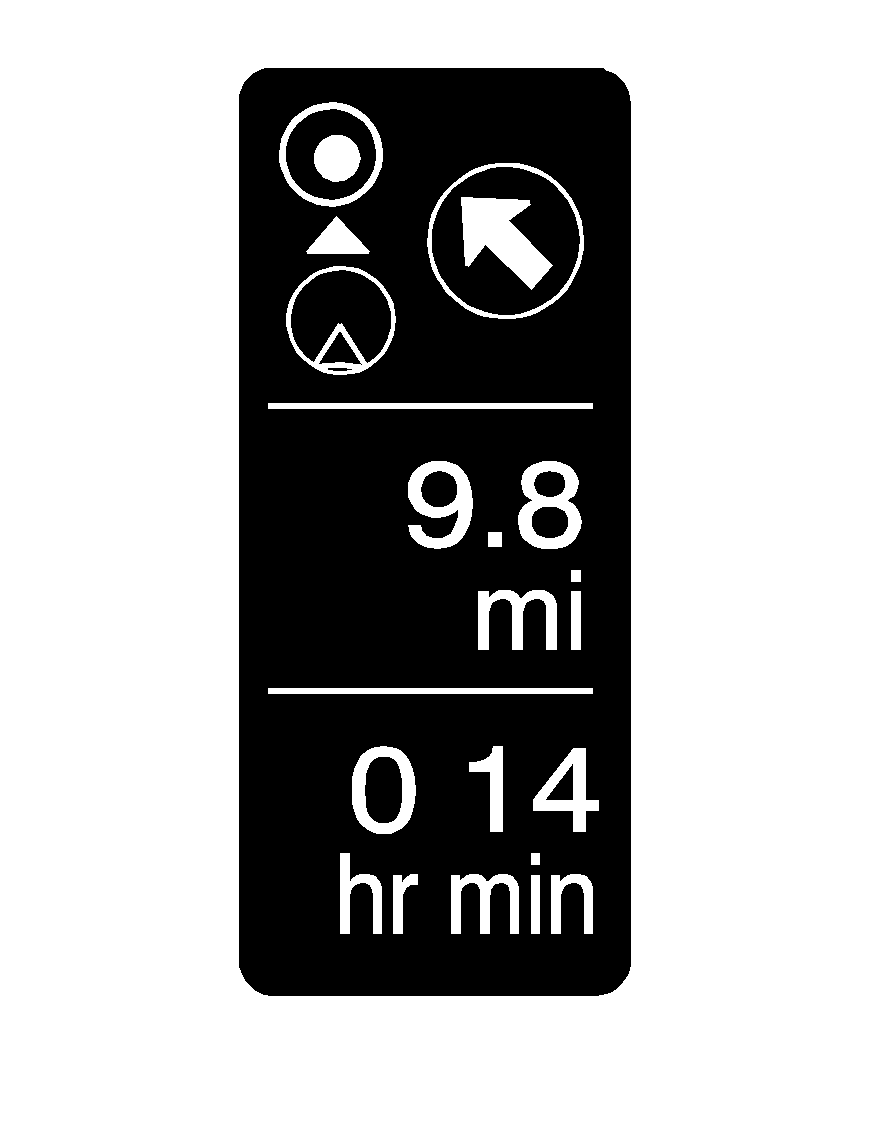
The distance and time to destination symbol indicates the distance and the estimated time remaining to the final destination or arrival time, depending on the option selected.
Press this screen button to change between viewing the time of day and the arrival time. If waypoints have been added to the current route, each waypoint destination appears giving the same information.
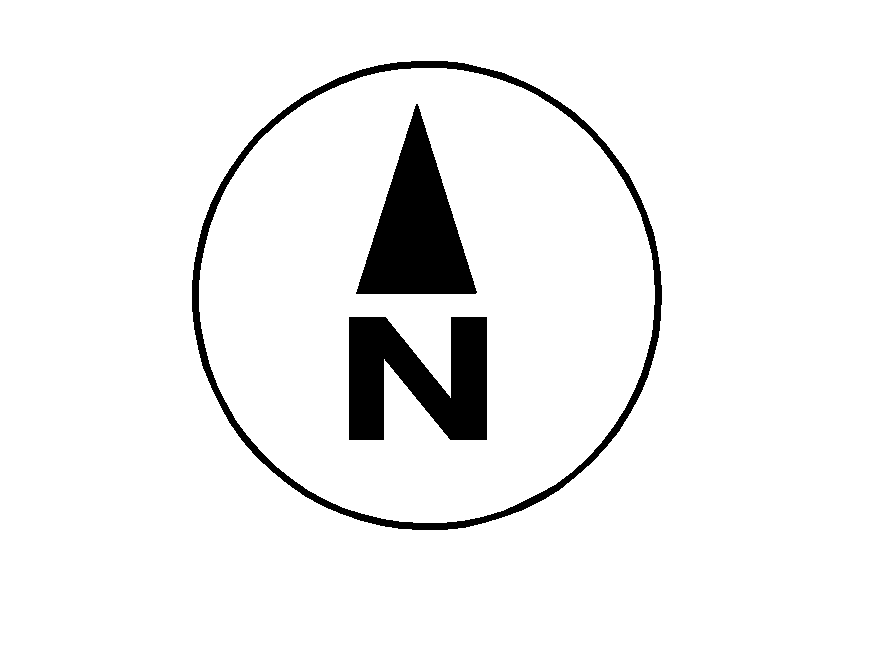
Select this screen symbol to switch between North Up, Heading Up, and 3-D modes.
This north up symbol indicates the map with North Up, known as North Up mode. While in North Up mode, the vehicle icon follows the north direction on the map regardless of which direction the vehicle is traveling.
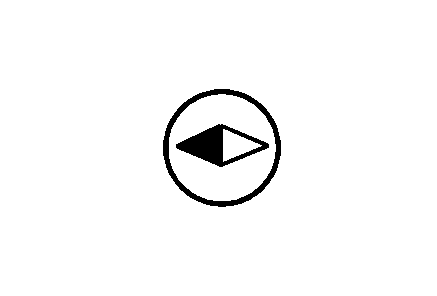
Select this screen symbol to switch Heading Up, North Up, and 3-D modes.
This heading up symbol indicates the map with the vehicle travel direction up, known as Heading Up mode. While in Heading Up mode, the direction the vehicle is traveling will always be at the top of the map screen. The shaded triangle indicates the North direction. The vehicle icon will always be headed in the direction the vehicle is traveling.
Press this screen symbol to change to 3-D mode.
The symbol for the 3-D function is the same as the Heading Up symbol, but shows the map in a 3-D view.
The No GPS symbol appears when the vehicle is acquiring or not receiving a Global Positioning System (GPS) satellite signal.
See Global Positioning System (GPS) for more information.
Select the Add screen button to store the location on the screen in your address book.
The system automatically stores the point in the address book. See "Address Book" under Destination for more information.
Displaying Points of Interest (POI) on the Map Screen

Select the POI screen button to display or remove POI icons from the map.
Displaying POI icons on the map indicates where POIs (i.e. restaurants, gas stations, etc.) are located. This screen appears after selecting the POI screen button.
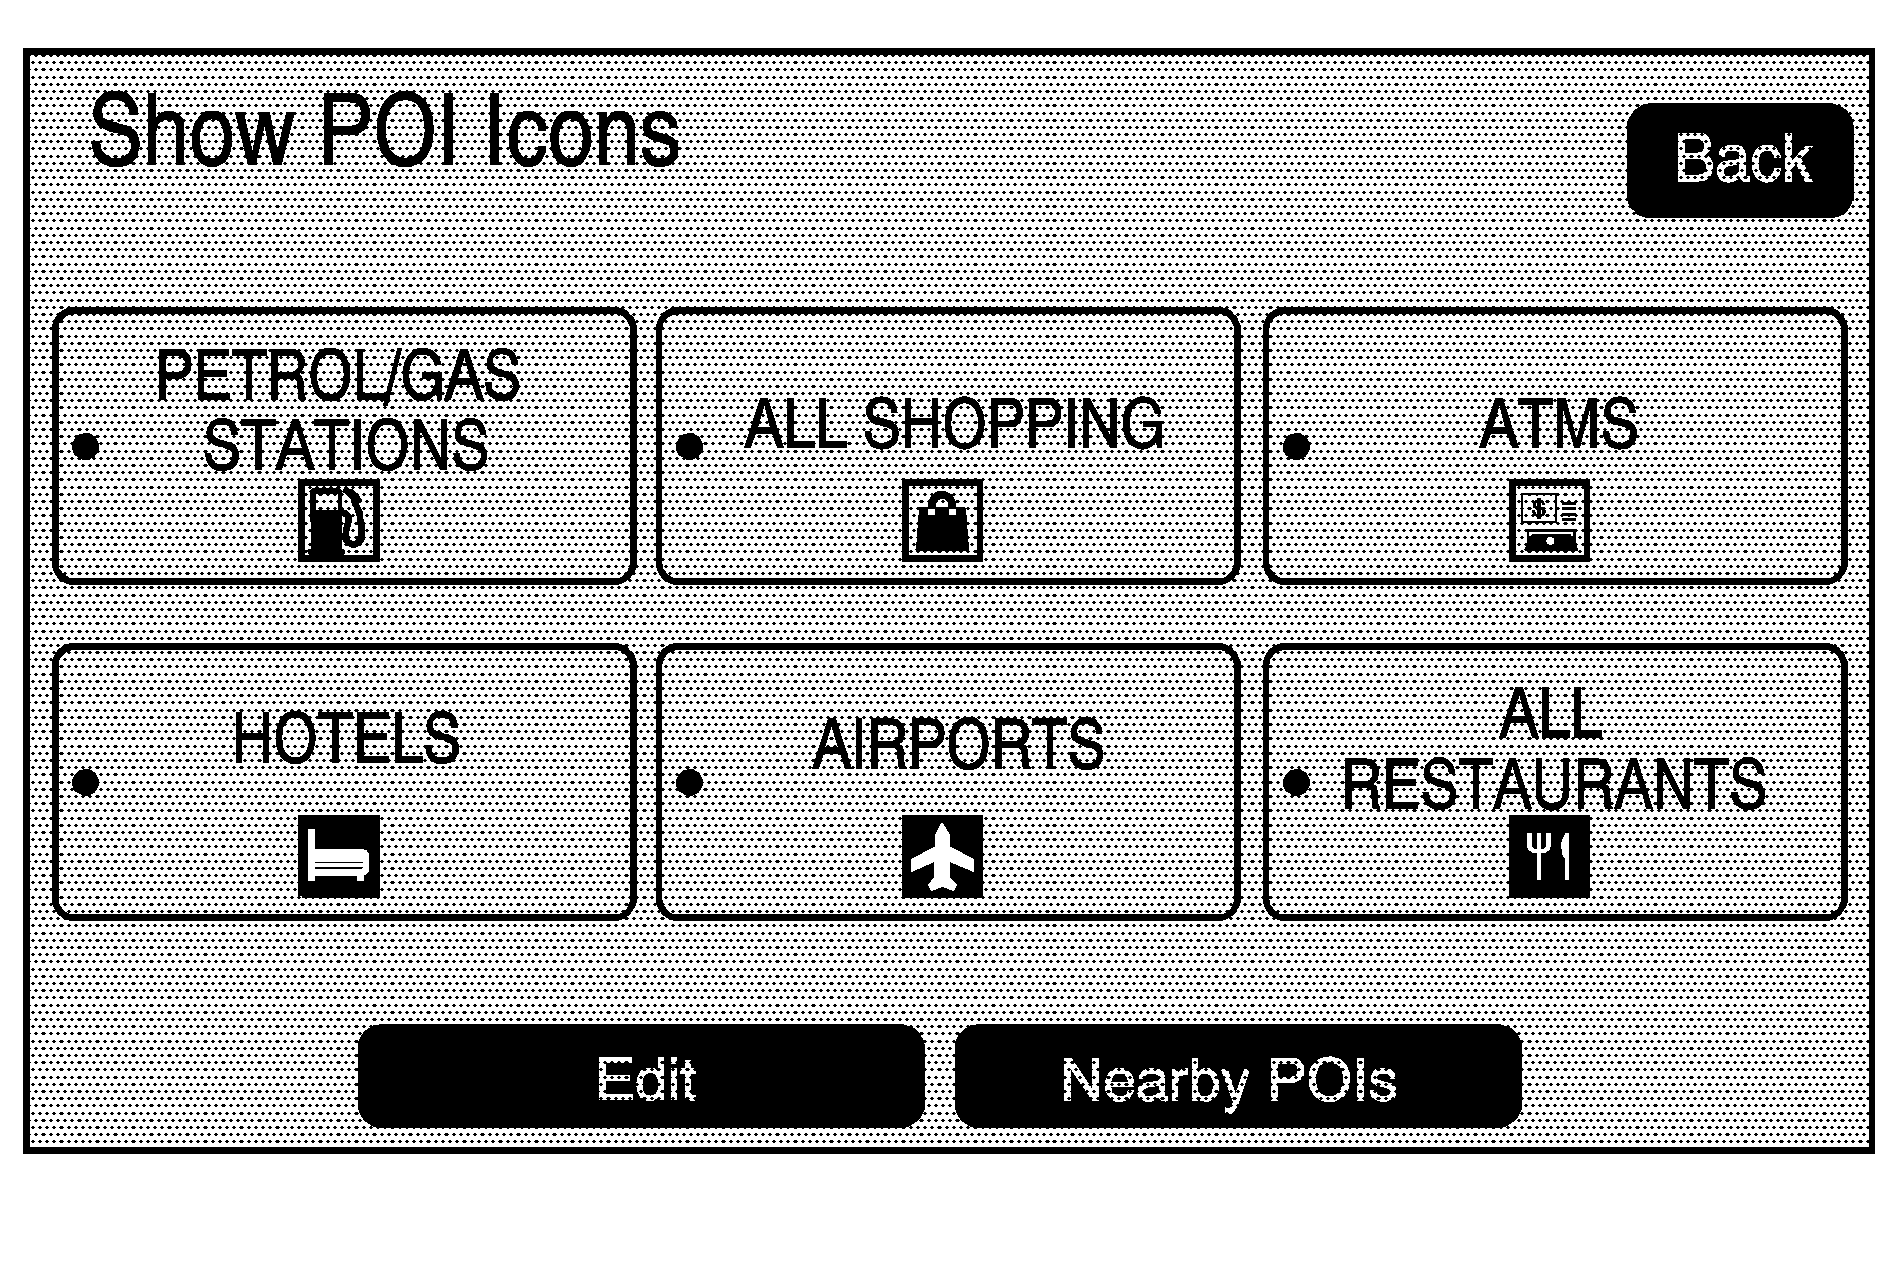
Select one of the POI categories to display or to remove POI icons from the map screen. When a category is selected those POI icons display on the map.
Edit: Select this screen button to change one of the current POI categories. Press the Edit screen button, select the POI category to be changed, then select the new category.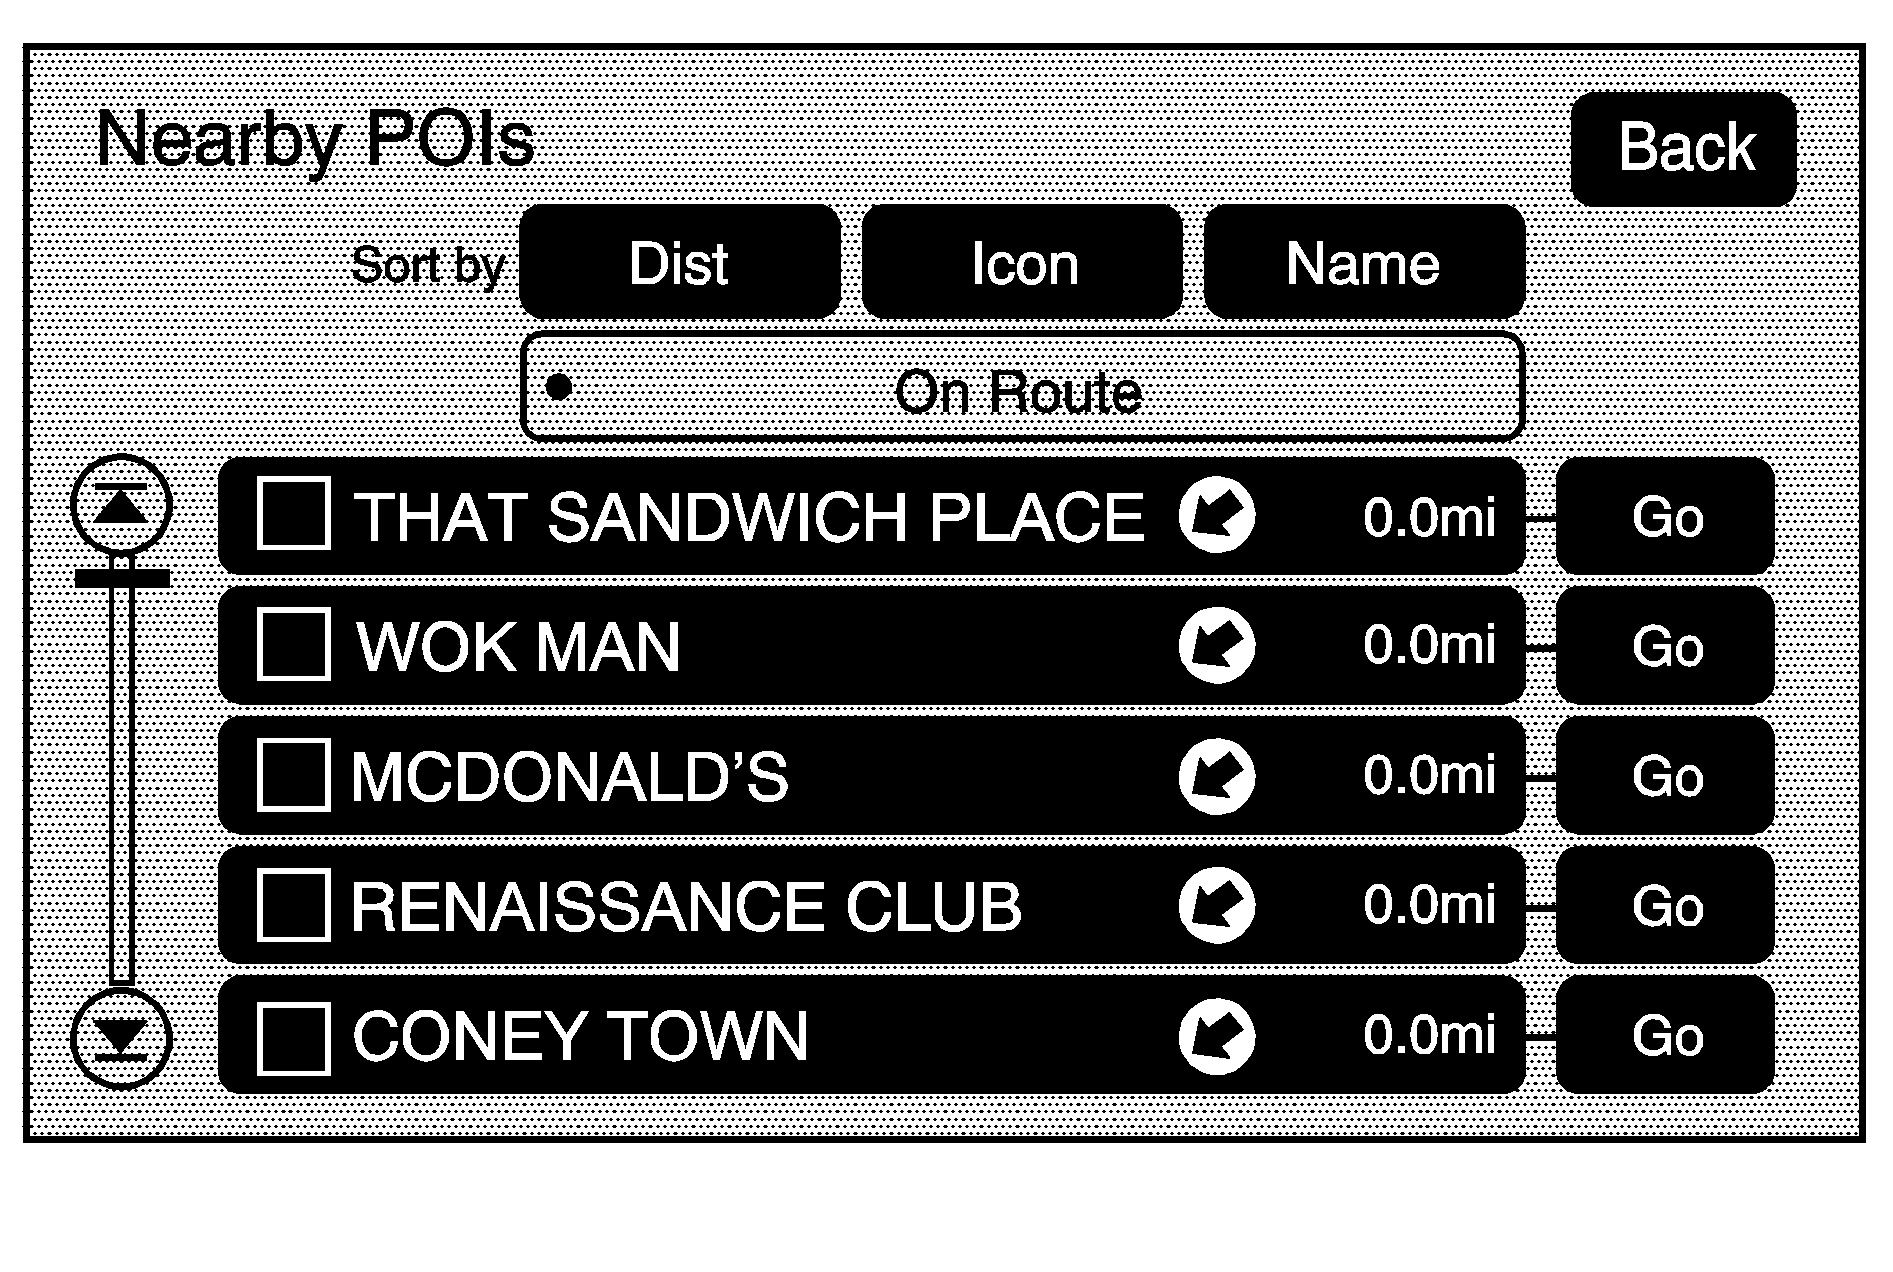
Nearby POIs: Select to display the list of available POIs for the selected POI categories. The list provides the POI icon, the name, the direction, and the distance to the POI from the vehicle's current position. Use the touch-tap the arrows to move up and down the list. Use the Sort by Dist (distance), Icon, Name, and, on Route as desired.
Go: Press this screen button, next to the desired POI, to make this POI a destination or a waypoint.
Select a POI name to receive information about the POI. From this screen you can select: Add, to add this POI to the address book, Go, or Map.
Add: Press to add this POI to the address book. See "Address Book" under Destination for information on address book entries.Go: Press to make this POI a destination or a waypoint.
Map: Press to display the map showing the location of the POI.
Driving on a Route
When a destination has been routed and while driving on route, the map screen automatically displays the next maneuver.
This next maneuver pop-up displays the next maneuver direction and how many miles or kilometers the vehicle is from it.
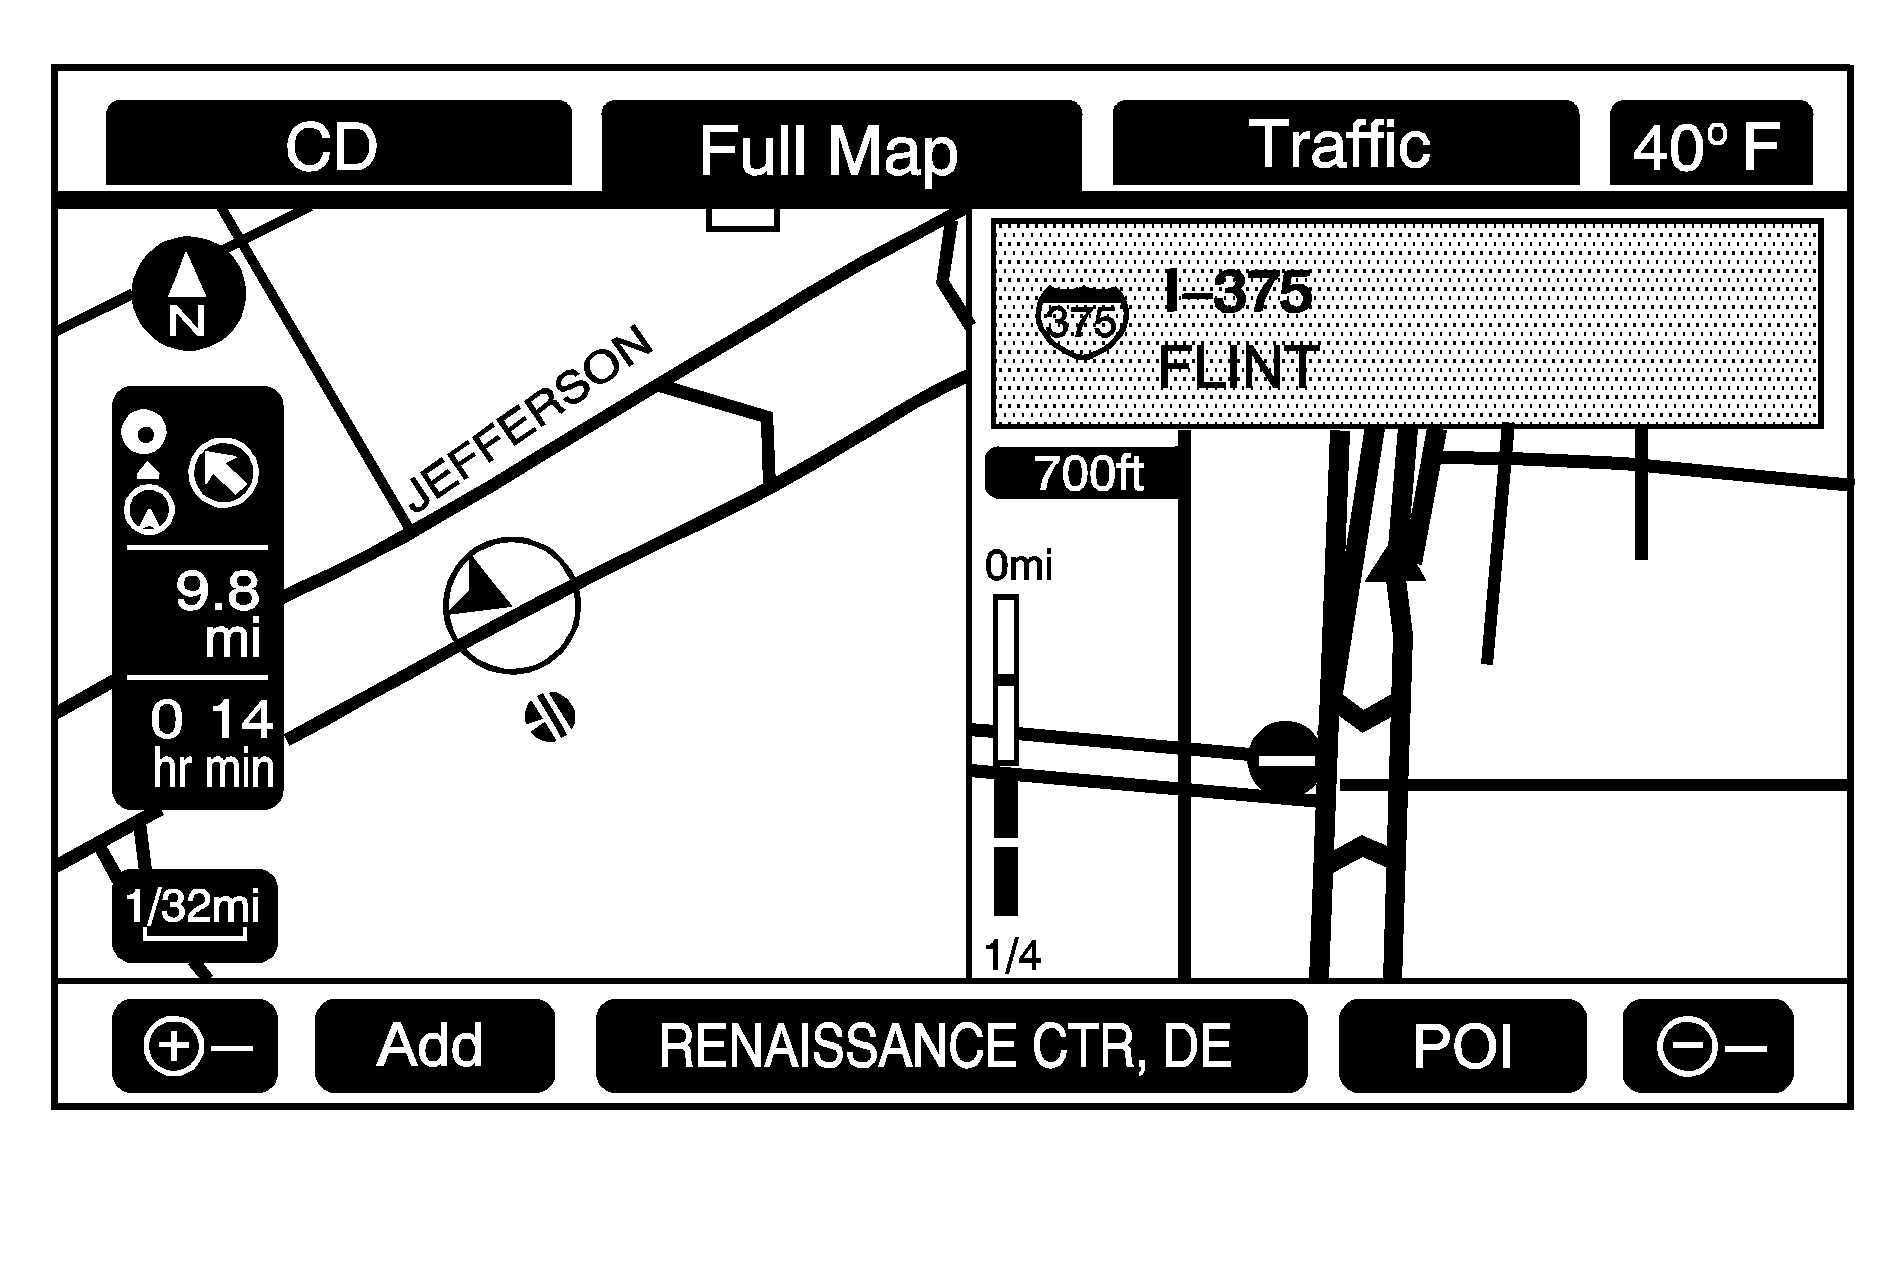
When approximately 1/4 mi. (0.4 km) from the next maneuver, the screen displays the name and a detailed view of the next maneuver.
Auto Reroute
When the destination is set and the vehicle is not travelling the planned route, the system automatically plans a new route and begins to reroute. The new route is highlighted on the screen.
