For 1990-2009 cars only
Removal Procedure
- Remove the air cleaner assembly. Refer to Air Cleaner Assembly Replacement
- Raise and support the vehicle. Refer to Lifting and Jacking the Vehicle
- Remove the front air deflector. Refer to Front Air Deflector Replacement
- Remove the front compartment lower noise shield. Refer to Front Compartment Lower Noise Shield Replacement
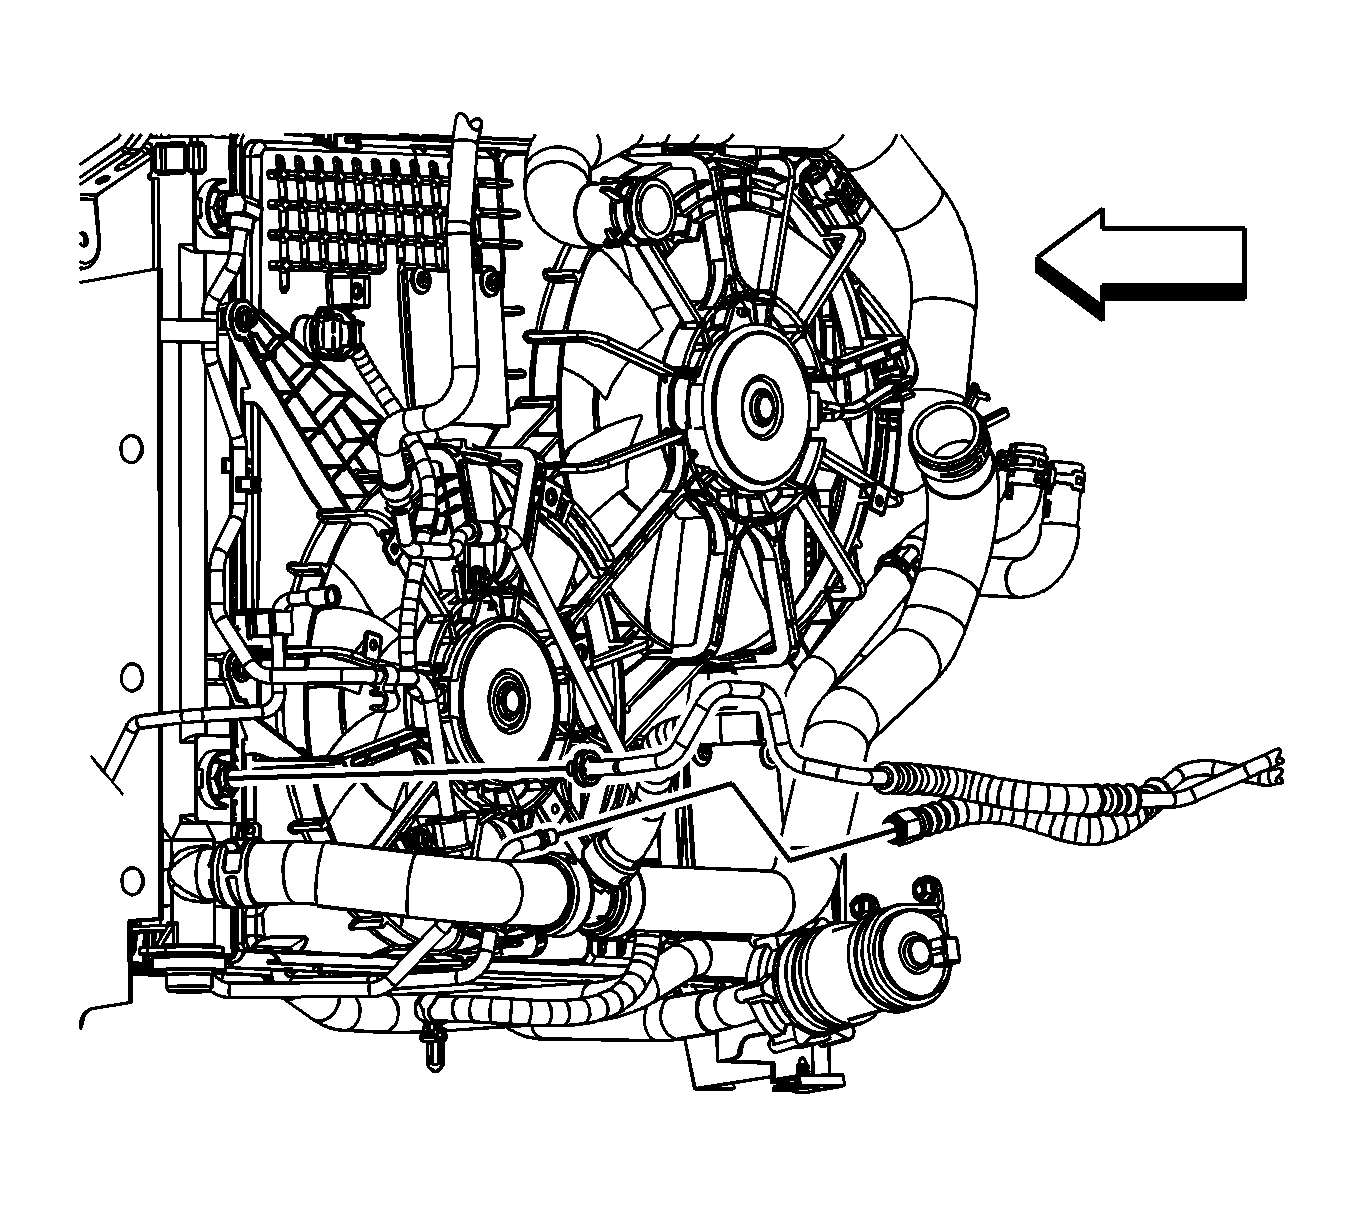
- Disconnect the transmission cooler lines. Refer to Transmission Fluid Cooler Hose/Pipe Quick-Connect Fitting Disconnection and Connection
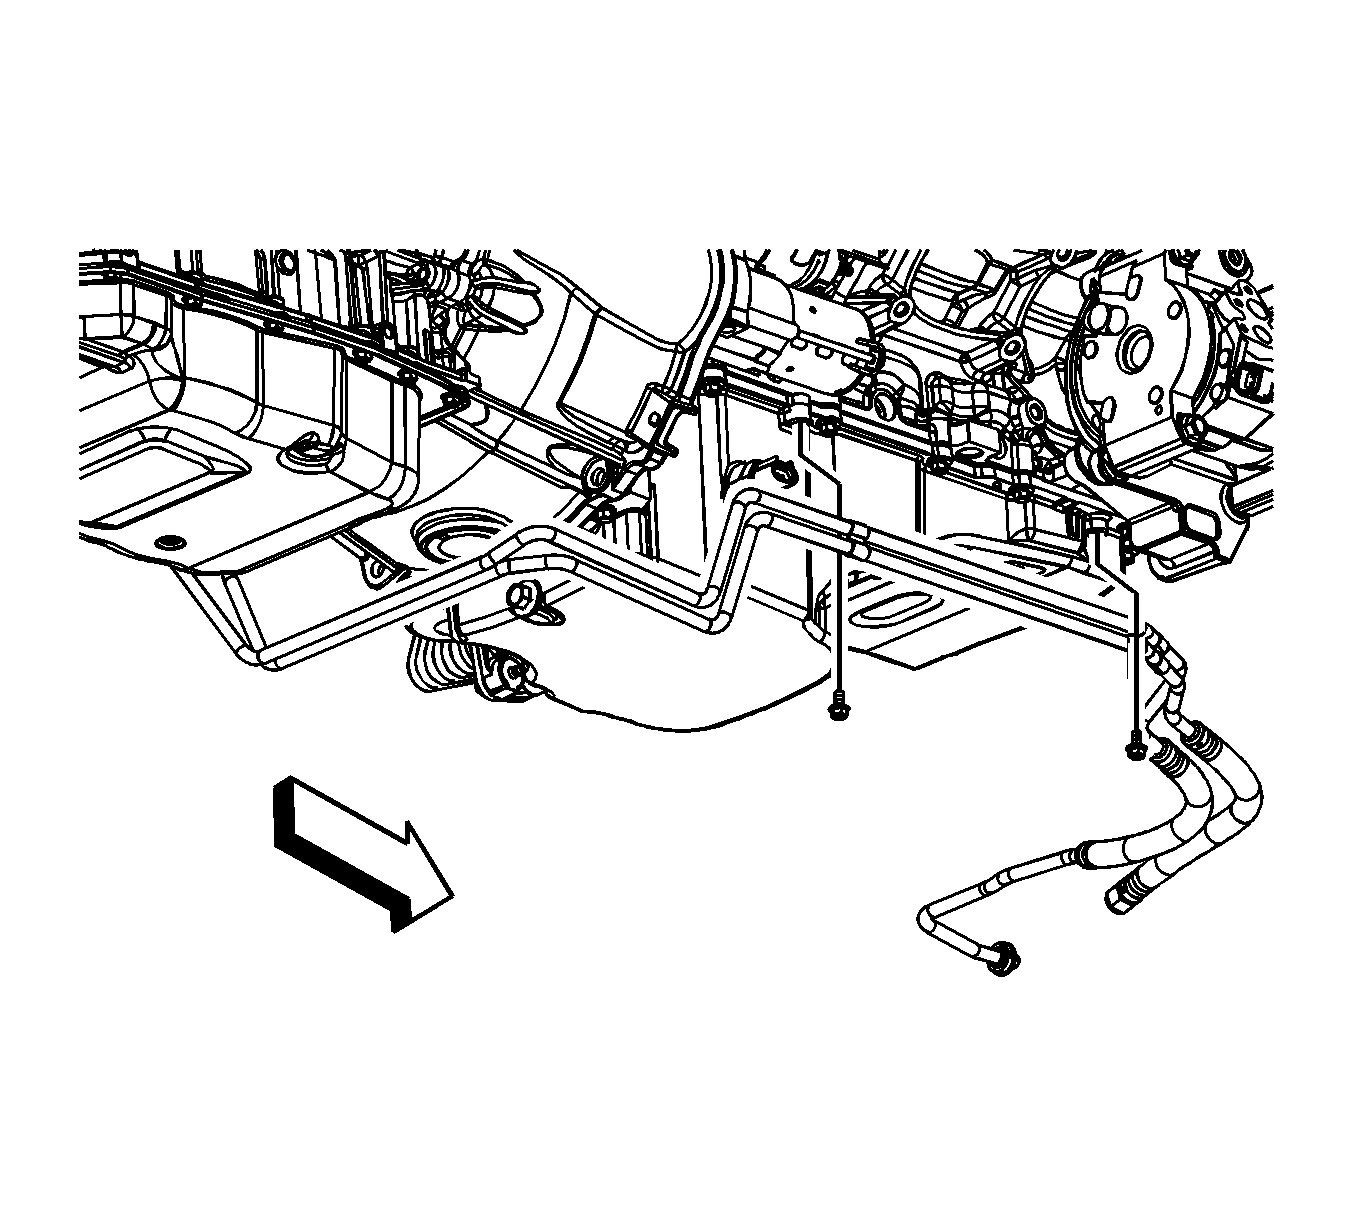
- Remove the transmission cooler line bolts.
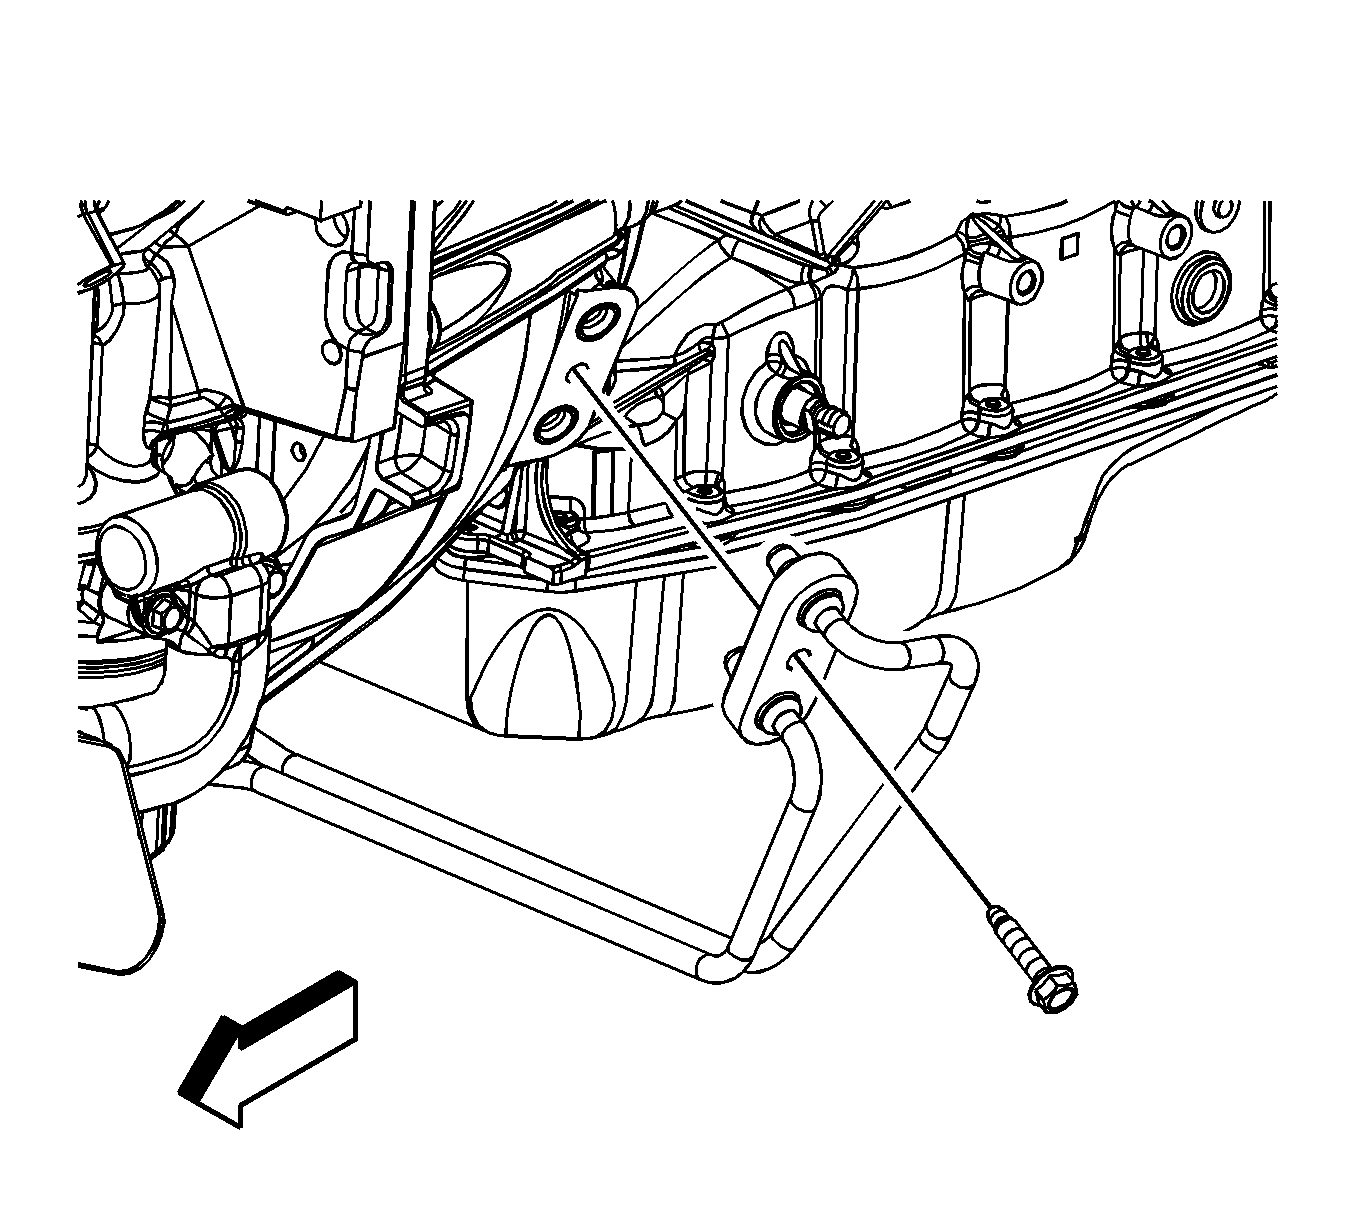
- Remove the transmission cooler lines bolt.
- Remove the transmission cooler lines from the vehicle.


Installation Procedure
- Install the transmission cooler lines to the vehicle.
- Install the transmission cooler lines bolt and tighten to 50 N·m (37 lb ft).
- Install the the transmission cooler line bolts.
- Connect the transmission cooler lines. Refer to Transmission Fluid Cooler Hose/Pipe Quick-Connect Fitting Disconnection and Connection
- Reposition the heater hose clamps (1) at the engine using J 38185 Hose Clamp Pliers .
- Install the front compartment lower noise shield. Refer to Front Compartment Lower Noise Shield Replacement
- Install the front air deflector. Refer to Front Air Deflector Replacement
- Lower the vehicle. Refer to Lifting and Jacking the Vehicle
- Install the air cleaner assembly. Refer to Air Cleaner Assembly Replacement

Caution: Refer to Fastener Caution in the Preface section.


