For 1990-2009 cars only
Removal Procedure
- Raise and support the vehicle. Refer to Lifting and Jacking the Vehicle.
- Remove the tire and wheel. Refer to Tire and Wheel Removal and Installation.
- Remove the shock module from the vehicle. Refer to Shock Absorber and Spring Assembly Replacement.
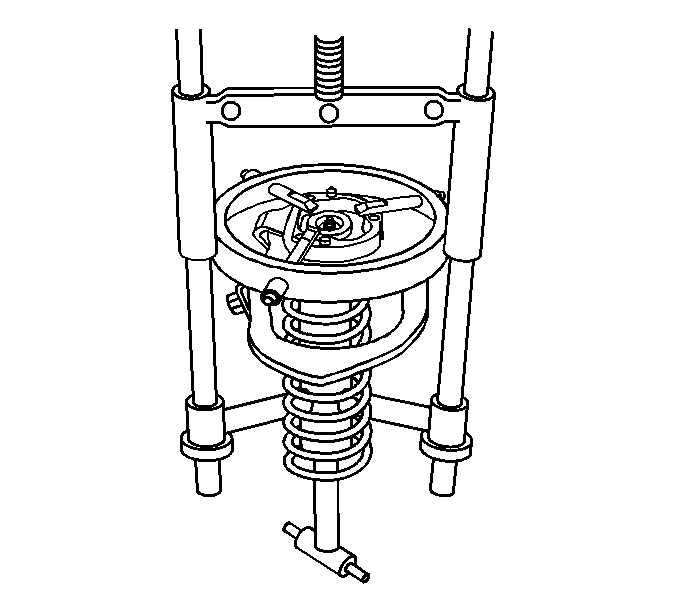
- Install the shock module into the spring compressor.
- Mark the upper control arm assembly and insulator for proper installation.
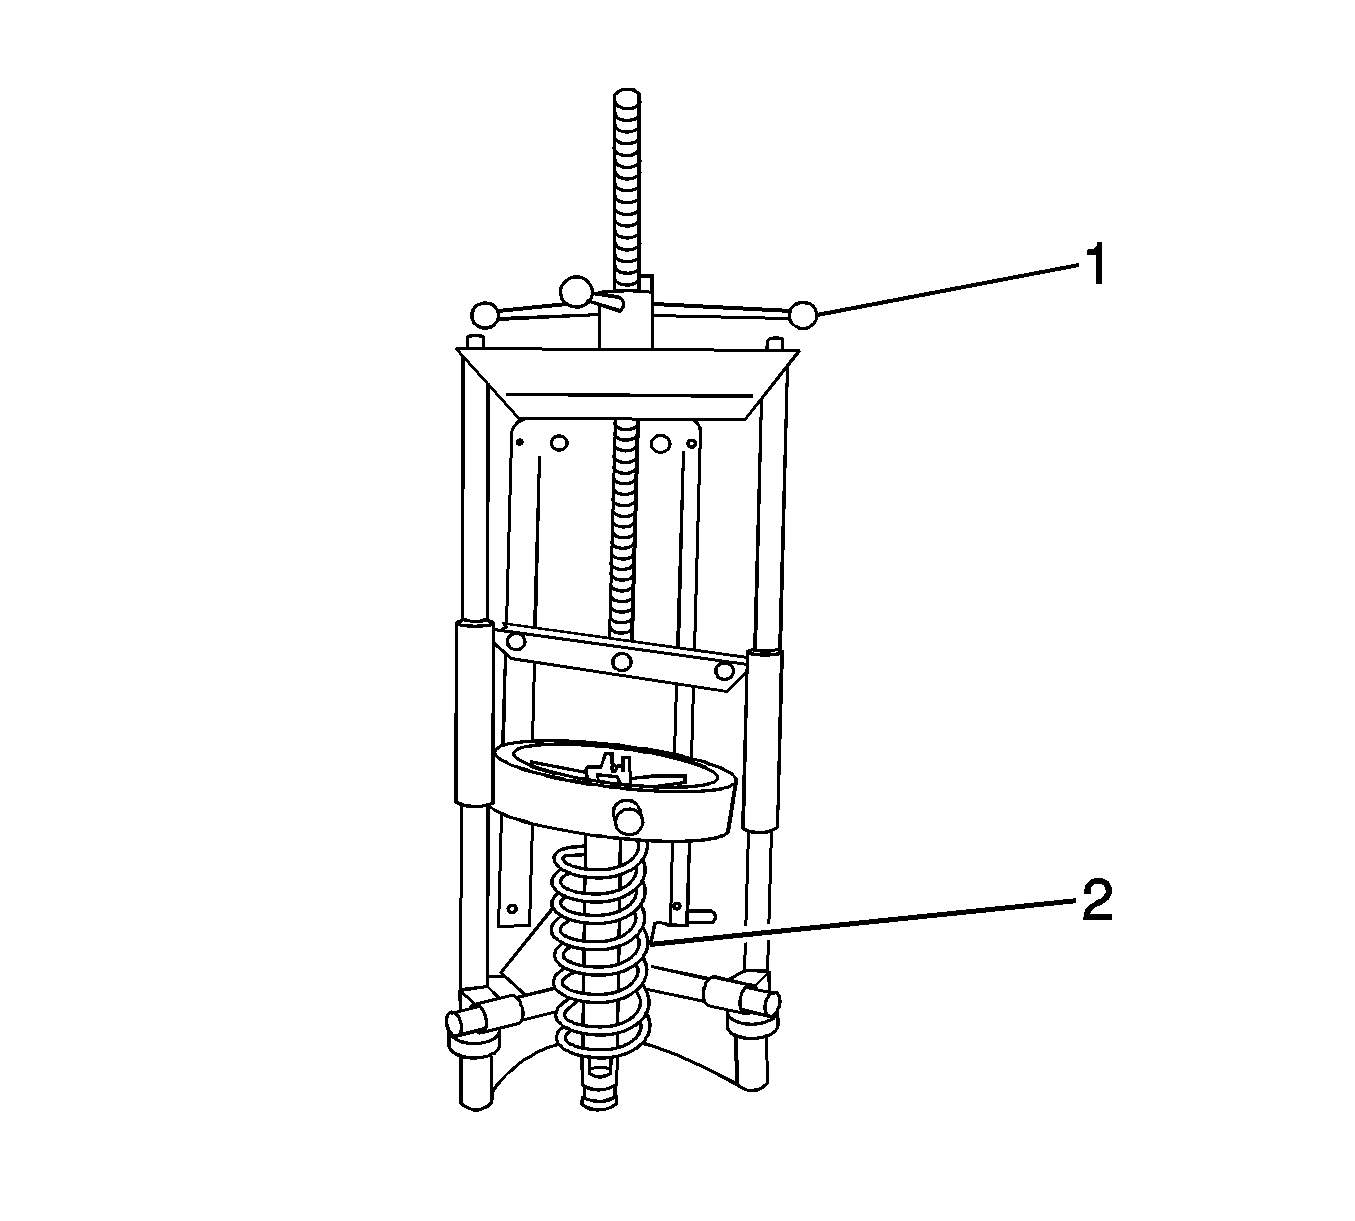
- Turn the spring compressor forcing screw (1) until the coil spring (2) is compressed.
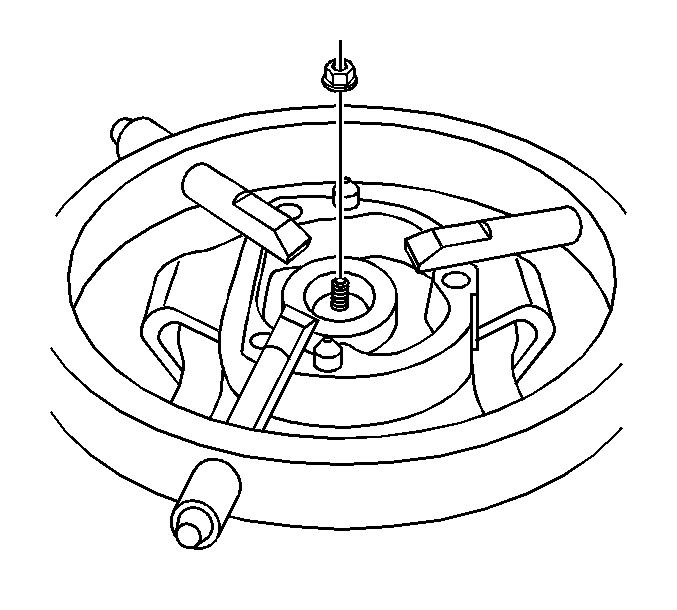
- Remove the shock absorber upper retaining nut.
- Remove the shock absorber from the shock module.
- Loosen the compressor forcing screw until the upper mounting plate and coil spring may be removed.
- Remove the upper control arm bracket assembly, insulator and coil spring from the spring compressor.
Caution: Use care when handling the coil springs in order to avoid chipping or scratching the coating. Damage to the coating will result in premature failure of the coil springs.


Note: The spring is compressed when the shock absorber moves freely.

Installation Procedure
- Install the coil spring, insulator, upper control arm bracket assembly, and shock absorber to the spring compressor aligning all marks.
- Turn the spring compressor forcing screw (1) until the coil spring is compressed.
- Install the shock absorber retaining nut and tighten to 25 N·m (18 lb ft).
- Remove the shock module from the spring compressor.
- Install the shock module to the vehicle. Refer to Shock Absorber and Spring Assembly Replacement.
- Install the tire and wheel. Refer to Tire and Wheel Removal and Installation.
- Lower the vehicle.

Note: Ensure the alignment pins in the upper control arm bracket is orientated 90 degrees with the shock absorber lower mounting holes.
Caution: Refer to Fastener Caution in the Preface section.


