For 1990-2009 cars only
Blower Motor Replacement Right Hand Drive
Removal Procedure
- Remove the left insulator panel. Refer to Instrument Panel Insulator Replacement - Left Side.
- Remove the instrument panel (I/P) compartment. Refer to Instrument Panel Compartment Replacement.
- Loosen the I/P mounting bolts but do not remove, and reposition the I/P carrier to gain clearance for the blower motor removal. Refer to Instrument Panel Carrier Replacement.
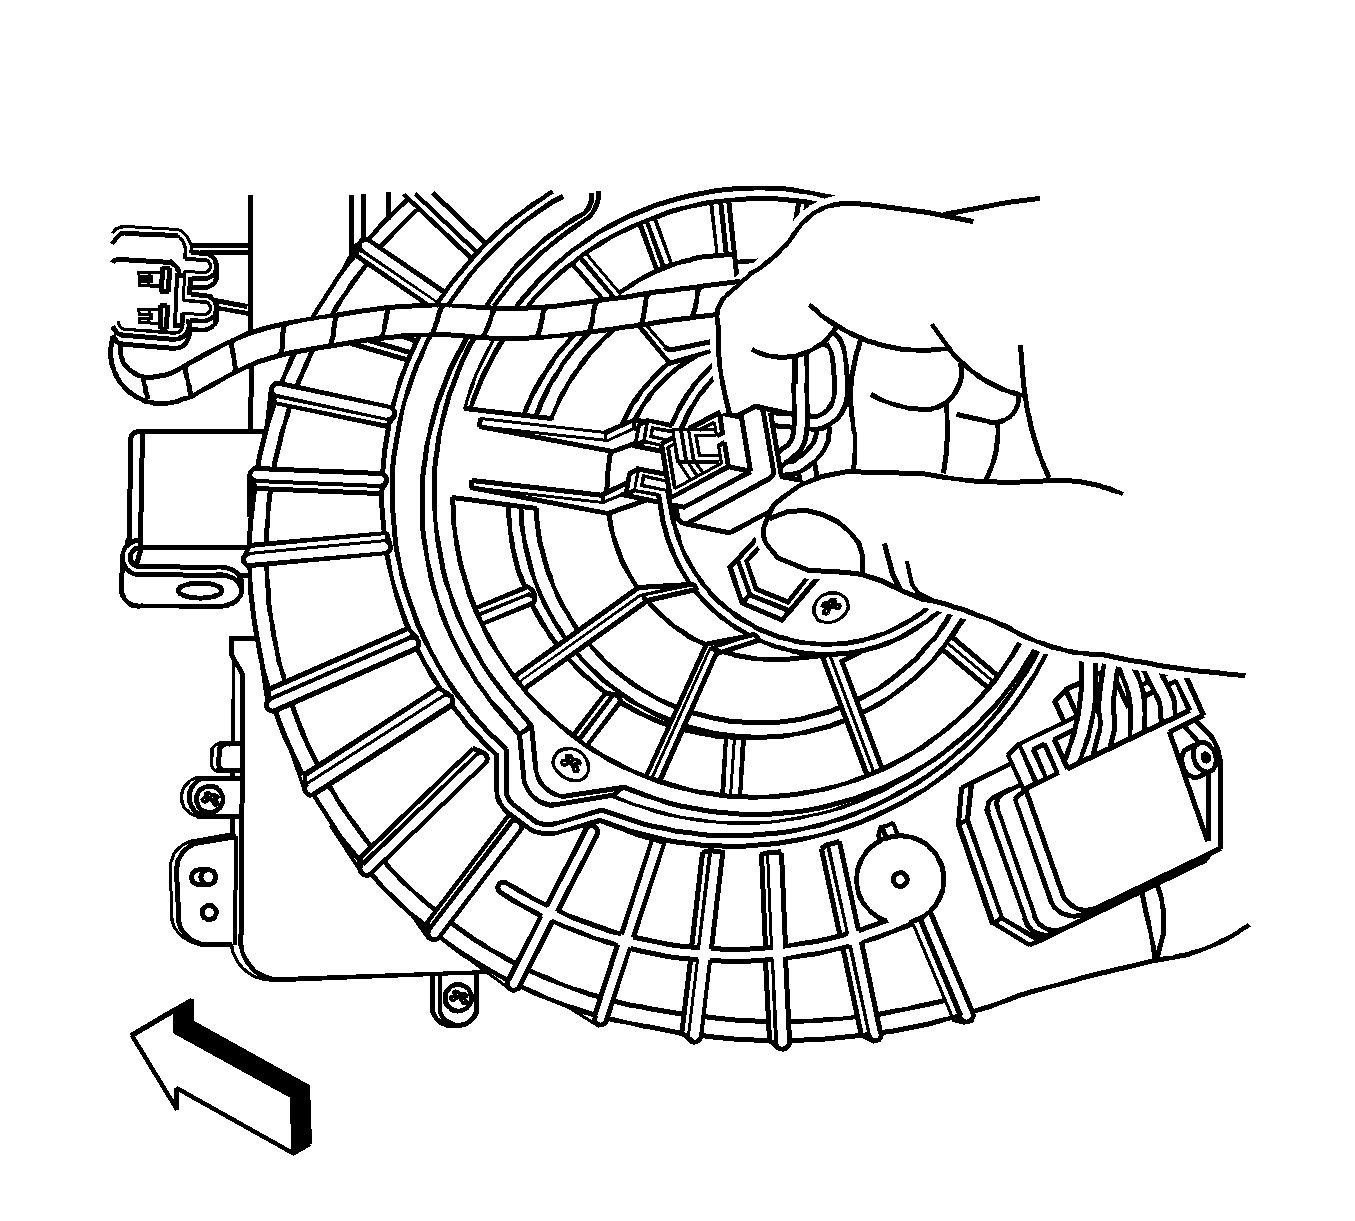
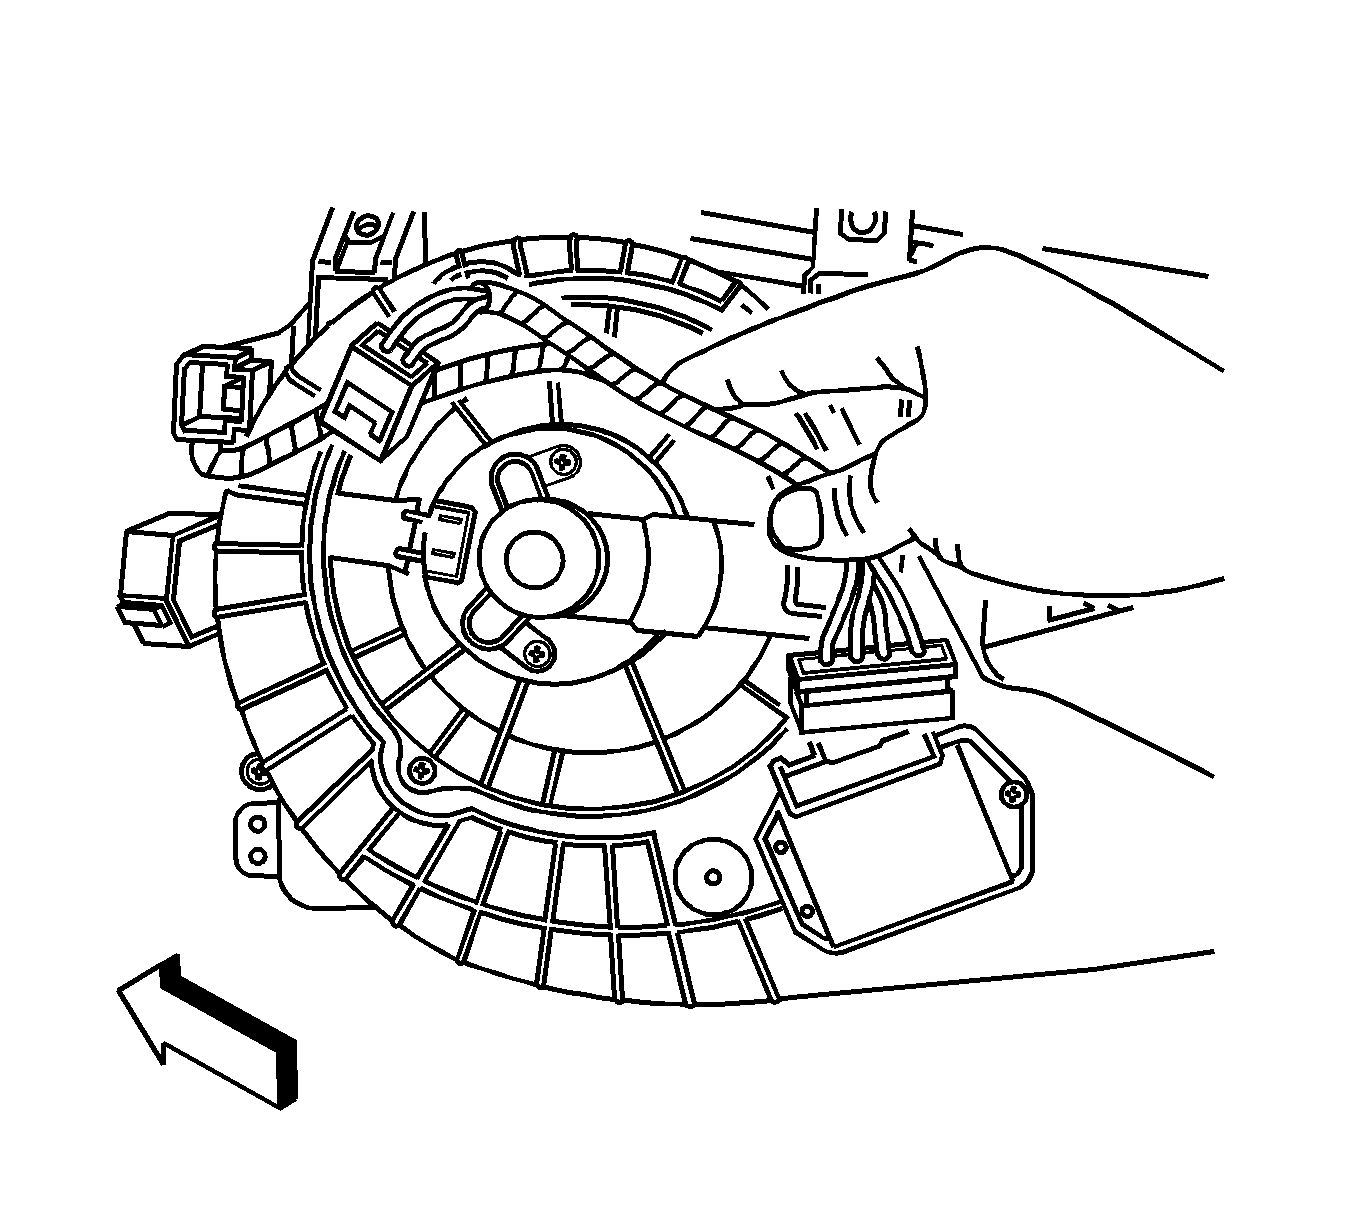
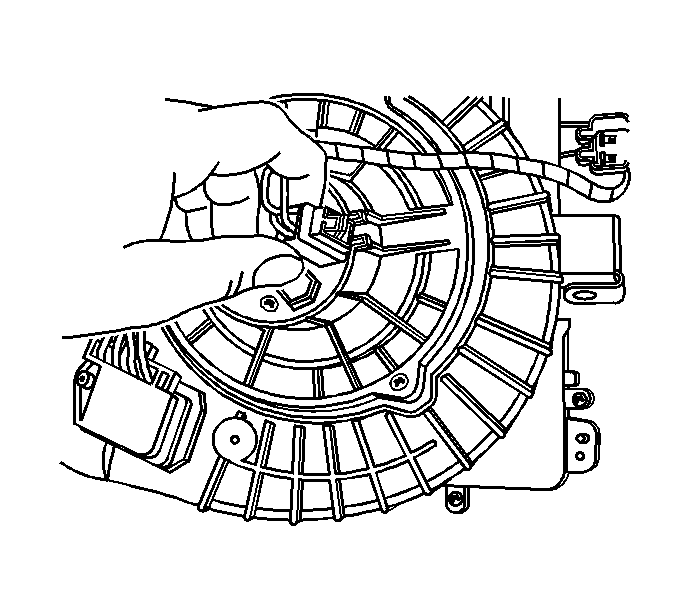
- Disconnect the blower motor electrical connector.
- Disconnect the blower motor processor electrical connector.
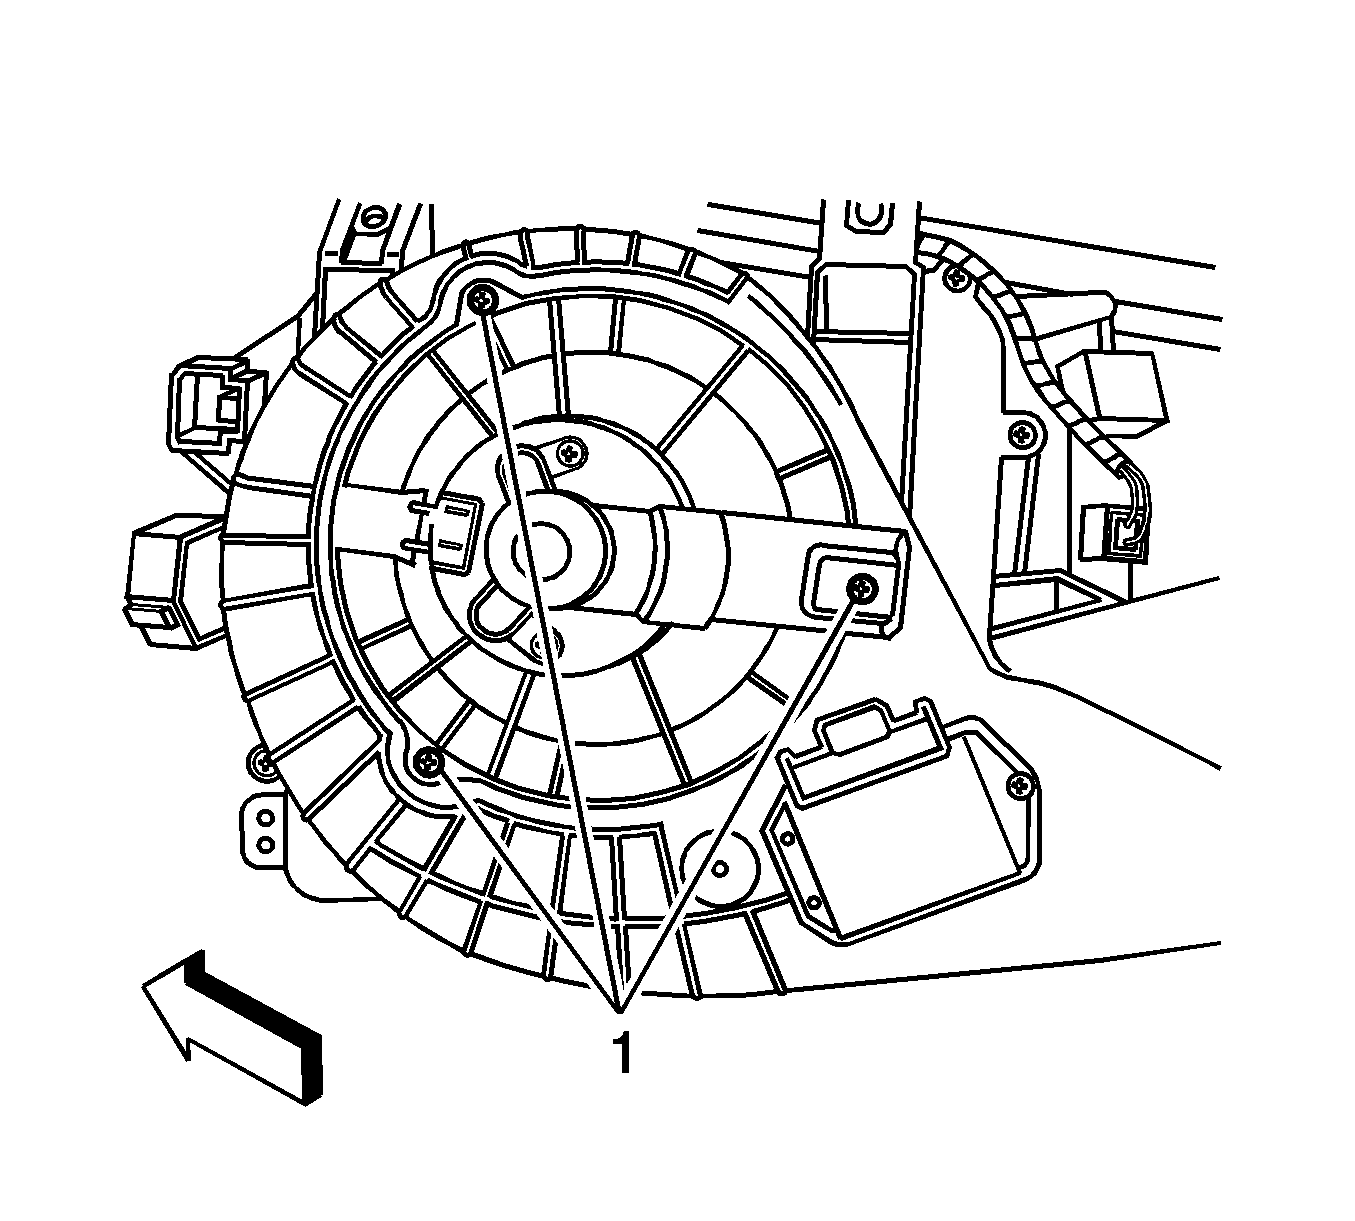
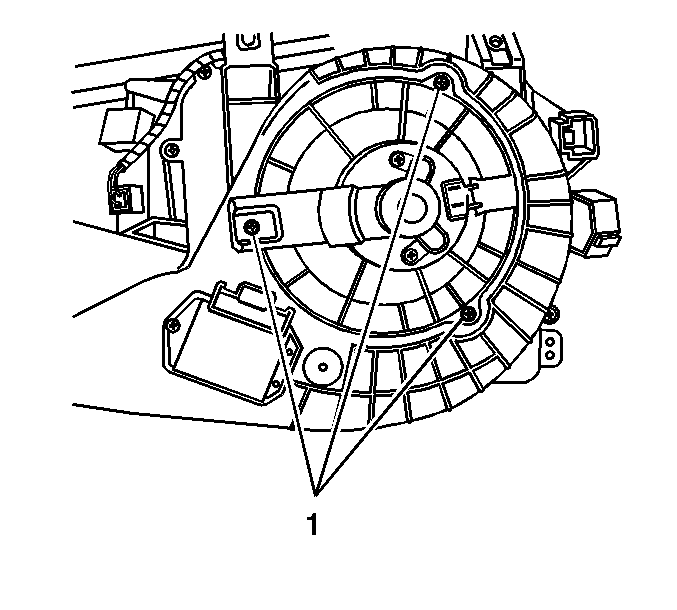
- Remove the screws (1) that retain the blower motor.
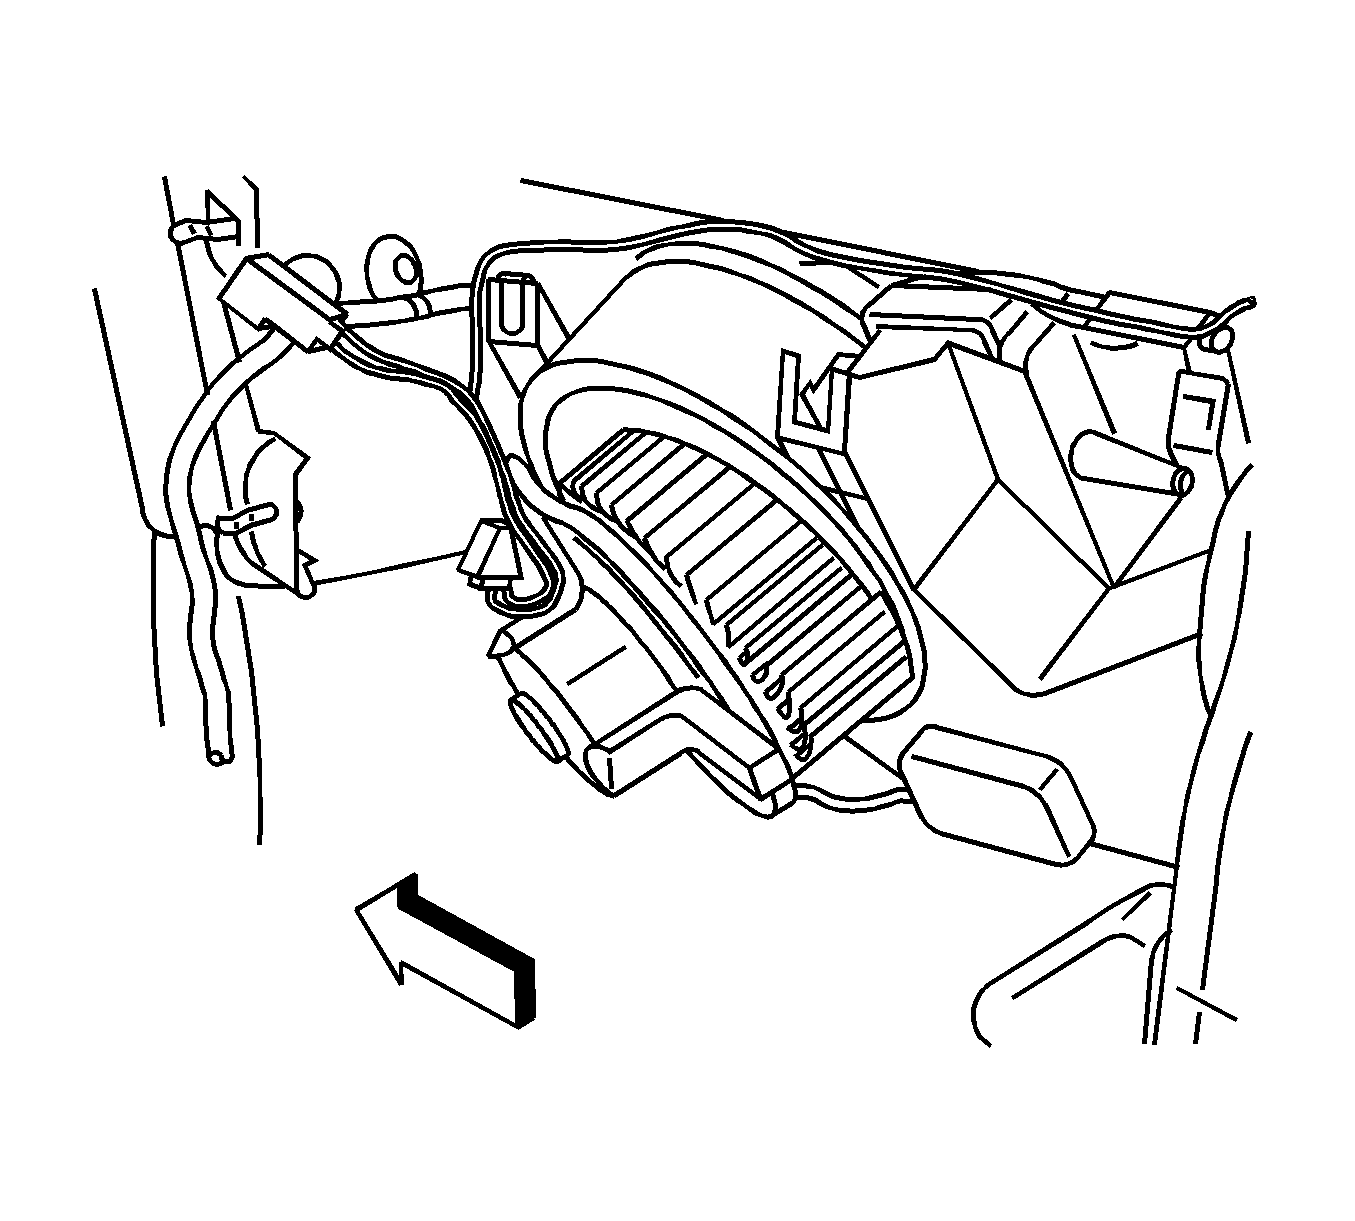
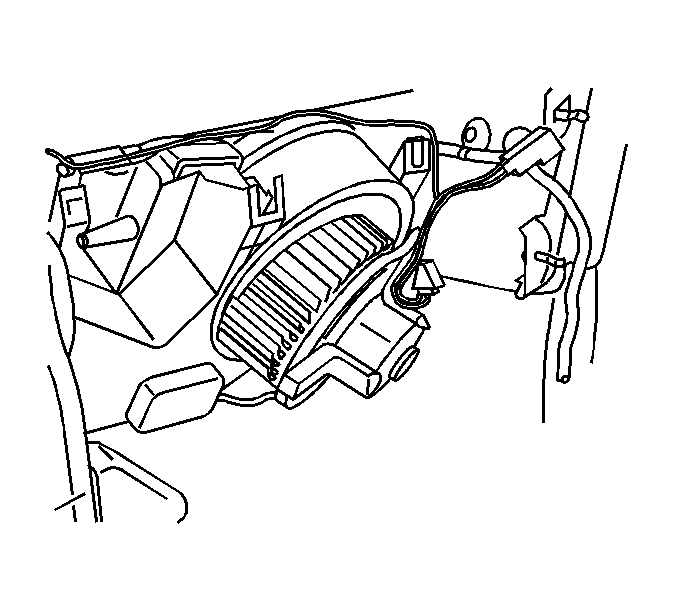
- Remove the blower motor.
Installation Procedure
- Install the blower motor.
- Install the blower motor screws (1) and tighten to 1.5 N·m (13 lb in).
- Connect the blower motor processor electrical connector.
- Connect the blower motor electrical connector.
- Install the I/P compartment. Refer to Instrument Panel Compartment Replacement.
- Install the left insulator panel. Refer to Instrument Panel Insulator Replacement - Left Side.
- Install the I/P carrier mounting bolts and tighten to 25 N·m(19 lb ft). Refer to Instrument Panel Carrier Replacement

Caution: Refer to Fastener Caution in the Preface section.


Blower Motor Replacement Left Hand Drive
Removal Procedure
- Remove the (I/P) - right side insulator panel. Refer to Instrument Panel Insulator Replacement - Right Side.
- Remove the I/P compartment. Refer to Instrument Panel Compartment Replacement.
- Loosen the I/P carrier mounting bolts but do not remove, and reposition the carrier to gain clearance for blower motor removal. Refer to Instrument Panel Carrier Replacement.
- Disconnect the blower motor electrical connector.
- Remove the screws (1) that retain the blower motor.
- Remove the blower motor.
Installation Procedure
- Install the blower motor.
- Install the blower motor screws (1) and tighten to 1.5 N·m (13 lb in).
- Connect the blower motor electrical connector.
- Install the I/P compartment. Refer to Instrument Panel Compartment Replacement.
- Install the I/P insulator - right side. Refer to Instrument Panel Insulator Replacement - Right Side.
- Install the I/P carrier mounting bolts and tighten to 25 N·m (19 lb ft). Refer to Instrument Panel Carrier Replacement.

Caution: Refer to Fastener Caution in the Preface section.


