Removal Procedure
The production roof panel is attached with laser guided MIG brazing on the side rails and resistance spot welds in the windshield and back glass openings. The service roof replacement procedure uses windshield urethane adhesive to replace the MIG braze on the side rails and MIG plug welds in the windshield and back glass areas to replace the spot welds. The windshield and back glass must be removed for this procedure.
Warning: Refer to Approved Equipment for Collision Repair Warning in the Preface section.
Note: Use care when cutting to protect adjacent panels. Cut inboard of the side frame structure.
- Disable the SIR system. Refer to SIR Disabling and Enabling.
- Disconnect the negative battery cable. Refer to Battery Negative Cable Disconnection and Connection.
- Remove all related panels and components.
- Visually inspect the damage. Repair as much of the damage as possible.
- Remove the sealers and anti-corrosion materials from the repair area, as necessary. Refer to Anti-Corrosion Treatment and Repair.
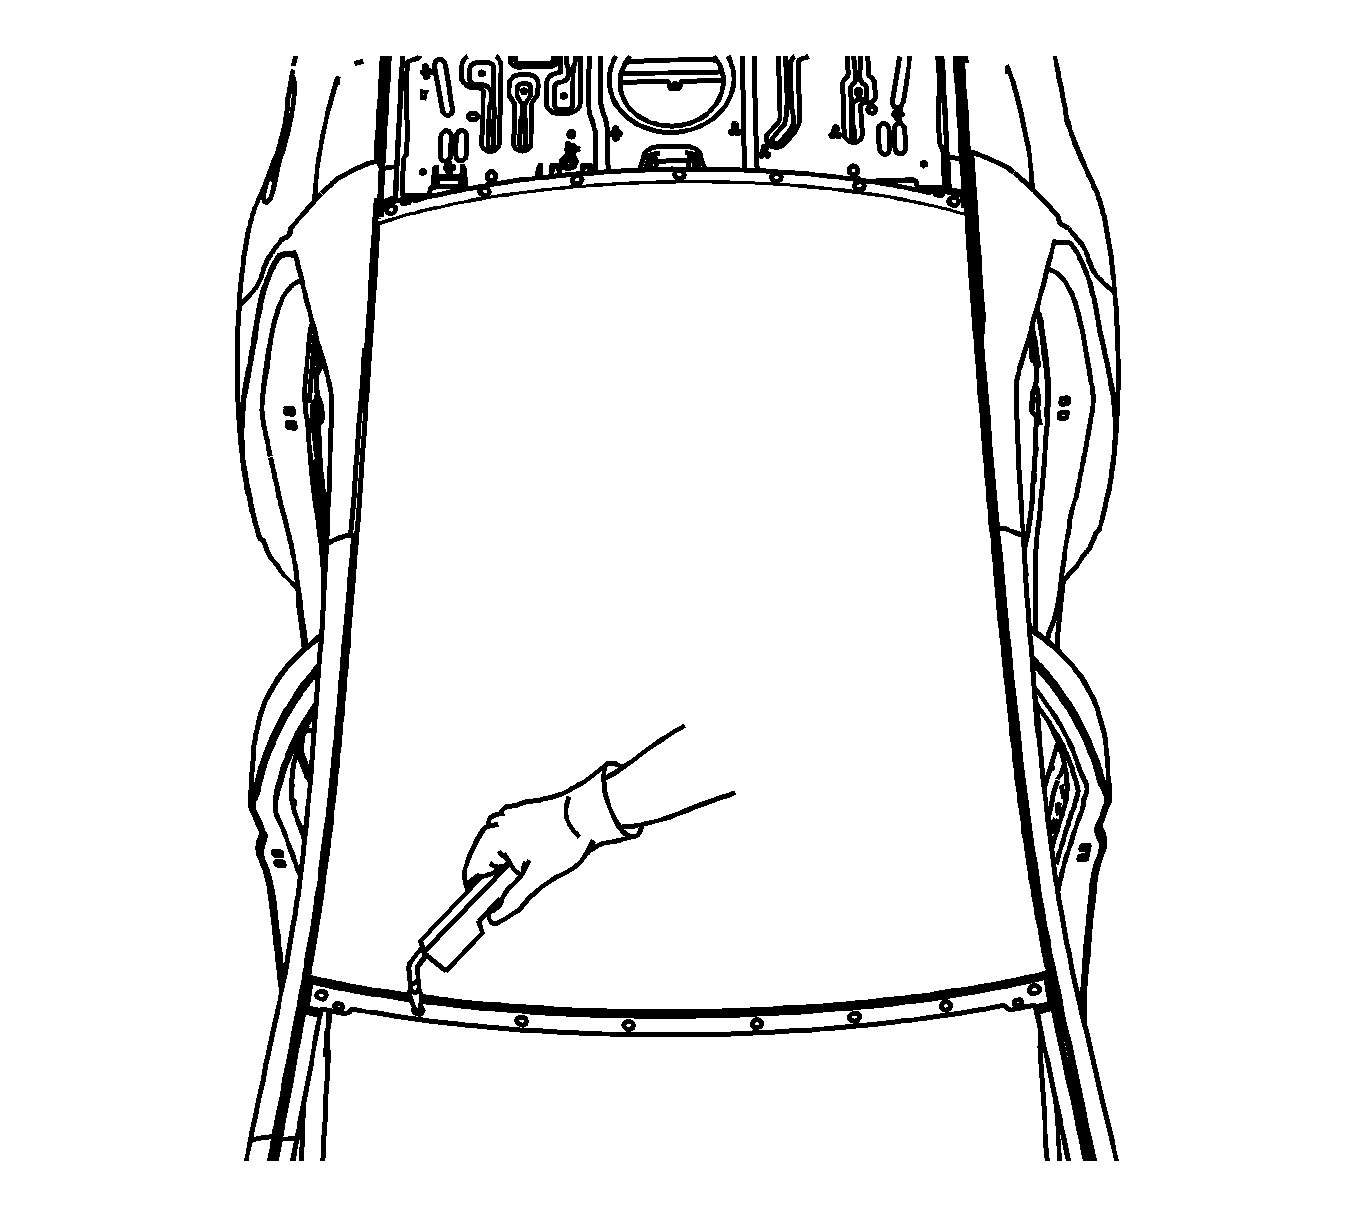
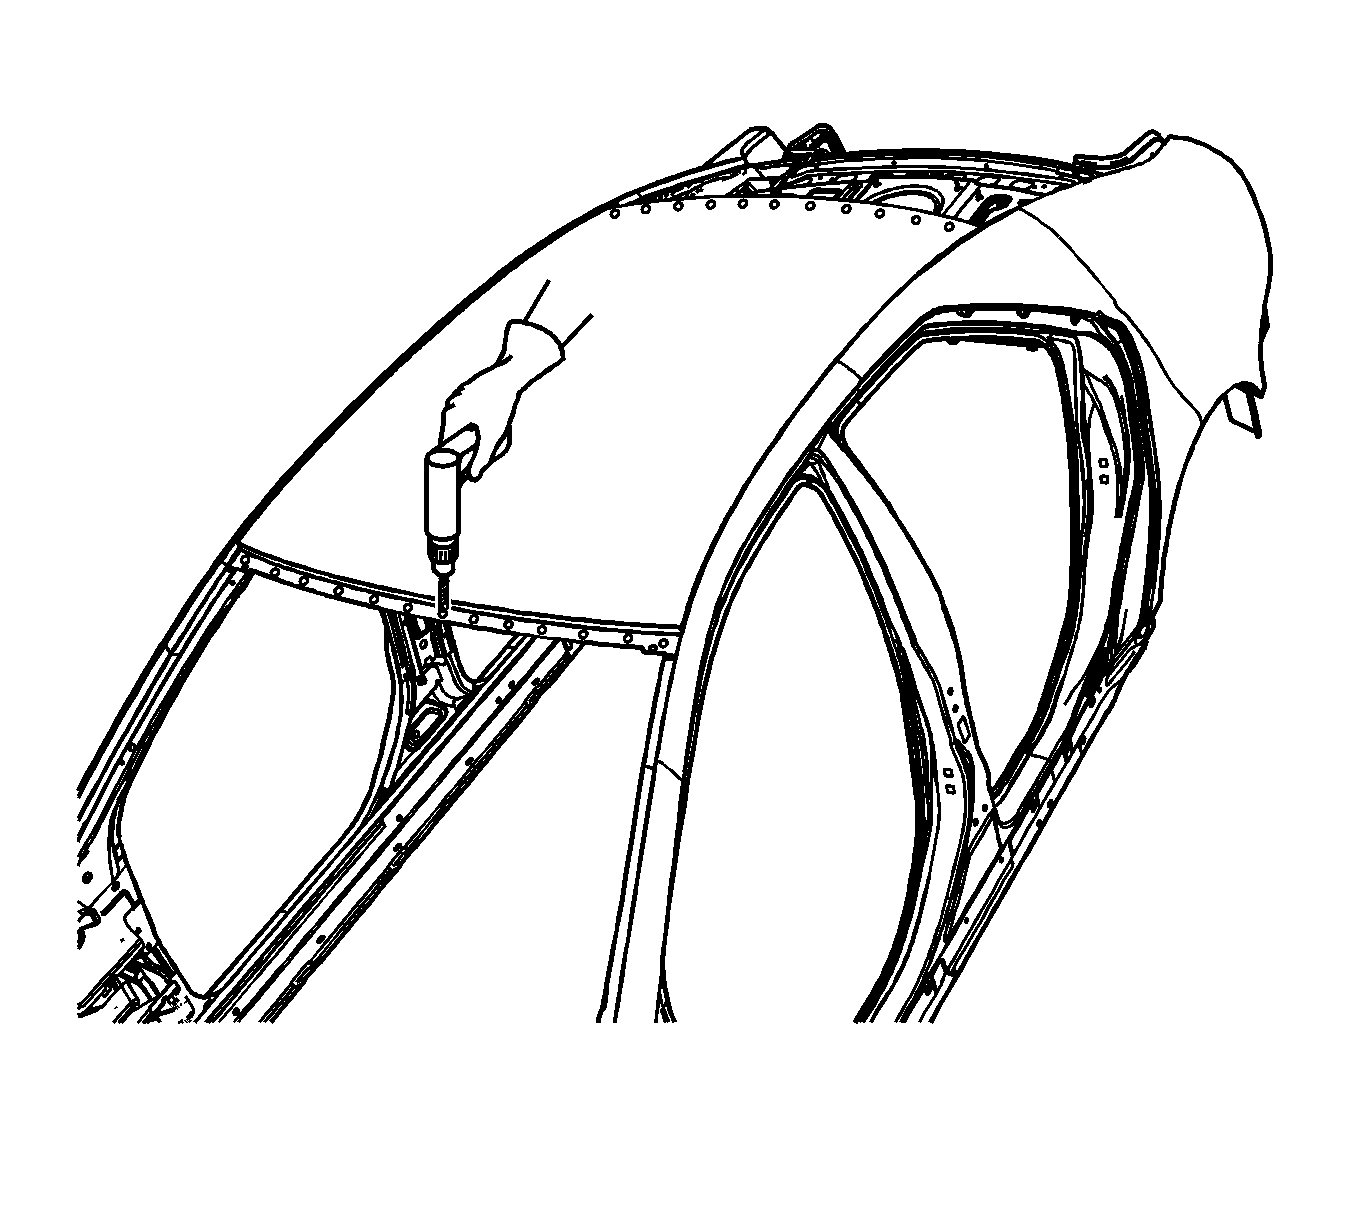
- Locate and mark all factory welds in the front and rear window openings.
- Drill all factory welds. Note the number and location of welds for installation of the service assembly.
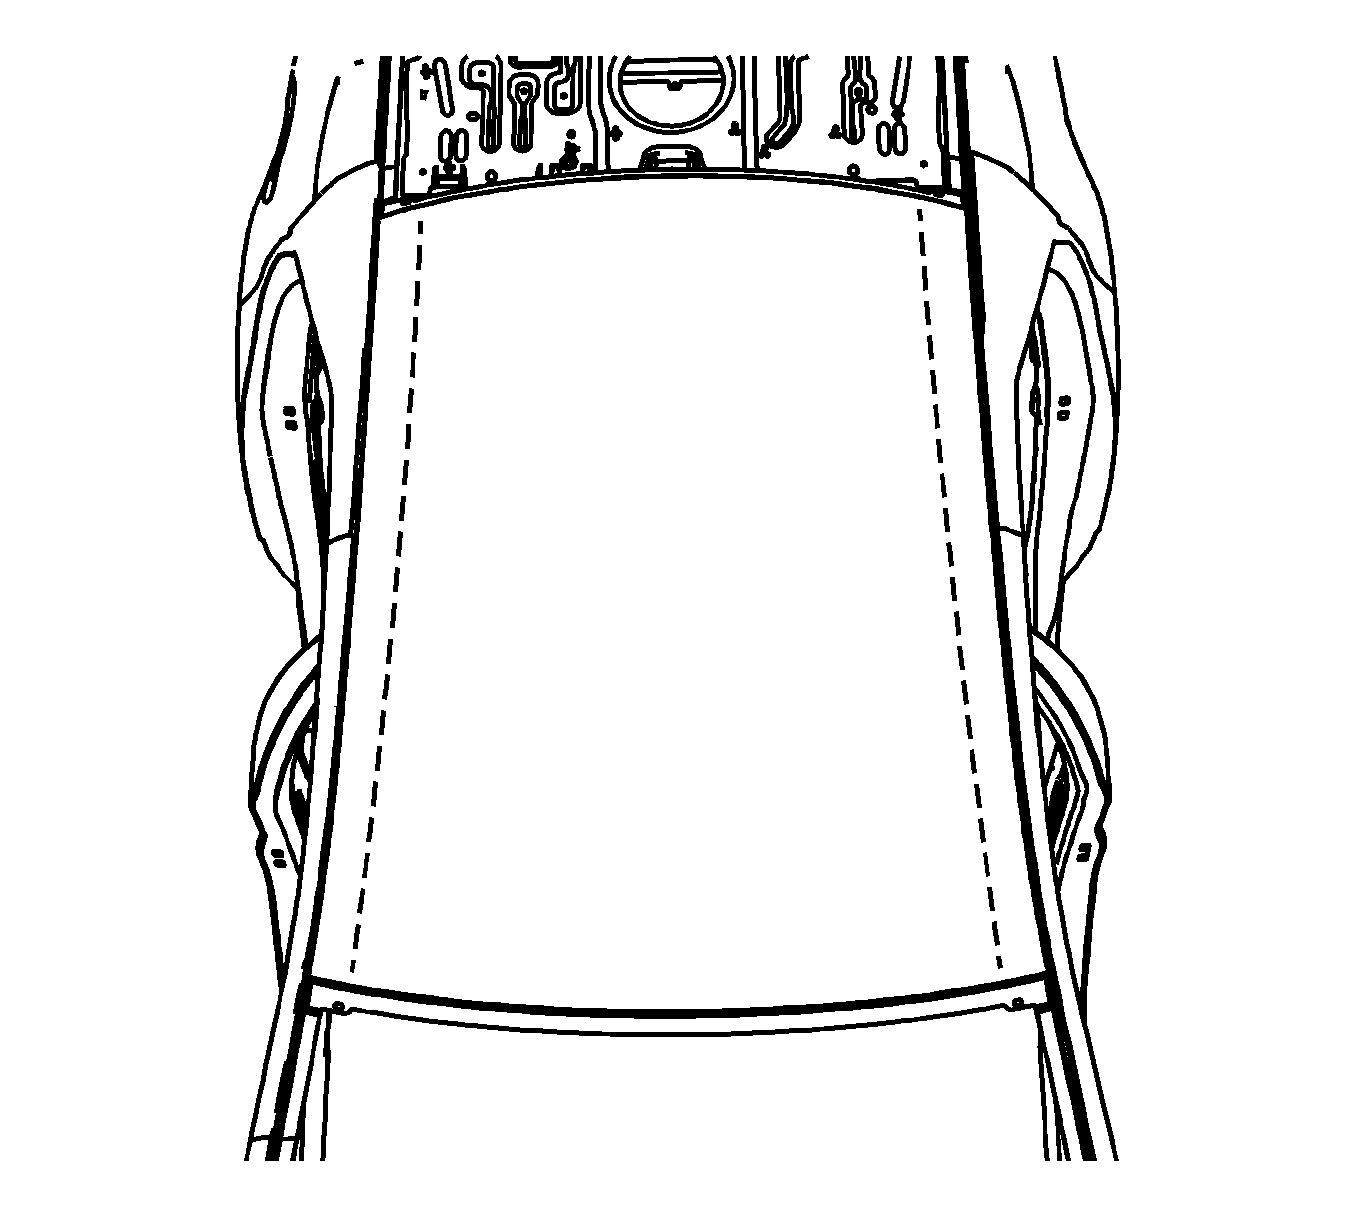
- On the side rail area of the roof use a cut off wheel or equivalent to cut the panel 50 mm (2.0 in) inboard of the MIG braze.
- Remove the center portion of the panel.
- To separate the remaining portion of the panel use a cut off wheel or equivalent to grind out the MIG braze joint.
- Remove the remaining portion of the original panel.
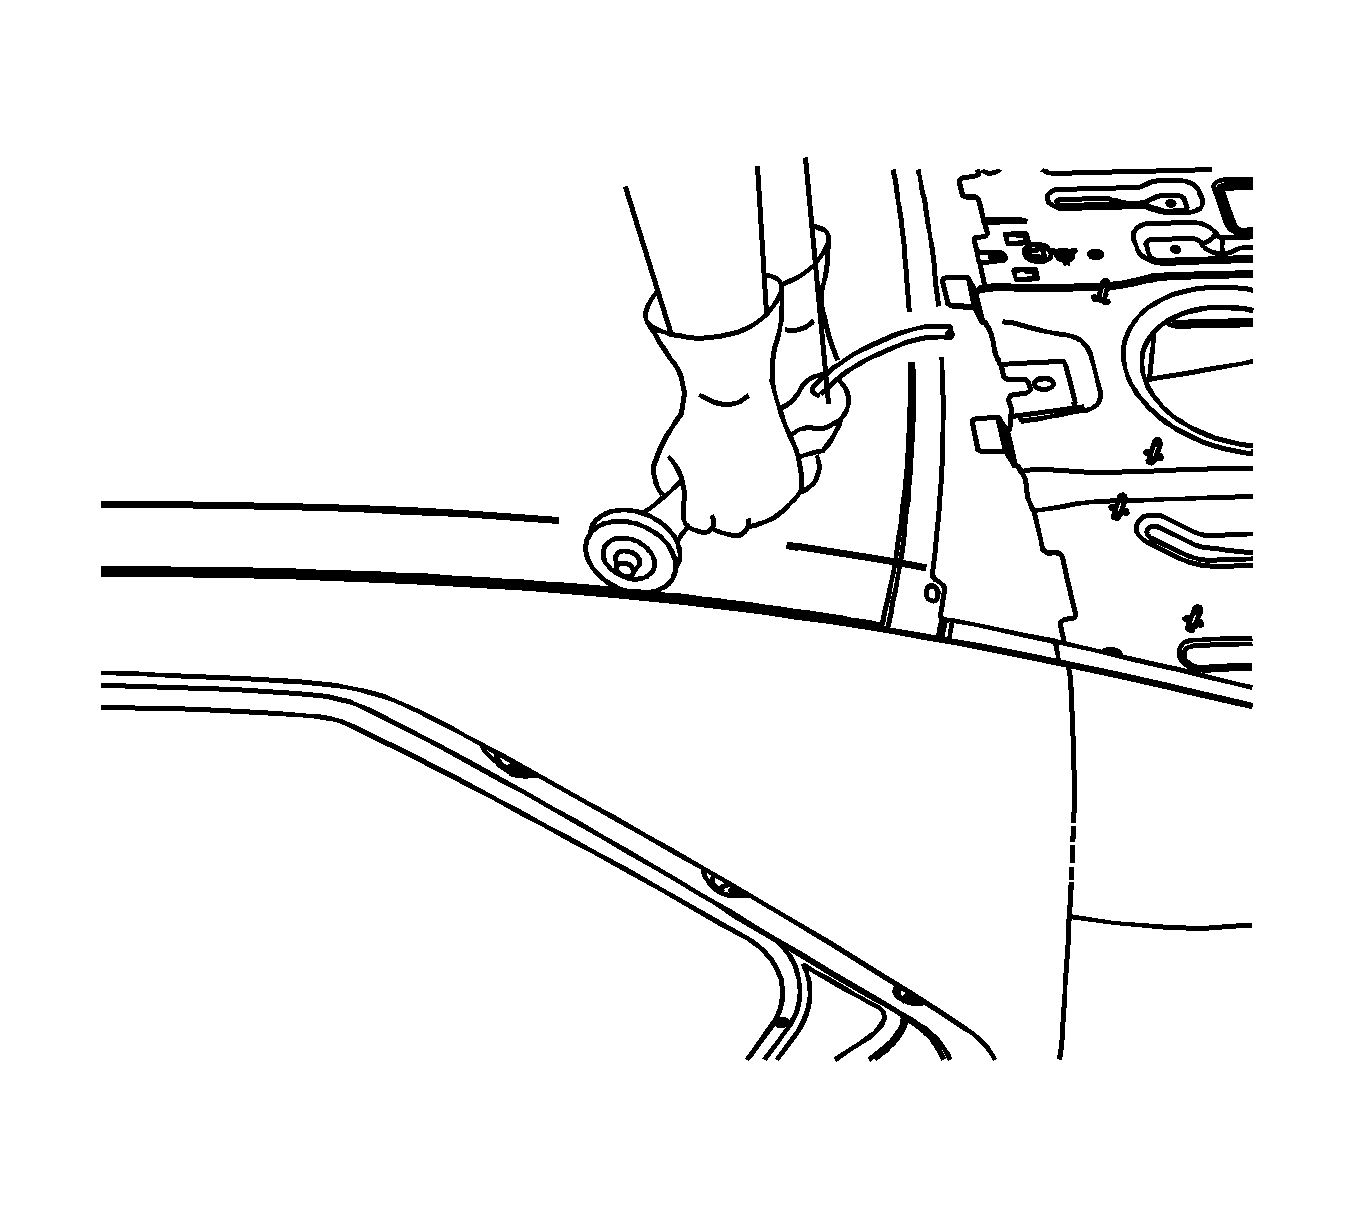
Note: It is not necessary to remove all of the braze material from the side rail.
Installation Procedure
- Dry fit the service panel to the vehicle.
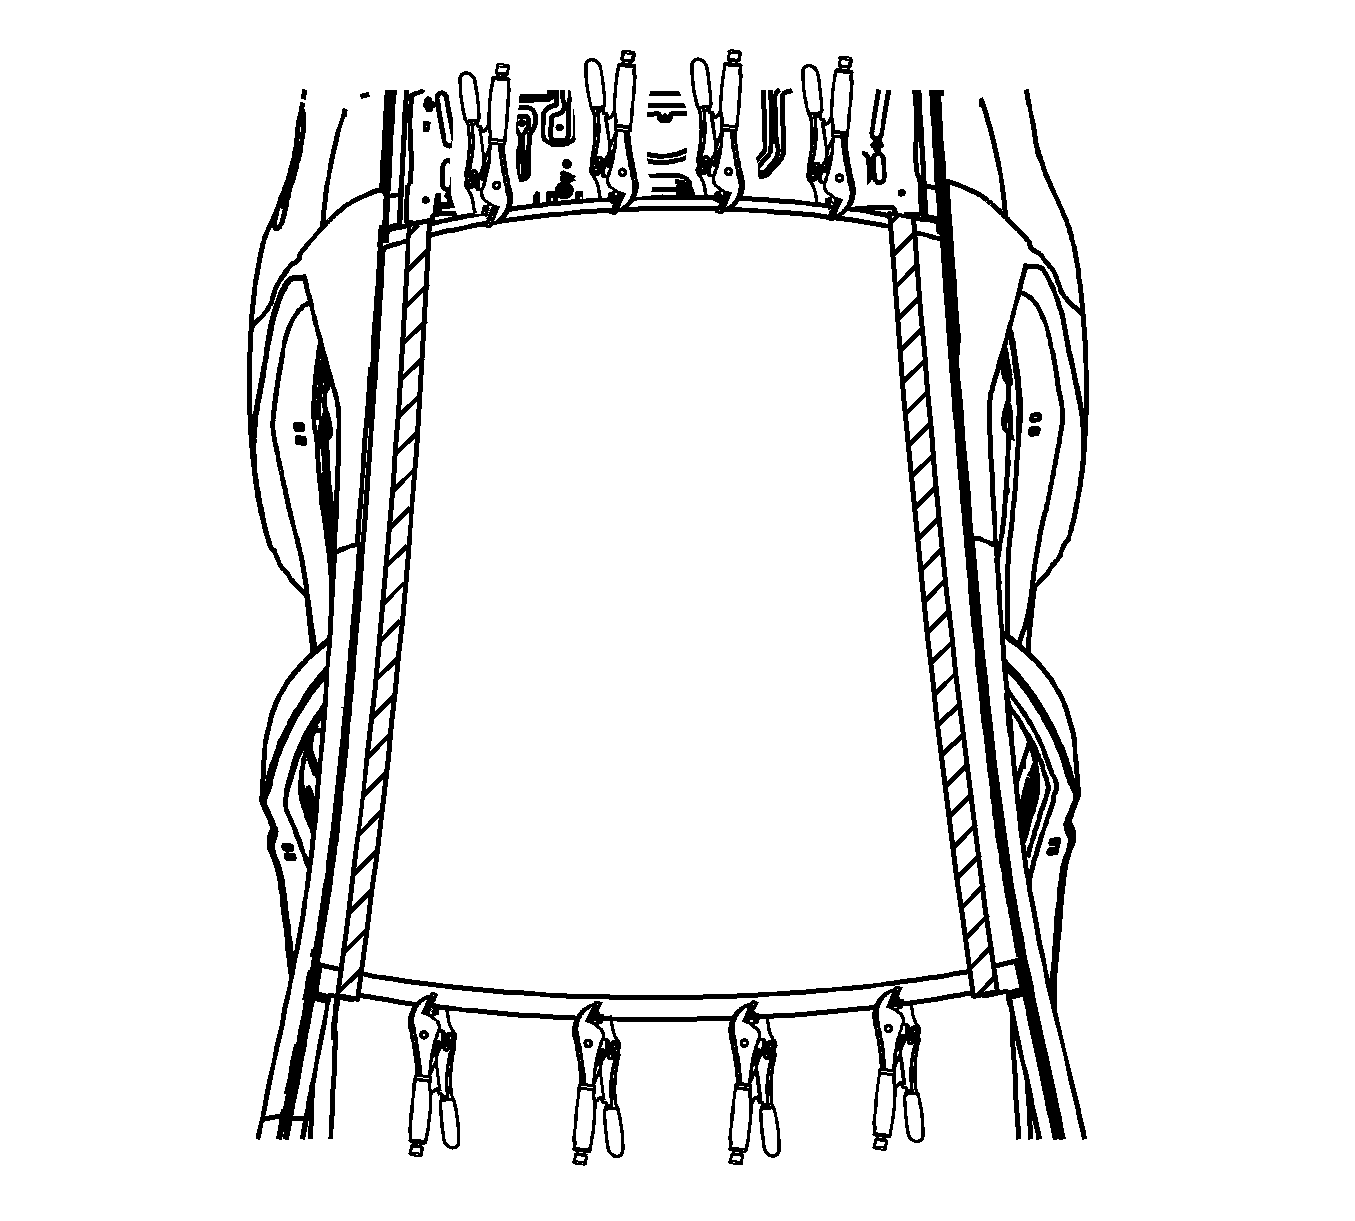
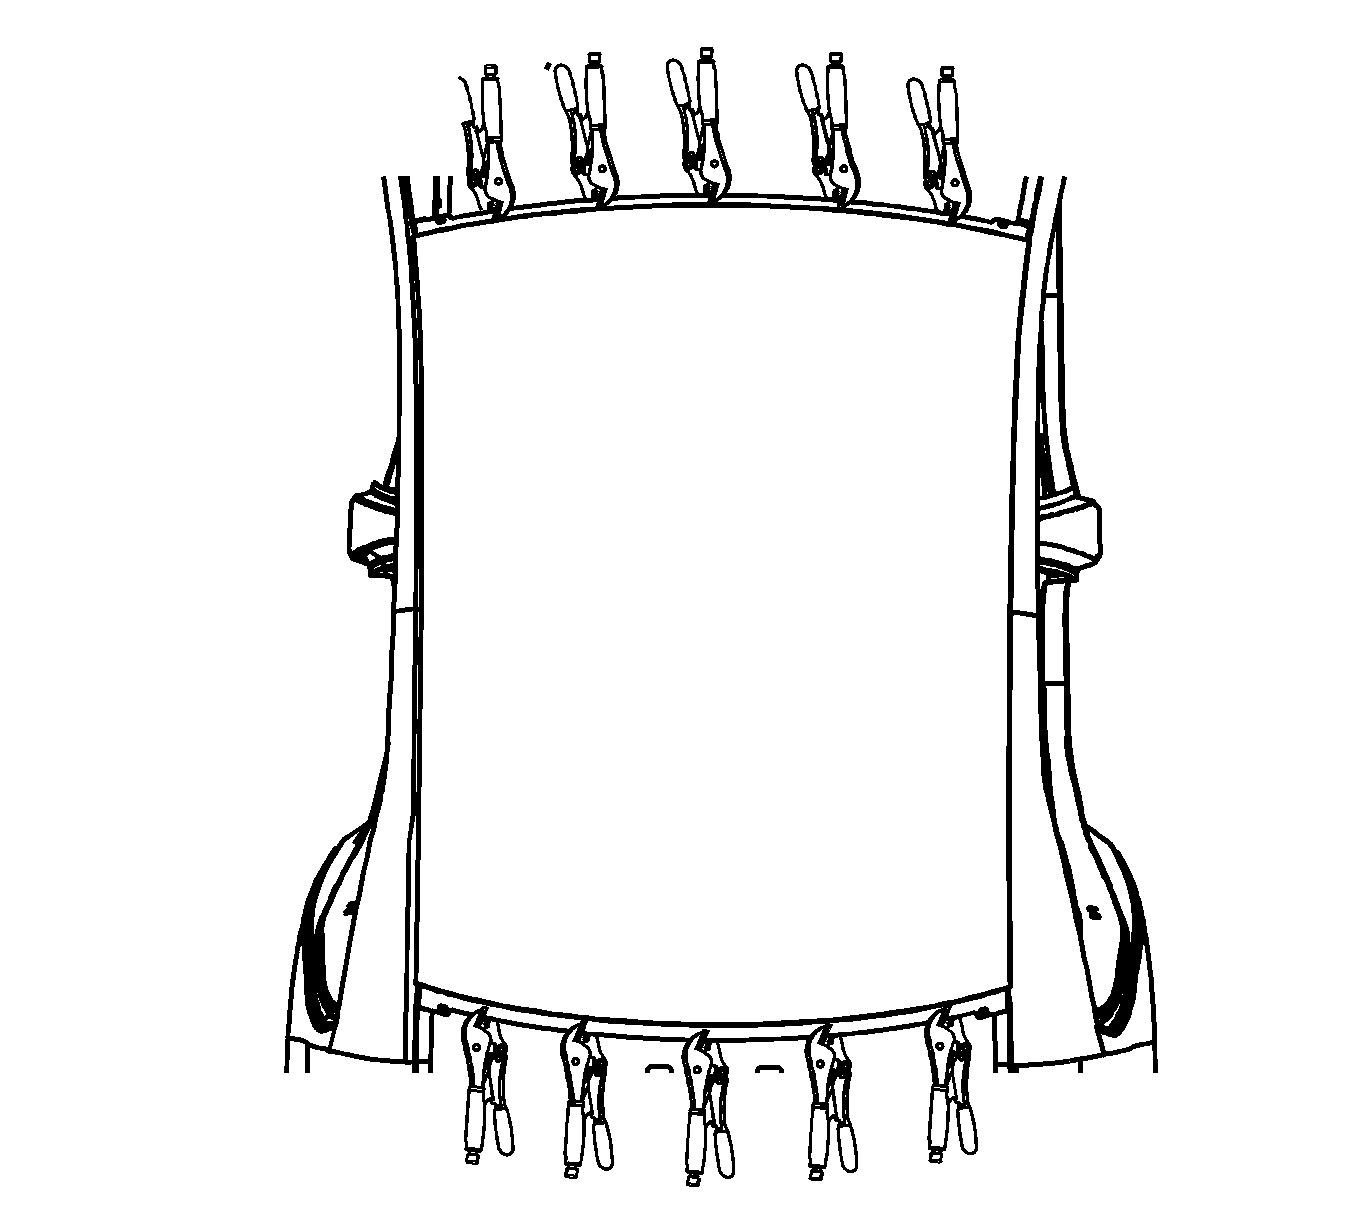
- Clamp the panel into position in the rear window opening. Adjust the bow of the roof front to rear. Use the marks left on the roof rail from the MIG braze to get an even contour. Clamp in place in the windshield opening area.
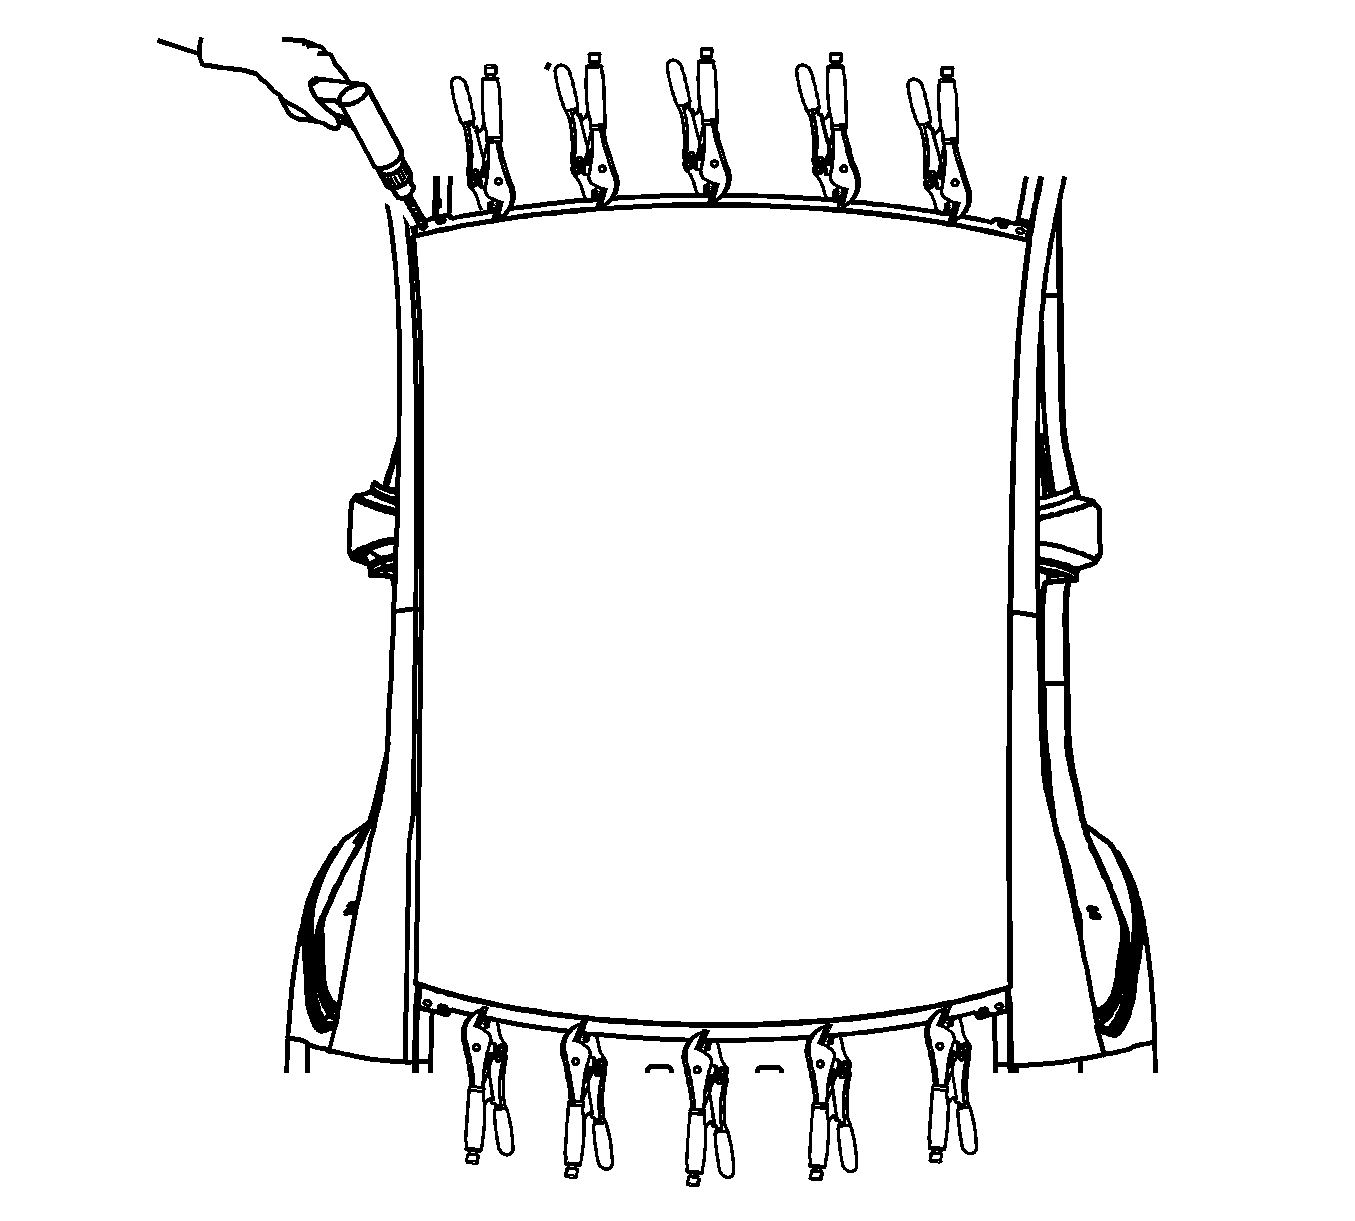
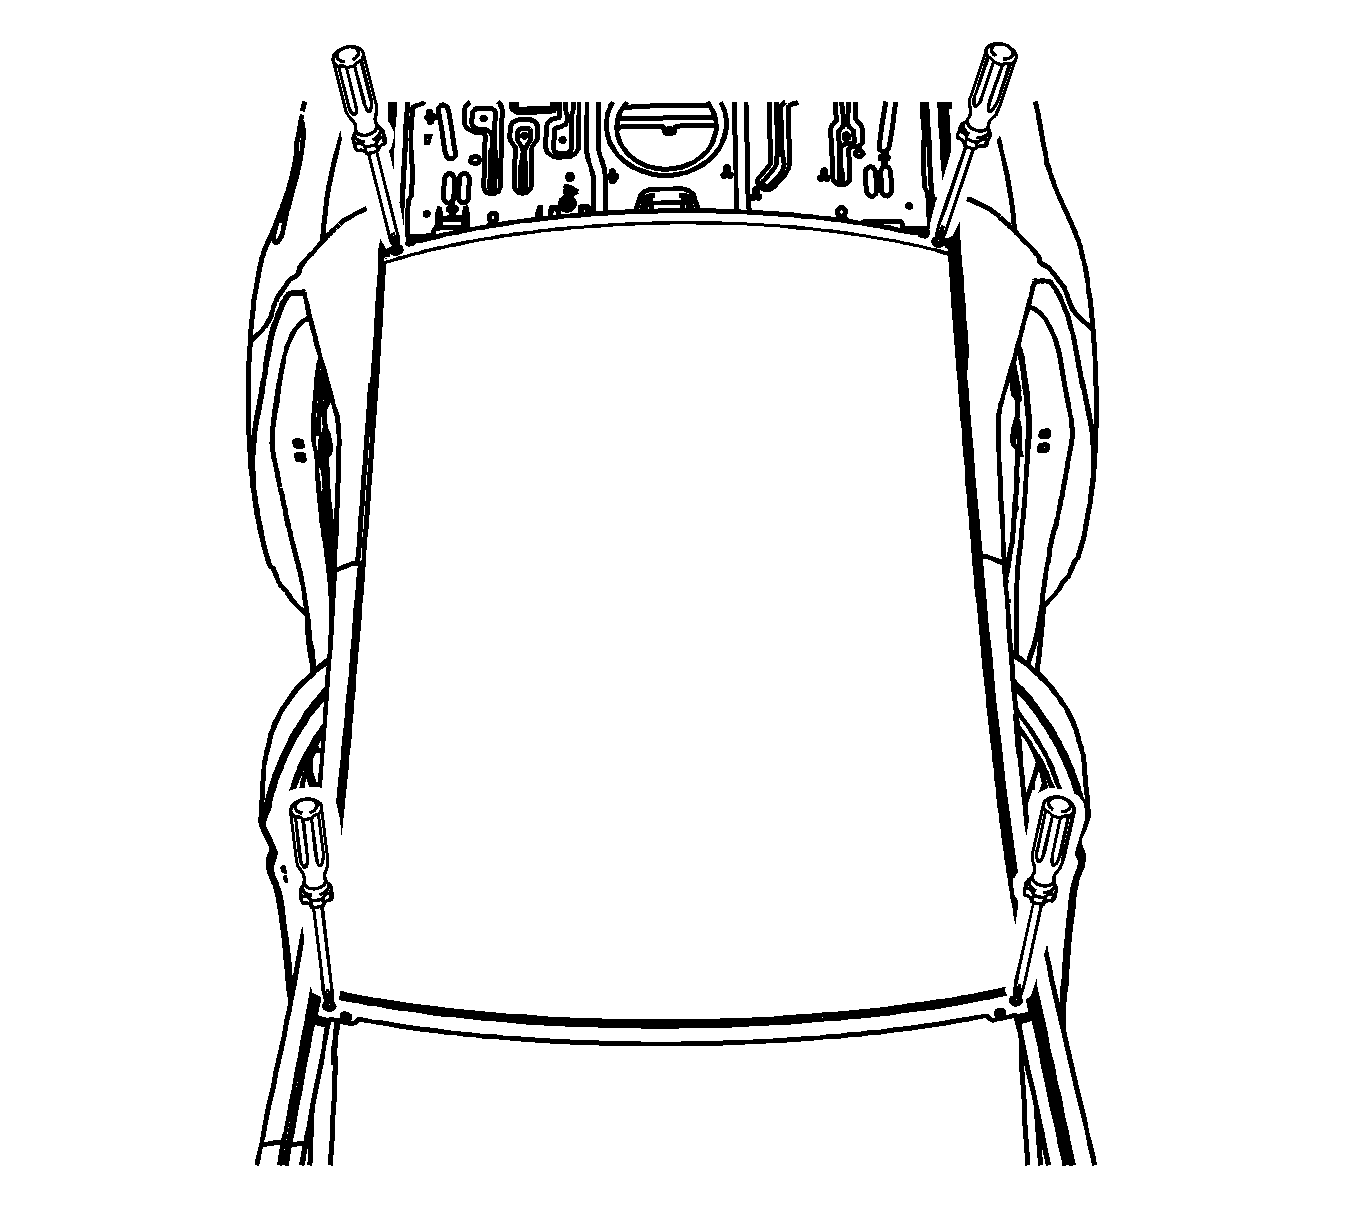
- With the service panel clamped in position drill a 3.2 mm (1/8 in) hole in each corner of the panel in the front and rear window openings.
- Remove the service panel from the vehicle.
- Prepare the roof rail area of the vehicle by removing the MIG braze with a Rol-lock abrasive wheel or equivalent.
- Clean and prepare the front and rear window attaching surfaces for welding. Refer to Anti-Corrosion Treatment and Repair.
- Prepare the roof side rail bond ares. Refer to Adhesive Service Kit Description.
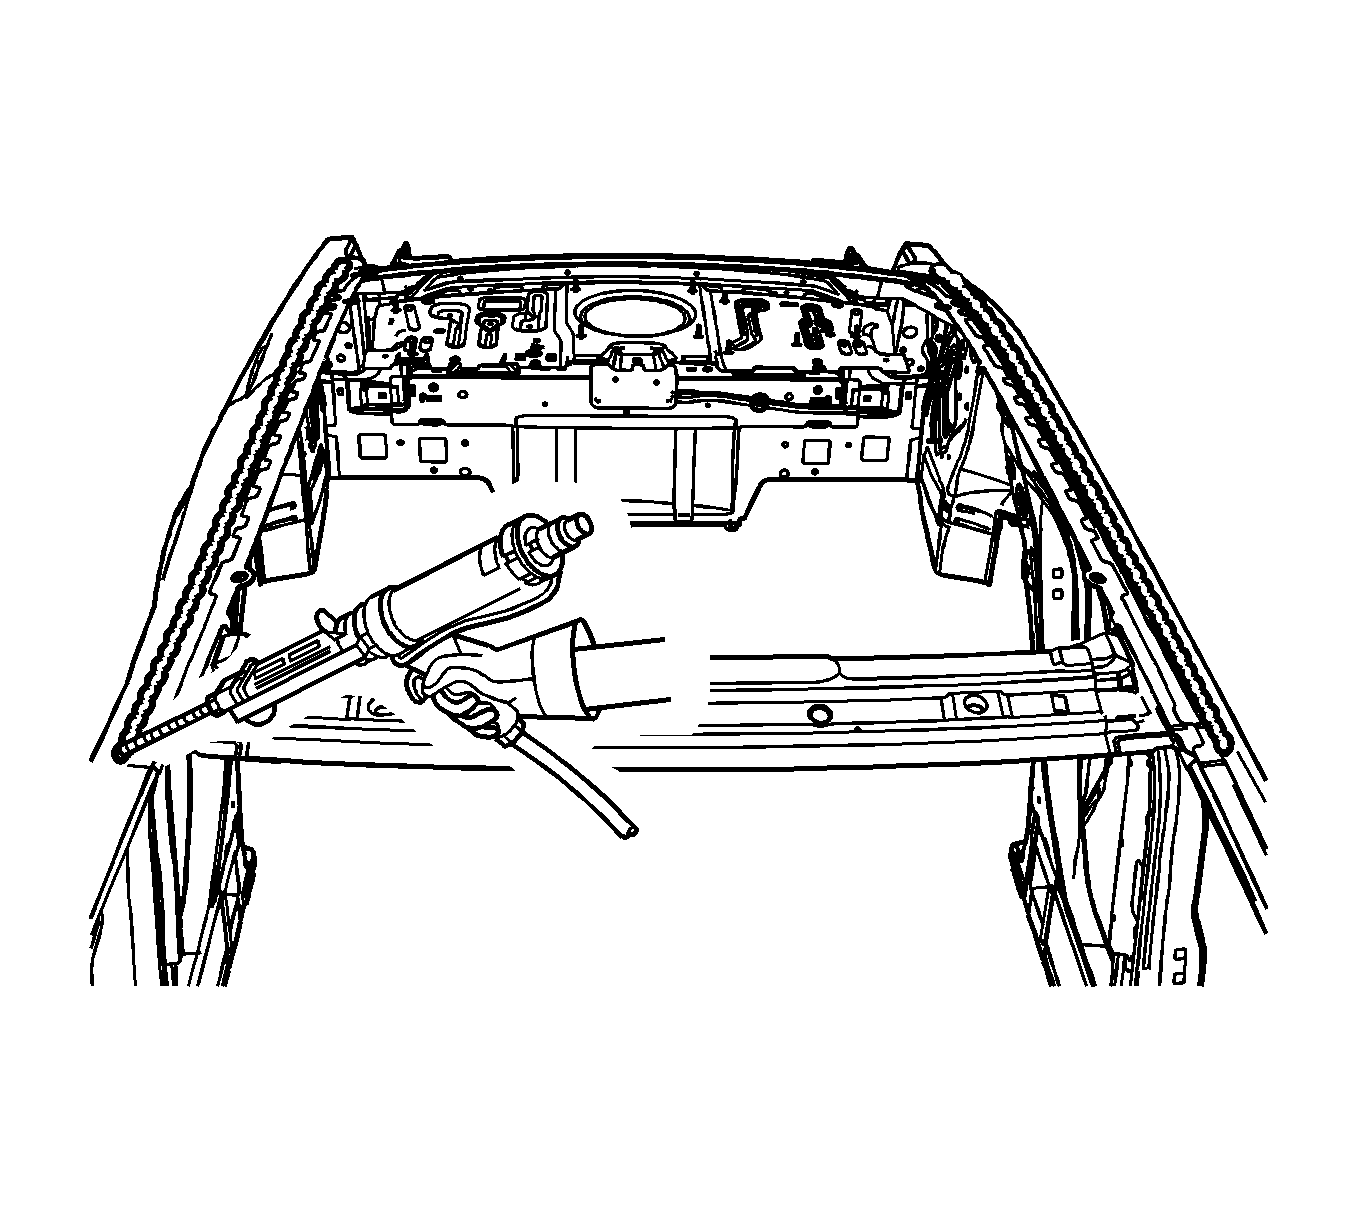
- Apply a 12 mm (1/2 in) bead of the windshield urethane to the left and right roof rails.
- With the help of a second person lower the service panel straight down onto the vehicle.
- Insert an awl or equivalent tool into the four holes drilled in the window openings in step 3.
- Clamp the roof in place in the front and rear window openings.
- Clean up the excess urethane from the surface.
- Install 25 mm (1 in) wide ratchet strap or equivalent across the roof inboard of the bond area. Apply light even pressure to the bond area.
- Allow adhesive to completely cure per manufacturers instructions. Remove the ratchet straps.
- Plug weld accordingly. Weld the four holes used for alignment.
- Apply the sealers and anti-corrosion materials to the repair area, as necessary. Refer to Anti-Corrosion Treatment and Repair.
- Use a high quality two part self leveling seam sealer to fill the gap between the outer roof panel and the body side roof rail. Follow the manufacturers instructions.
- Paint the repaired area. Refer to Basecoat/Clearcoat Paint Systems.
- Install all related panels and components.
- Connect the negative battery cable. Refer to Battery Negative Cable Disconnection and Connection.
- Enable the SIR system. Refer to SIR Disabling and Enabling.
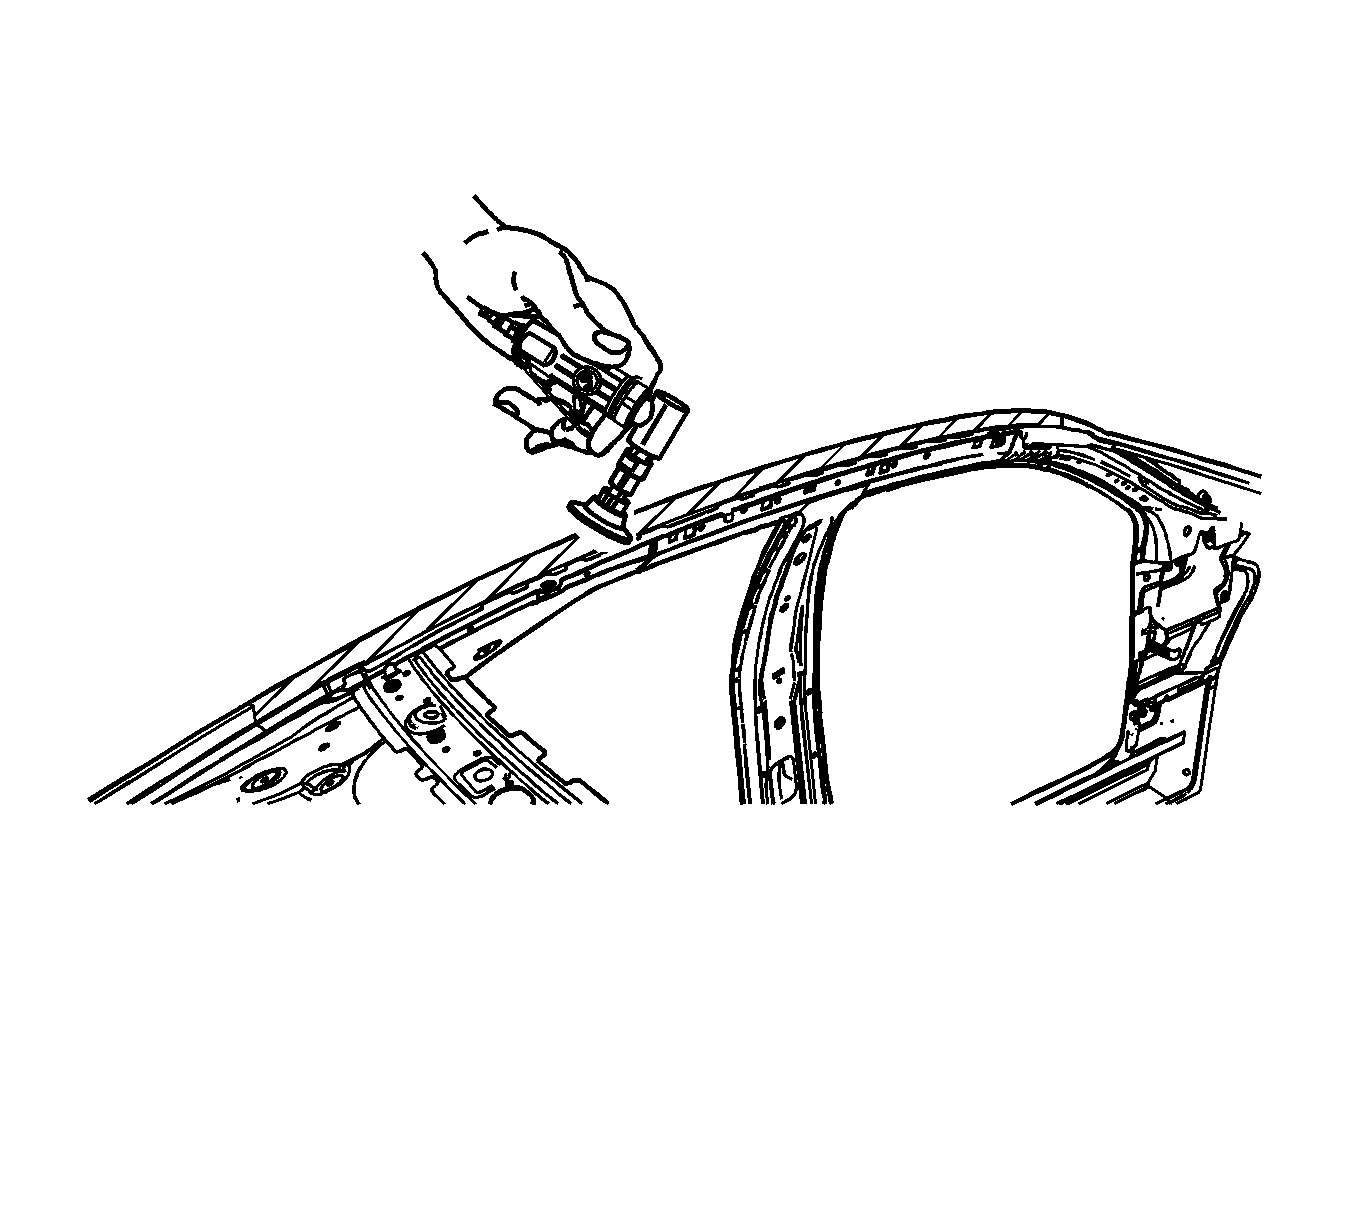
Note: It is not necessary to remove all of the MIG braze material.
Note: This step will insure the proper location and contour to the vehicle
