For 1990-2009 cars only
Rocker Inner Panel Replacement for Cadillac CTS 2009
Removal Procedure
- Disable the SIR system. Refer to SIR Disabling and Enabling.
- Disconnect the negative battery cable. Refer to Battery Negative Cable Disconnection and Connection.
- Remove all related panels and components.
- Repair as much of the damaged area as possible..
- Remove the sealers and anti-corrosion materials from the repair area, as necessary. Refer to Anti-Corrosion Treatment and Repair.
- Locate and drill out all the necessary factory welds.
- Remove the inner rocker panel.
Warning: Refer to Approved Equipment for Collision Repair Warning in the Preface section.
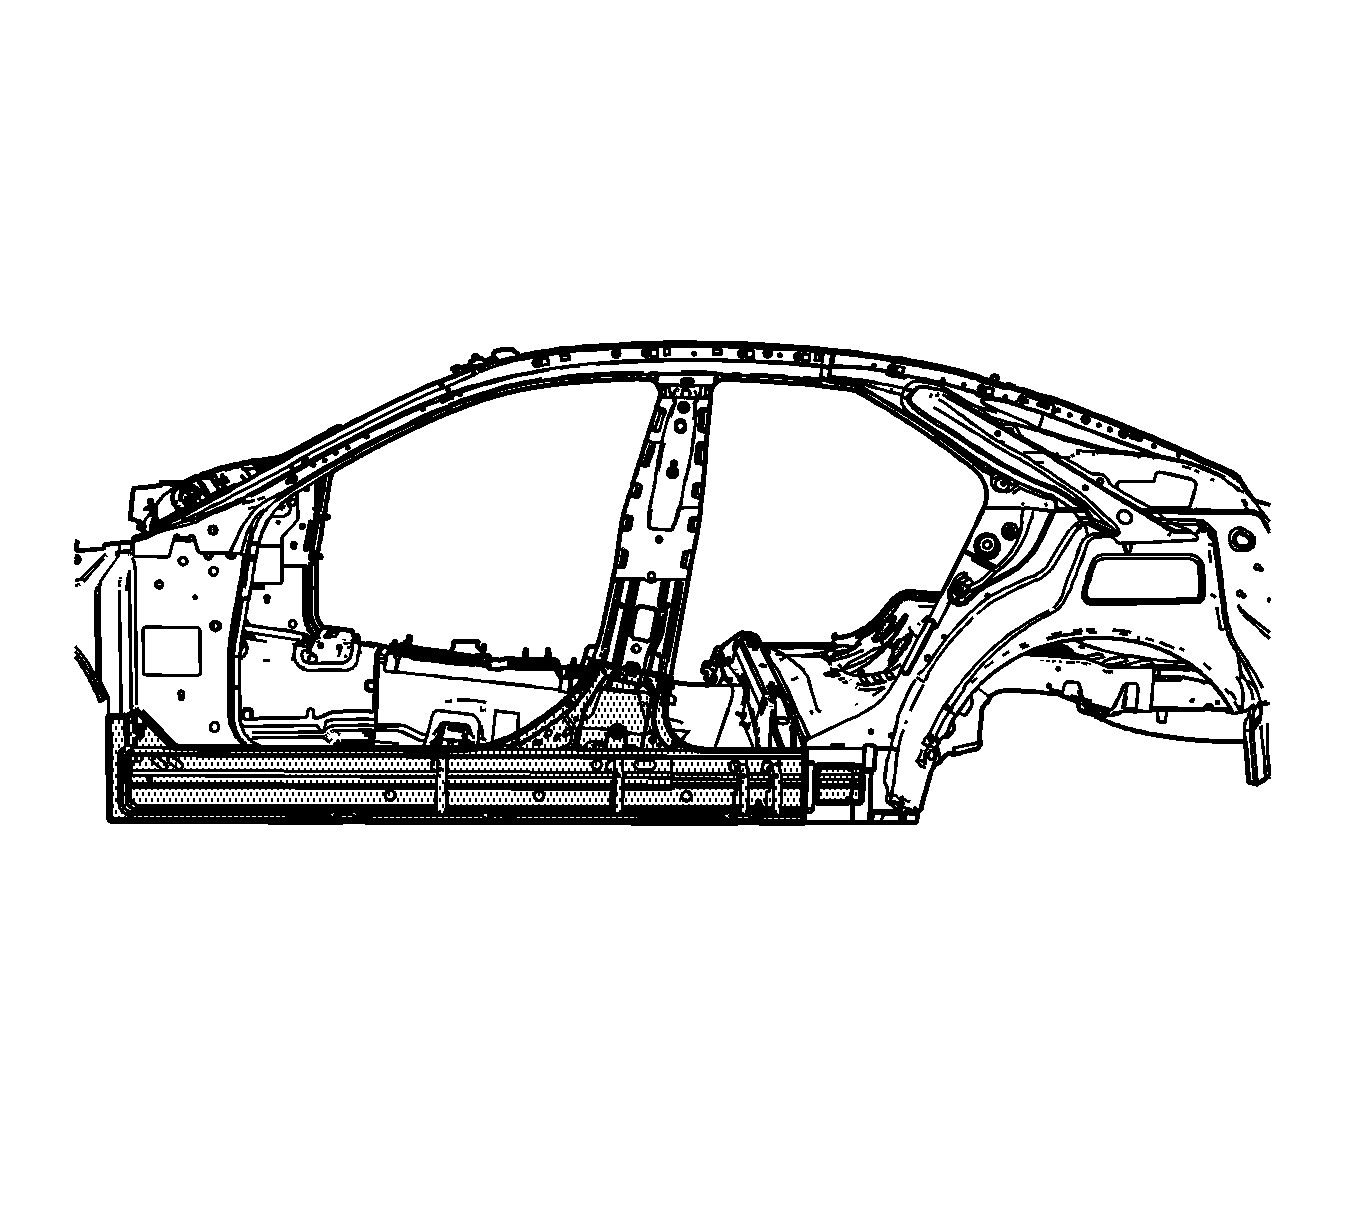
Important: Note the number and location of the factory welds for installation of the inner rocker panel.
Important: The lower inner lock pillar is part of the inner rocker panel service part. If it is undamaged leave it on the vehicle and remove it from the service part by drilling out the welds.
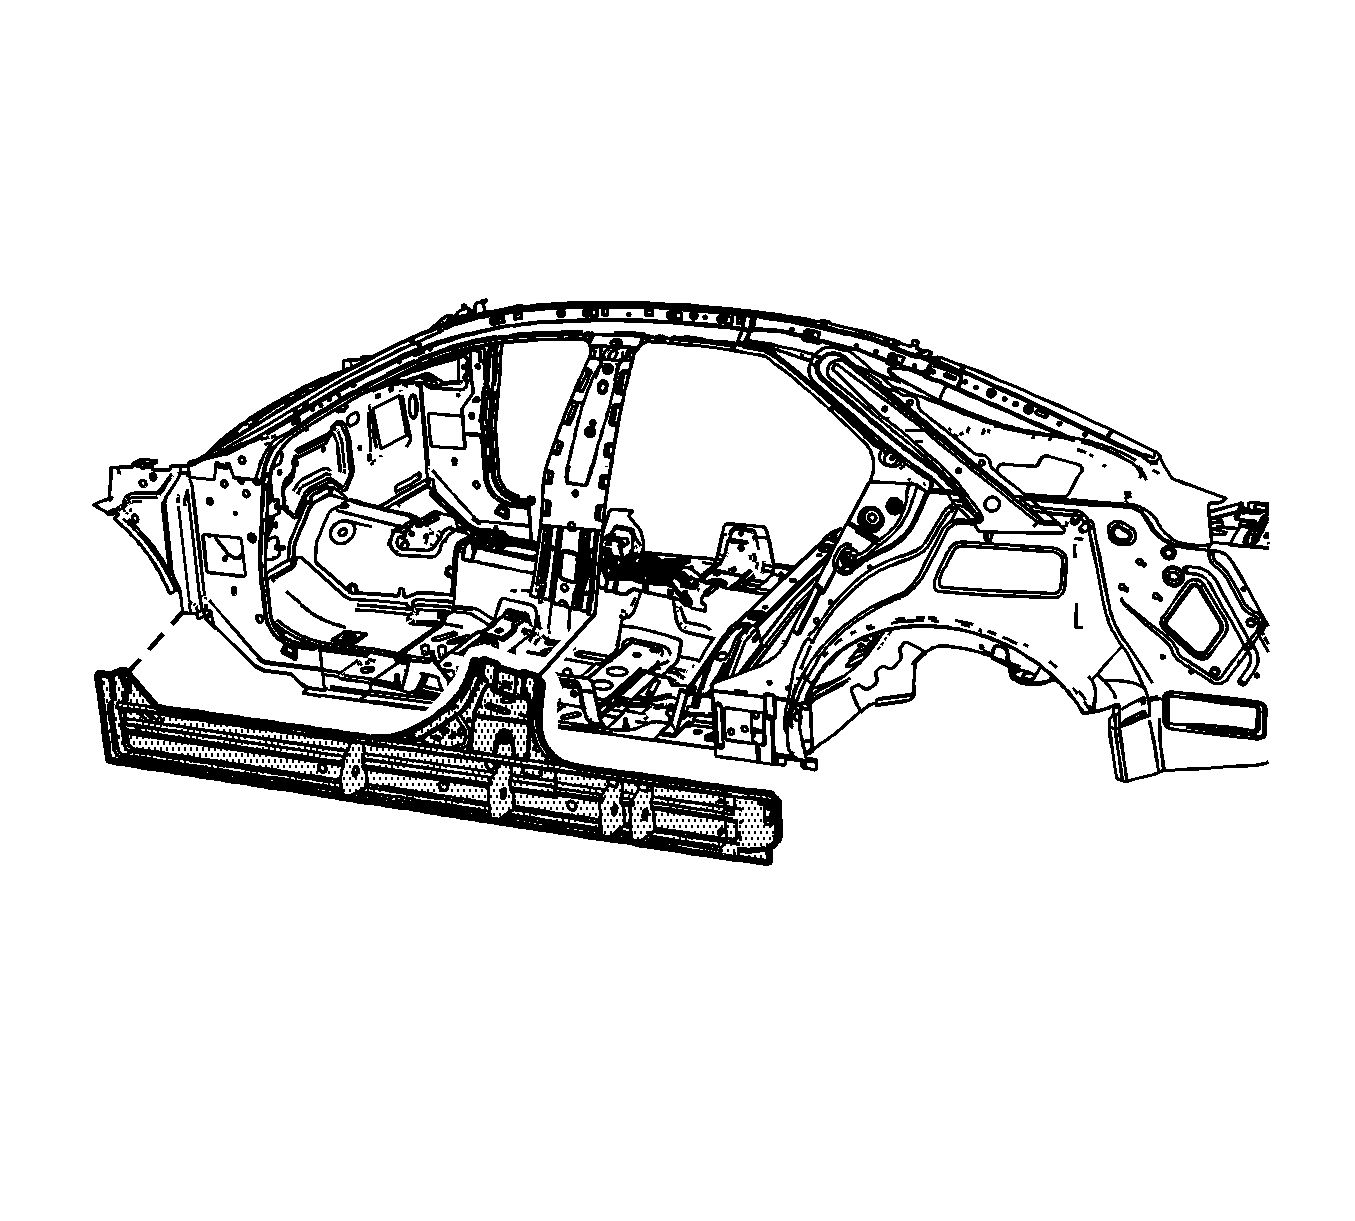
Installation Procedure
- Drill 8 mm (5/16 in) plug weld holes in the service part, as necessary in the locations noted from the original panel.
- Prepare all mating surfaces, as necessary.
- Apply GM-approved Weld-Thru Coating or equivalent to all mating surfaces. Refer to Anti-Corrosion Treatment and Repair.
- Position the inner rocker panel and clamp the panel in place.
- Plug weld accordingly.
- Clean and prepare all of the welded surfaces.
- Install all of the related panels and components.
- Apply the sealers and anti-corrosion materials to the repair area, as necessary. Refer to Anti-Corrosion Treatment and Repair.
- Paint the repaired area. Refer to Basecoat/Clearcoat Paint Systems.
- Connect the negative battery cable. Refer to Battery Negative Cable Disconnection and Connection.
- Enable the SIR system. Refer to SIR Disabling and Enabling.
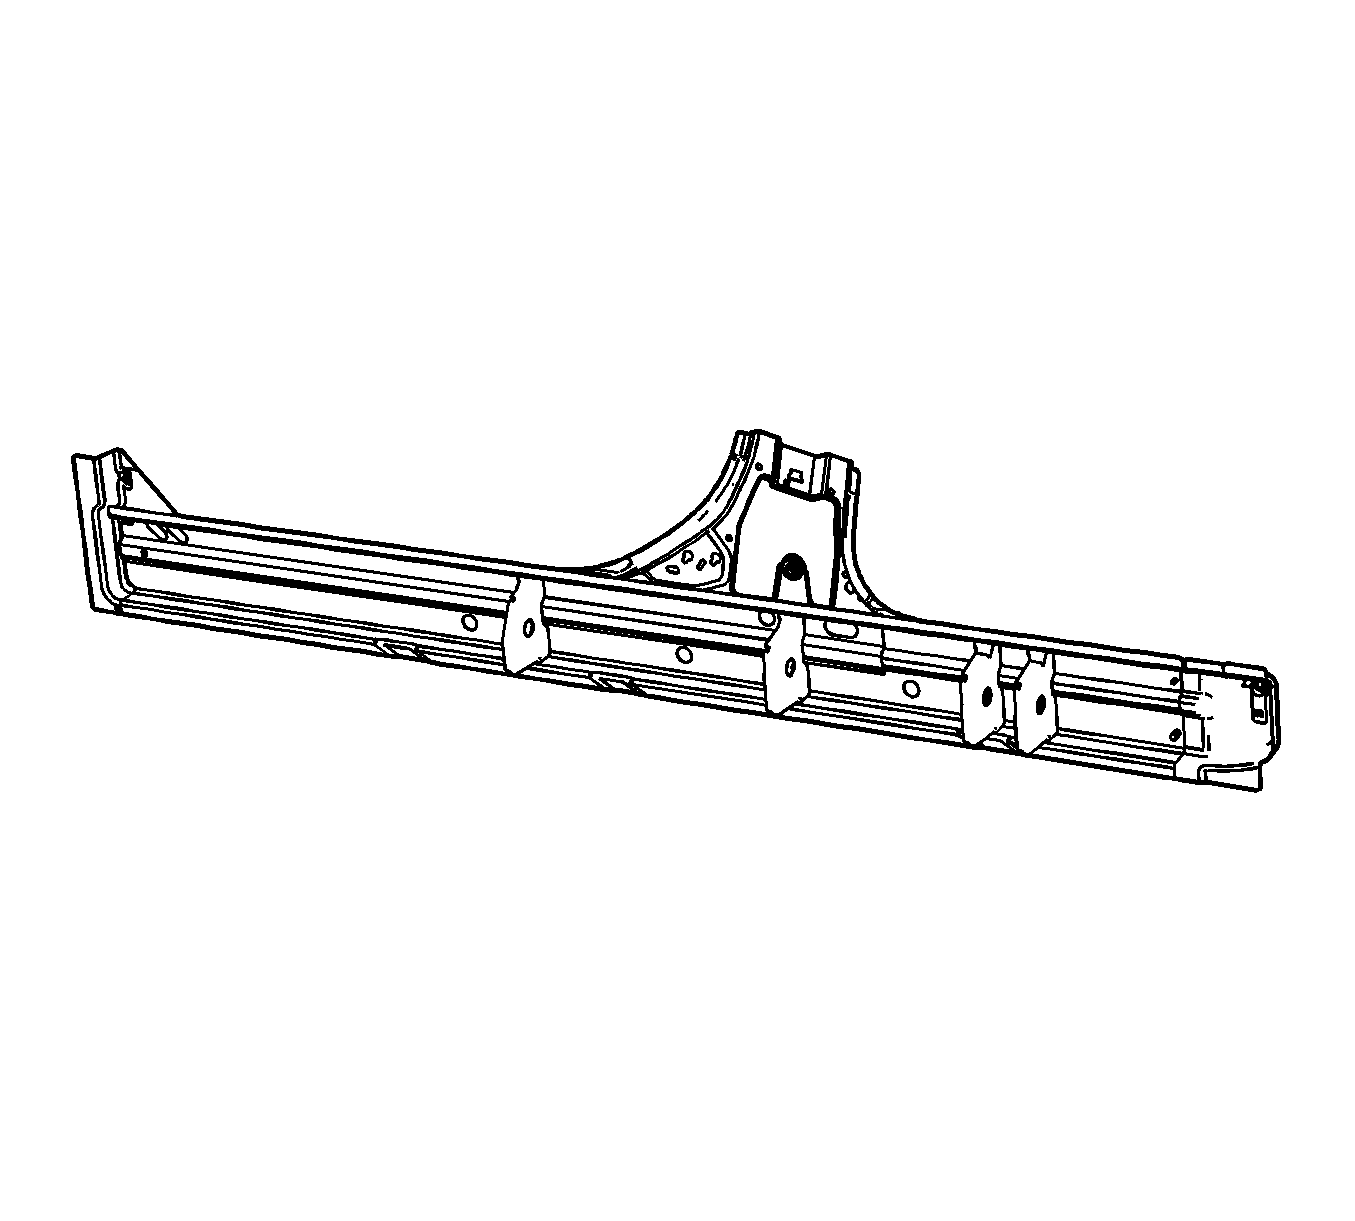
Important: If the location of the original plug weld holes cannot be determined, space the plug weld holes every 40 mm (1½ in) apart.
