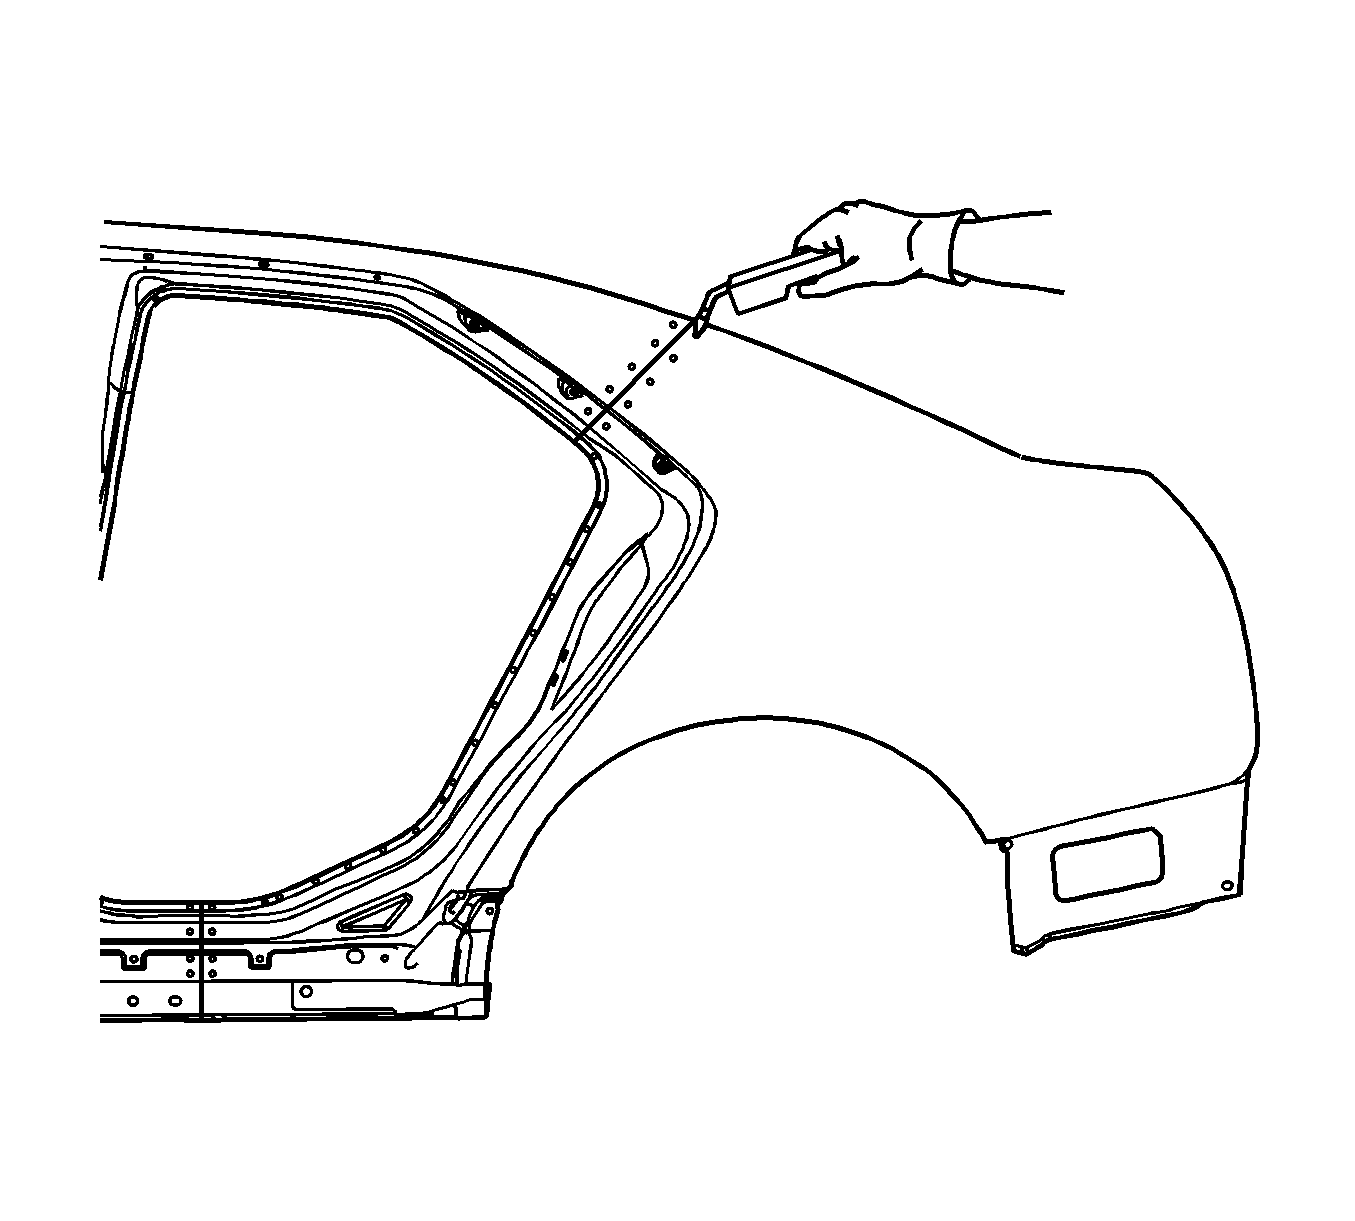
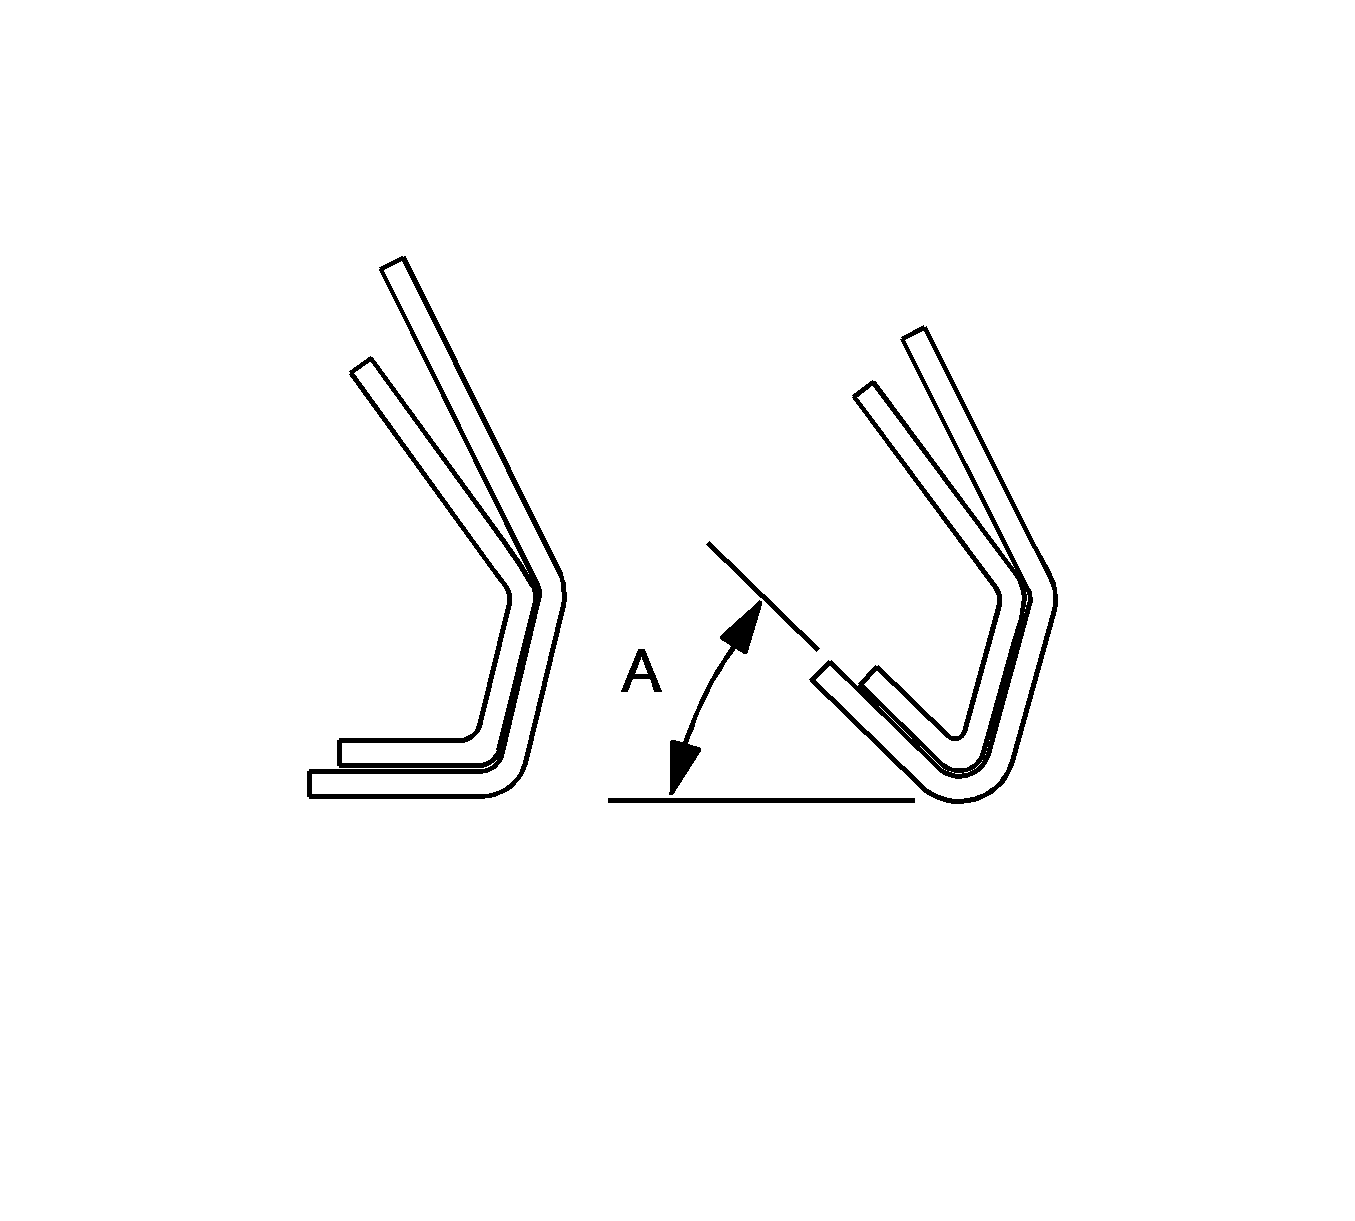
Removal Procedure
Warning: Refer to Approved Equipment for Collision Repair Warning in the Preface section.
Warning: When working with any type of glass or sheet metal with exposed or rough edges, wear approved safety glasses and gloves in order to reduce the chance of personal injury.
Note: When replacing panels that involve servicing of stationary glass, refer to service bulletin 43-10-45 before performing any priming or refinishing. Sectioning Should be performed only in the recommended areas. Failure to do so may compromise the structural integrity of the vehicle.
Note: The service part comes with the quarter panel extension, tail lamp pocket and trunk trough attached. These parts can be left on the vehicle if not damaged. Drill out the factory welds on the vehicle and the service part and install the outer panel only.
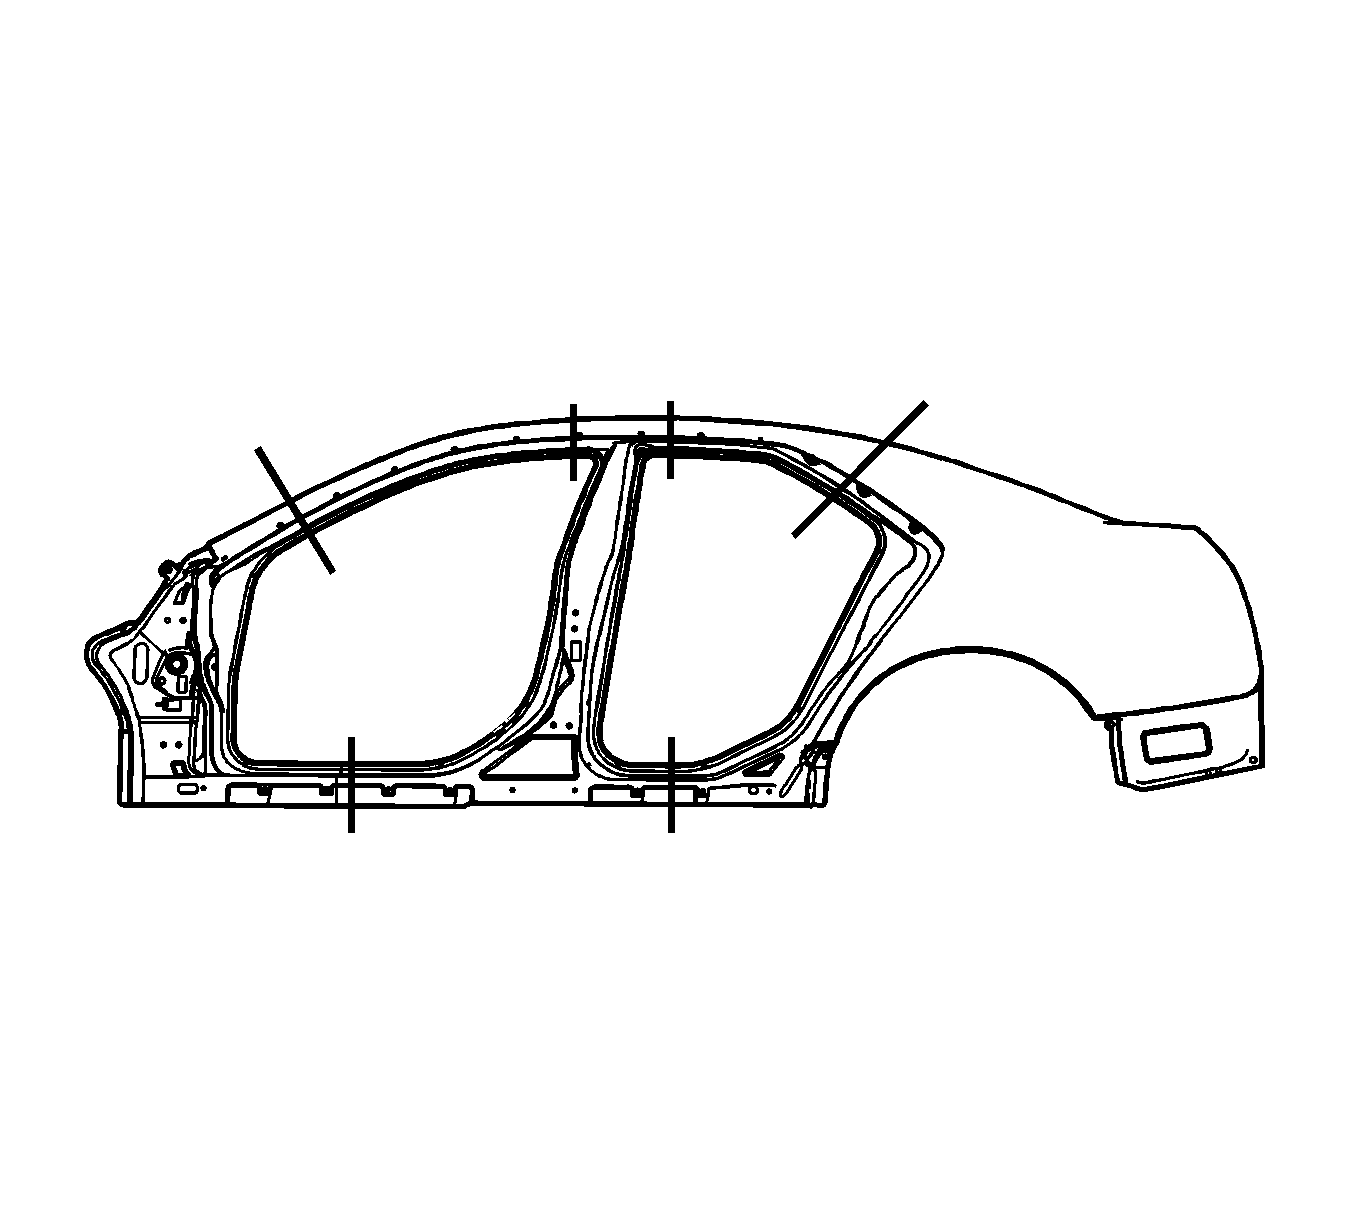
The full body-side outer panel comes as a complete assembly and can be replaced at factory seams after the removal of the fixed glass and roof. Any one of these service procedures can be performed separately or in any combination, dependent upon the extent of damage to the vehicle. Sectioning must take place in specified areas only.
- Disable the SIR system. Refer to SIR Disabling and Enabling.
- Disconnect the negative battery cable. Refer to Battery Negative Cable Disconnection and Connection.
- Remove the rear window. Refer to Rear Window Replacement.
- Remove all related panels and components.
- Restore as much of the damage as possible.
- Remove sound deadeners as necessary and note their location.
- Remove the sealers and anti-corrosion materials from the repair area, as necessary. Refer to Anti-Corrosion Treatment and Repair.
- Create cut lines on the rocker panel within the approved sectioning locations.
- In the back-glass opening, measure down 150 mm (6 in) from the rear edge of the roof.
- In the door opening, measure down 90 mm (3.5 in) from the weather strip hole.
- Cut the panel where sectioning is to be performed.
- Locate, mark, and drill out all the necessary factory welds.
- Remove the damaged quarter panel.
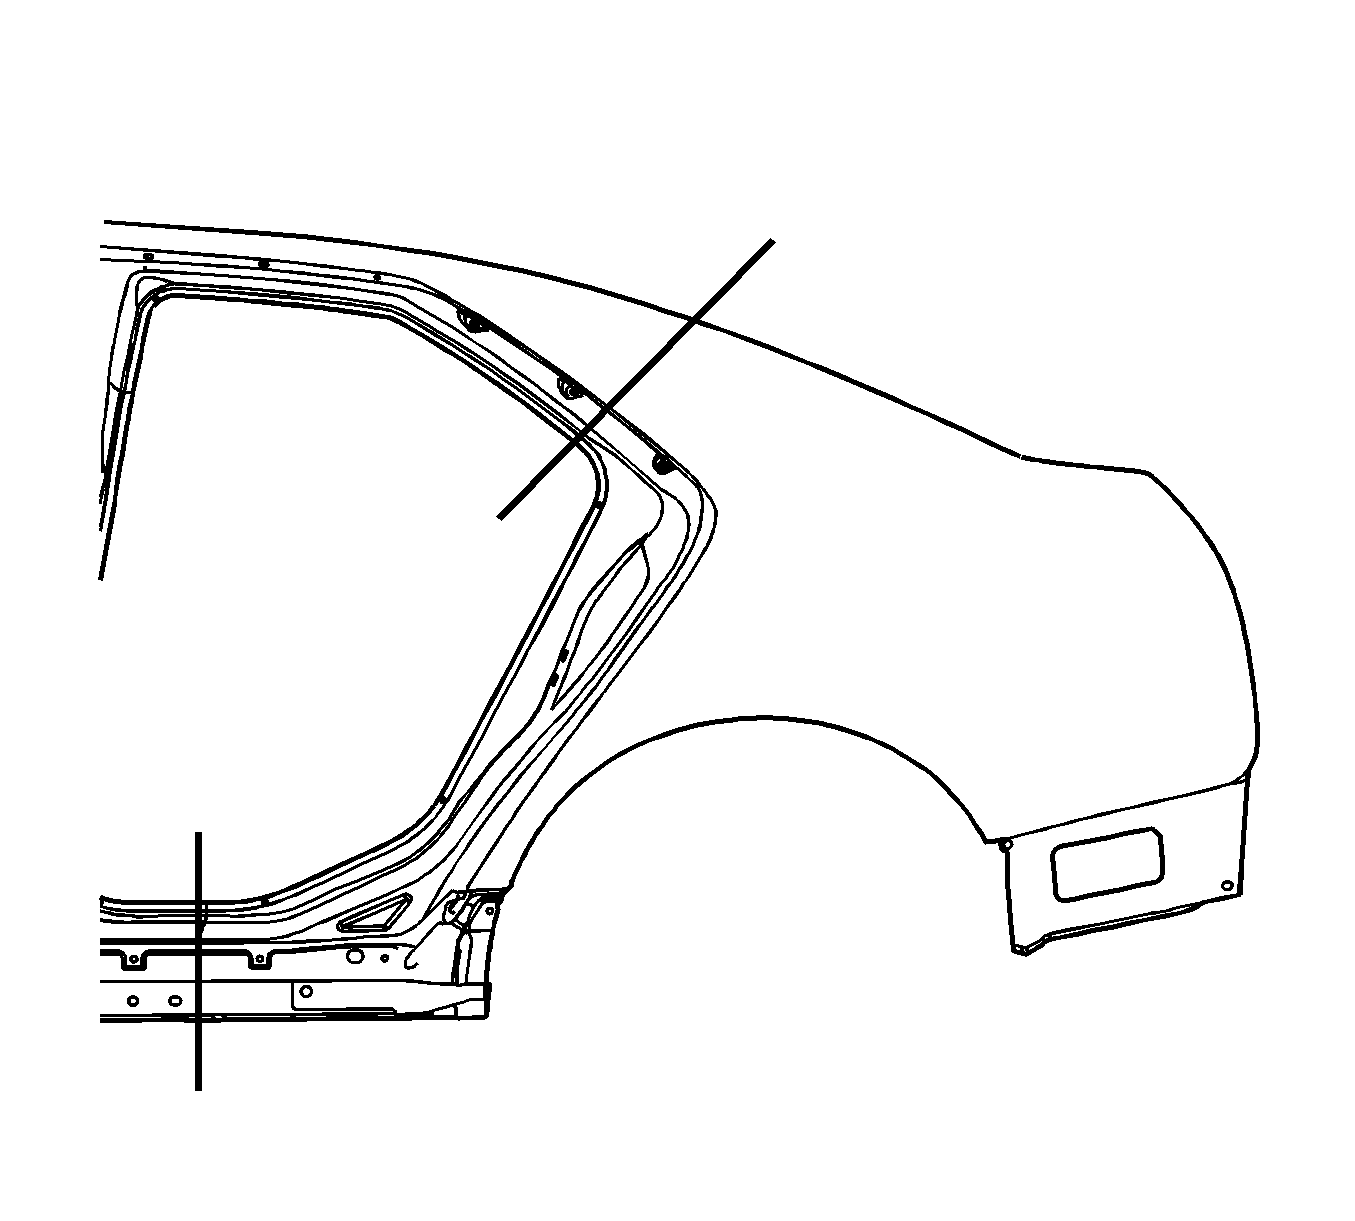
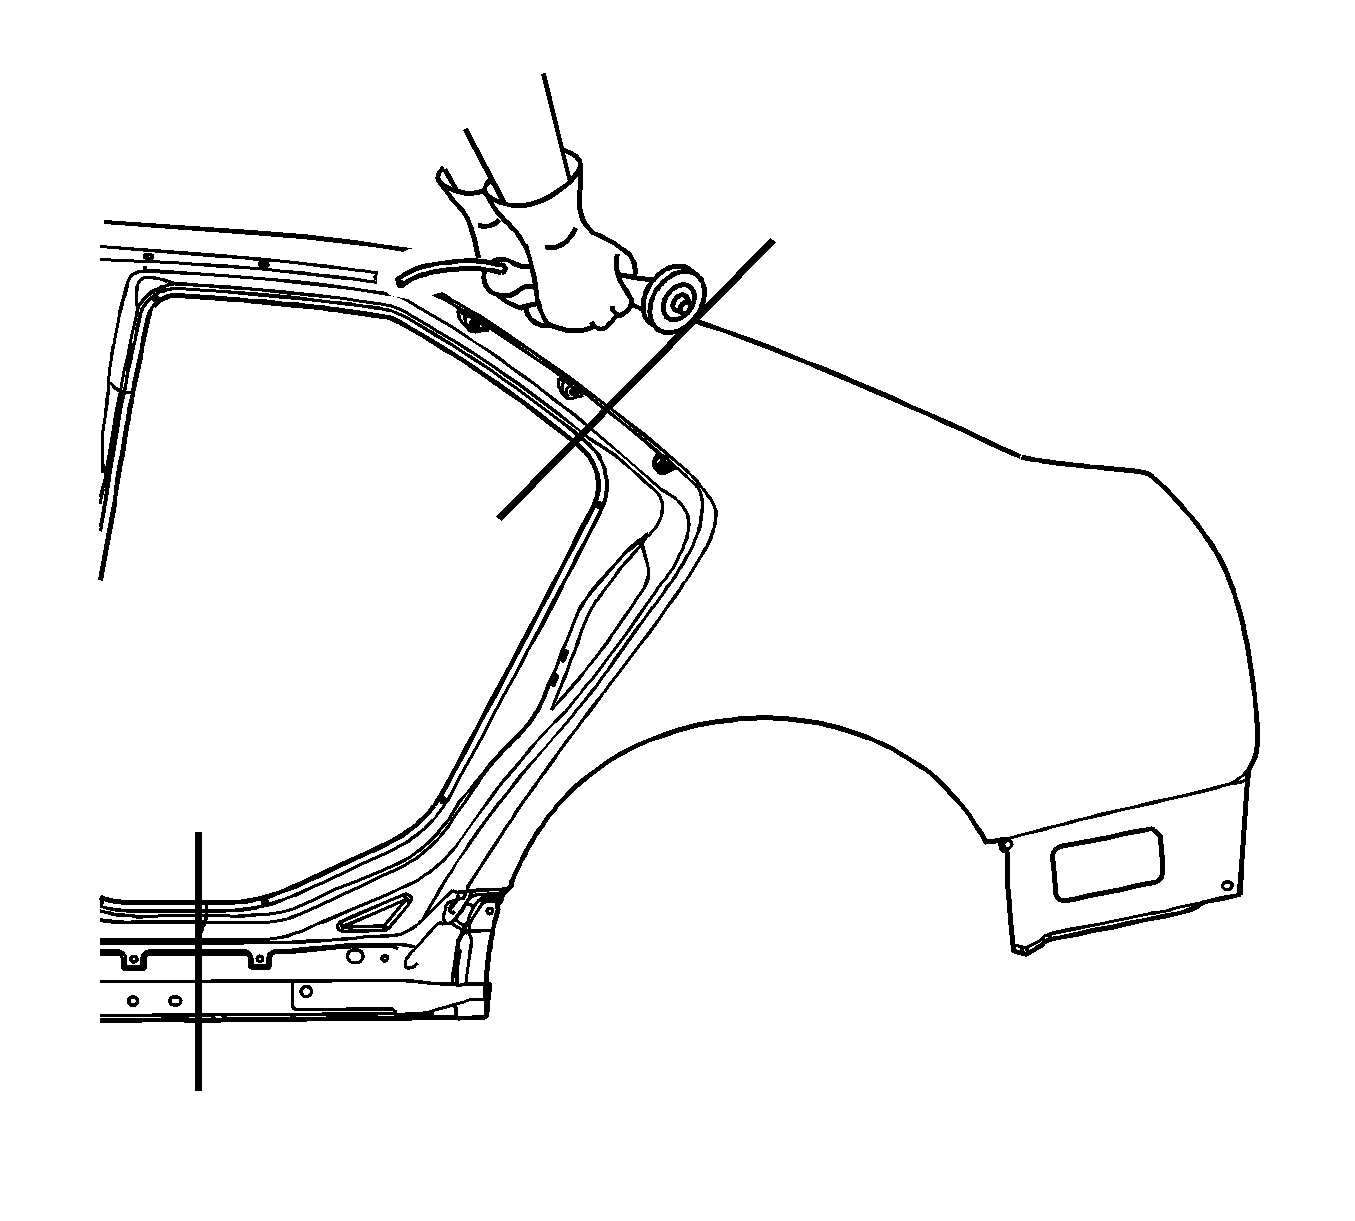
Note: Do not damage any inner panels or reinforcements.
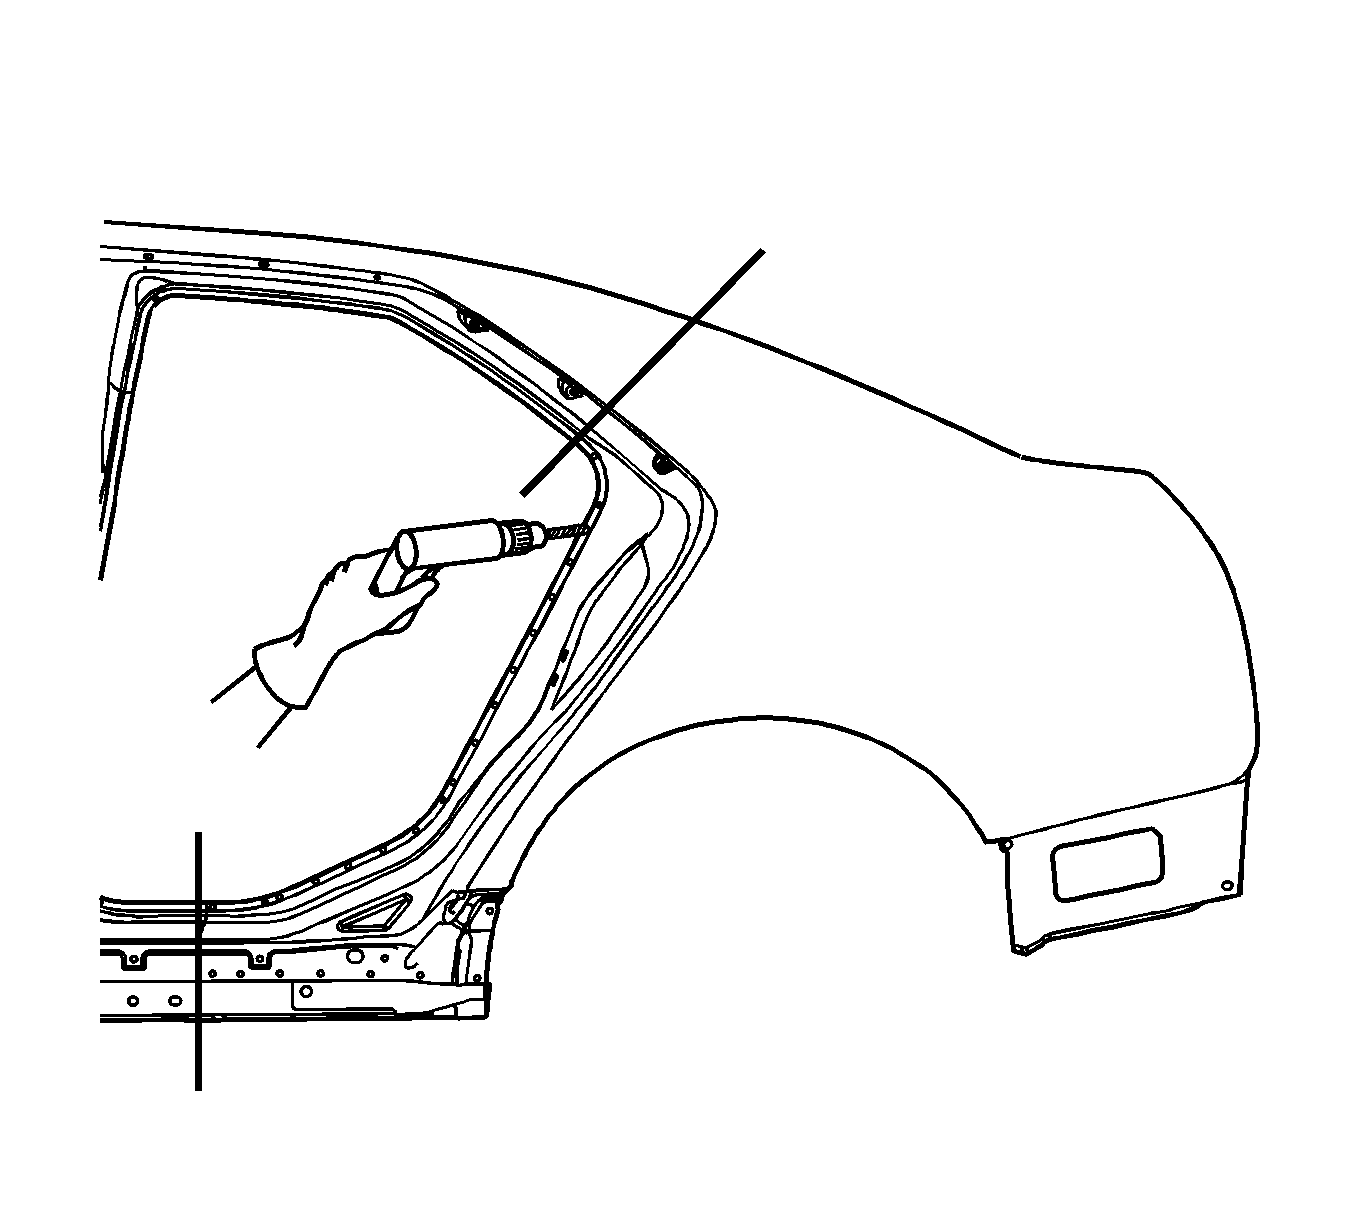
Note: Note the number and location of the factory welds for installation of the quarter panel.
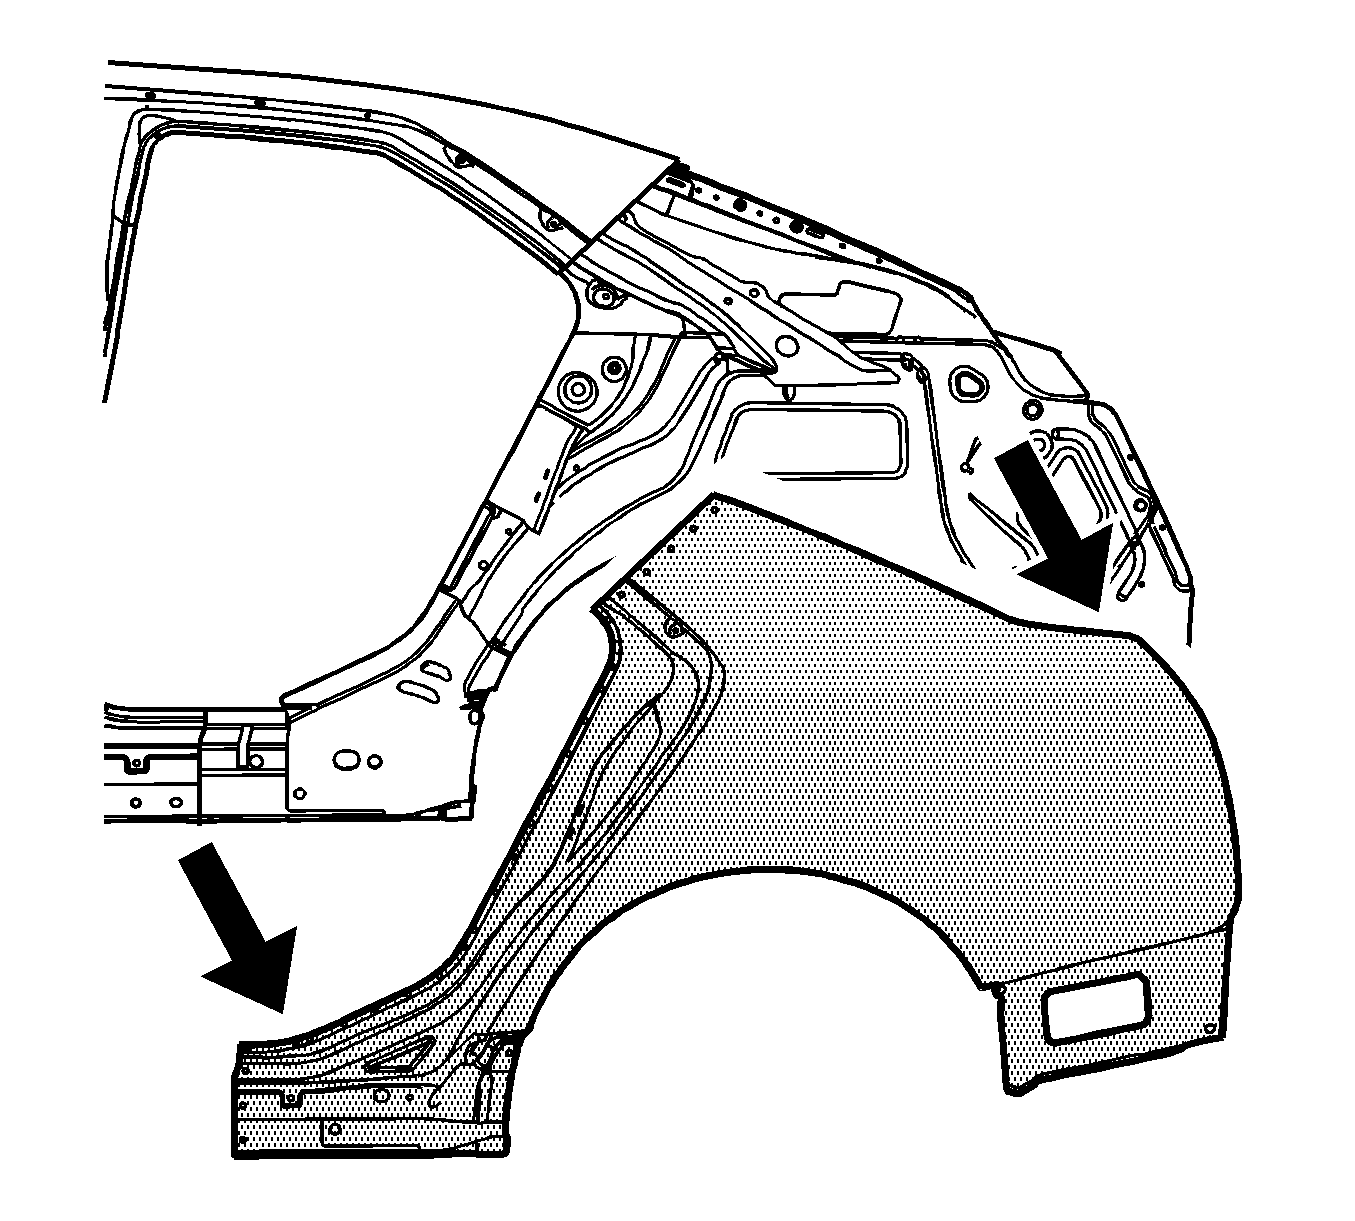
Installation Procedure
- Cut the body side assembly in corresponding locations to fit the remaining original panel. The sectioning joint should be trimmed to allow a gap of one-and-one-half-times the metal thickness at the sectioning joint.
- Create a 50 mm (2 in) backing plate from the unused portion of the service part for the back glass area. Create a 100 mm (4 in) backing plate from the unused portion of the service part for the rocker area. Trim the backing plates as necessary to fit behind the sectioning joints.
- Drill 8 mm (5/16 in) along the sectioning cut on the remaining original part. Locate these holes 13 mm (1/2 in) from the edge of part and spaced 40 mm (1 1/2 in) apart.
- Prepare all mating surfaces as necessary.
- Apply GM-approved weld-thru coating or equivalent to all mating surfaces. Refer to Anti-Corrosion Treatment and Repair
- Fit the backing plates halfway into the sectioning joints, clamp in place and plug weld to the vehicle.
- Align quarter panel using three-dimensional measuring equipment.
- Plug weld accordingly.
- To create a solid weld with minimum heat distortion, make 25 mm (1 in) stitch welds along the seam with 25 mm (1 in) gaps between them. Then go back and complete the stitch weld.
- Clean and prepare all of the welded surfaces.
- On vehicles equipped with optional wheels, locate the wheel opening flange between the 10 o'clock and 2 o'clock positions.
- Perform the fender flanging procedure (A). Refer to Wheel Opening Flanging.
- Apply sound deadening materials as necessary.
- Paint the repaired area. Refer to Basecoat/Clearcoat Paint Systems.
- Install the rear window. Refer to Rear Window Replacement.
- Apply the sealers and anti-corrosion materials to the repair area, as necessary. Refer to Anti-Corrosion Treatment and Repair.
- Connect the negative battery cable. Refer to Battery Negative Cable Disconnection and Connection.
- Enable the SIR system. Refer to SIR Disabling and Enabling.
Note: This part has structural weld-thru adhesive in the joint areas. It is necessary to replace this with additional spot welds at the attachment points. This can be accomplished by adding an additional weld between each factory weld in all areas that have adhesive.


Note: In any area damaged beyond recognition, space the plug weld holes every 40 mm (1 1/2 in) apart.
Drill 8 mm (5/16 in) plug weld holes in the service part as necessary in the locations noted from the original panel and along the sectioning cut.
