For 1990-2009 cars only
Removal Procedure
- It is only necessary to lower the headliner. Only do those steps in the headliner replacement procedure that will lower the headliner enough to gain access to the part. Refer to Headlining Trim Panel Replacement .
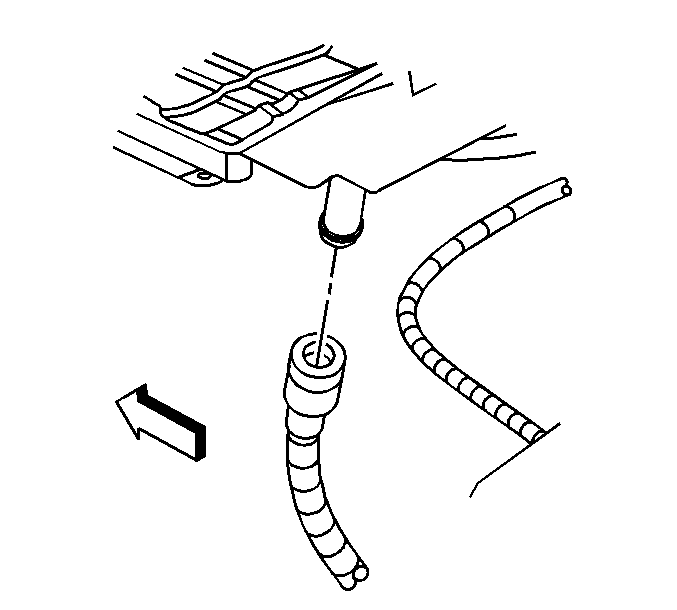
- Disengage the drain hoses from the drain spouts on the rear of the sunroof module.
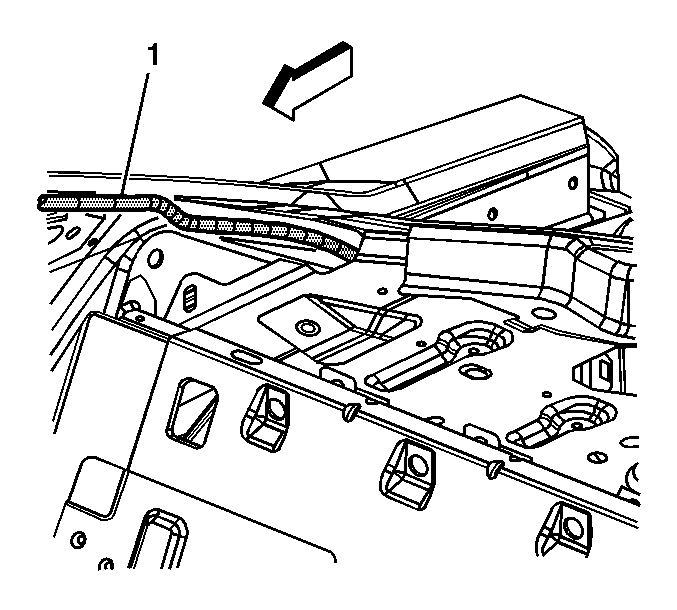
- Disengage the rear upper drain hose (1) from the conduit.
- Remove the rear compartment trim panel. Refer to Rear Compartment Side Trim Panel Replacement .
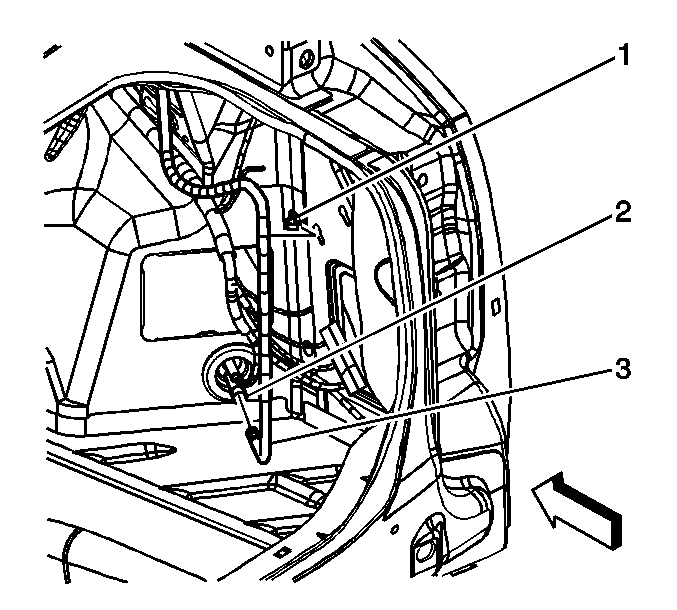
- Remove the rear lower drain hose from the retaining clips (1).
- Remove the rear drain hose (3) from the inner wheelhouse drain spout (2).
- Remove the drain hose from the vehicle.


Installation Procedure
- Guide the drain hose through the rear shelf panel to the "D" pillar behind the shoulder belt retractor.
- Clip the rear lower drain hose (3) into the retention clips.
- Secure the drain hose retainer clips to the sheet metal.
- Ensure the electrical grommet to drain hose drain spout is not pinched off after drain hose installation.
- Install the rear compartment trim panel. Refer to Rear Compartment Side Trim Panel Replacement .
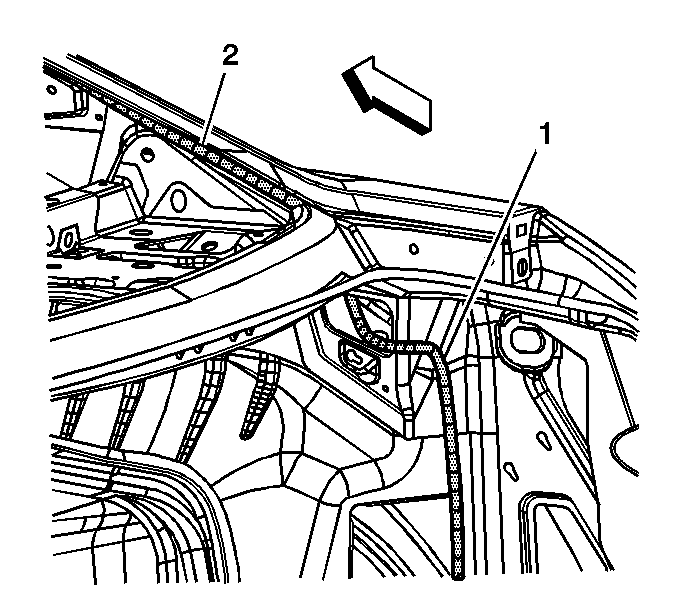
- Clip the rear upper drain hoses (2) into position.
- Insert the rear upper drain hose (1) to the conduit.
- Secure the rear drain hose to the drain spout.
- Inspect for proper drainage.
- Install the headliner with an assistant. Refer to Headlining Trim Panel Replacement .

Important: Secure the lower drain hose to the drain spout (2) at the inner wheelhouse panel.


The only suitable lubricant is clean water for the drain hose to drain spout installation.
