Tools Required
| • | J 35268-A Camshaft/Front Main Seal Installer |
| • | J 36660-A Torque Angle Meter |
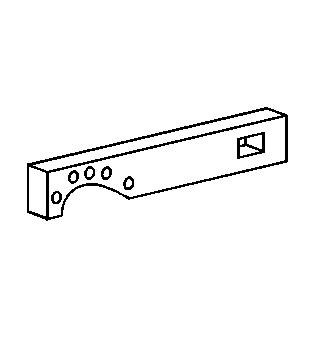
| • | J 42065 Crank Hub Holding Tool |
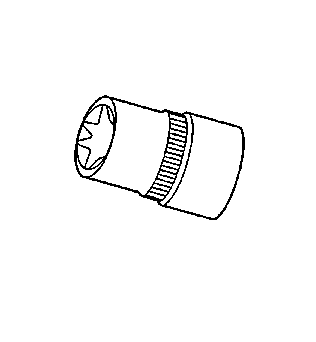
| • | J 42098 Crank Hub TORX® Socket |
- Coat only the pump side of the new oil pump gasket with a thin, even coating of GM P/N 1052942 (Canadian P/N 10953466) or equivalent.
- Install the oil pump gasket.
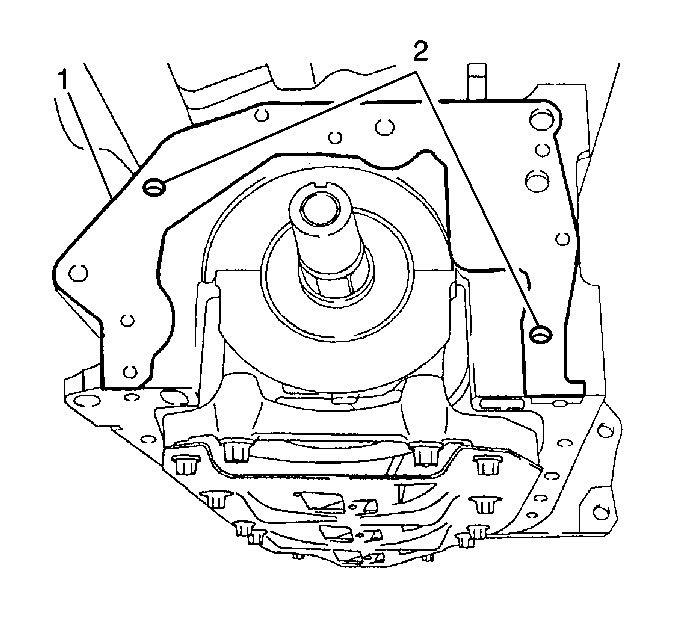
- Install the oil pump and align with the guide pins (2).
- Coat the oil pump bolts with GM P/N 12345382, (Canadian P/N 10953489) or equivalent.
- Install the oil pump bolts. Tighten in the sequence shown.
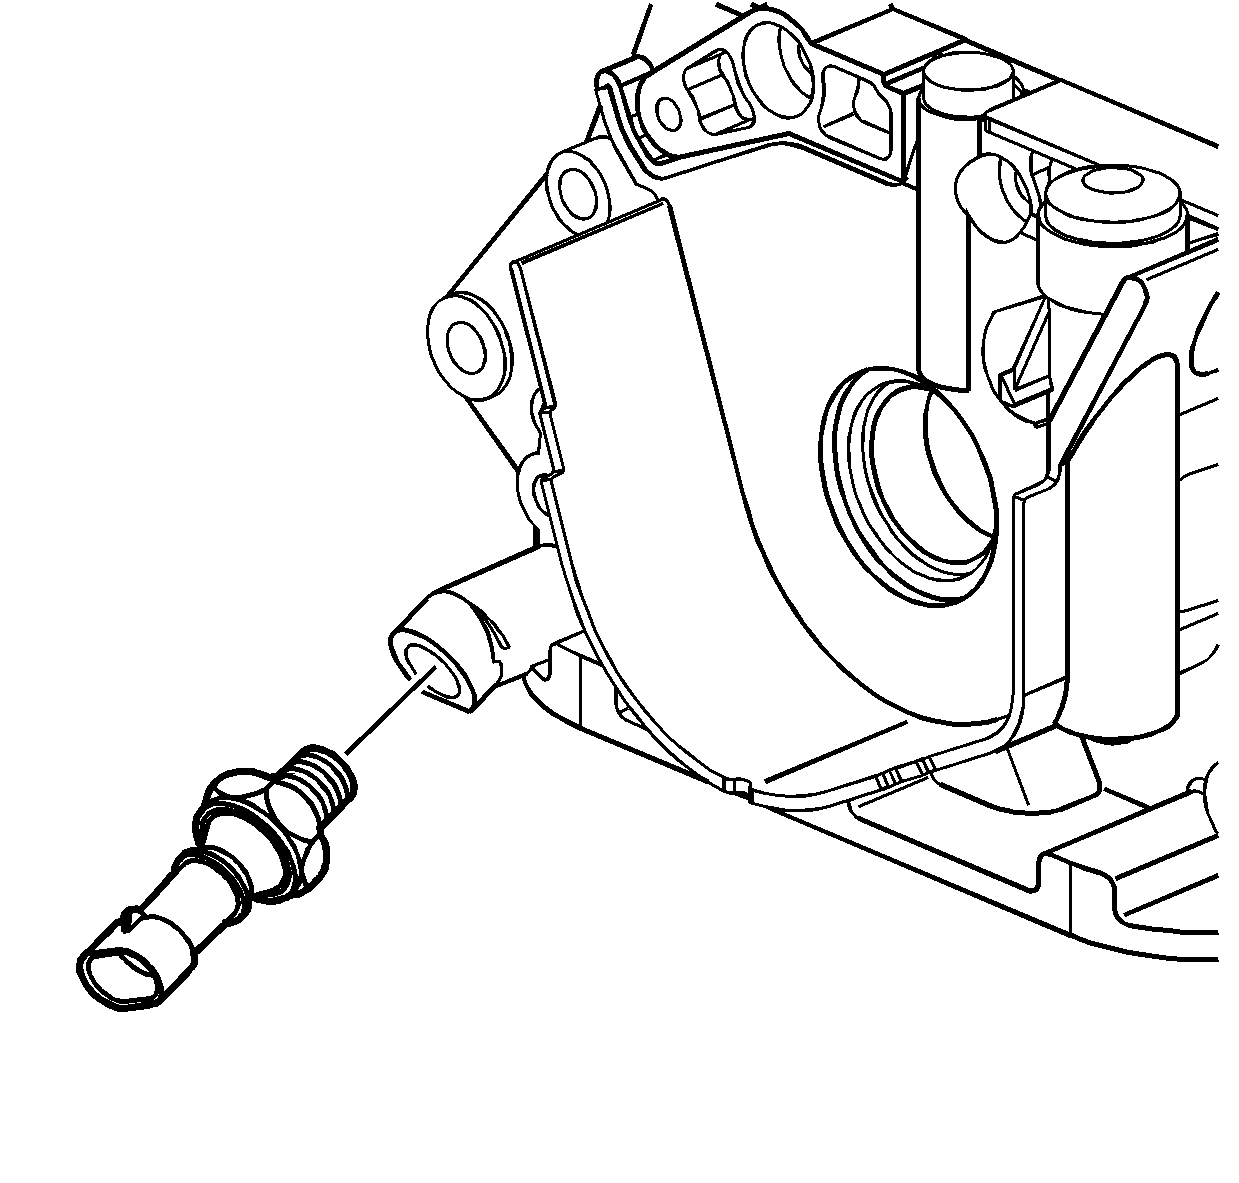
- Install the oil pressure sender.
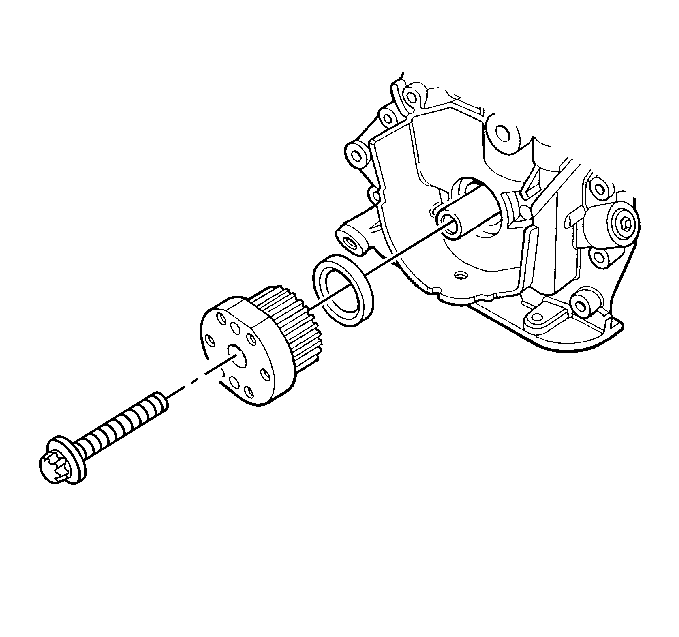
- Install the oil pump collar.
- Coat the lip of the front main oil seal with a small amount of clean engine oil, to aid in installation.
- Install the front main oil seal.
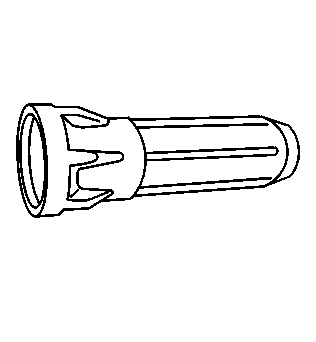
- Use the J 35268-A to tap the front main oil seal into place.
- Install the crankshaft drive gear.
- Install a new crankshaft drive gear bolt.
- Use the J 36660-A to tighten the crankshaft drive gear bolt in the following sequence:
- The first pass rotate the crankshaft drive gear bolt 45 degrees.
- The second and the final pass rotate the crankshaft drive gear bolt an additional 15 degrees.
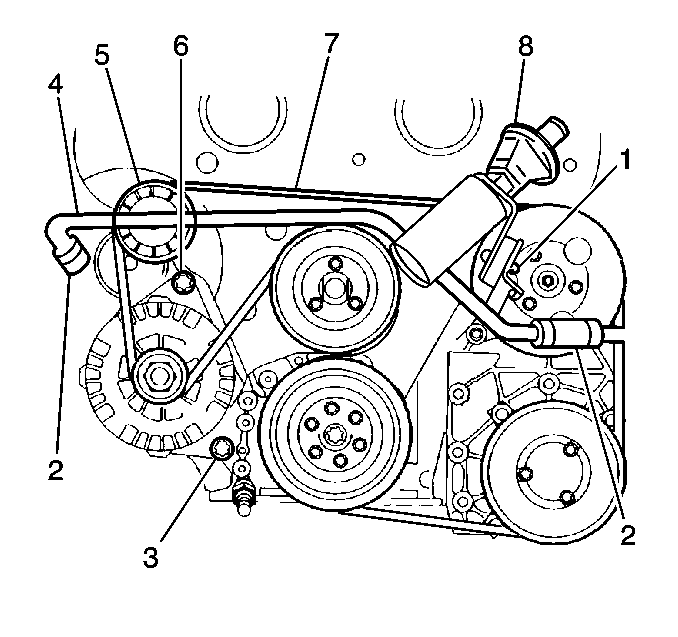
- Temporarily mount the generator and install the generator lower mounting bolt (3).
- Re-tighten the oil pump bolts. Tighten in the sequence shown.
- Remove the generator bolt and the generator.
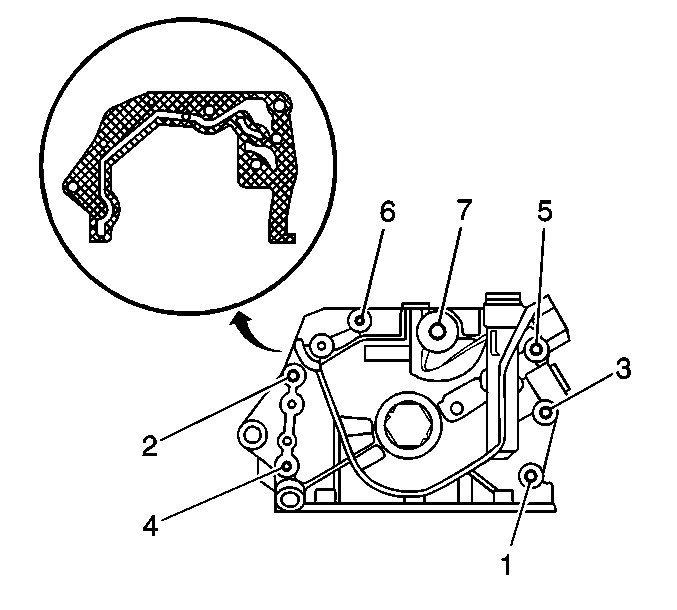
Important: Do not cover and/or restrict the gasket openings and oil passages with sealant. Only apply sealant to the crosshatched area of the gasket as shown in the illustration.
Notice: Use the correct fastener in the correct location. Replacement fasteners must be the correct part number for that application. Fasteners requiring replacement or fasteners requiring the use of thread locking compound or sealant are identified in the service procedure. Do not use paints, lubricants, or corrosion inhibitors on fasteners or fastener joint surfaces unless specified. These coatings affect fastener torque and joint clamping force and may damage the fastener. Use the correct tightening sequence and specifications when installing fasteners in order to avoid damage to parts and systems.
Tighten
Tighten the oil pump bolts to 12 N·m (9 lb ft).
Tighten
Tighten the oil pressure sender to 35 N·m (26 lb ft).
Ensure the front main oil seal if fully and evenly seated.
Tighten
Use the J 42098
to tighten the crankshaft drive gear bolt, while counterholding the crankshaft
drive gear with the J 42065
to 250 N·m (184 lb ft).
Tighten
Important: The oil pump bolts must be re-tightened AFTER the generator mounting bolt has been tightened to specifications to allow for uniform compression of the oil pump gasket.
Tighten
Tighten the generator lower mounting bolt (3) to 35 N·m
(26 lb ft).
Tighten
Tighten the oil pump bolts to 20 N·m (15 lb ft).
