Tools Required
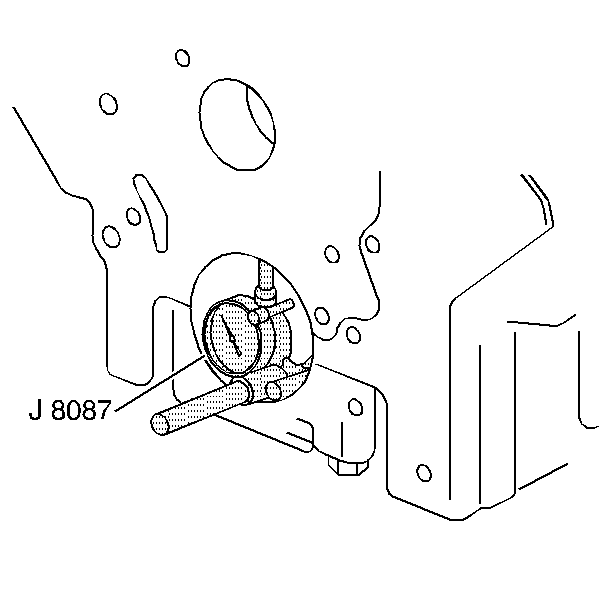
J 8087 Cylinder Bore
Gage

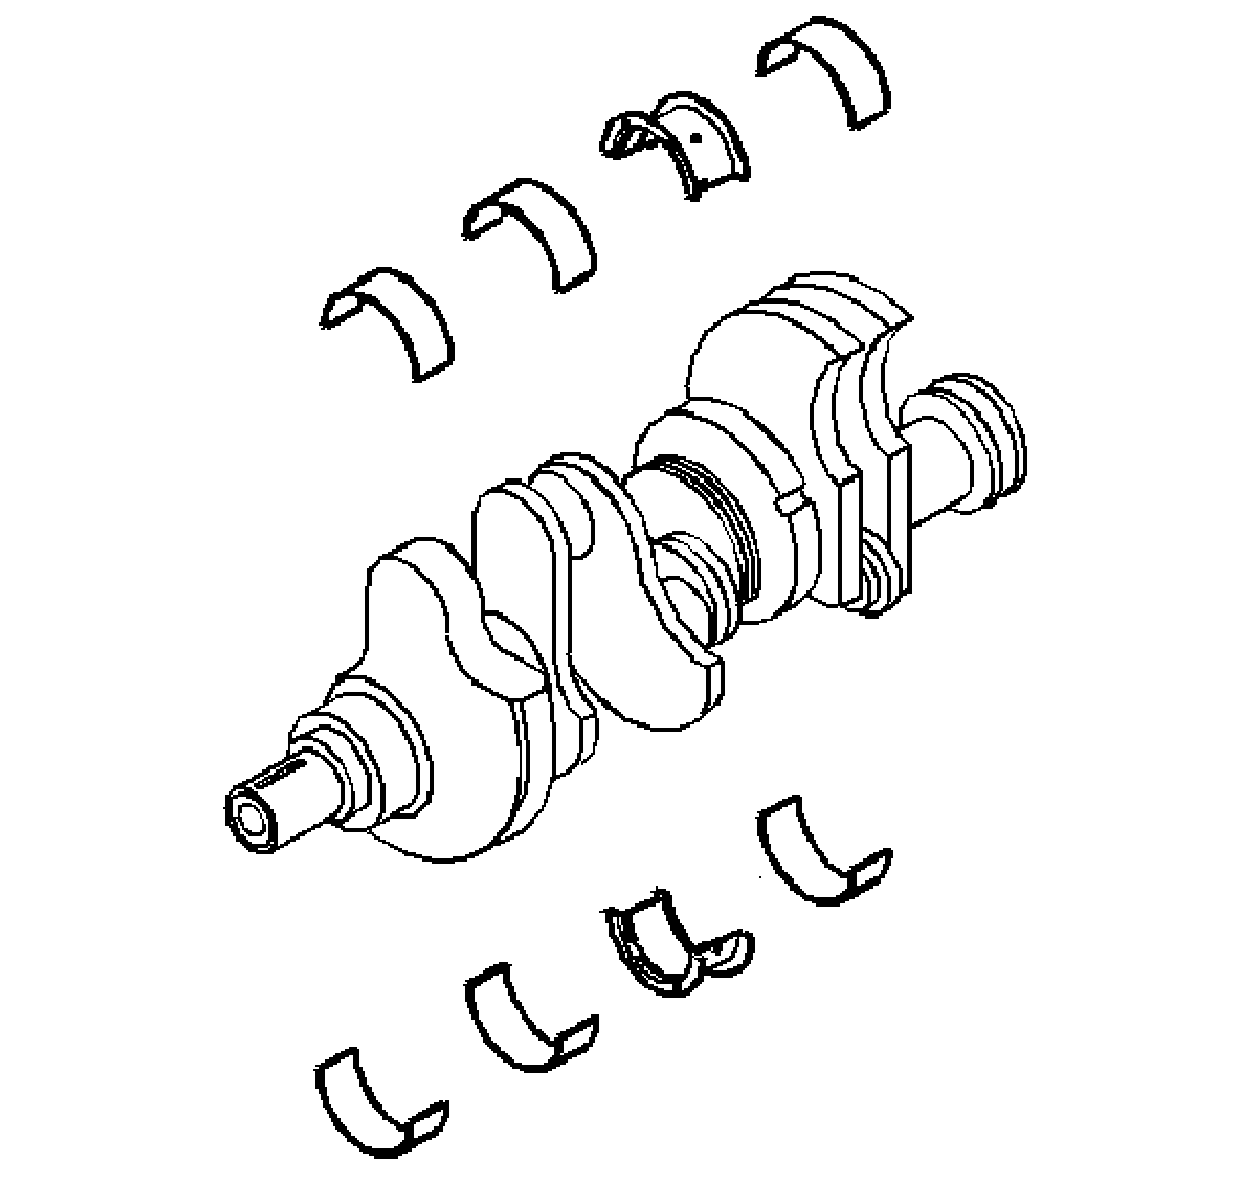
- Clean the crankshaft of
the following elements:
- Inspect the crankshaft oil passages for obstructions.
- Inspect the crankshaft keyway for nicks or wear.
- Inspect the crankshaft threads.
Important: If cracks, severe gouges or burned spots are found, the crankshaft must
be replaced. Slight roughness may be removed with a fine polishing cloth soaked
in clean engine oil. Burrs may be removed with a fine oil stone.
- Inspect the crankshaft bearing journals and the crankshaft thrust surfaces
for the following conditions:
| • | Overheating, discoloration |
- Inspect the corresponding crankshaft bearings for embedded foreign
material and determine the source.
Important: Note the location of the crankshaft main bearing high spots. If they
are not in line, the crankshaft is bent and must be replaced.
- Inspect the crankshaft bearings for uneven side-to-side wear. This may
indicate a bent crankshaft or a tapered bearing journal.

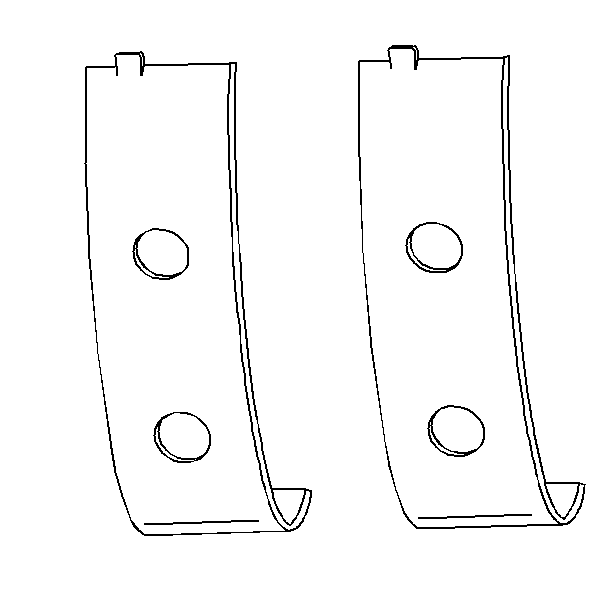
Important: The crankshaft bearings are the precision insert type. The crankshaft
bearings are available in standard and various undersizes.
- Inspect the outer surfaces of the crankshaft bearings for the following
conditions:
| • | Wear -- surface wear indicates either movement of the insert
or high spots in the surrounding material, spot wear. |
| • | Overheating or discoloration |
| • | Looseness or rotation indicated by flattened tangs and wear grooves |
- Inspect the thrust surfaces of the main thrust bearing for the
following conditions:
| • | Grooving, grooves are caused by irregularities of the crankshaft
thrust surface. |

Important: If crankshaft bearing failure is due to other than normal wear, investigate
the cause. Inspect the crankshaft or connecting rod bearing bores.
- Using the J 8087
inspect the connecting rod bearing bores or crankshaft main bearing bores
using the following procedure:
| 10.1. | Tighten the bearing cap to specification. |
| 10.2. | Measure the bearing bore using J 8087
for taper and out-of-round. |
| 10.3. | No taper or out-of-round should exist. |
Crankshaft Main Bearing Selection
The crankshaft main bearing caps are numbered 1, 2, 3 from the front
of the engine. The rear bearing cap is not numbered and contains the thrust
bearings. The number 2 and 3 main bearings shells do not have oil grooves
on the cap sides.
There is a 0 or 1 stamped on the cylinder block oil pan mating flange
near the end of each main bearing cap. This is the determining number. The
determining number corresponds to each crankshaft main bearing size and color
that will be installed.
| • | The cylinder block main bearing journal diameter for the determining
number of 0 is 72.0000-72.0065 mm. (2.83 in). |
| • | The cylinder block main bearing journal diameter for the determining
number of 1 is 72.0065-72.0130 mm. (2.83-2.84 in). |
The Crankshaft Main Bearing Size specification shows the color of the
bearing that must be used for the respective determining number stamp.
To select the number stamp for the respective main bearing journal on
the oil pan mating flange:
- Measure the crankshaft main bearing journal.
- Refer to
Crankshaft Main Bearing Selection Specifications
.
- Select the correct determining number column.
- Select the measured main bearing journal diameter range.
- Select the block side color.
- Select the cap side color.
