For 1990-2009 cars only
Removal Procedure
- Remove the shift control knob/closeout boot. Refer to Shift Control Knob/Closeout Boot Replacement .
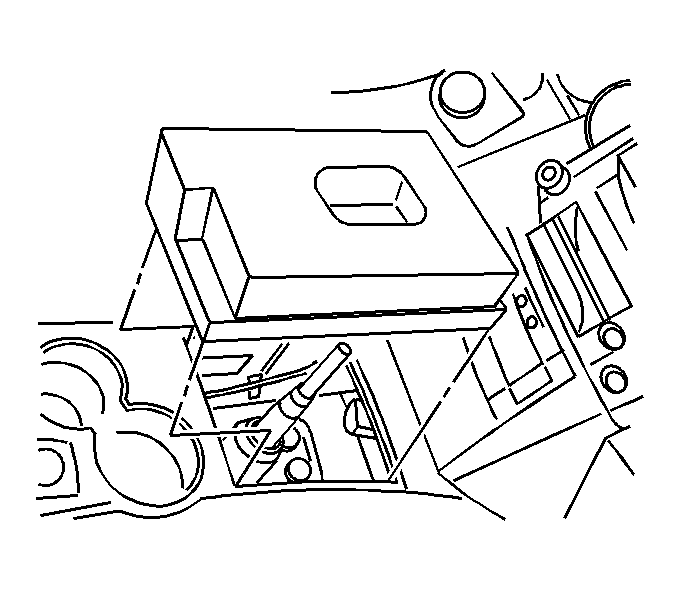
- Remove the sound insulator foam block from the console.
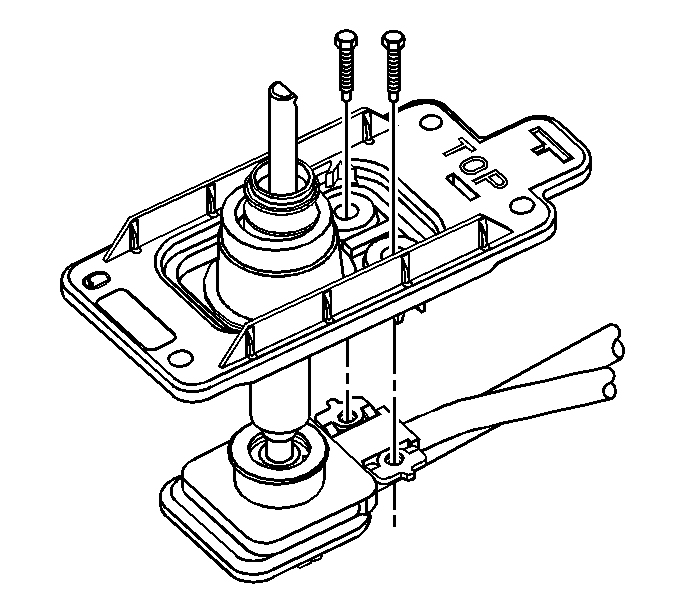
- Remove the 2 bolts attaching the shift control assembly to the shift control adaptor plate.
- Remove the exhaust system. Refer to Exhaust System Replacement in Engine Exhaust.
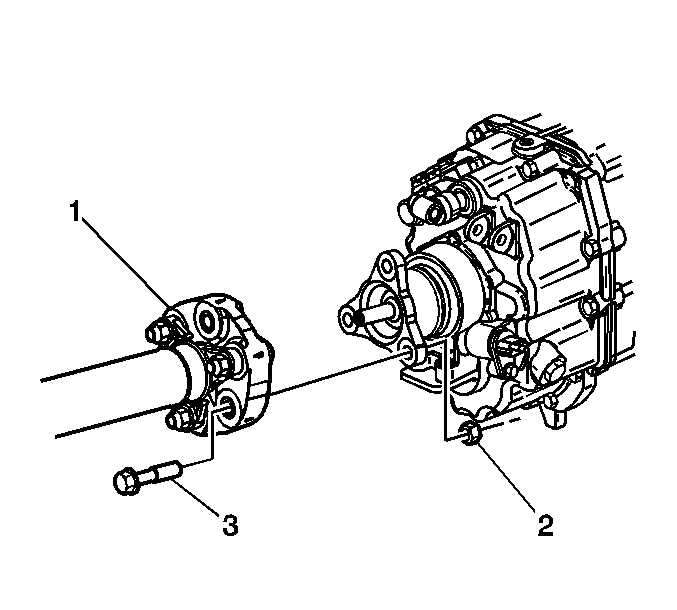
- Disconnect the propeller shaft coupler (1) from the transmission flange. Refer to Propeller Shaft Replacement in Driveline/Axle.
- Push the front propeller shaft toward the rear of the vehicle in order to release the propeller shaft coupler (1) from the transmission flange.
- Support the transmission with a suitable transmission jack.
- Remove the bolts securing the transmission support to the vehicle body. It is not necessary to remove the transmission support from the transmission mount. Refer to Transmission Support Replacement in Frame and Underbody.
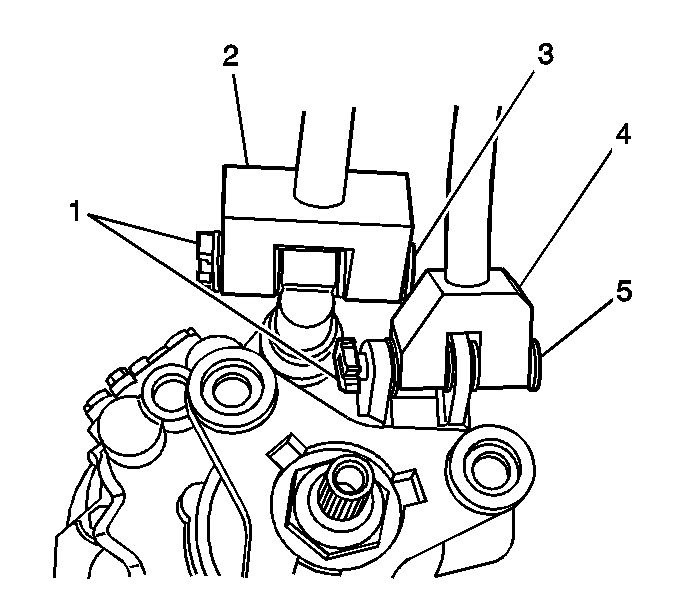
- Remove the shift control rod pin and reaction arm pin retaining clips (1).
- Lower the rear of the transmission only enough to allow removal of the shift control rod pin and reaction arm pin.
- Remove the reaction arm retaining pin (5) and disconnect the reaction arm (4) from the transmission.
- Remove the shift control rod pin (3) and disconnect the shift control rod (2) from the transmission.
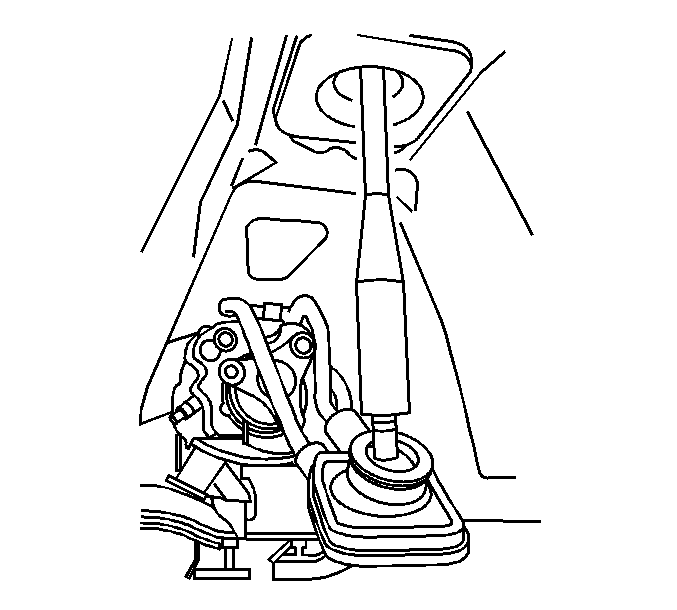
- Unclip the shift control assembly from the shift control adaptor plate and remove the shift control assembly from the vehicle.
Installation Procedure
- Install the shift control assembly to the vehicle and clip the shift control assembly into the shift control adaptor plate.
- Connect the shift control rod (2) to the transmission and install the shift control rod pin (3).
- Connect the reaction arm (4) to the transmission and install the reaction arm pin (5).
- Install the shift control rod pin and reaction arm pin retaining clips (1).
- Raise the rear of the transmission to the original position.
- Install the transmission support. Refer to Transmission Support Replacement in Frame and Underbody.
- Remove the transmission jack.
- Install the propeller shaft coupler (1) to the transmission flange. Refer to Propeller Shaft Replacement in Driveline/Axle.
- Install the exhaust system. Refer to Exhaust System Replacement in Engine Exhaust.
- Install the bolts securing the shift control assembly to the shift control adaptor plate.
- Install the sound insulator foam block into the console.
- Install the shift control knob/closeout boot. Refer to Shift Control Knob/Closeout Boot Replacement .


Notice: Refer to Fastener Notice in the Preface section.

Tighten
Tighten the bolts to 9 N·m (80 lb in).

