For 1990-2009 cars only
Tools Required
| • | J 42129 Wheel Hub Remover |
| • | J 43631 Ball Joint Remover |
Removal Procedure
- Raise and support the vehicle. Refer to Lifting and Jacking the Vehicle .
- Remove the tire and wheel. Refer to Tire and Wheel Removal and Installation .
- Remove the rear brake rotor. Refer to Rear Brake Rotor Replacement .
- Remove the wheel driveshaft nut and discard.
- Disconnect the ABS sensor electrical connector.
- Disconnect the ABS sensor electrical connector from the backing plate.
- Remove the parking brake cable bracket mounting bolts from the knuckle.
- Remove the parking brake cable bracket from the knuckle.
- Remove the upper ball joint mounting nut.
- Install J 43631 to the ball stud.
- Using J 43631 separate the ball stud from the knuckle.
- Support the lower control arm with a suitable jack.
- Remove the lower shock mounting bolt.
- Remove the lower control arm to knuckle mounting bolt.
- Remove the trailing arm to knuckle mounting bolt and nut.
- Remove the adjustment link to knuckle mounting bolt.
- Install J 42129 to the wheel bearing/hub.
- Using J 42129 disengage the wheel drive shaft from the wheel bearing/hub.
- Remove the knuckle from the vehicle.
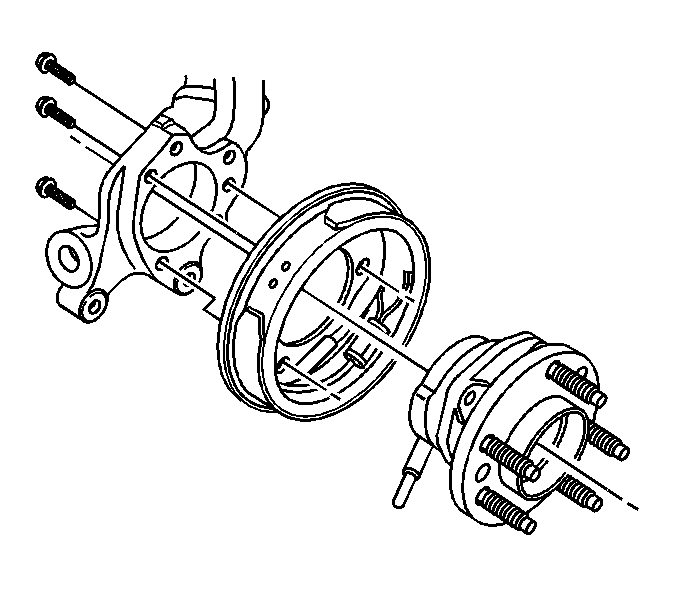
- Remove the wheel bearing/hub bolts.
- Remove the knuckle and backing plate from the wheel bearing/hub.
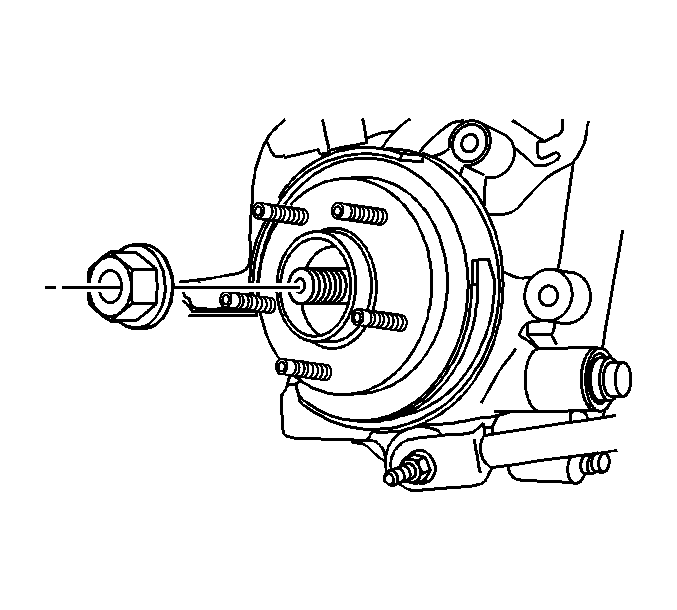
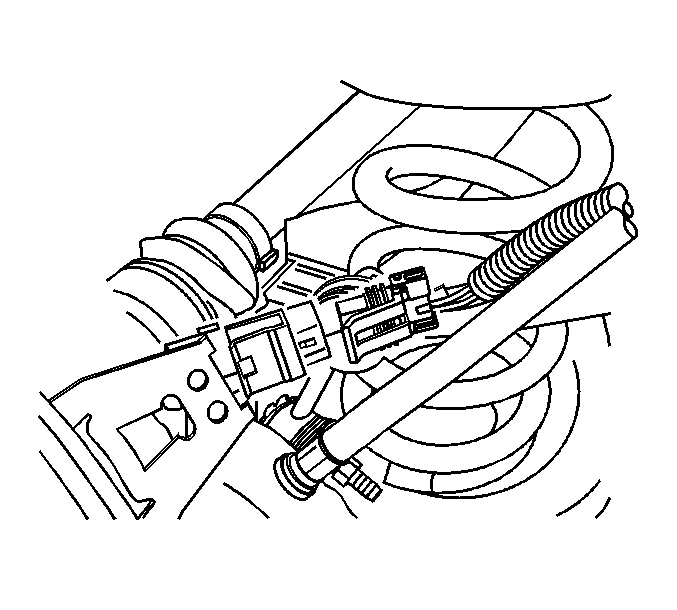
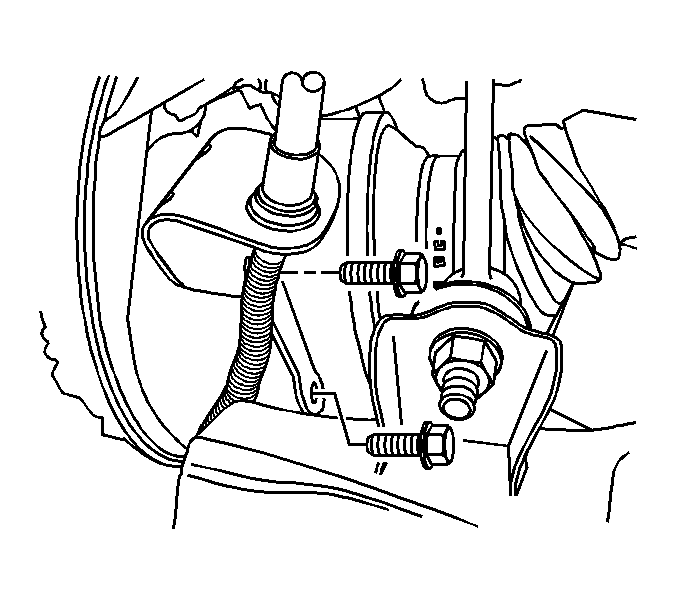
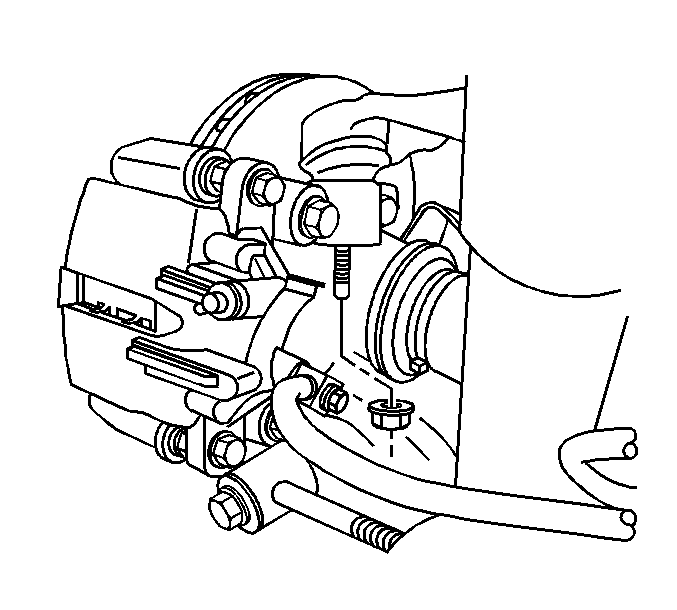
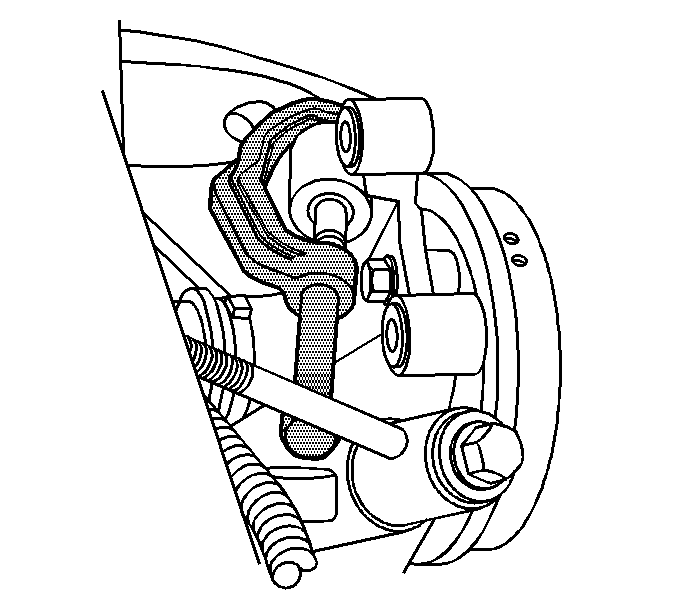
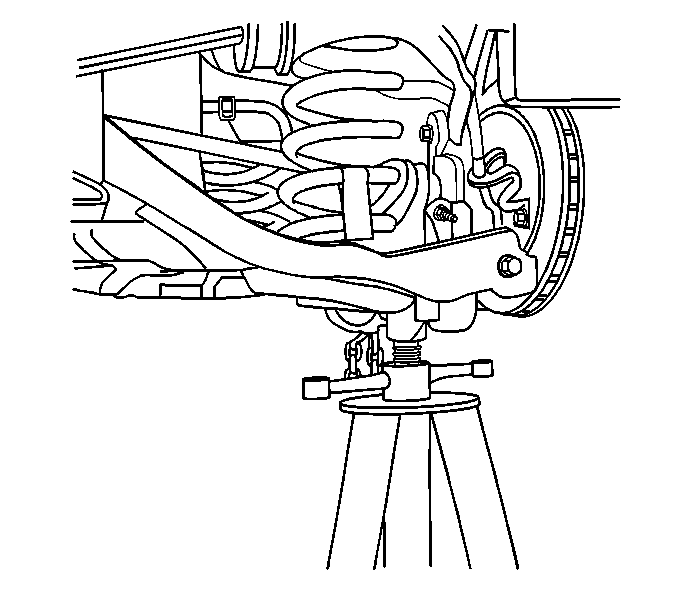
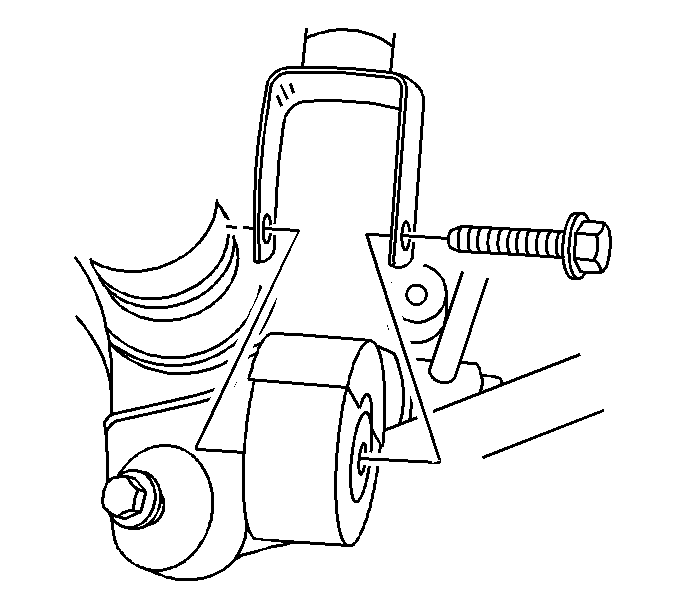
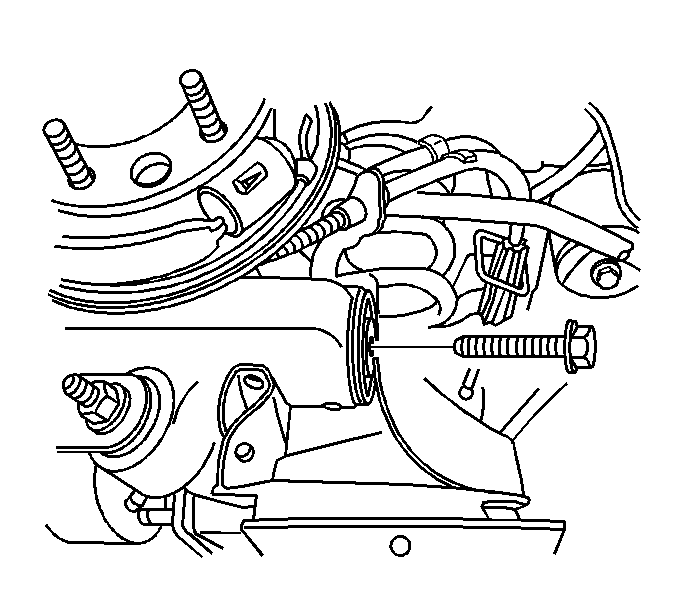
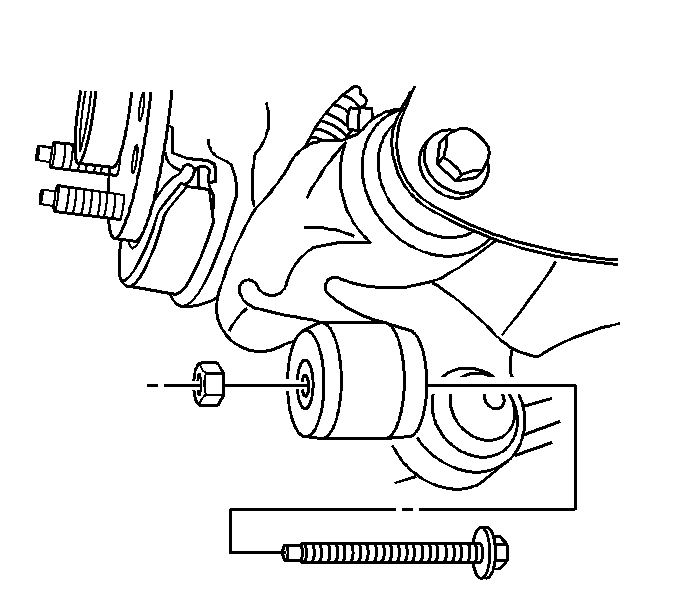
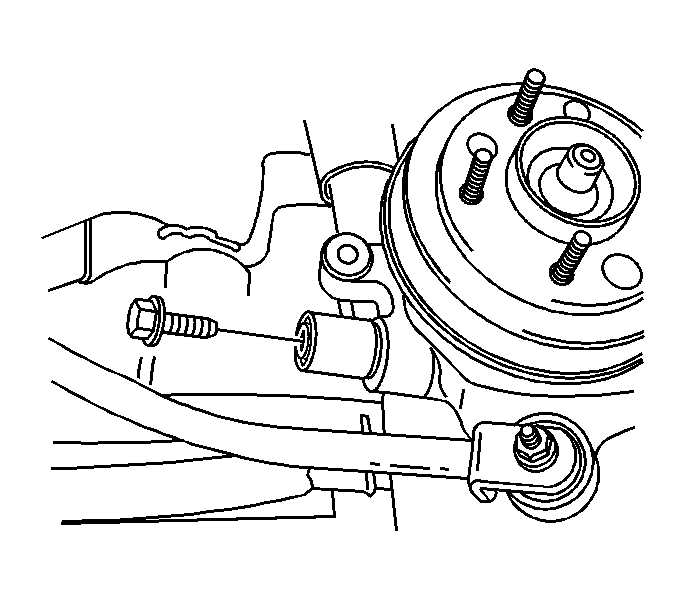
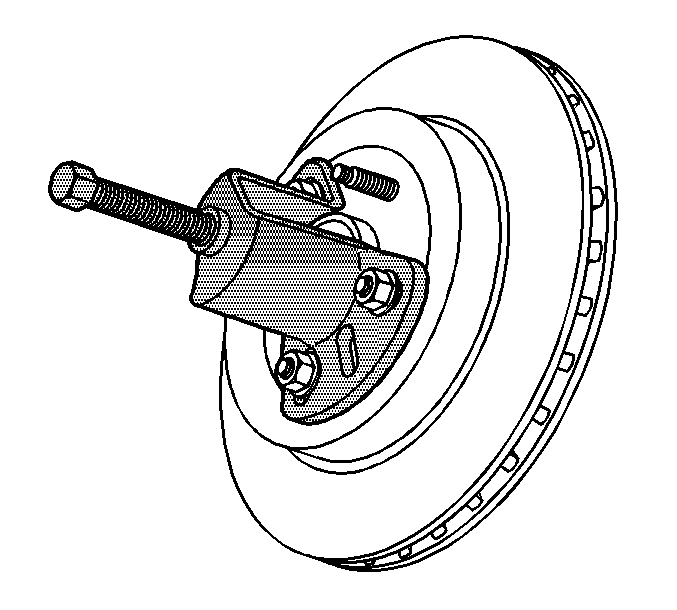
Important: May need to use the wheel hub remover to fully disengage the wheel bearing/hub from the drive axle.
Installation Procedure
- Install the knuckle and backing plate to the wheel bearing/hub.
- Install the wheel bearing/hub mounting bolts.
- Install the knuckle to the vehicle.
- Install the adjustment link to knuckle mounting bolt.
- Install the trailing arm to knuckle mounting bolt and nut.
- Install the lower shock and mounting bolt.
- Install the lower control arm to knuckle mounting bolt.
- Connect the upper ball joint to the knuckle.
- Install the upper ball joint mounting nut.
- Install the parking brake cable bracket to the knuckle.
- Install the parking brake cable bracket mounting bolts to the knuckle.
- Remove the jack.
- Connect the ABS sensor electrical connector to the backing plate.
- Connect the ABS sensor electrical connector.
- Install a new wheel drive shaft nut.
- Install the brake rotor. Refer to Rear Brake Rotor Replacement .
- Install the tire and wheel. Refer to Tire and Wheel Removal and Installation .
- Lower the vehicle.

Notice: Refer to Fastener Notice in the Preface section.
Tighten
Tighten the bolts to 125 N·m (92 lb ft).

Important: Loosely install all fasteners before tightening.


Tighten
| • | Tighten the upper ball joint nut to 20 N·m (15 lb ft) plus a additional 210 degree turn. |
| • | Tighten the lower control arm to knuckle bolt to 175 N·m (129 lb ft). |
| • | Tighten the lower shock mounting bolt to 150 N·m (111 lb ft). |
| • | Tighten the trailing arm to knuckle bolt and nut to 175 N·m (129 lb ft). |
| • | Tighten the adjustment link to knuckle bolt to 175 N·m (129 lb ft). |
| • | Tighten the parking brake cable bracket bolts to 60 N·m (44 lb ft). |


Tighten
Tighten the nut to 160 N·m (118 lb ft).
