For 1990-2009 cars only
Rear Compartment Floor Panel Replacement for Cadillac DTS 2006
Removal Procedure
- Disable the SIR system. Refer to SIR Disabling and Enabling .
- Disconnect the negative battery cable. Refer to Battery Negative Cable Disconnection and Connection .
- Remove all related panels and components.
- Remove the sealers and anti-corrosion materials from the repair area, as necessary. Refer to Anti-Corrosion Treatment and Repair .
- Repair as much of the damaged area as possible. Refer to Dimensions - Body .
- Locate the rear edge of cross bar #5 from under the vehicle.
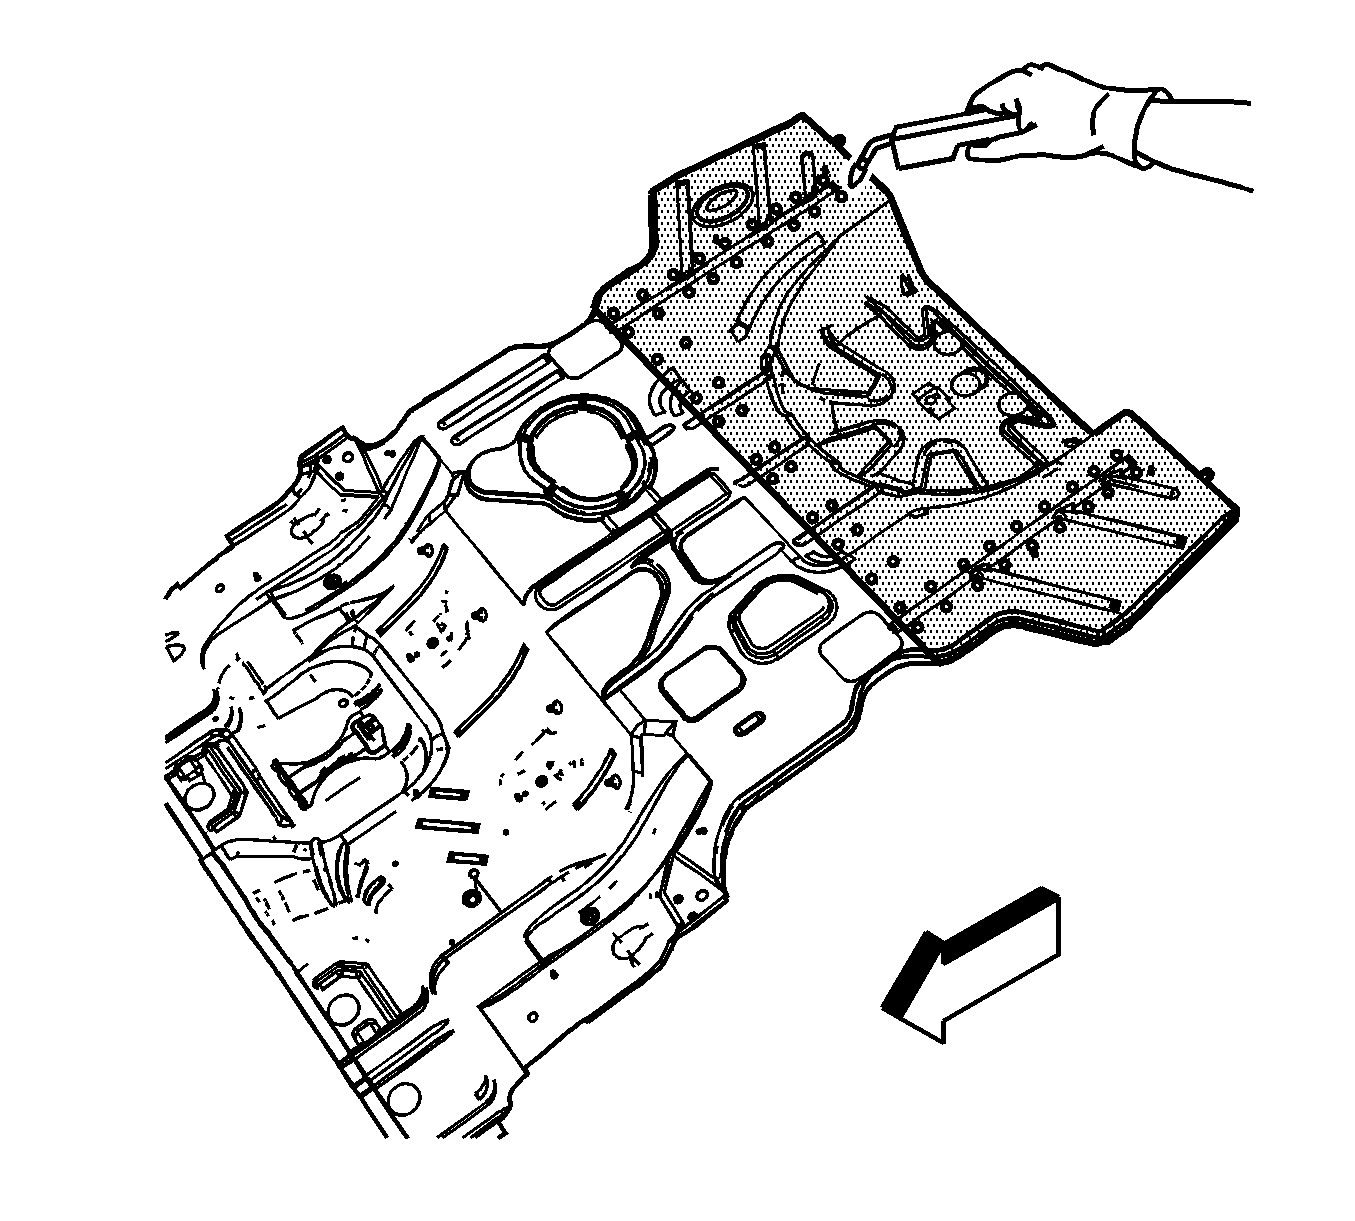
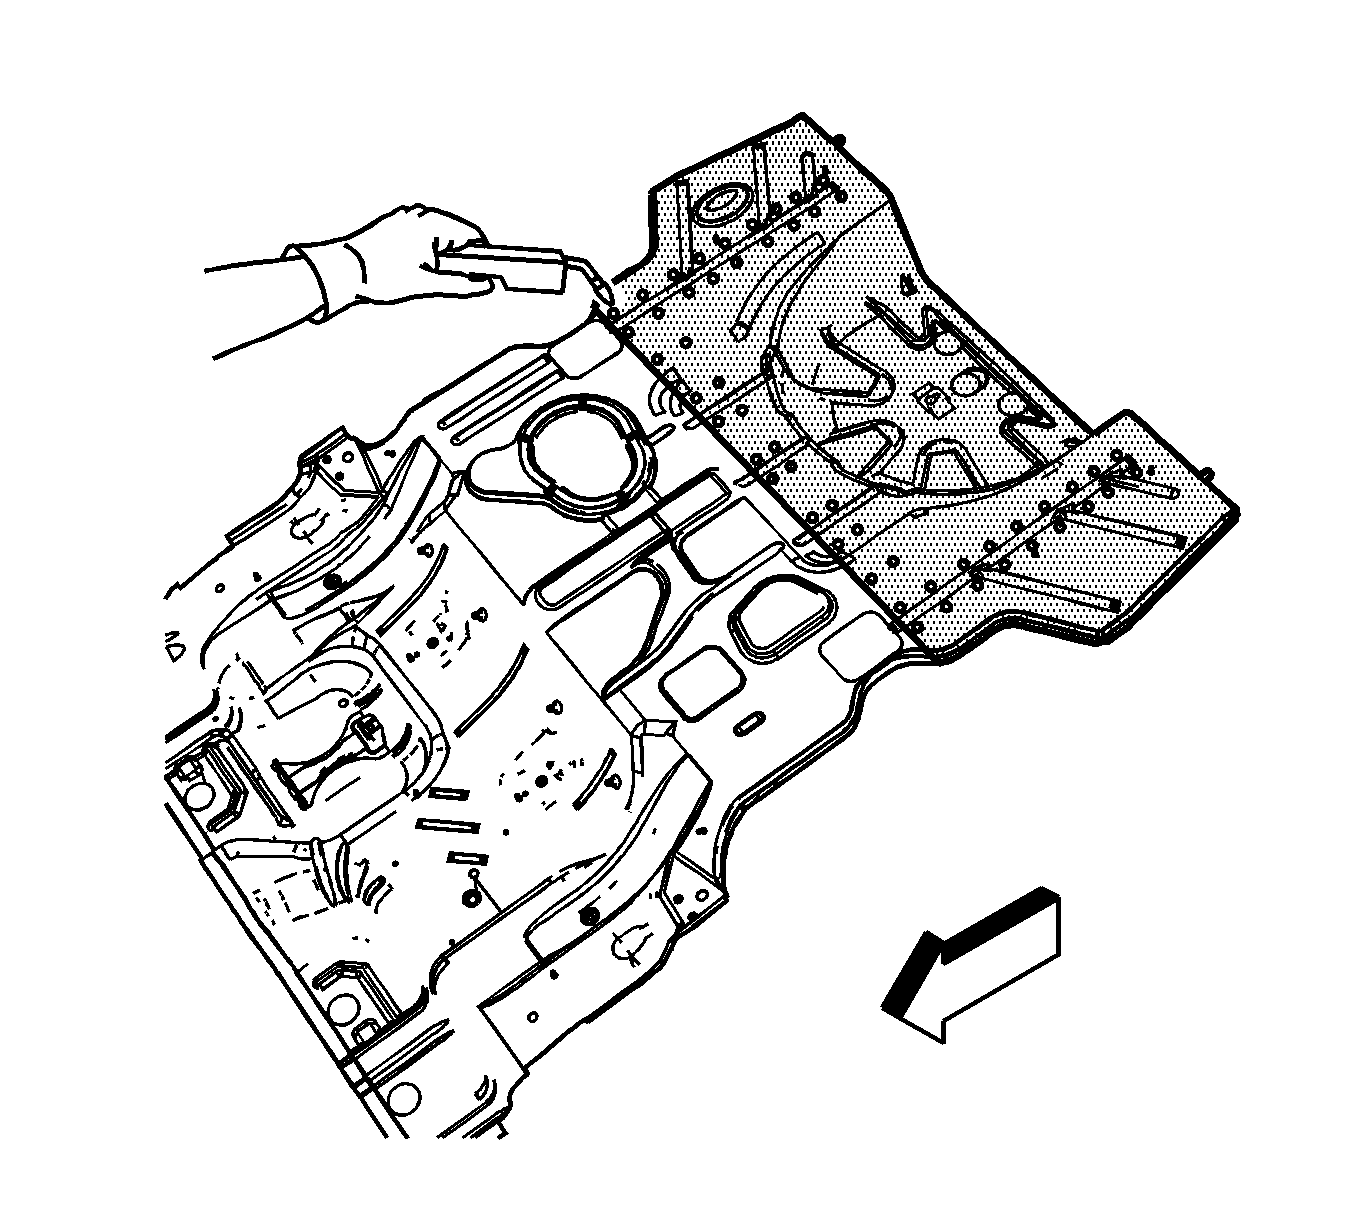
- Drill several 1/8 in holes in the floor pan only along the rear edge of the rear weld flange of cross bar #5. This will aid in identifying the location from the top side of the floor pan.
- Cut the floor panel following the rear edge of the #5 bar.
- Drill out all the spot welds along rails and the wheelhouses rearward of the cutline and remove the rear compartment floor panel. Note the number and location of welds for installation of the service assembly.
- Cut and grind flush the original panel of the rear compartment panel at the rear edge of the #5 crossbar.
Caution: Refer to Approved Equipment for Collision Repair Caution in the Preface section.
Caution: Sectioning should be performed only in the recommended areas. Failure to do so may compromise the structural integrity of the vehicle and cause personal injury if the vehicle is in a collision.
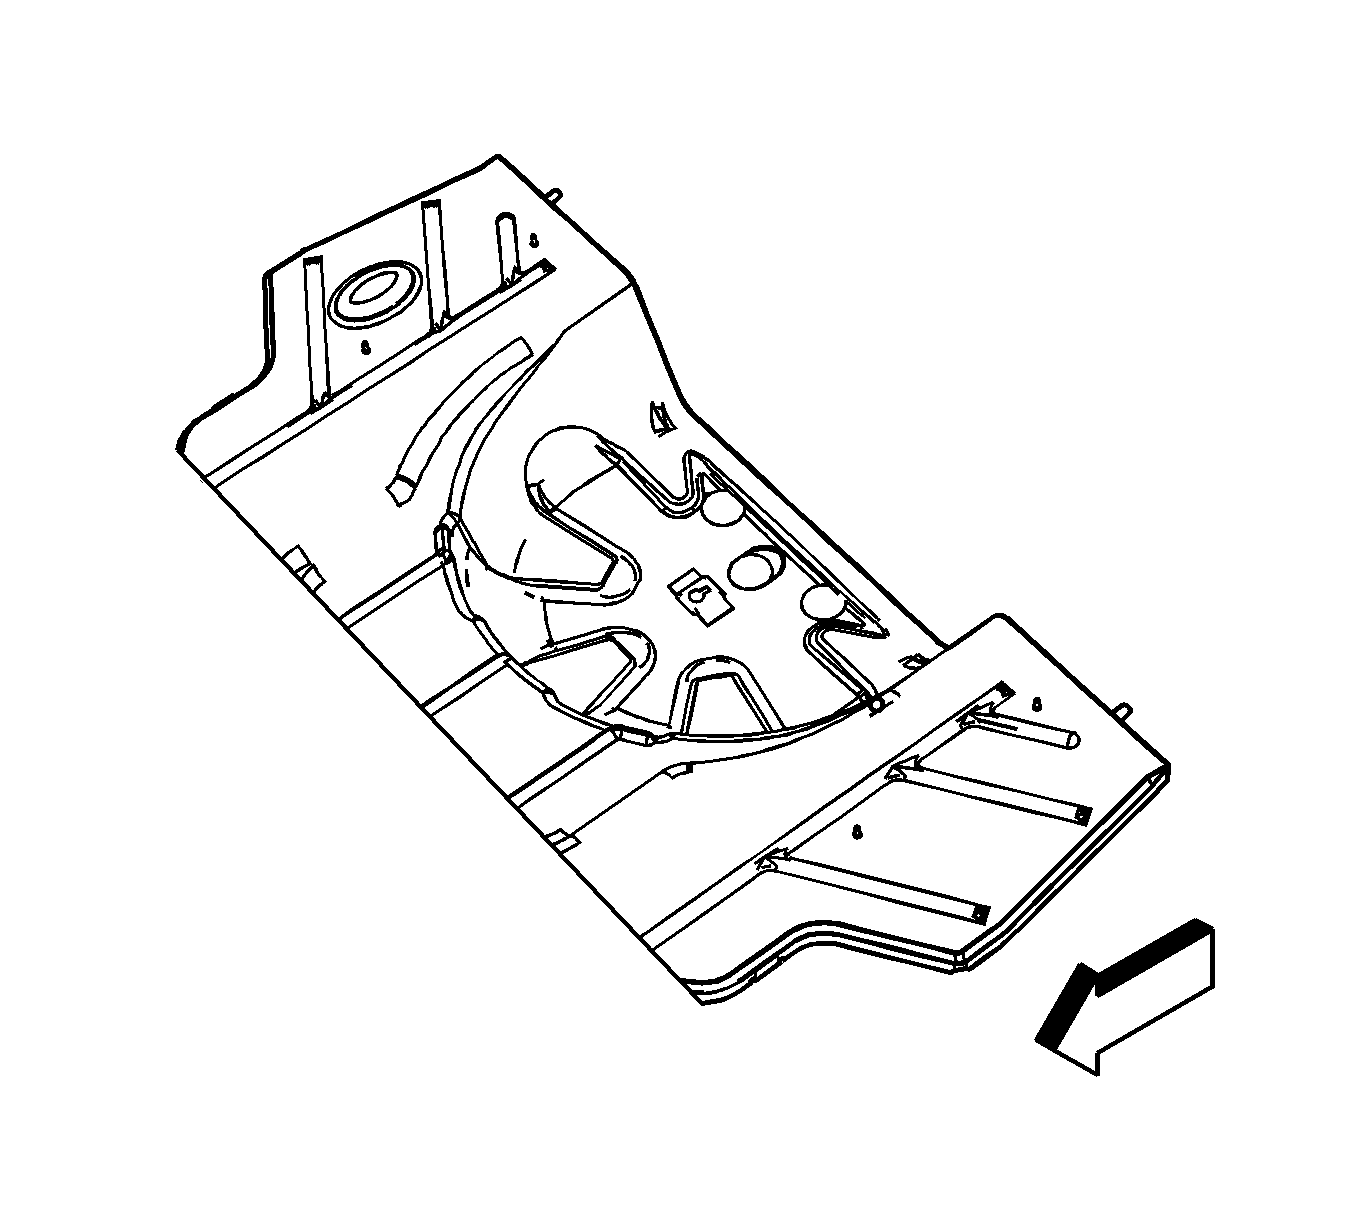
Important: The rear floor pan service part comes pre-cut at the front edge of the rear body cross member.
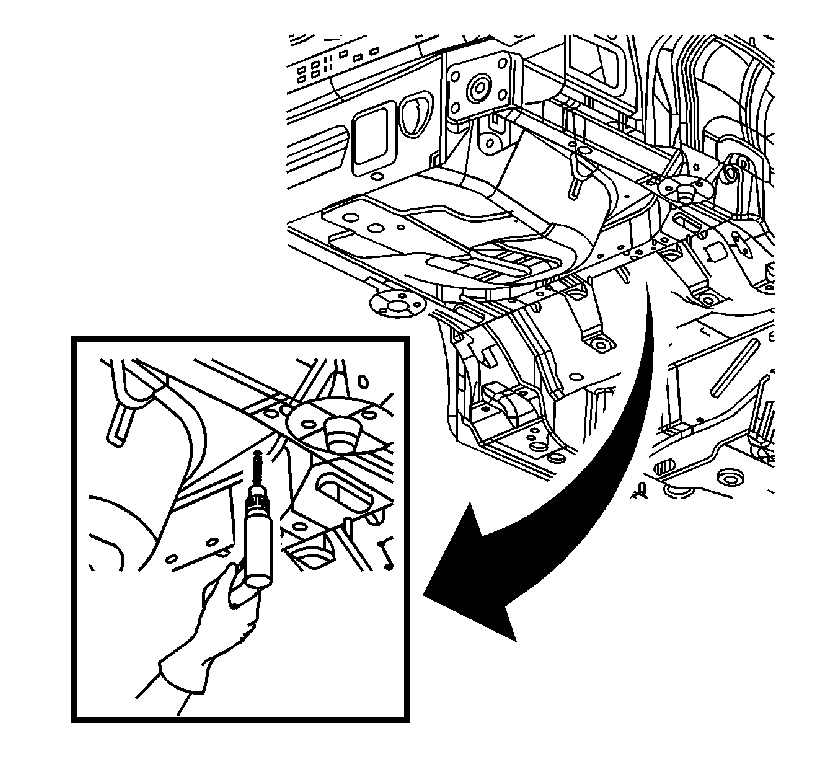
Important: Do not damage any adjacent panels or components when cutting or drilling out spot welds.
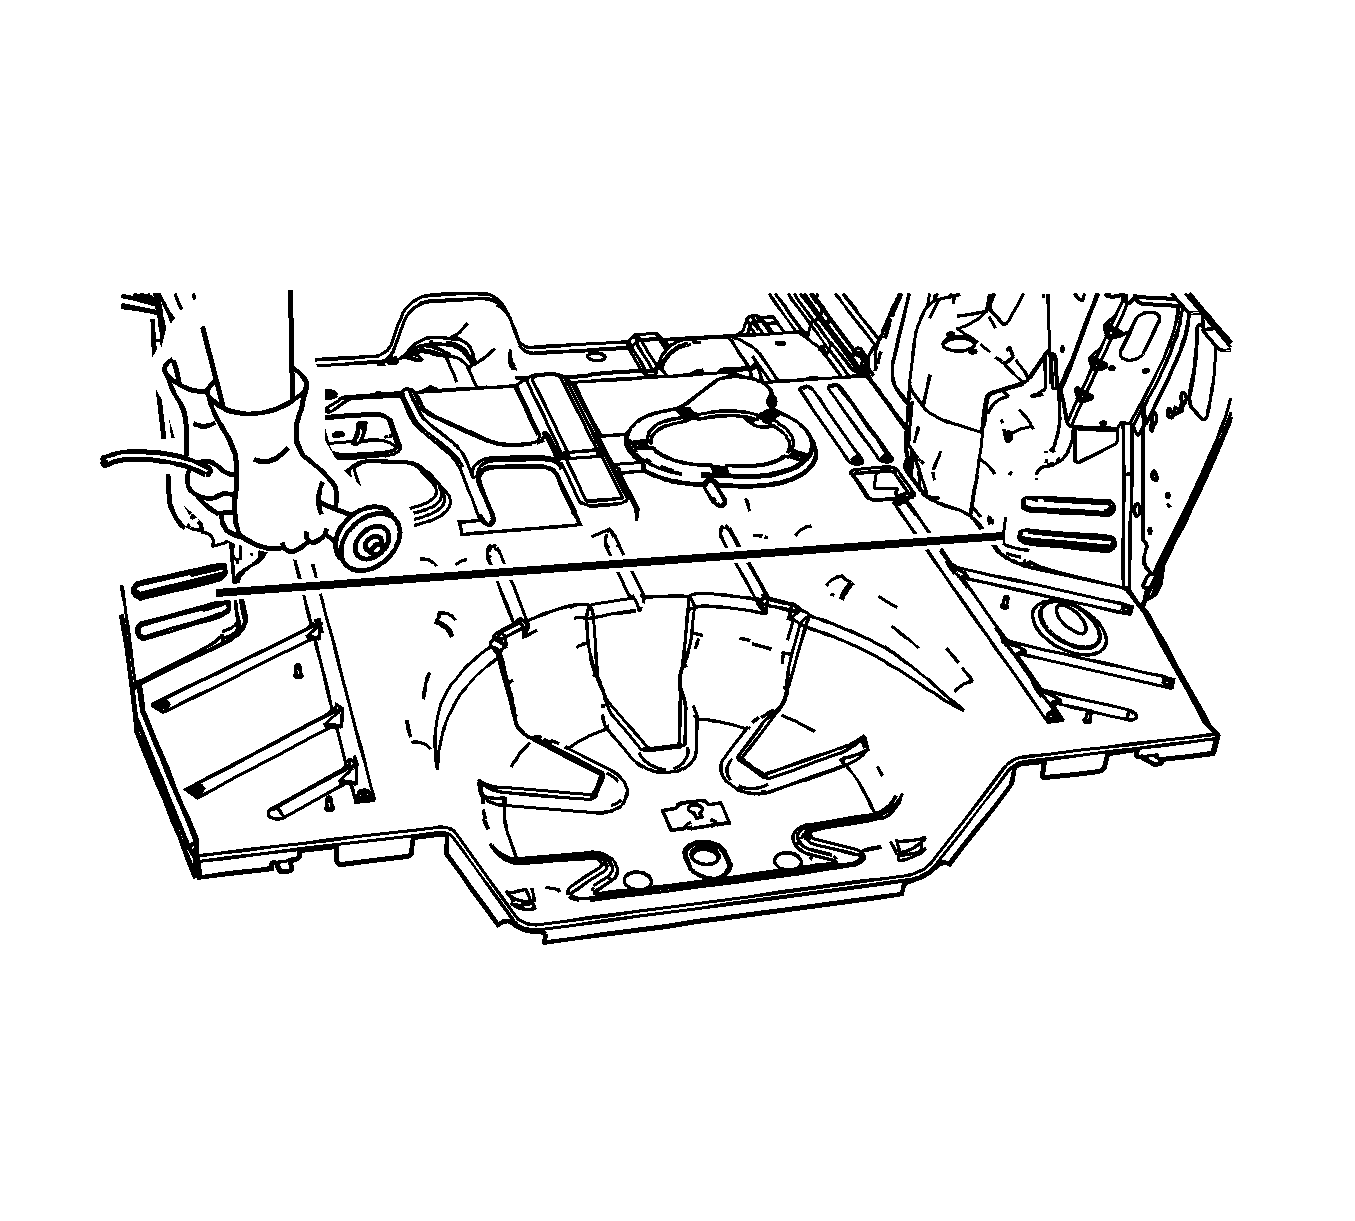
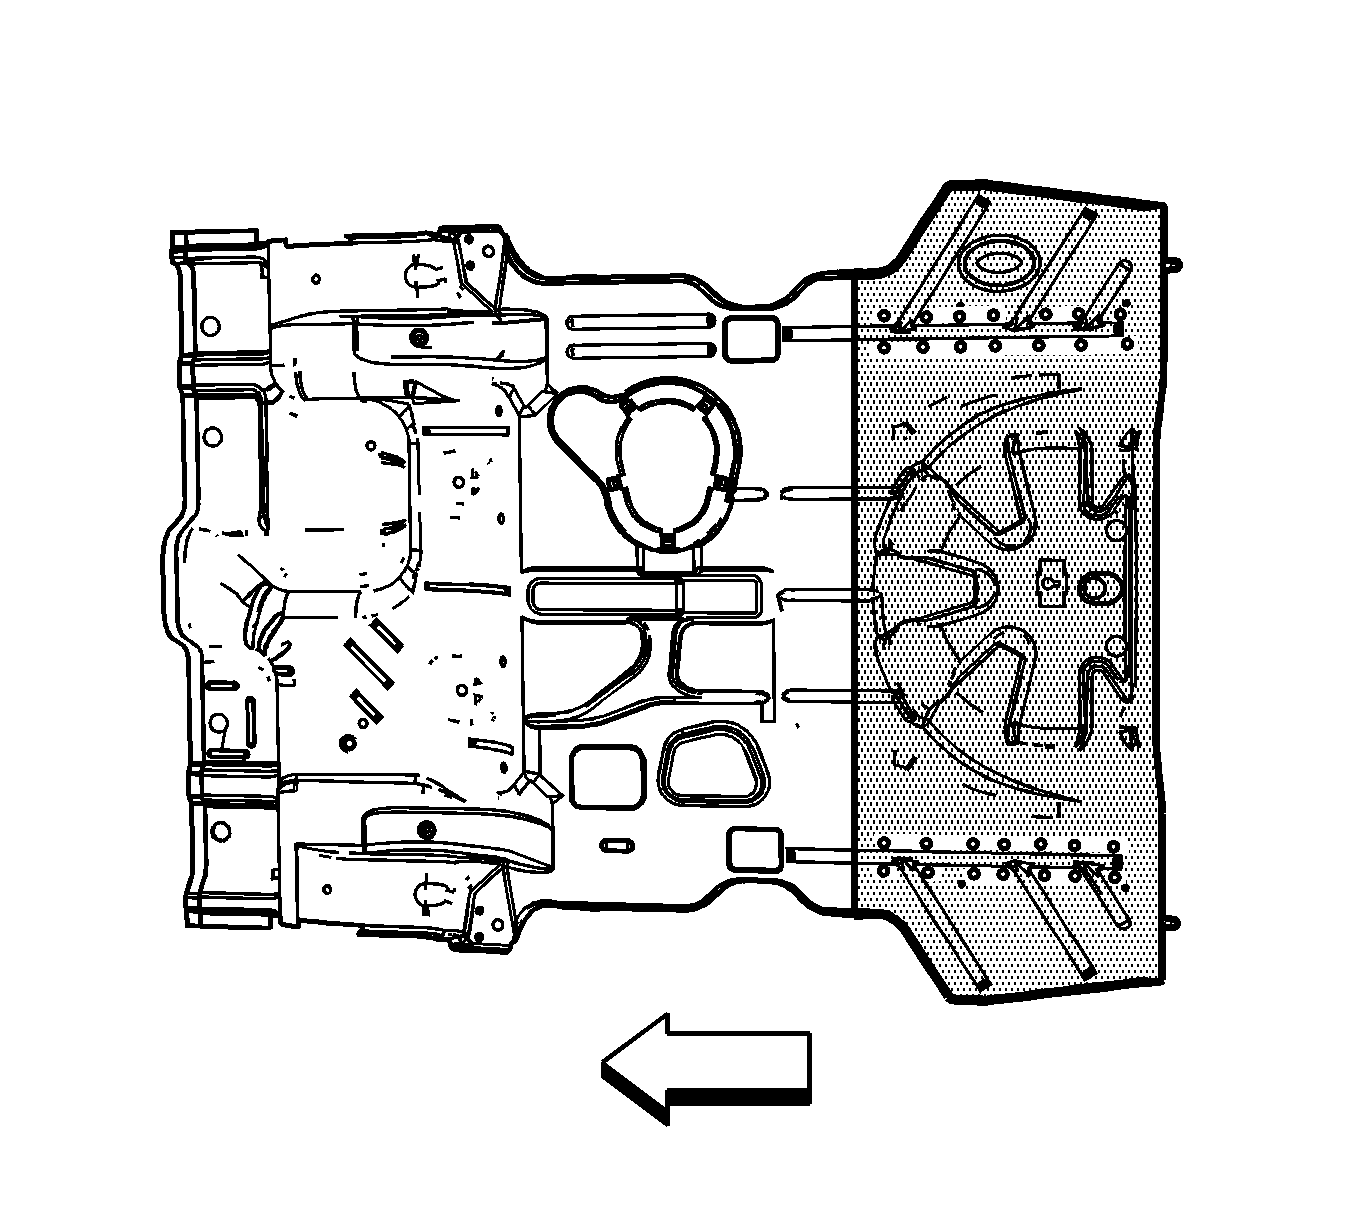
Important: Do not damage any inner panels or reinforcements.
Installation Procedure
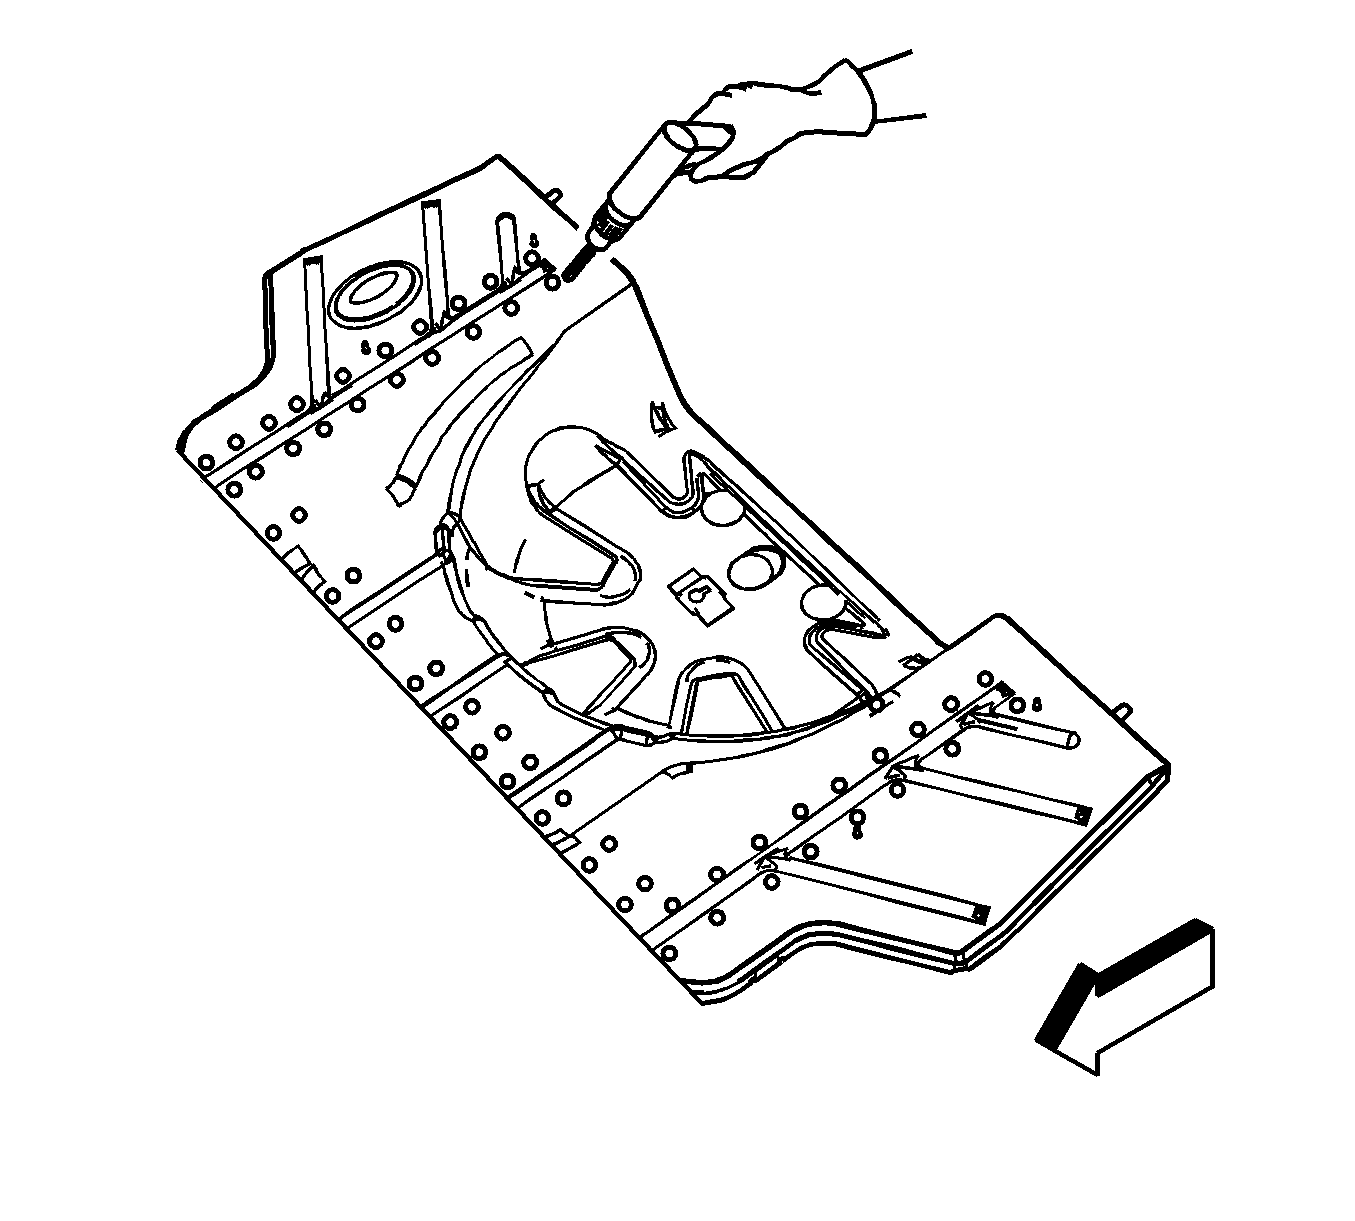
- Drill 8 mm (5/16 in) plug weld holes in the service part, as necessary in the corresponding locations noted on the original panel.
- Lay out and drill 2 additional rows of 8 mm (5/16 in) plug weld holes on top of the #5 bar weld flanges.
- Prepare all mating surfaces for welding, as necessary.
- Apply 3M Weld-Thru Coating P/N 05916 or equivalent to all mating surfaces.
- Position the rear floor pan to the vehicle using 3-dimensional measuring equipment. Clamp the part in place.
- Plug weld accordingly.
- Weld the seam along the front cut edge of the floor panel service part. To create a solid weld along the front of the service part with a minimum of heat distortion , make a stitch weld along the seam with 25 mm (1 in) gaps between each weld.
- Clean and prepare all welded surfaces.
- Paint the repaired area. Refer to Basecoat/Clearcoat Paint Systems .
- Apply the sealers and anti-corrosion materials to the repair area, as necessary. Refer to Anti-Corrosion Treatment and Repair .
- Install all related panels and components.
- Connect the negative battery cable. Refer to Battery Negative Cable Disconnection and Connection .
- Enable the SIR system. Refer to SIR Disabling and Enabling .