Wheel Drive Shaft Replacement FE1, FE3
Tools Required
| • | J 2619-O1 Slide Hammer With Adapter |
| • | J 29794 Axle Shaft Remover Extension |
| • | J 33008-A Wheel Drive Shaft Remover |
| • | J 42129 Hub Spindle Remover |
Removal Procedure
- Raise and support the vehicle. Refer to Lifting and Jacking the Vehicle .
- Remove the tire and wheel assembly. Refer to Tire and Wheel Removal and Installation .
- If equipped with road sensing suspension, disconnect the sensor link from the ball stud on the lower control arm. Refer to Electronic Suspension Front Position Sensor Replacement .
- Disconnect the outer tie rod end from the steering knuckle; do NOT loosen the tie rod end jam nut. Refer to Rack and Pinion Outer Tie Rod End Replacement .
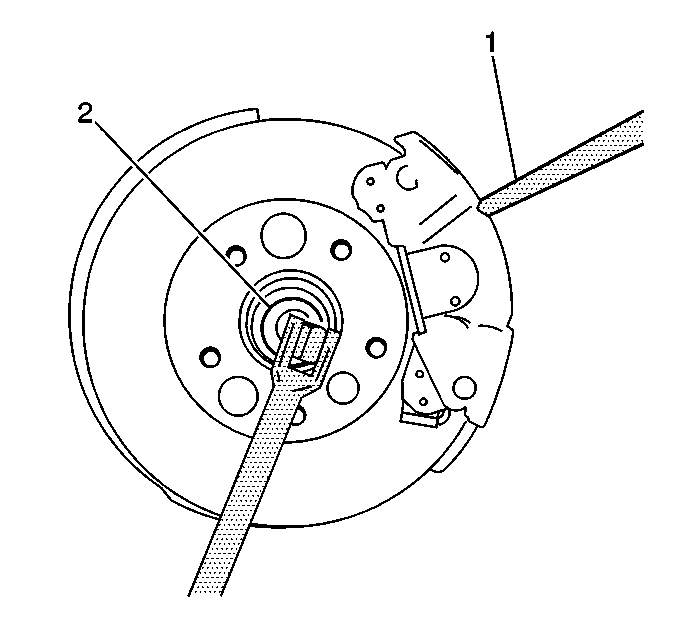
- Insert a drift or punch (1) into the brake rotor and against the brake caliper in order to prevent the wheel hub and bearing from turning.
- Remove and discard the wheel drive shaft spindle nut (2) retaining the wheel drive shaft to the hub.
- Remove the stabilizer shaft link. Refer to Stabilizer Shaft Link Replacement .
- Disconnect the electrical connector from the wheel speed sensor and reposition the wiring harness away from the ball joint.
- Disconnect the lower ball joint from the steering knuckle. Refer to Lower Control Arm Ball Joint Replacement .
- Install the J 42129 onto the wheel hub and secure with wheel nuts.
- Using the J 42129 , disengage the wheel drive shaft from the wheel hub and bearing and support the wheel drive shaft.
- Assemble the J 2619-O1 , the J 29794 , and the J 33008-A .
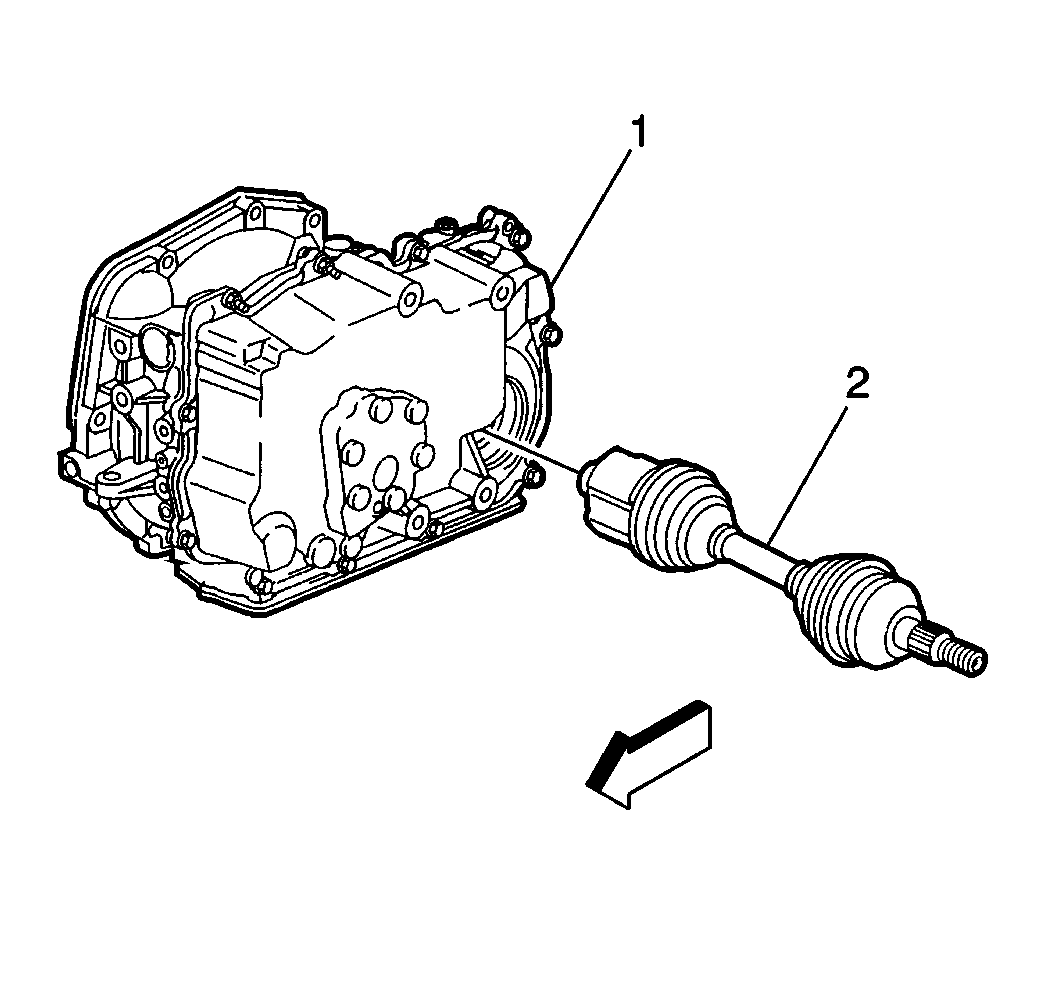
- Using the J 2619-O1 , the J 29794 , and the J 33008-A , disengage the wheel drive shaft (2) from the transaxle (1).
- Remove the wheel drive shaft from the vehicle.
Important: The wheel drive shaft spindle nut (2) must not be reused. Replace the wheel drive shaft spindle nut with a new nut whenever it is removed.
Important: Be sure that the wheel speed sensor wiring harness is repositioned away from the ball joint after disconnecting the electrical connector from the sensor.
Important: Be sure to support the wheel drive shaft until it is fully removed from the vehicle.
Installation Procedure
- Install the wheel drive shaft (2) to the transaxle (1).
- Verify that the wheel drive shaft is properly engaged to the transaxle by grasping the inner tripot housing and pulling outward. Do not pull on the wheel drive shaft bar.
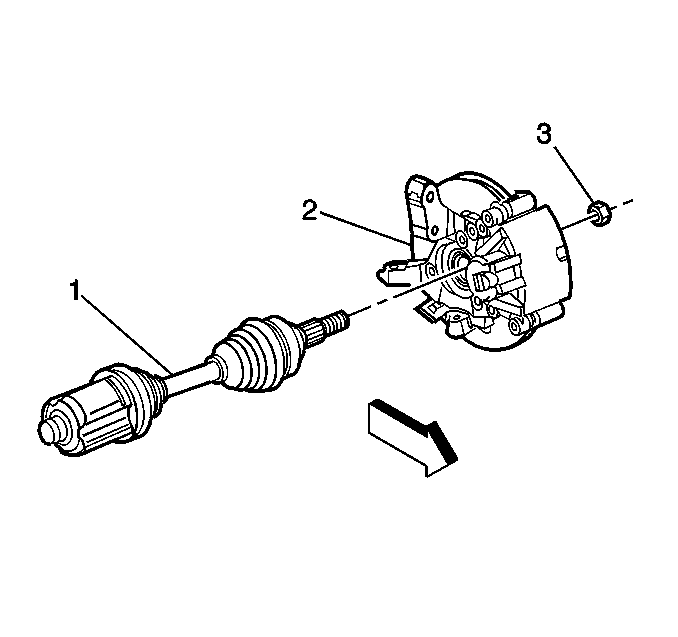
- Install the wheel drive shaft to the hub and bearing (2).
- Connect the ball joint to the steering knuckle. Refer to Lower Control Arm Ball Joint Replacement .
- Connect the wheel speed sensor electrical connector.
- Install the stabilizer shaft link. Refer to Stabilizer Shaft Link Replacement .
- Insert a drift or punch (1) into the rotor and against the caliper in order to prevent the hub and bearing from turning.
- Install the new wheel drive shaft spindle nut (2) to the wheel drive shaft.
- Connect the outer tie rod end to the steering knuckle. Refer to Rack and Pinion Outer Tie Rod End Replacement .
- If equipped with road sensing suspension, connect the level sensor link to the ball stud on the lower control arm. Refer to Electronic Suspension Front Position Sensor Replacement .
- Install the tire and wheel assembly. Refer to Tire and Wheel Removal and Installation .
- Lower the vehicle.

The wheel drive shaft will remain firmly in place when properly engaged.

Notice: Use the correct fastener in the correct location. Replacement fasteners must be the correct part number for that application. Fasteners requiring replacement or fasteners requiring the use of thread locking compound or sealant are identified in the service procedure. Do not use paints, lubricants, or corrosion inhibitors on fasteners or fastener joint surfaces unless specified. These coatings affect fastener torque and joint clamping force and may damage the fastener. Use the correct tightening sequence and specifications when installing fasteners in order to avoid damage to parts and systems.
Tighten
Tighten the wheel drive shaft spindle nut to 160 N·m (118 lb ft).
Wheel Drive Shaft Replacement FE7
Tools Required
| • | J 2619-O1 Slide Hammer With Adapter |
| • | J 29794 Extension |
| • | J 33008-A Wheel Drive Shaft Remover |
| • | J 45859 Hub Spindle Remover |
Removal Procedure
- Raise and support the vehicle. Refer to Lifting and Jacking the Vehicle .
- Remove the tire and wheel assembly. Refer to Tire and Wheel Removal and Installation .
- If equipped with road sensing suspension, disconnect the level sensor link from the ball stud on the lower control arm. Refer to Electronic Suspension Front Position Sensor Replacement .
- Disconnect the outer tie rod end from the steering knuckle; do NOT loosen the tie rod end jam nut. Refer to Rack and Pinion Outer Tie Rod End Replacement .
- Insert a drift or punch into the brake rotor and against the brake caliper in order to prevent the wheel hub and bearing from turning.
- Remove and discard the wheel drive shaft spindle nut retaining the wheel drive shaft to the hub.
- Remove the stabilizer shaft link. Refer to Stabilizer Shaft Link Replacement .
- Disconnect the electrical connector from the wheel speed sensor and reposition the wiring harness away from the ball joint.
- Disconnect the lower ball joint from the steering knuckle. Refer to Lower Control Arm Ball Joint Replacement .
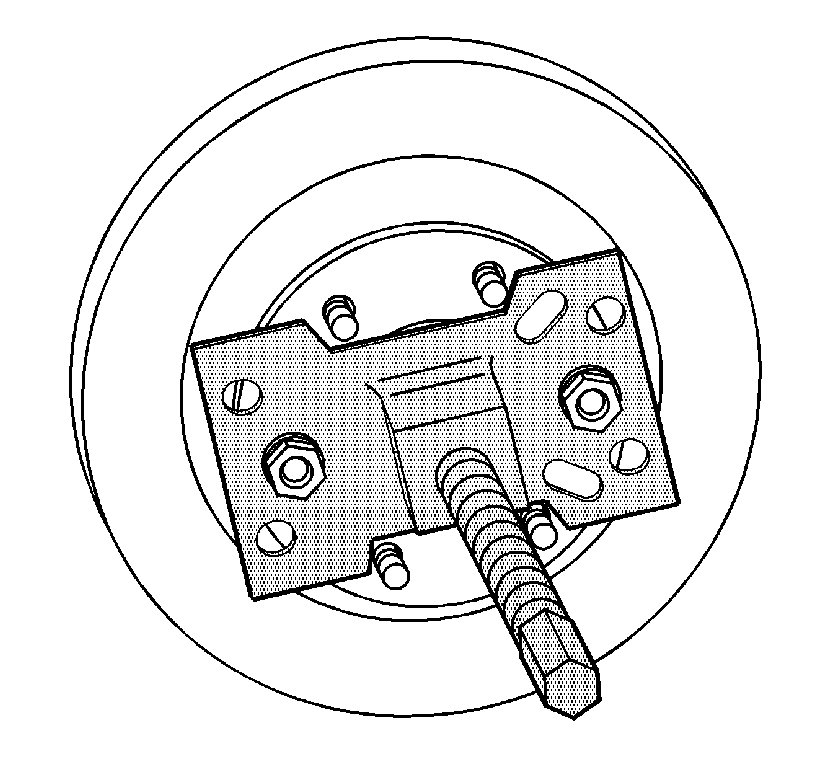
- Install the J 45859 , CJ129 Universal Hub Puller - Snap-on, 7394 Universal Hub Puller - OTC, or equivalent to the wheel bearing/hub.
- Using the J 45859 , CJ129 Universal Hub Puller - Snap-on, 7394 Universal Hub Puller - OTC, or equivalent , carefully disengage the wheel drive shaft from the wheel bearing/hub.
- Assemble the J 2619-O1 , the J 29794 , and the J 33008-A .
- Using the J 2619-O1 , the J 29794 , and the J 33008-A , disengage the wheel drive shaft (2) from the transaxle (1).
- Remove the wheel drive shaft from the vehicle.
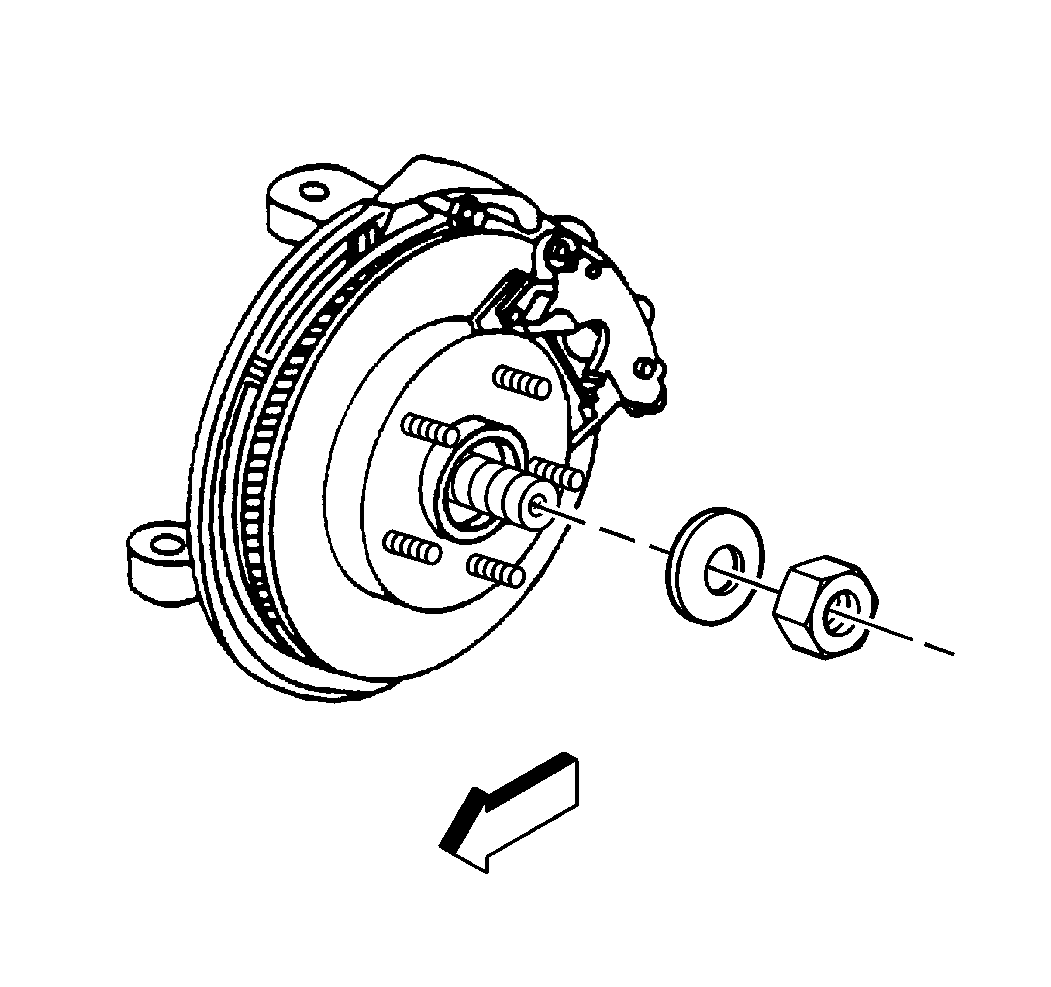
Important: The front wheel drive axle nut must not be reused. Replace the front wheel drive axle nut with a NEW nut whenever it is removed.
Important: Be sure that the wheel speed sensor wiring harness is repositioned away from the ball joint after disconnecting the electrical connector from the sensor.
Important: Be sure to support the wheel drive shaft until it is fully removed from the vehicle.

Installation Procedure
- Install the wheel drive shaft (2) to the transaxle (1).
- Verify that the wheel drive shaft is properly engaged to the transaxle by grasping the inner tripot housing and pulling outward. Do not pull on the wheel drive shaft bar.
- Install the wheel drive shaft to the hub and bearing (2).
- Connect the ball joint to the steering knuckle. Refer to Lower Control Arm Ball Joint Replacement .
- Connect the wheel speed sensor electrical connector.
- Install the stabilizer shaft link. Refer to Stabilizer Shaft Link Replacement .
- Insert a drift or punch (1) into the rotor and against the caliper in order to prevent the hub and bearing from turning.
- Thoroughly clean the residue from the male threads of the wheel drive axle by using denatured alcohol or equivalent and allow to dry.
- Apply threadlocker GM US P/N 12345493 (Canadian P/N 10953488), or equivalent to two-thirds of the threaded length of male threads of the wheel drive axles. Ensure that there are no gaps in the threadlocker along the length of the filled area of the threads.
- Allow the threadlocker to cure approximately ten minutes before installation.
- Install the new wheel drive shaft spindle nut to the wheel drive shaft.
- Connect the outer tie rod end to the steering knuckle. Refer to Rack and Pinion Outer Tie Rod End Replacement .
- If equipped with road sensing suspension, connect the level sensor link to the ball stud on the lower control arm. Refer to Electronic Suspension Front Position Sensor Replacement .
- Install the tire and wheel assembly. Refer to Tire and Wheel Removal and Installation .
- Lower the vehicle.

The wheel drive shaft will remain firmly in place when properly engaged.

Important: The male threads of the wheel drive axle must be free of residue and debris prior to reapplication of threadlocker in order to ensure proper adhesion and fastener retention.
Notice: Refer to Fastener Notice in the Preface section.

Tighten
Tighten the wheel drive shaft spindle nut to 230 N·m (170 lb ft).
