Removal Procedure
Caution: In order to avoid being burned, do not service the exhaust system while it is still hot. Service the system when it is cool.
Caution: Always wear protective goggles and gloves when removing exhaust parts as falling rust and sharp edges from worn exhaust components could result in serious personal injury.
- Raise and support the vehicle. Refer to Lifting and Jacking the Vehicle .
- Support the exhaust system near the resonator with a suitable jack.
- Remove the oxygen sensor. It is not necessary to disconnect the electrical connector.
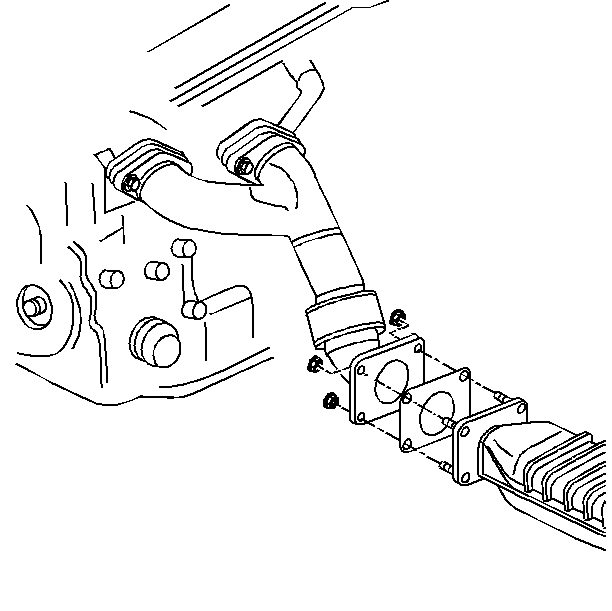
- Remove the nuts securing the catalytic converter to the exhaust manifold pipe.
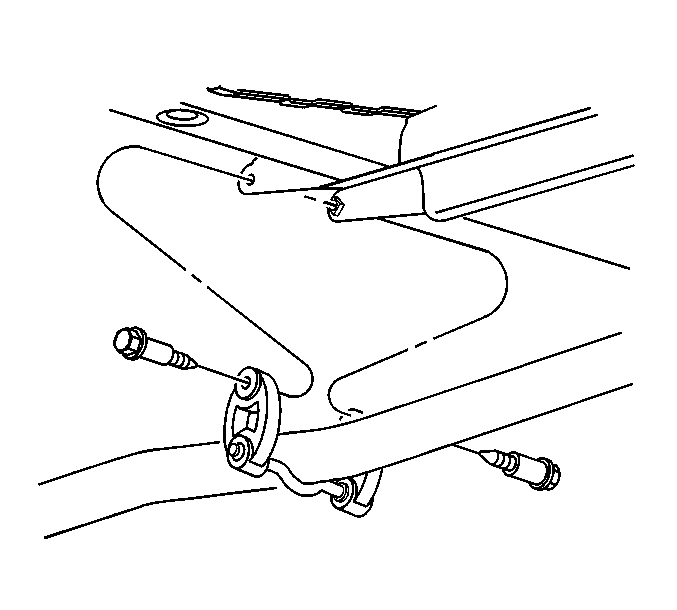
- Remove the bolts securing the center exhaust hangers to the rear suspension support brackets.
- Remove the catalytic converter from the manifold pipe.
- Lower the exhaust system.
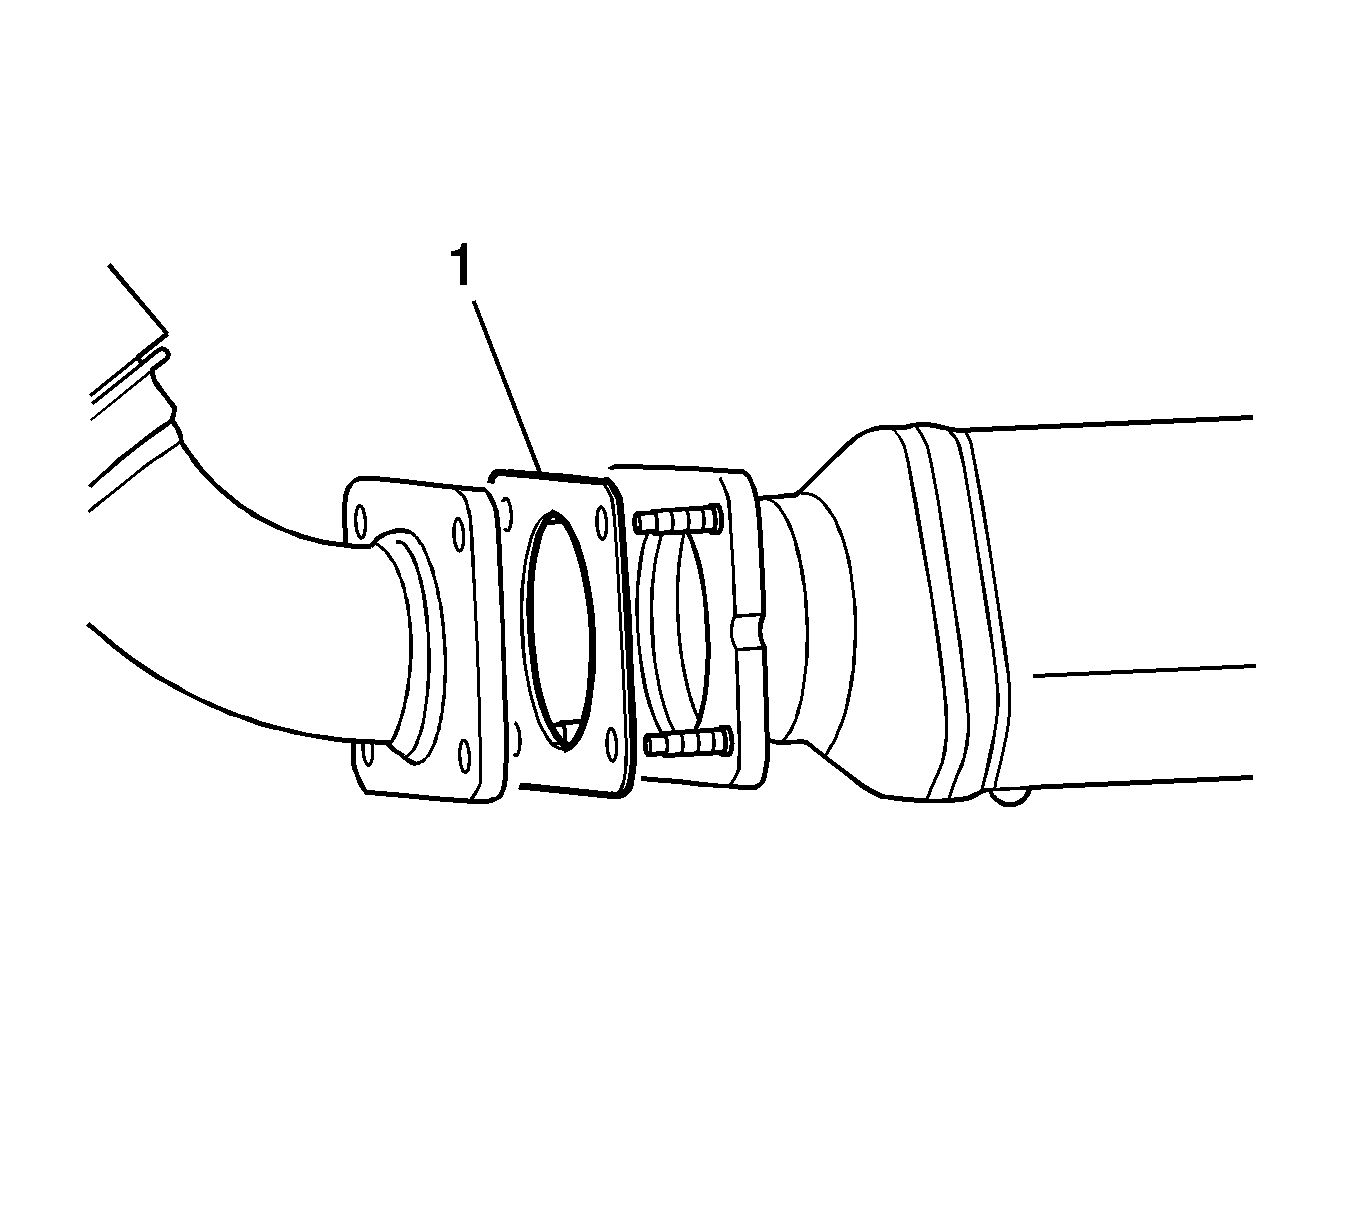
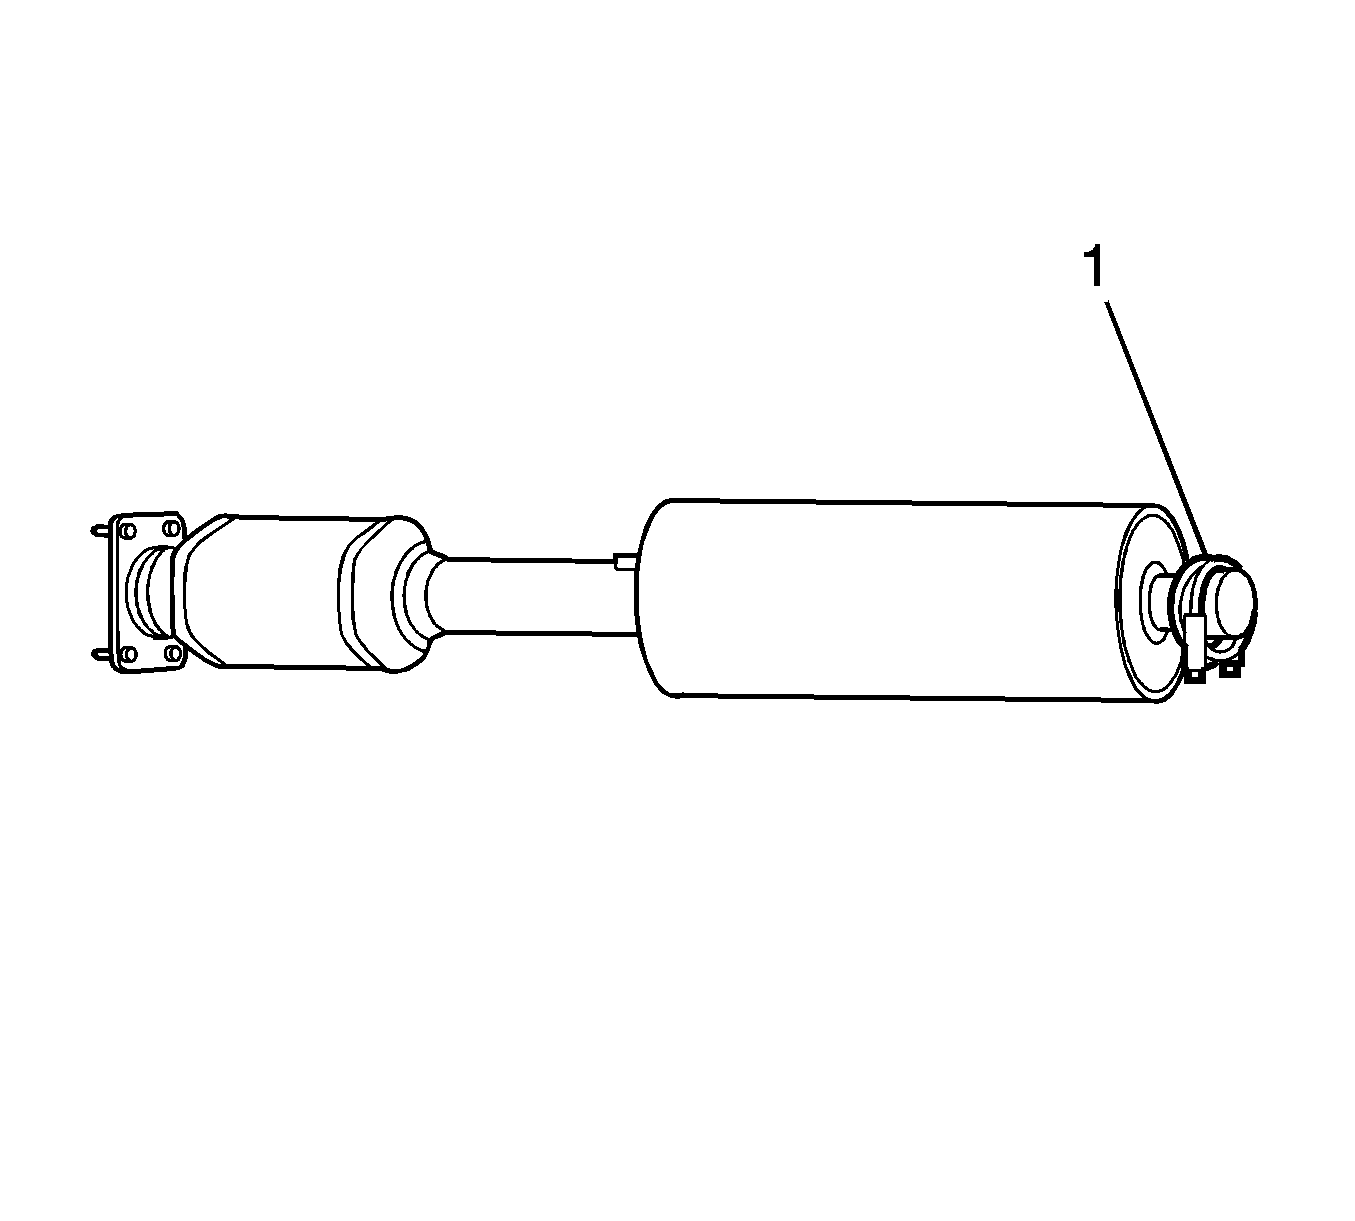
- Remove the catalytic converter gasket (1). Do not reuse the gasket.
- Cut the intermediate pipe 34 mm (1.3 in) from the resonator weld.
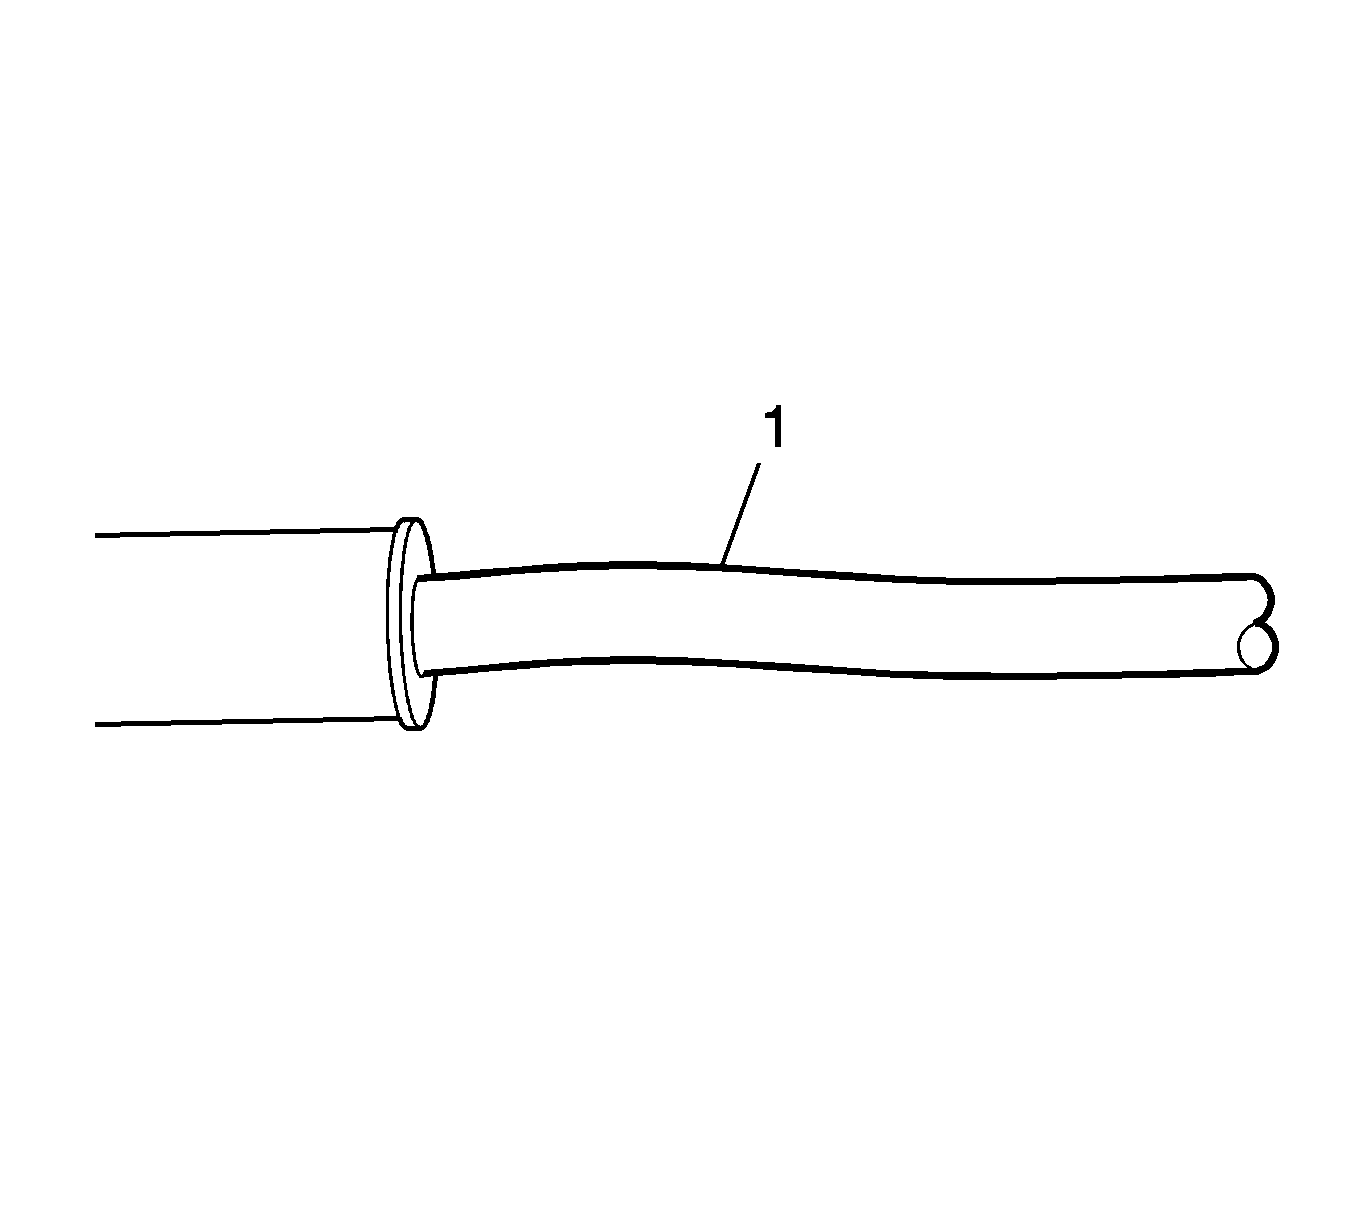
Important: Ensure the cut (1) is made 34 mm (1.3 in) from the weld on the intermediate pipe.
Installation Procedure
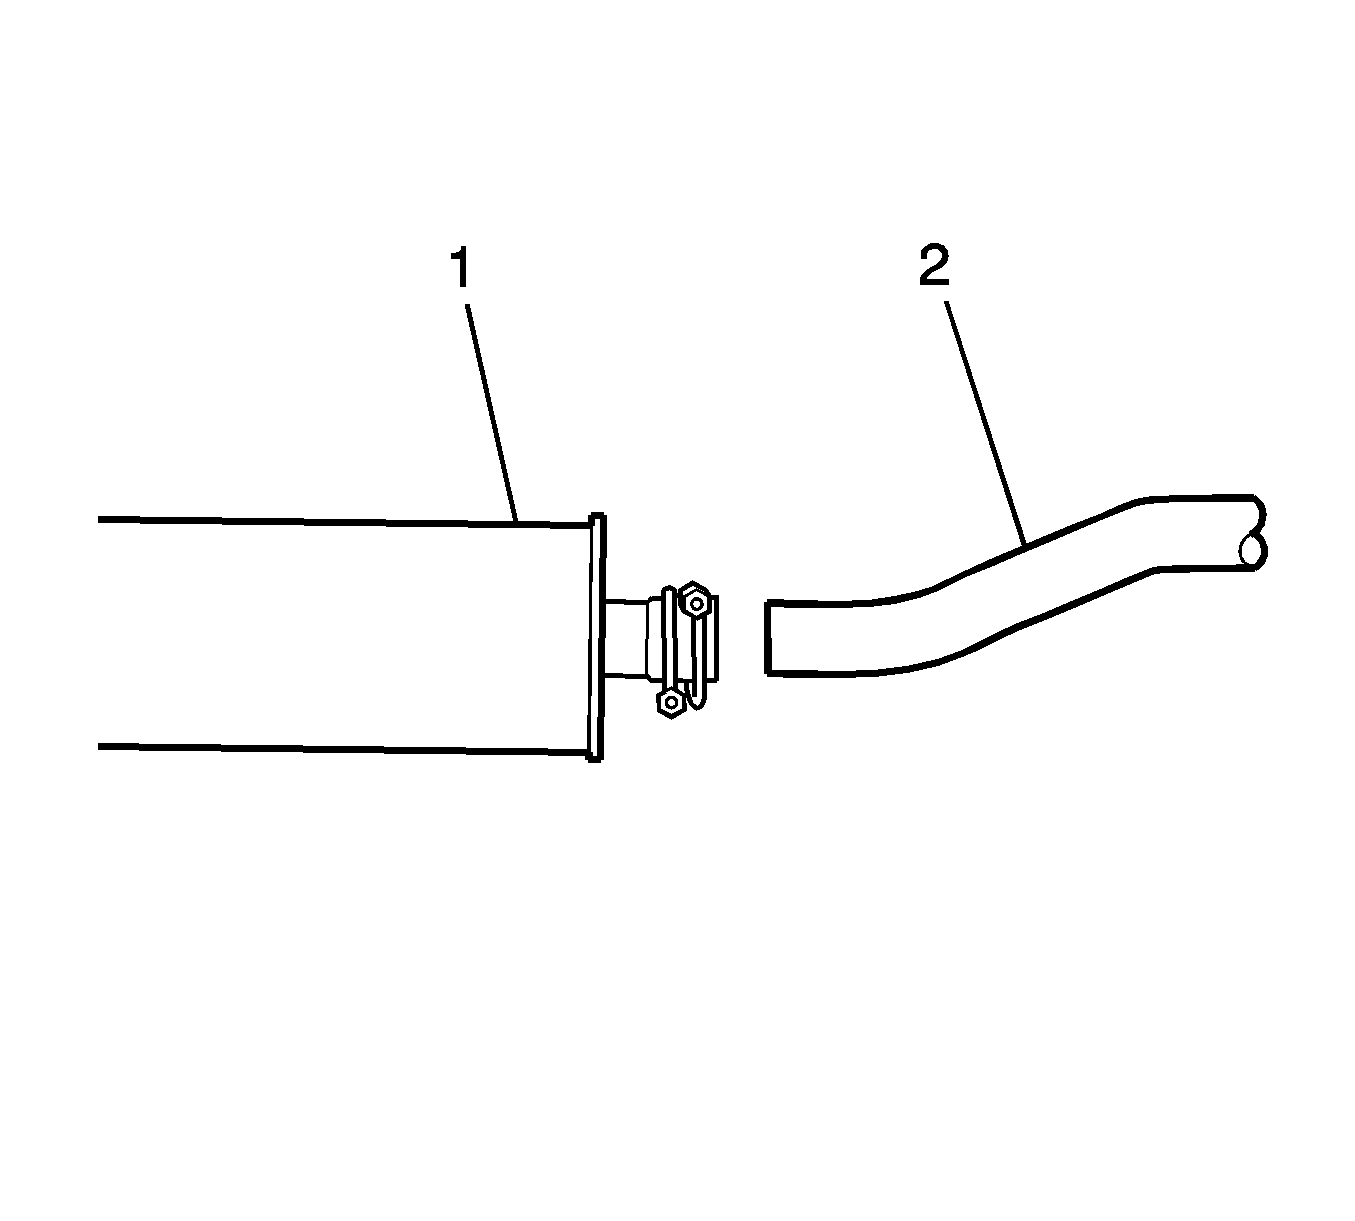
- Slide 2 service clamps (1) over the catalytic converter assembly outlet pipe.
- Slide the catalytic converter assembly (1) outlet pipe over the intermediate pipe (2).
- Place a NEW catalytic converter gasket over the catalytic converter studs.
- Raise the exhaust system into position, aligning the catalytic converter with the exhaust manifold pipe.
- Install the nuts securing the catalytic converter to the exhaust manifold pipe.
- Install the bolts securing the center exhaust hangers to the rear suspension support brackets.
- Tighten the catalytic converter nuts.
- Remove the jack from under the vehicle.
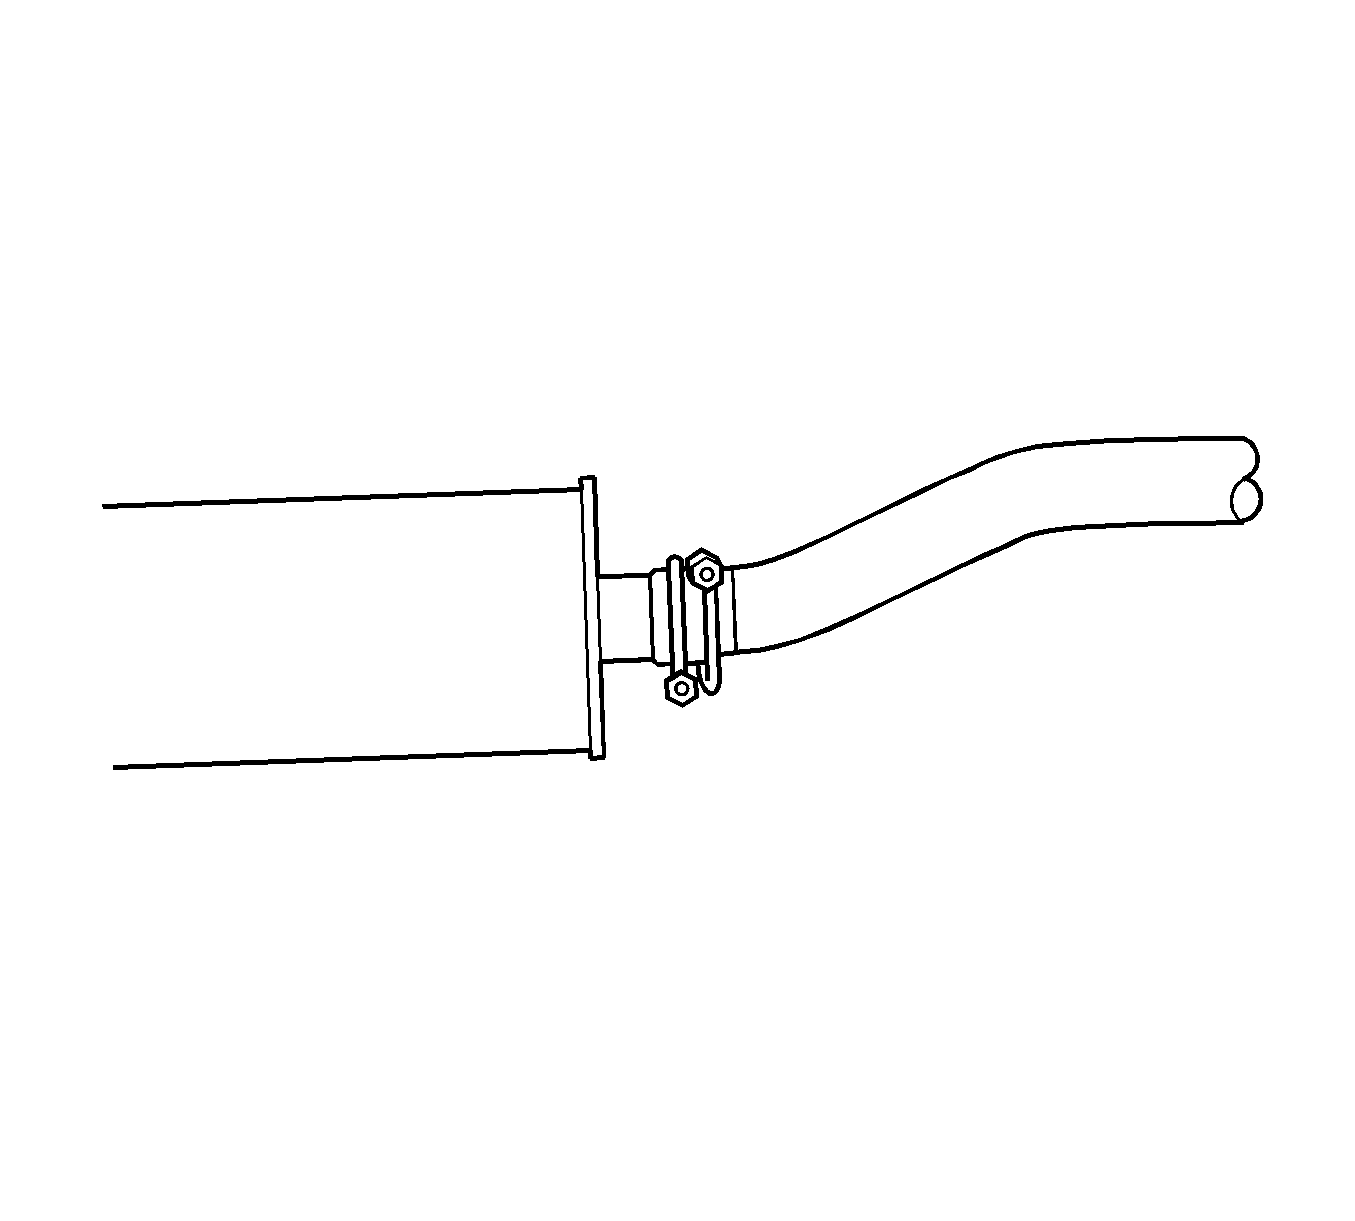
- Position the service clamps midway on the catalytic converter assembly outlet pipe, as close together as possible.
- Rotate the clamps so the fastening ends are pointing in opposite directions.
- Lower the vehicle.
- Check the exhaust system for leaks.
Do not tighten at this time.
Important: Ensure the O2 sensor boss is facing the right side of the vehicle.

Notice: When inspecting or replacing exhaust system components, make sure there is adequate clearance from all points on the underbody to prevent overheating of the floor pan and possible damage to the passenger compartment insulation and trim materials.
Notice: Do not over-flex or damage the flex joint when moving the flex joint from the normal mounting position.
Do not tighten at this time.
Notice: Refer to Fastener Notice in the Preface section.

Tighten
Tighten the center exhaust hanger bolts to 30 N·m (22 lb ft).
Tighten
Tighten the catalytic converter nuts in a crisscross pattern to 25 N·m (18 lb ft).
Tighten
Tighten the service clamps to 54 N·m (40 lb ft).
