For 1990-2009 cars only
Removal Procedure
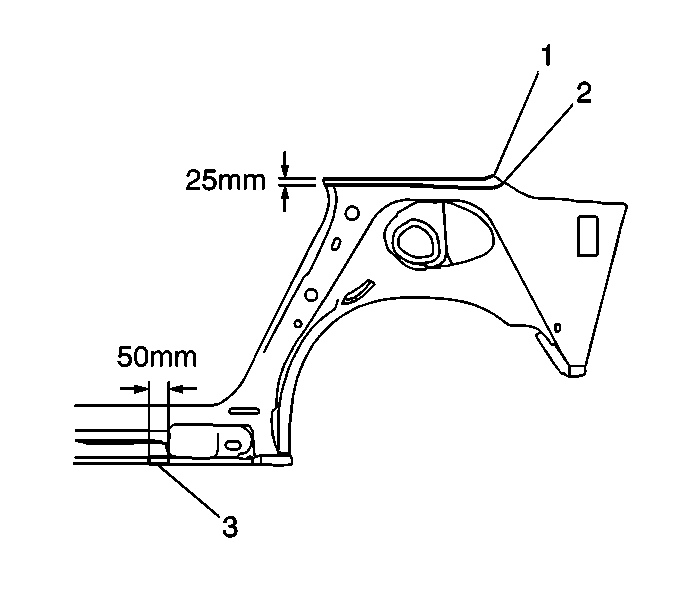
- Locate horizontal laser-weld line (1) in upper quarter area.
- Measure down 25 mm (1 in) and scribe a cut line (2).
- On the vehicle rocker area, locate and scribe a vertical cut line in the recommended section area (3).
- Cut panel at marked locations (2, 3).
- Drill out factory welds. Note the number and locatin of welds.
- Remove the damaged panel.

Preparation of Service Part
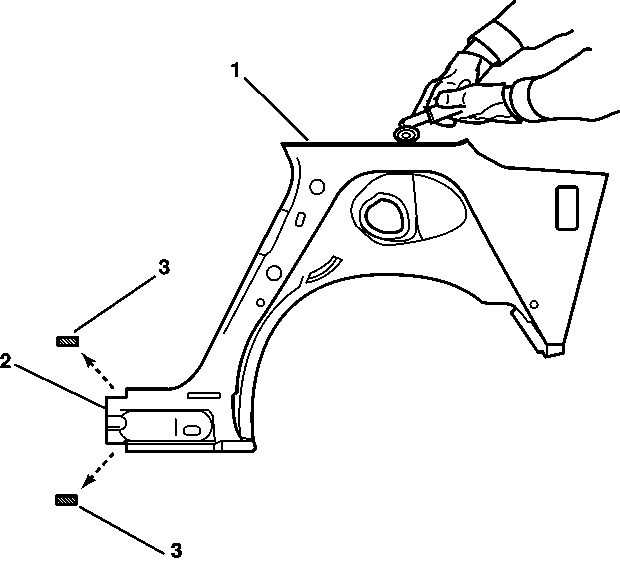
- Locat laser weld line (1) on service part.
- Cut along laser weld line.
- In specified sectioning location of rocker area, create a vertical cut line (2). Allow for a 50 mm (2 in) overlap of service part to rocker area on the vehicle.
- Cut service part along marked locations.
- Trim a 20 mm x 50 mm (7/8 x 2 in) tab at top and bottom of section area of service part to allow for a flush fit at pinch welds (3).
- Drill plug weld holes in service part as noted from original panel.
- Drill 8 mm (5/16 in) plug weld holes along section areas 25 mm (1 in) from the edge on the tocker and 10 mm (7/16 in) from edge in upper quarter area.

Installation Procedure
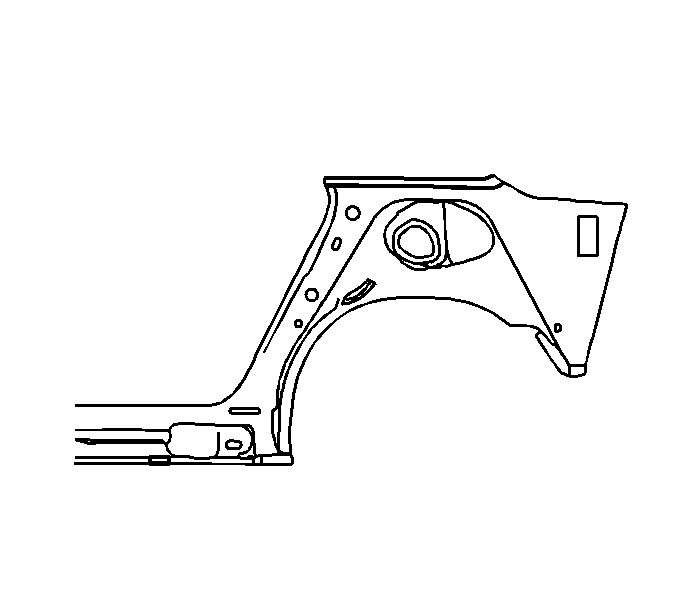
- Install new part and clamp in place. Check for fit.
- Apply two-part catalyzed primer.
- Spot blast weld areas.
- Perform stitch weld and plug welds..
- Grind and finish as necessary
- Use a brushable seam sealer on inside seam.
- Install all related panels and components.

