Tools Required
J 38778 Door Trim Pad and Garnish Clip Remover
Removal Procedure
- Disable the SIR. Refer to Disabling the SIR System in SIR.
- Adjust the front seat to the up position until maximum travel is reached.
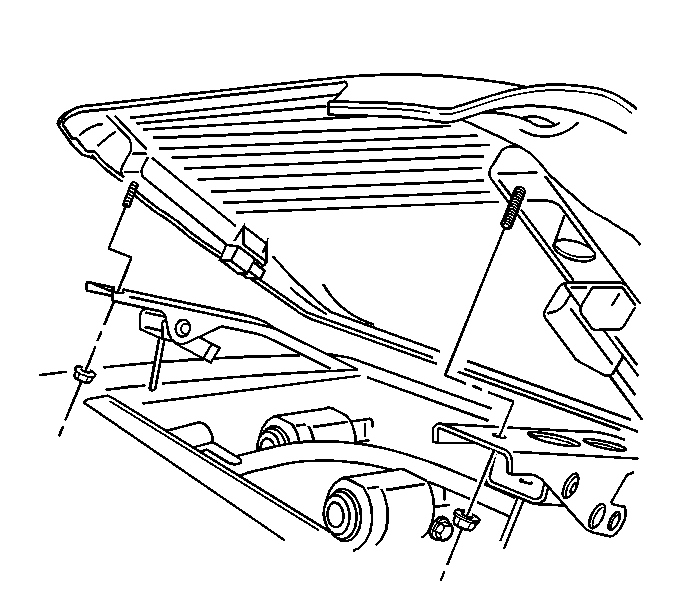
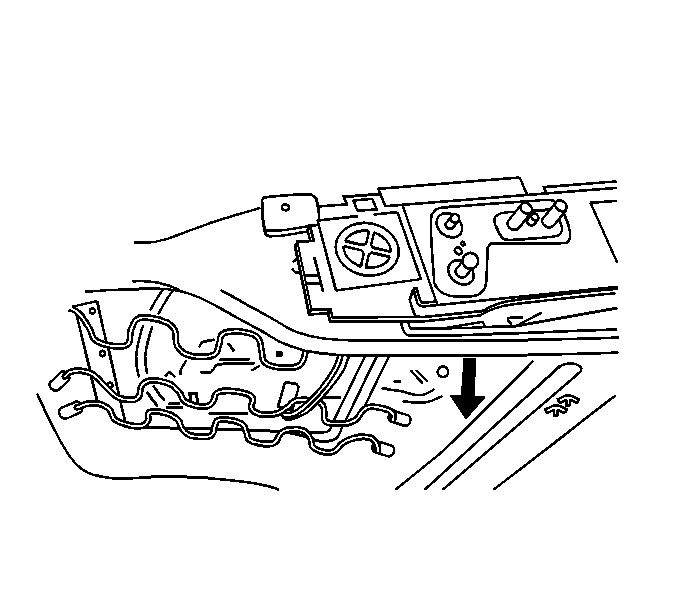
- Remove the fasteners retaining the cushion to the seat adjuster.
- Disconnect the heated seat cushion electrical connectors and the lumbar air lines, if equipped.
- Disconnect the heated seat module and the memory seat module electrical connectors if equipped.
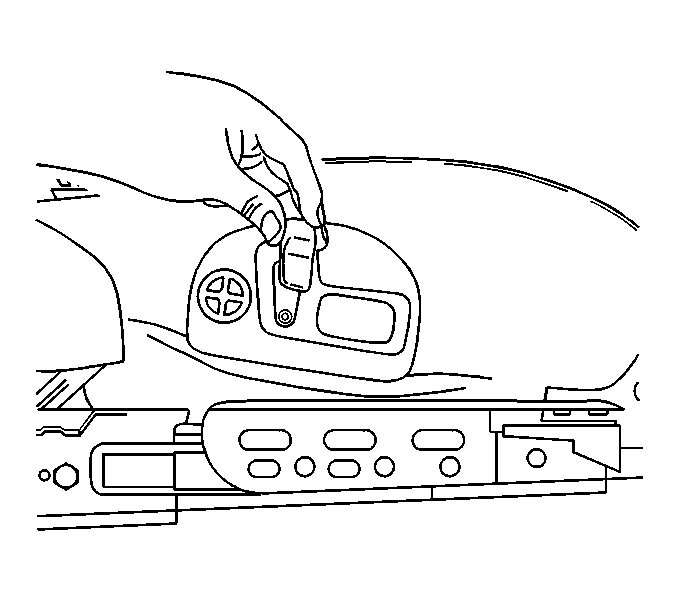
- Remove the knobs from the switch.
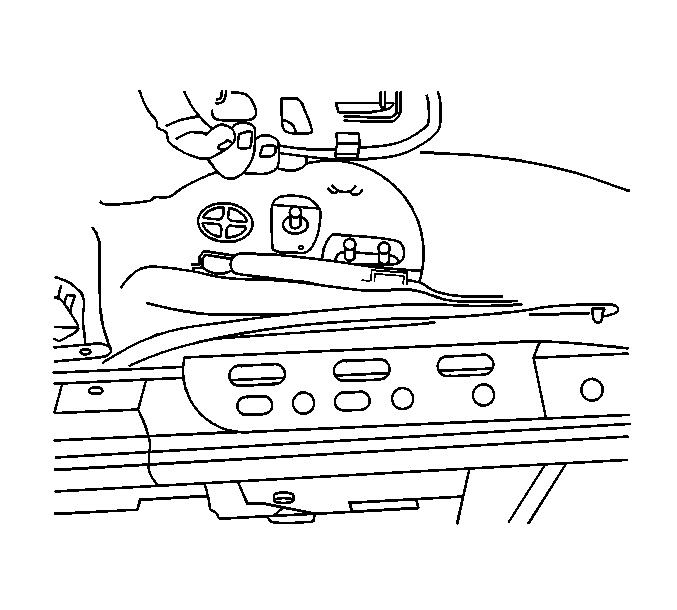
- Remove the 2 push pins from the inside of the switch trim plate, on the bottom edge of the trim plate.
- Release the tabs at the bottom of the switch plate.
- Remove the switch trim plate.
- Remove the J channels from the seat cushion.
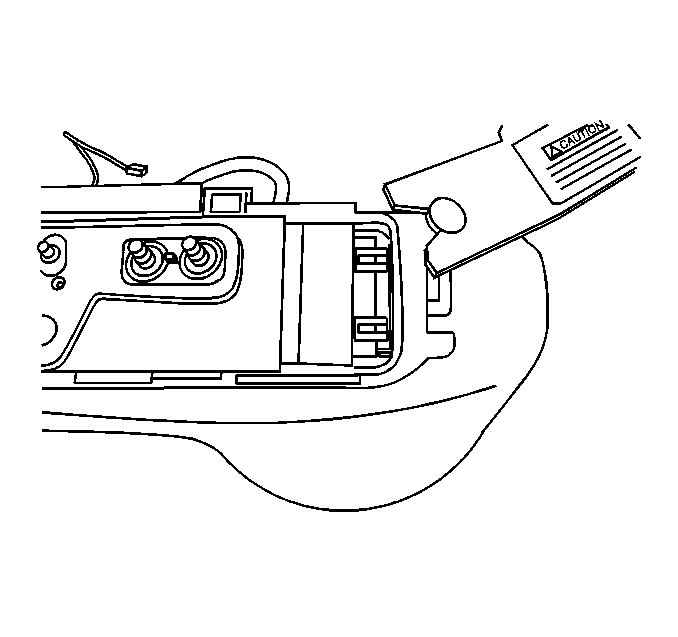
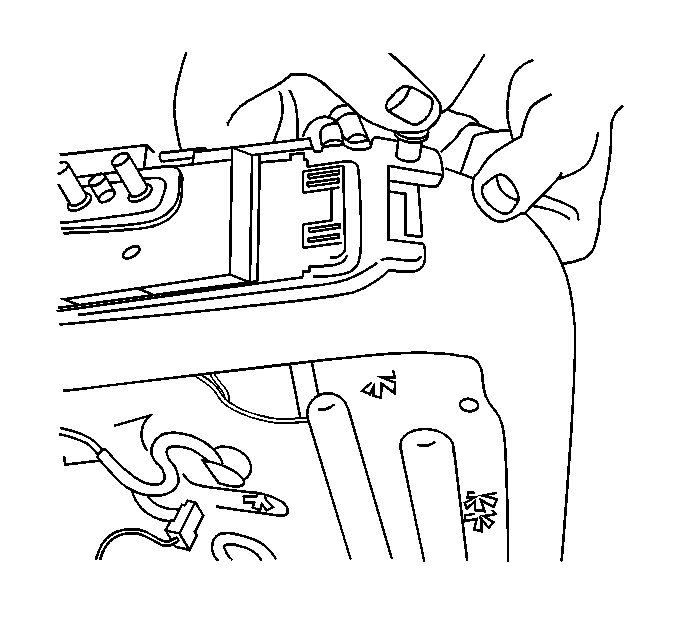
- Pull the front seat cushion cover up in order to expose the seat switch.
- Using the J 38778 , remove the switch bracket retainers.
- Release the locking tabs on the switch bracket, and slide the seat switch from the seat bottom.
- Disconnect the electrical connector from the switch.
- Remove the front seat cushion and frame assembly from the adjuster.
Caution: When you are performing service on or near the SIR components or the SIR wiring, you must disable the SIR system. Refer to Disabling the SIR System. Failure to follow the correct procedure could cause air bag deployment, personal injury, or unnecessary SIR system repairs.
Angle the front of the seat cushion up in order to access the seat cushion fasteners.
Installation Procedure
- Connect the electrical connector to the seat switch.
- Slide the seat switch and bracket assembly onto the seat bottom.
- Install the seat switch bracket retainers into the seat bottom.
- Pull the seat cover back down over the switch and align holes in the cover to the switch assembly.
- Install the seat cover J channels to the seat bottom frame.
- Install the seat switch trim plate.
- Install the knobs to the switches.
- Align the front seat cushion and frame assembly with the seat adjuster.
- Connect the front heated seat cushion electrical connectors and the lumbar air lines, if equipped.
- Connect the heated seat module and the memory seat module electrical connectors if equipped.
- Engage the rear of the seat cushion with the seat adjuster, push down on the front of the cushion in order to engage the studs in the seat adjuster.
- Install the seat cushion fasteners.
- Enable the SIR. Refer to Enabling the SIR System in SIR.


Notice: Use the correct fastener in the correct location. Replacement fasteners must be the correct part number for that application. Fasteners requiring replacement or fasteners requiring the use of thread locking compound or sealant are identified in the service procedure. Do not use paints, lubricants, or corrosion inhibitors on fasteners or fastener joint surfaces unless specified. These coatings affect fastener torque and joint clamping force and may damage the fastener. Use the correct tightening sequence and specifications when installing fasteners in order to avoid damage to parts and systems.
Tighten
Tighten the fasteners to 9 N·m (80 lb in).
