For 1990-2009 cars only
Night Vision Camera Protective Window Replacement Design 2
Removal Procedure
- Disconnect the night vision camera (1) electrical connectors (2).
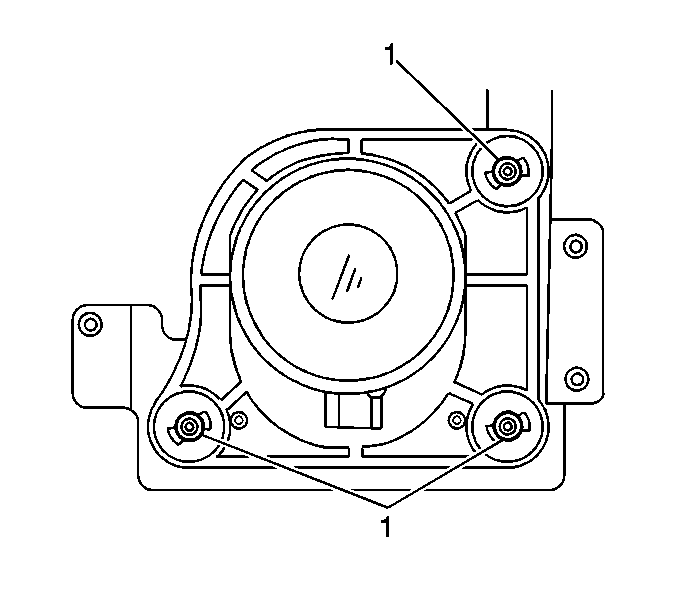
- Turn the three camera retainers (1) 90 degrees in order to remove the camera from the mounting bracket.
- Remove the night vision camera from the mounting bracket.
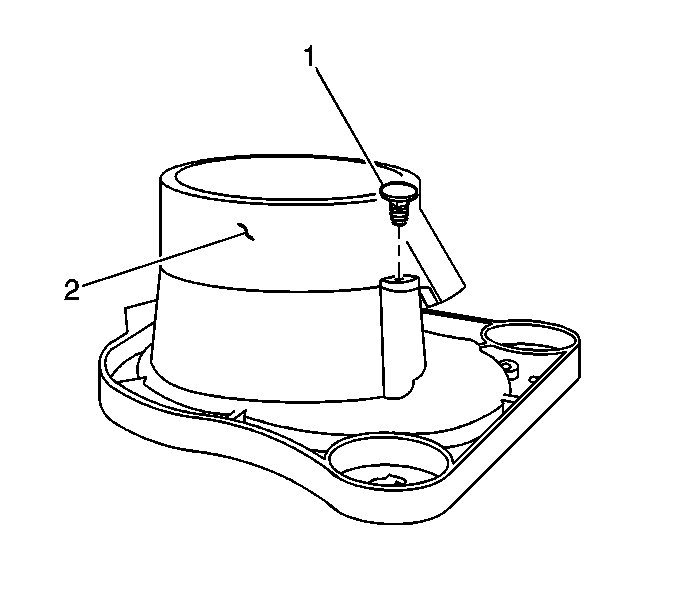
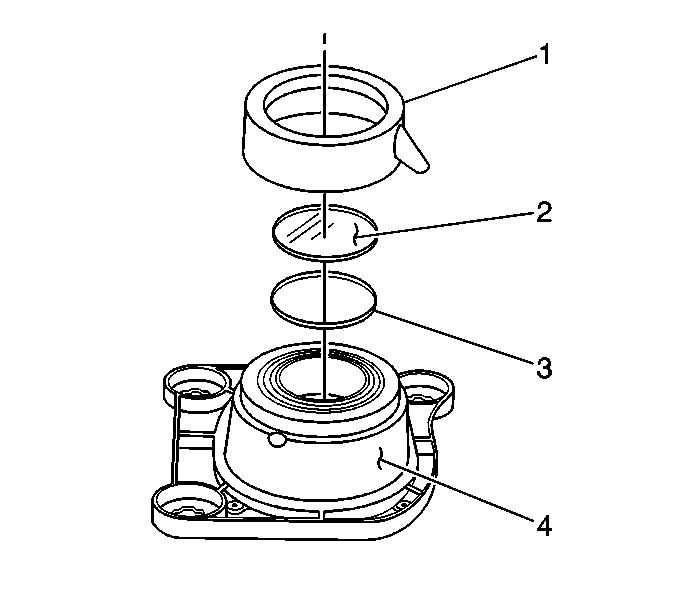
- Remove the retainer (1) from the night vision camera window.
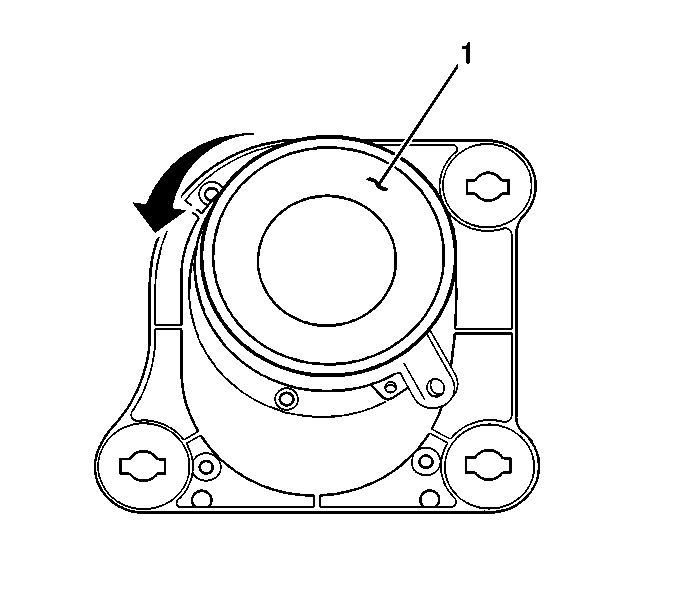
- Rotate the window cap (1) counter clockwise, approximately 45 degrees.
- Remove the window cap (1) from the night vision camera (4).
- Remove the window (2).
- Remove the O-ring (3).
Important: The first design night vision camera is not serviceable and must be sent to an authorized service center for repair.
The second design night vision camera has a serviceable window. The second design camera can be recognized by the electrical connection near the window. If the night vision camera is removed or adjusted for any reason, it must be aimed. Refer to Night Vision Camera Aiming .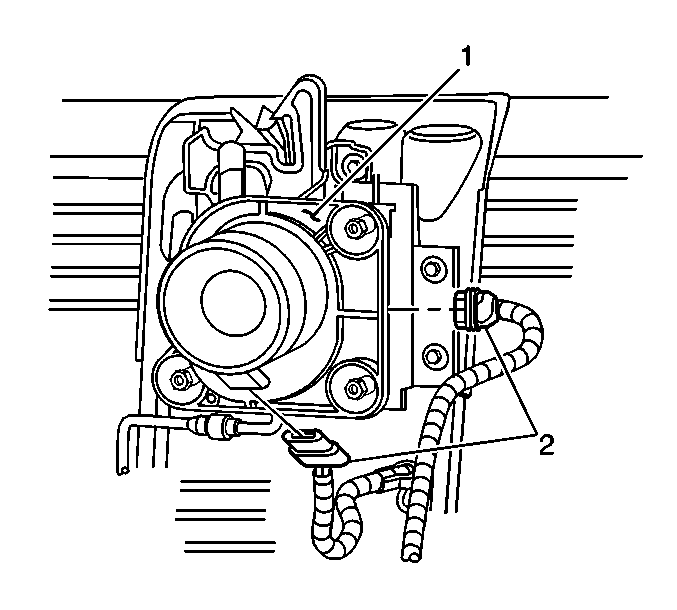
Installation Procedure
- Clean the debris from the cavity in the night vision camera (4) using a soft brush and soapy water.
- Rinse the cavity with clear water and blow dry with 551-896 kpa (80-130 psi) compressed air.
- Blow dry the cavity for a minimum of 2 minutes to ensure that all trapped water is removed.
- Install the night vision camera window O-ring (3) to the camera (4).
- Install the window (2) into the window cap (1) with the black side of the window / lens facing the outside of the camera assembly.
- Install the window (2) and the window cap (1) to the camera (4).
- Rotate the camera window cap (2) clockwise in order to secure the window to the camera.
- Align the retainer holes, and install the new window retainer (1).
- Install the night vision camera to the mounting bracket and turn the retainers (1) 90 degrees.
- Connect the electrical connectors (2).
- Perform aiming procedure for night vision camera (1). Refer to Night Vision Camera Aiming .

Important: The night vision camera window has two surfaces. One surface is "mirrored", the other surface is "black".
The black side of the window is coated with a scratch resistant material. The black surface on the night vision camera window faces toward outside of the camera.
Important: Make sure the retainers are fully turned and in the locked position.


