For 1990-2009 cars only
Center Pillar Garnish Molding Replacement Standard
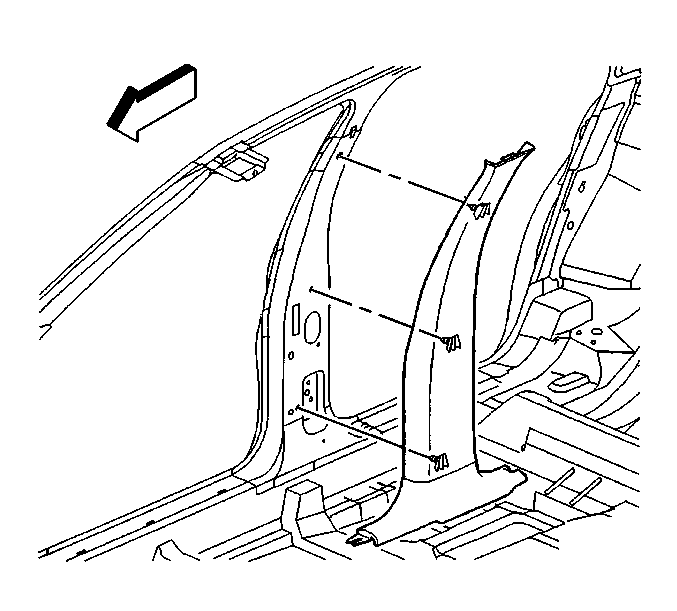
Removal Procedure
- Remove the rear carpet retainer. Refer to Rear Carpet Retainer Replacement .
- Remove the front carpet retainer. Refer to Front Carpet Retainer Replacement .
- Pull out on the center pillar garnish molding to disengage the retainer clips.
- Remove the center pillar garnish molding.
Caution: In order to prevent SIR deployment, personal injury, or unnecessary SIR system repairs, do not strike the door or the door pillar in the area of the side impact sensor (SIS). Turn OFF the ignition and remove the key when performing service in the area of the SIS.
Installation Procedure
- Align the center pillar garnish molding clips to the holes in the center pillar.
- Push in on the center pillar garnish molding to engage the retainers.
- Install the rear carpet retainer. Refer to Rear Carpet Retainer Replacement .
- Install the front carpet retainer. Refer to Front Carpet Retainer Replacement .
Center Pillar Garnish Molding Replacement WC2, WC8
Removal Procedure
- Remove the weatherstrip from the front and the rear doors. Refer to Front Door Opening Weatherstrip Replacement and to Rear Door Opening Weatherstrip Replacement in Doors.
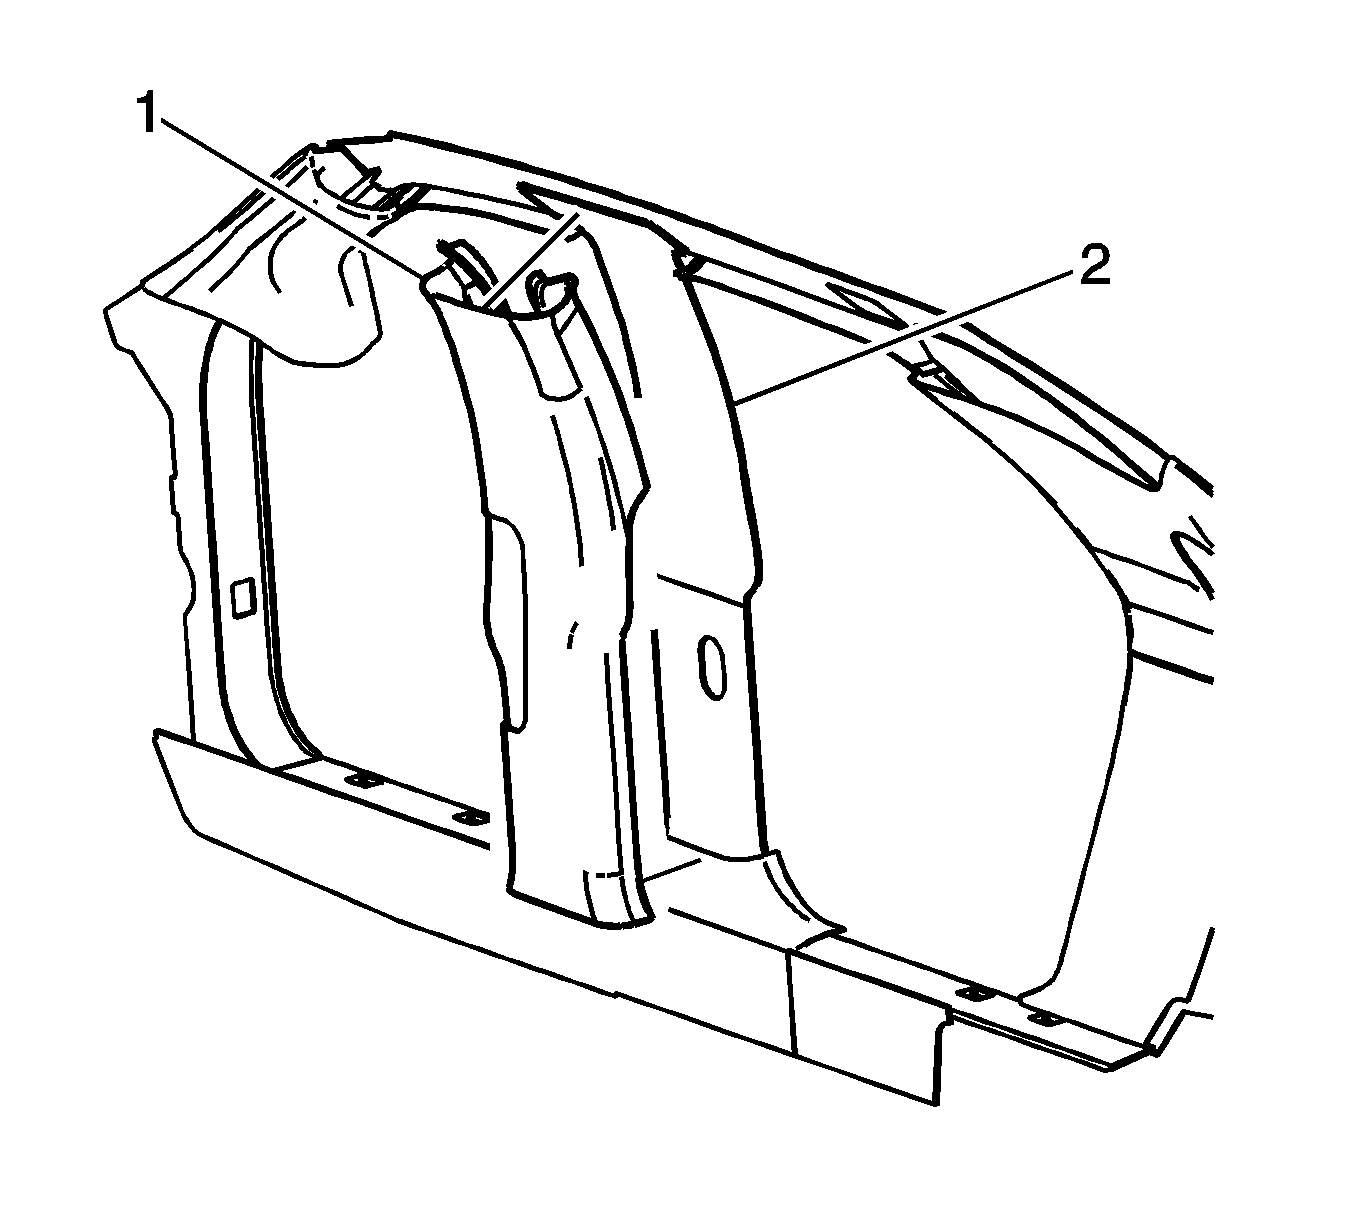
- Pull the edge of the trim (1) away from the armor plating (2).
- Rotate the trim towards the rear seat in order to release the retaining edge of the trim.
Installation Procedure
- Install the trim to the vehicle.
- Rotate the trim (1) towards the front seat until the trim snaps into the armor plating (2).
- Install the weatherstrip to the front and the rear doors. Refer to Front Door Opening Weatherstrip Replacement and to Rear Door Opening Weatherstrip Replacement in Doors.
