For 1990-2009 cars only
Removal Procedure
- For DTS vehicles equipped with a floor console, remove the floor console. Refer to Front Floor Console Replacement in Instrument Panel, Gages and Console.
- For base DeVille and DHS, remove the instrument panel (IP) center compartment . Refer to Instrument Panel Compartment Replacement in Instrument Panel, Gages and Console.
- Remove the left front seat. Refer to Bucket Seat Replacement in Seats.
- Remove the left front carpet retainer. Refer to Front Carpet Retainer Replacement in Interior Trim.
- Remove the left rear carpet retainer. Refer to Rear Carpet Retainer Replacement in Interior Trim.
- Remove the center pillar garnish molding. Refer to Center Pillar Garnish Molding Replacement in Interior Trim.
- Remove the rear seat back. Refer to Rear Seat Back Replacement in Seats
- Remove the left rear sail panel. Refer to Sail Panel Replacement in Interior Trim.
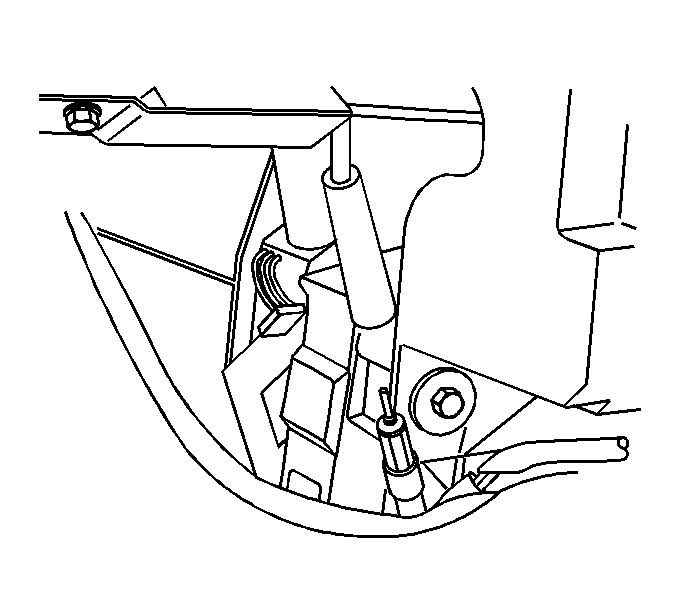
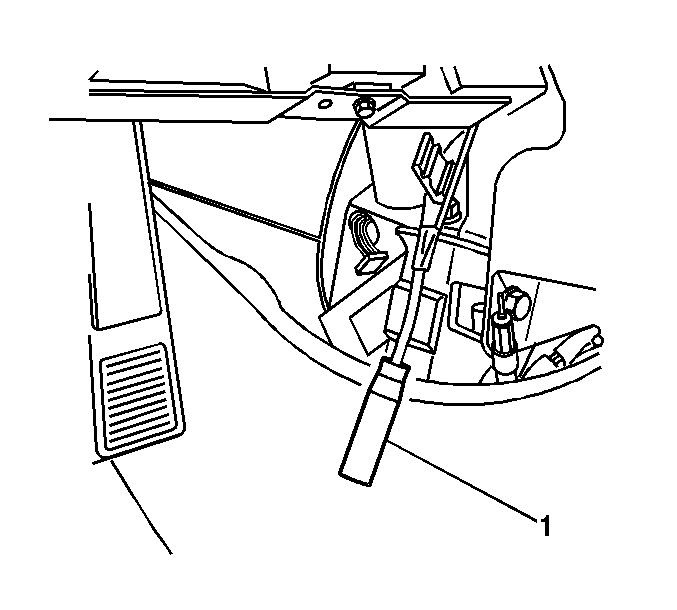
- Disconnect the radio antenna extension cable (1) from the antenna cable.
- Pull the front and rear carpet up on the left side of the vehicle in order to expose the vehicle wiring harness.
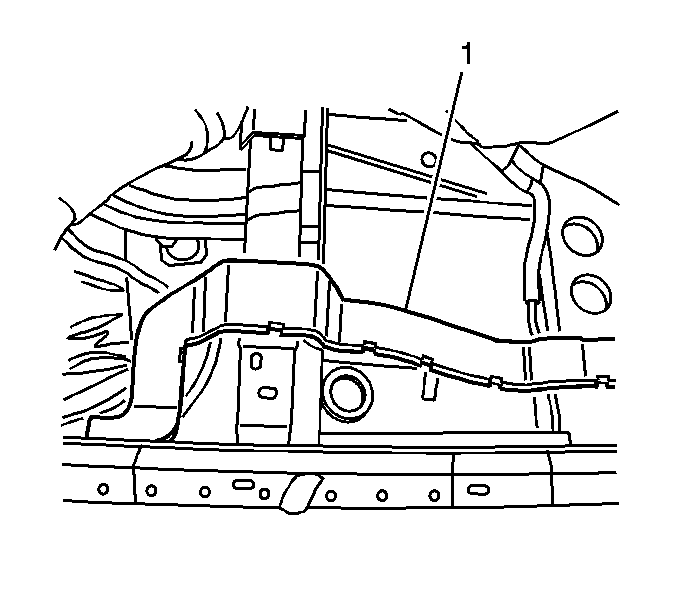
- Remove the vehicle harness conduit cover (1).
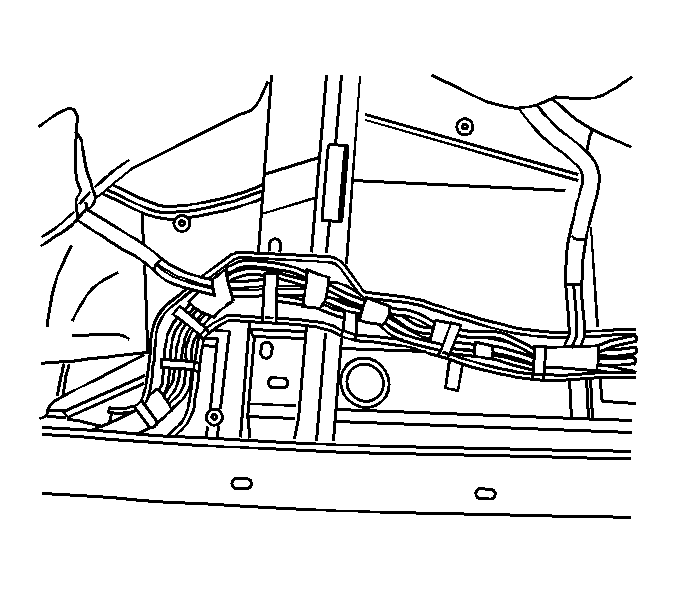
- Remove the antenna coaxial cable from the vehicle harness, cut the cable off at the rear seat area of the harness, near the rear fuse block.
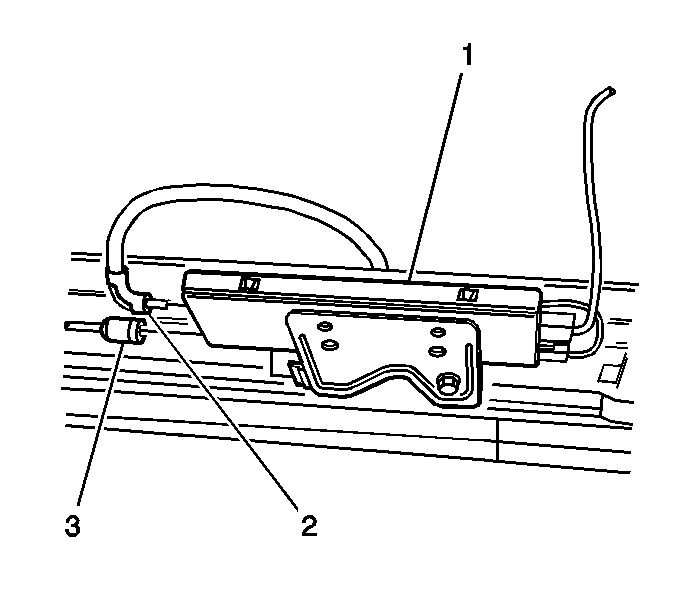
- Disconnect radio antenna cable (2) from the antenna module (1).
- Remove the visible part of the antenna cable (2) from the wiring harness and cable clips.
- Cut the end of the antenna cable (2) off at the rear shelf area.
Installation Procedure
- Route the new coaxial antenna cable from the IP through the wiring harness conduit to the rear seat area.
- Install the vehicle harness conduit cover (1).
- Position the carpet back to the floor, over the vehicle wiring harness.
- Route the antenna cable (2) to the antenna module (1).
- Connect the antenna cable (2) to the antenna module (1).
- Reattach the radio antenna cable (2) to the antenna module wiring harness and clips
- Tie strap or tape the antenna cable to the electrical wiring harness, in the rear seat area.
- Connect the radio antenna cable to the radio extension cable.
- For DTS vehicles equipped with a floor console, Install the floor console. Refer to Front Floor Console Replacement in Instrument Panel, Gages and Console.
- For base DeVille and DHS, Install the instrument panel (IP) center compartment . Refer to Instrument Panel Compartment Replacement in Instrument Panel, Gages and Console.
- Install the left front seat. Refer to Bucket Seat Replacement in Seats.
- Install the left rear sail panel. Refer to Sail Panel Replacement in Interior Trim.
- Install the center pillar garnish molding. Refer to Center Pillar Garnish Molding Replacement in Interior Trim.
- Install the left front carpet retainer. Refer to Front Carpet Retainer Replacement in Interior Trim.
- Install the left rear carpet retainer. Refer to Rear Carpet Retainer Replacement in Interior Trim.
- Install the rear seat back. Refer to Rear Seat Back Replacement in Seats


Important: Ensure the antenna cable is routed so it will not interfere with the rear seat back and bottom removal and installation procedure.
