For 1990-2009 cars only
Removal Procedure
- Remove the instrument panel (I/P) center trim plate. Refer to Instrument Panel Center Trim Panel Replacement in Instrument Panel, Gages, and Console.
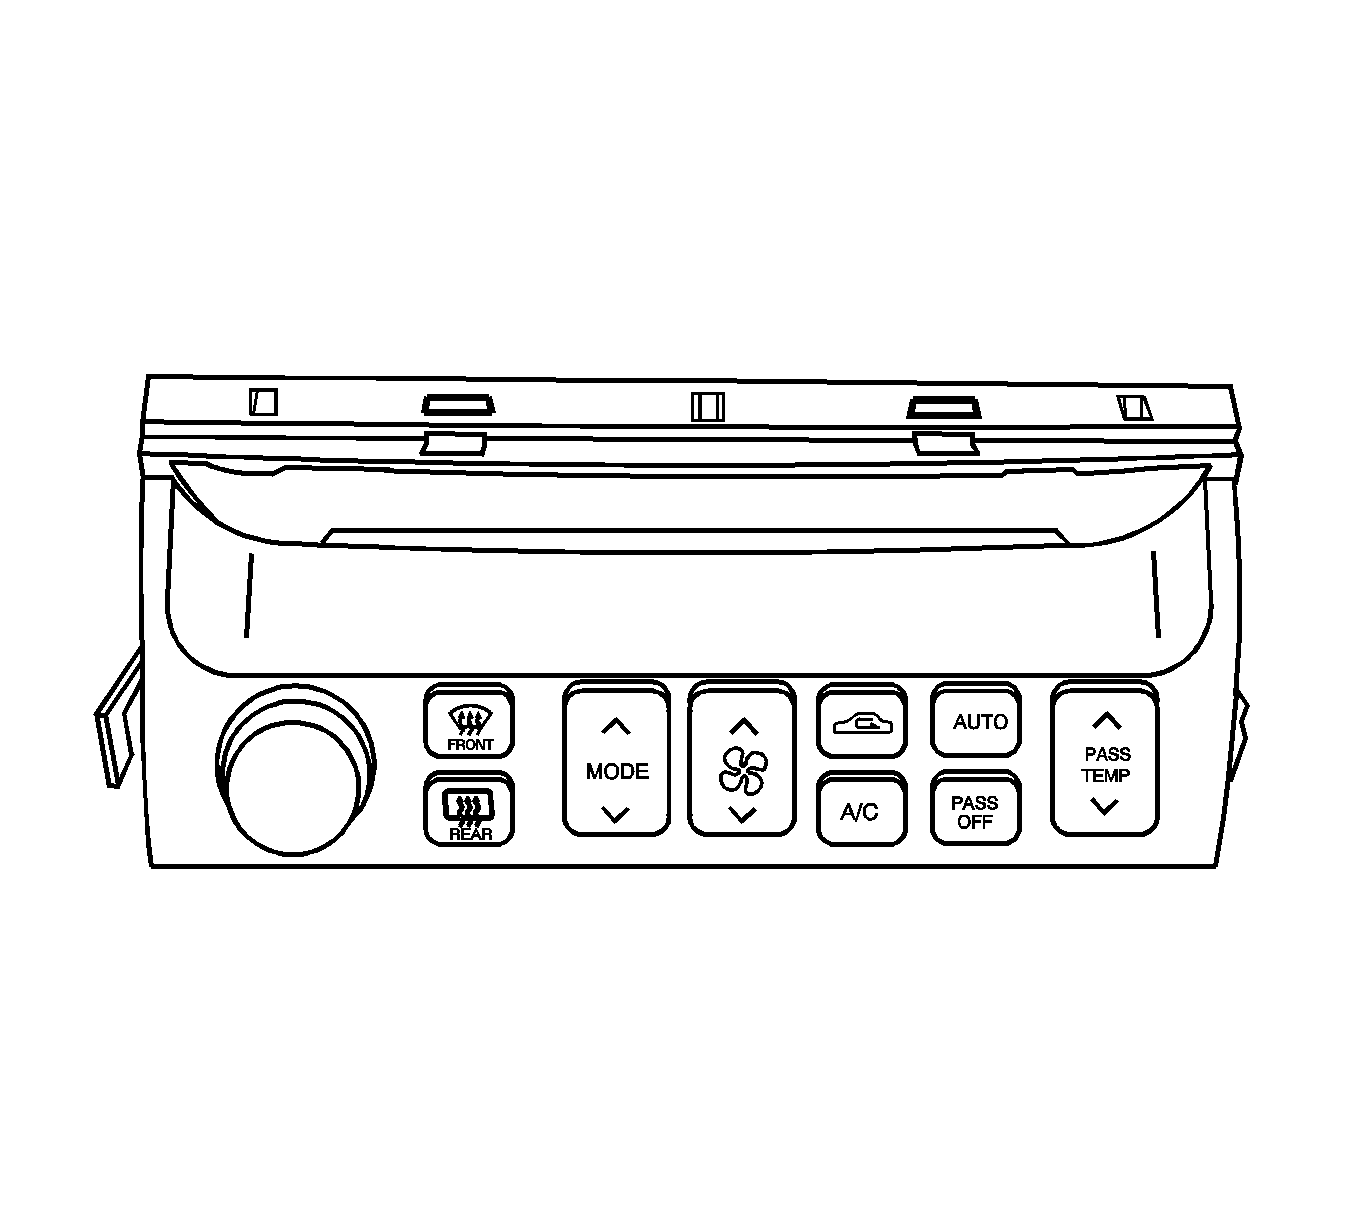
- Depress and hold the locking tabs, located on the 4 corners of the HVAC control module.
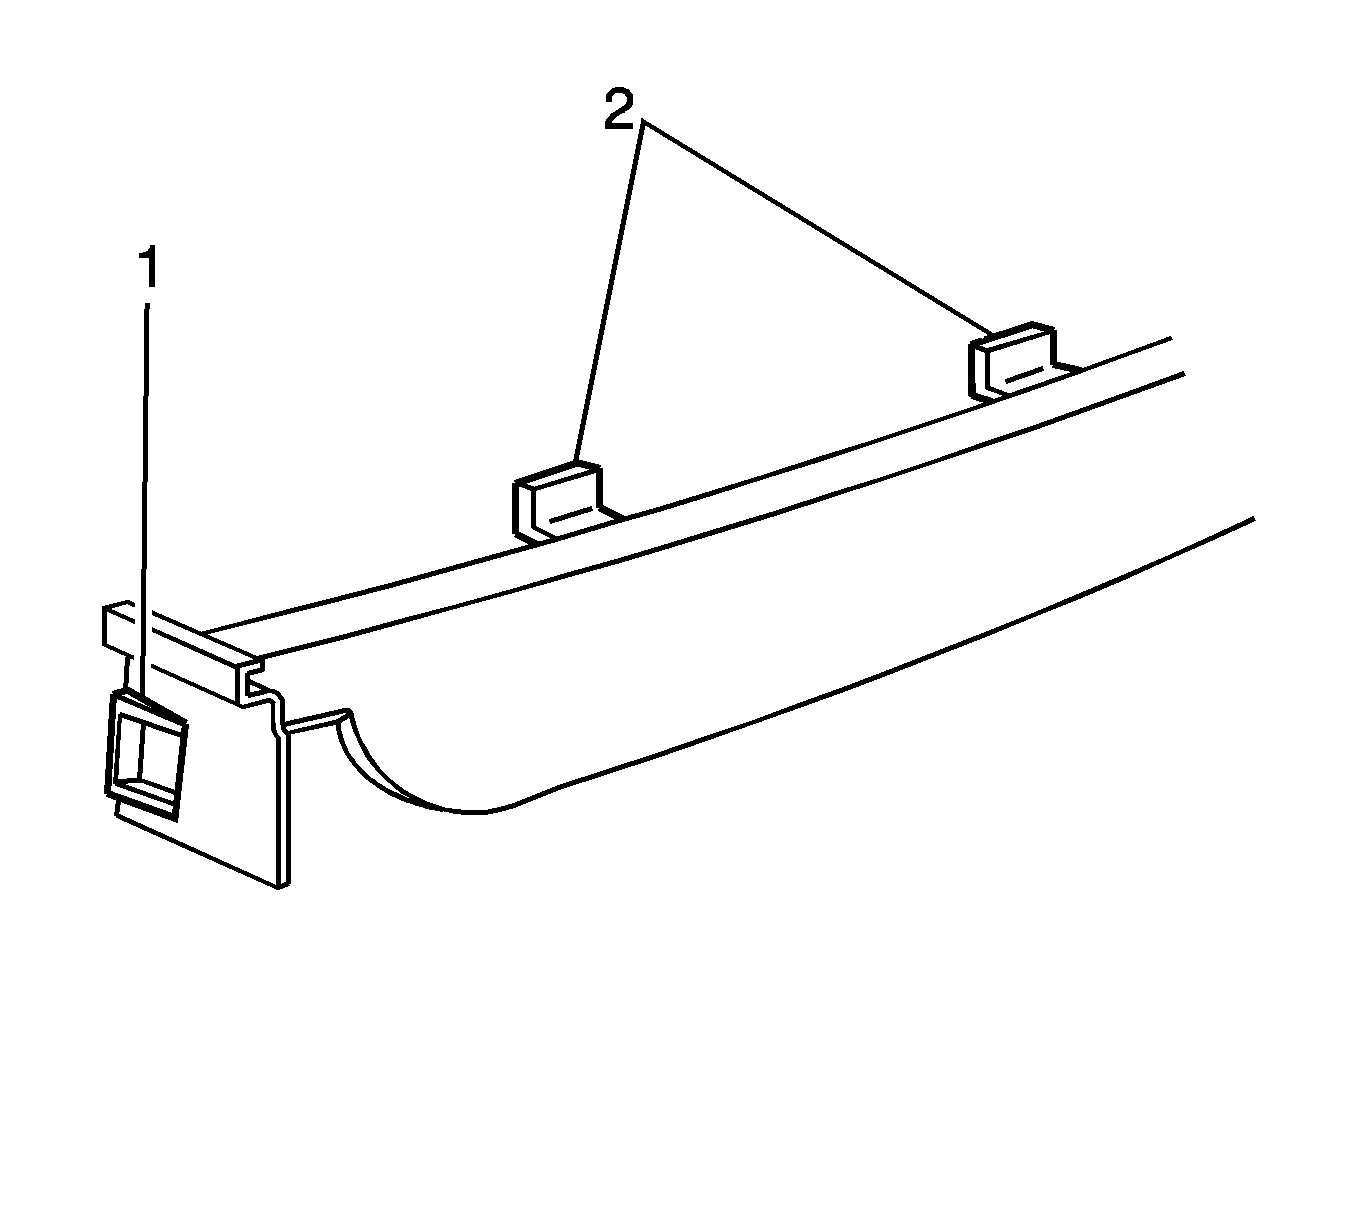
- Using a flat-bladed tool, lift the lens (1) over the locking tabs of the HVAC control module.
- Remove the lens from the HVAC control module.

Important: If the HVAC control module electrical connectors are disconnected, the module will have to be recalibrated.
Pull the HVAC control away from the I/P.
There is one tab located on each side of the lens.

Rotate the bottom of the lens toward the front of the HVAC control module.
Installation Procedure
- Install the lens to the HVAC control module.
- Insert the lens locating tabs (2) through the HVAC control module housing.
- Snap the lens (1) over the locking tabs of the HVAC control module to engage the retainers.
- Install the HVAC control module into the I/P.
- Install the I/P center trim plate. Refer to Instrument Panel Center Trim Panel Replacement in Instrument Panel, Gages, and Console.
- If the HVAC control module electrical connectors were disconnected, perform the following steps to recalibrate the module:
Important: The locating tabs on the lens must be inserted into the slots on the top of the HVAC control module housing first.


Rotate the bottom of the lens toward the rear of the HVAC control module.
Ensure the lens is fully seated over the locking tabs.
Ensure the locking tabs are engaged.
| Important: Do not adjust any controls on the HVAC control module while the HVAC control module is self-calibrating. If interrupted improper HVAC performance will result. |
| • | The engine must be running for proper calibration to occur. |
| • | Start the engine and let run for one minute. |
