For 1990-2009 cars only
To replace a headlamp bulb, do the following:
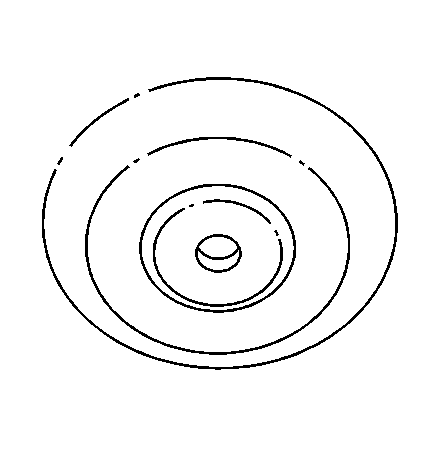
- Remove all of the push-pins that hold the filler panel cover in place by pressing in the center of each pin and then pulling up on the outer circle.
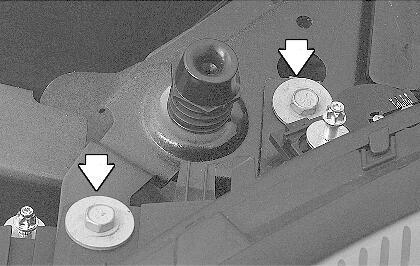
- Remove the two bolts at the top of the headlamp assembly.
- Loosen the bolt at the bottom of the headlamp assembly.
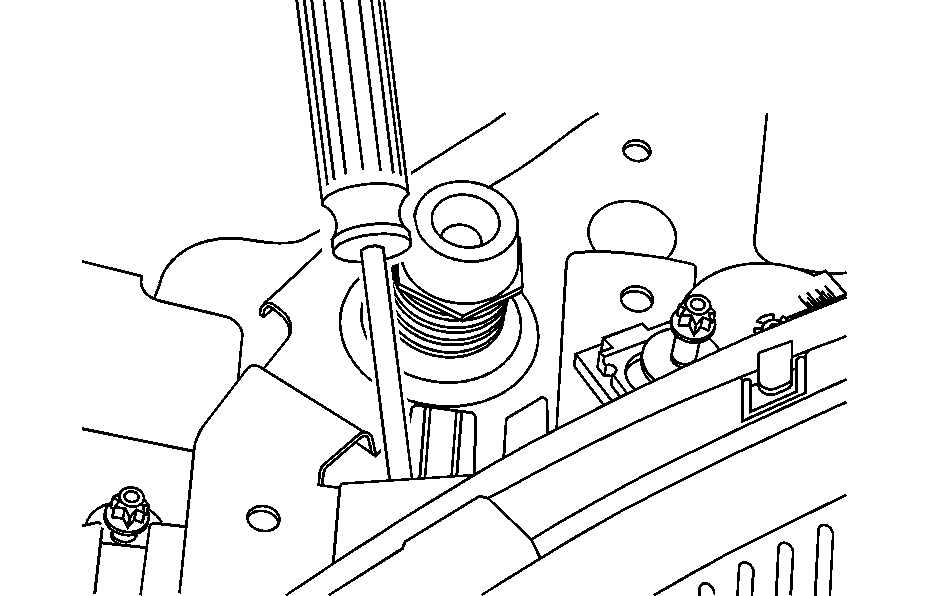
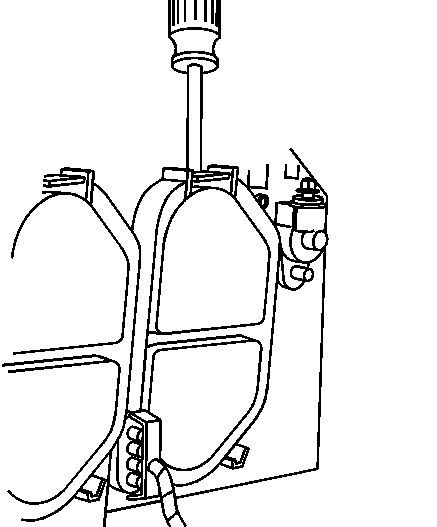
- Use a tool to help pry the headlamp assembly away from the vehicle.
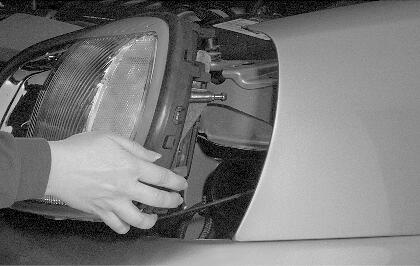
- Firmly grasp the outboard side of the headlamp assembly with both hands and pull hard enough so that the whole assembly separates from the vehicle.
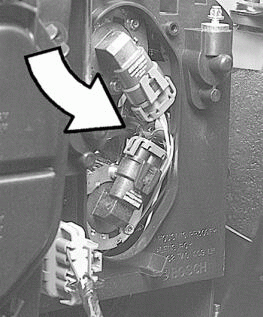
- Remove the bulb socket dust cover.
- Turn the headlamp housing socket counterclockwise to unlock the socket from the lamp housing.
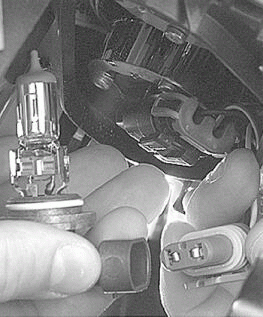
- Pull the old bulb out of the socket.
- Install the new bulb into the socket. Make sure that the bulb is locked in firmly.
- Reinstall the headlamp housing socket into the headlamp assembly.
- Reinstall the headlamp assembly by reversing Steps 2 through 6.
To reinstall the filler panel, do the following:
- Place the filler panel in the correct location.
- Reset each push-pin by holding each by the outer circle while pushing up on the pin assembly from below. The center portion of the push-pin should now be above the outer circle.
- After placing each push-pin into the opening, press down on the outer circle until it is seated against the surface of the filler panel.
- Lock each push-pin in place by pressing the center of each down until it is level with the outer circle. Use care not to press down so far that the push-pin releases again.
