For 1990-2009 cars only
Tools Required
J 25070 Heat Gun
Removal Procedure
- Heat the molding using a J 25070 . Hold the heat gun approximately 152 mm (6 in) from the surface.
- Apply the heat using a circular motion for about 30 seconds.
- Peel the molding from the panel using a plastic flat-bladed tool.
- Remove all adhesive from the body panel and the back of the molding using a 3M® P/N 07501 or equivalent.
- Wash the affected area with Liquid Wash and Wax GM P/N 1052870 or an equivalent.
- Wipe the area dry.
- Wipe the panel and the adhesive side of the molding with a clean lint-free cloth.
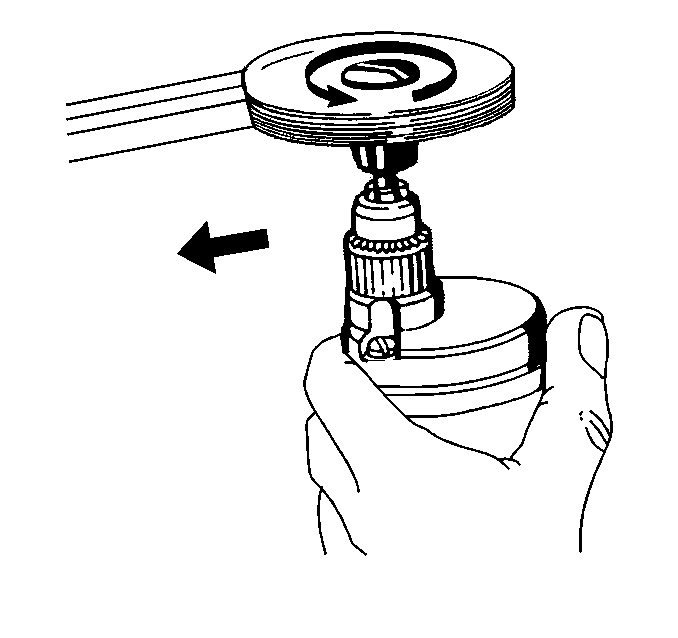
- If the acrylic foam tape residue is still present on the bodyside panel, use the with a drill motor which operates between 4000 and 4500 RPM in order to remove the tape residue.
- Use varnish makers and painters (VM&P) naphtha or a (50/50 mixture) by volume of isopropyl alcohol and water in order to clean the area.
- If needed, apply a length of masking tape as a molding guide.
- The body and molding temperature should be at a room temperature no lower than 16°C (60°F) when installed.
Important: Be careful not to damage the paint.

Installation Procedure
- Apply the adhesive foam tape to the back of the molding and press the molding in place. Use GM P/N 1052621 or an equivalent.
- Apply constant pressure to the molding for 30 seconds or until a firm adhesion bond is made.
Notice: If tape is still intact on the molding or panel, do not remove the tape. Clean the tape and the mating surface with Adhesive Cleaner. Wipe the tape and mating surface with a clean, soft cloth. If the tape is damaged, refer to Emblem/Nameplate Replacement.
