For 1990-2009 cars only
Tools Required
J 38778 Door Trim Pad Clip Remover
Removal Procedure
- Remove the power door lock switch. Refer to Door Lock Switch Replacement .
- Remove the power window switch. Refer to Front Side Door Window Switch Replacement .
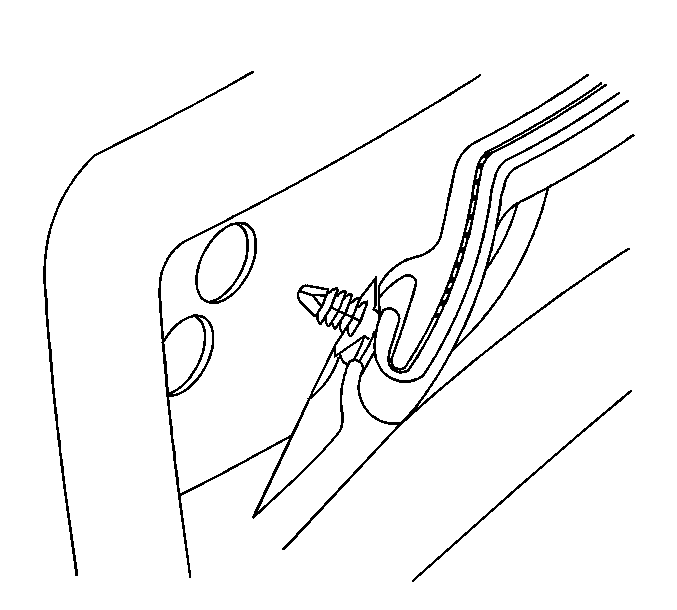
- Use the J 38778 in order to disengage the retainer behind the shark fin.
- Remove 1 fastener through the switch plate opening.
- Use the J 38778 in order to disengage the retainer at the rear edge of the map pocket (equipped).
- Insert a flat-bladed tool between the upper rear corner of the map pocket carpeting in order to access the fastener attached to the door trim panel.
- Fold back the map pocket carpet (if equipped).
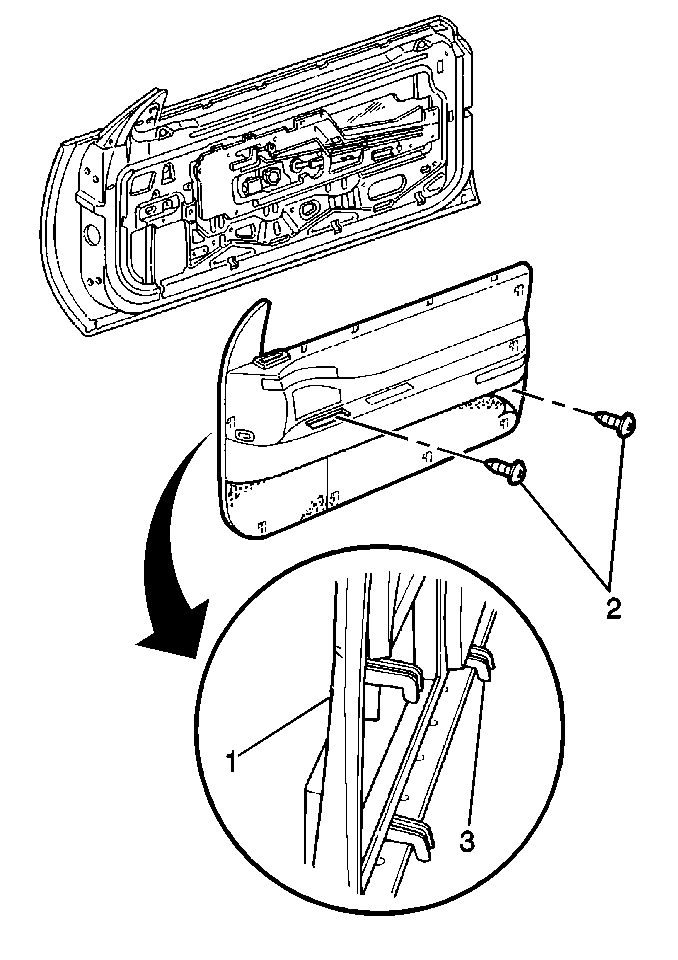
- Remove the fastener (2).
- Remove the fastener (2) from under the map pocket carpeting or map pocket.
- Partially lift the trim panel (1) upward and away from the door in order to disengage the hooks (3).
- Carefully guide the electrical connectors through the armrest and bezel openings.
- Remove the door trim panel.


Installation Procedure
- Partially install the trim panel by aligning the hooks (3) on the panel to the holes in the door panel.
- Carefully guide the electrical connectors through the armrest and bezel openings in the trim panel.
- Push in and downward on the armrest in order to secure the trim panel to the door.
- Carefully apply inward pressure to the door trim panel.
- Install the fastener in the switch plate opening (2).
- Fold the carpet flush to the trim panel (if equipped).
- Install the map pocket push in retainer in order to secure the map pocket to the door panel.
- Install the power window switch plate. Refer to Front Side Door Window Switch Replacement .
- Install the power door lock switch. Refer to Door Lock Switch Replacement .
- Align the retainer to the shark fin and gently push inward in order to secure.

Notice: Use the correct fastener in the correct location. Replacement fasteners must be the correct part number for that application. Fasteners requiring replacement or fasteners requiring the use of thread locking compound or sealant are identified in the service procedure. Do not use paints, lubricants, or corrosion inhibitors on fasteners or fastener joint surfaces unless specified. These coatings affect fastener torque and joint clamping force and may damage the fastener. Use the correct tightening sequence and specifications when installing fasteners in order to avoid damage to parts and systems.
Tighten
| • | Tighten the fastener in the armrest switch plate opening to 1.5 N·m (13 lb in). |
| • | Tighten the fastener under the map pocket carpeting (if equipped) or map pocket to 0.5 N·m (4 lb in). |

