Removal Procedure
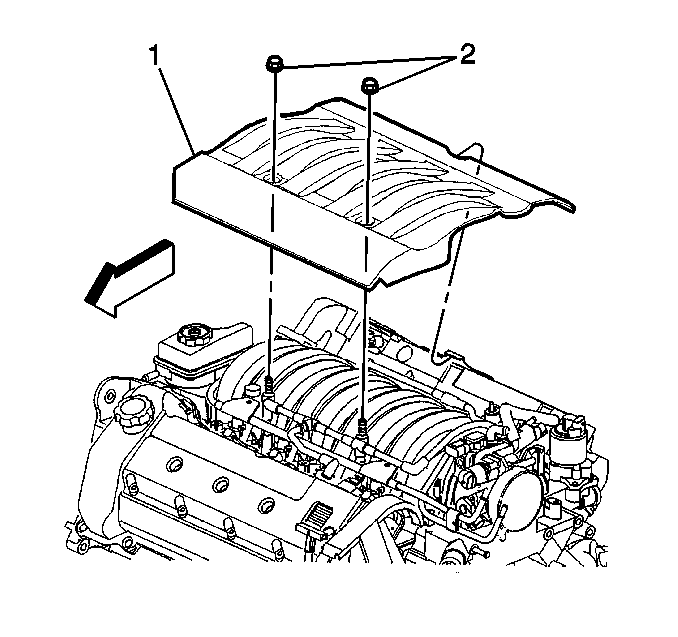
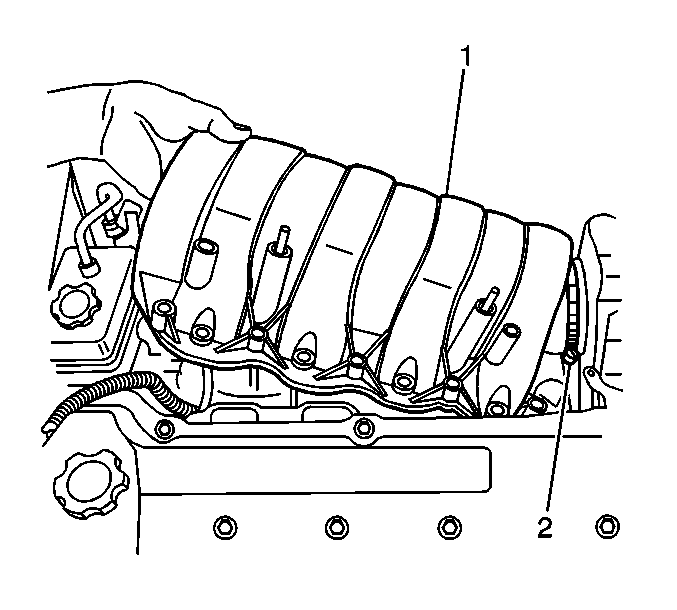
- Remove the 2 nuts (2) from the intake manifold sight shield (1).
- Remove the sight shield (1) from the engine.
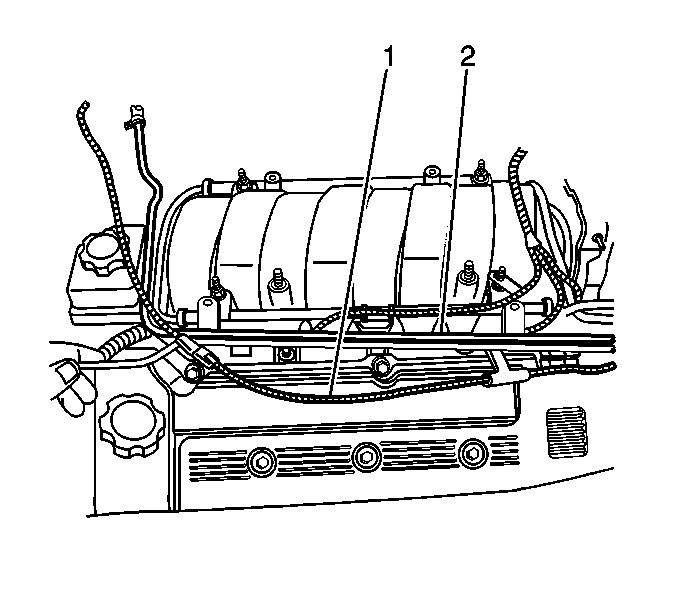
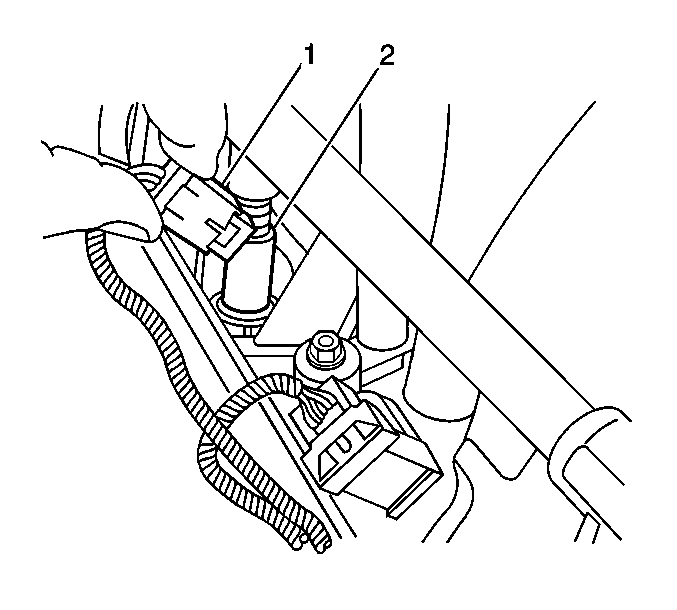
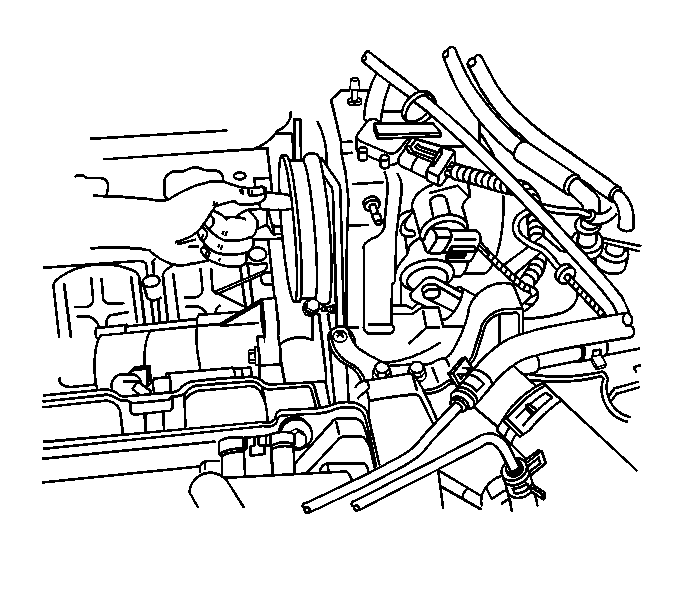
- Disconnect the coil module connectors (1) from the coil modules (2) located in the camshaft covers (3).
- Disconnect the PCV dirty air tube (2) from the camshaft cover.
- Disconnect the PCV fresh air tube (1) from the camshaft cover.
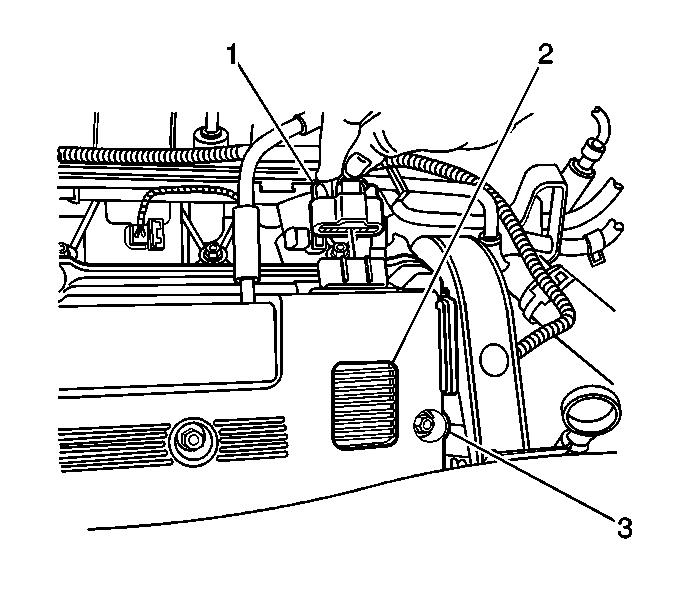
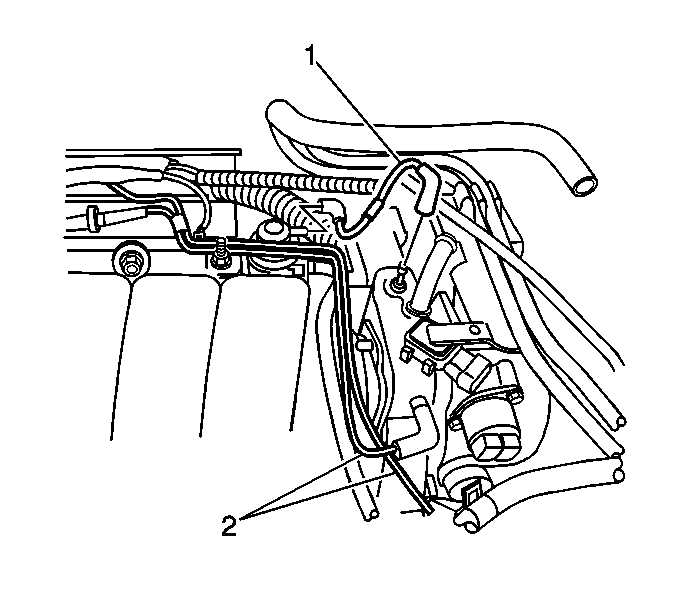
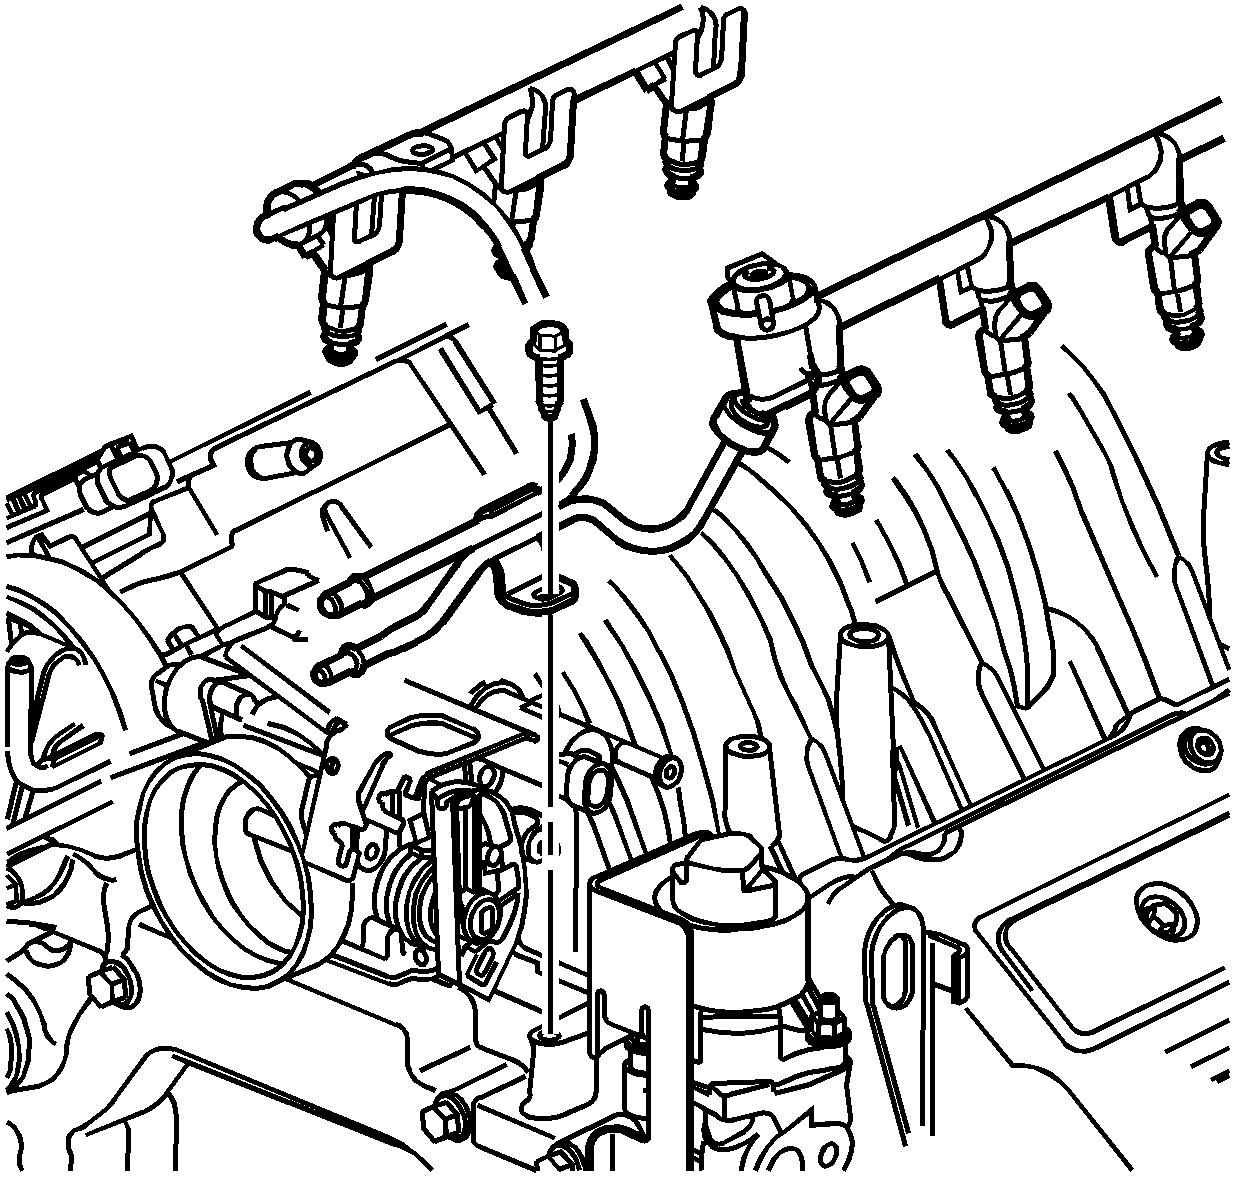
- Disconnect the fuel regulator vacuum tube (1).
- Disconnect the vacuum tubes (2) from the AIR solenoid.
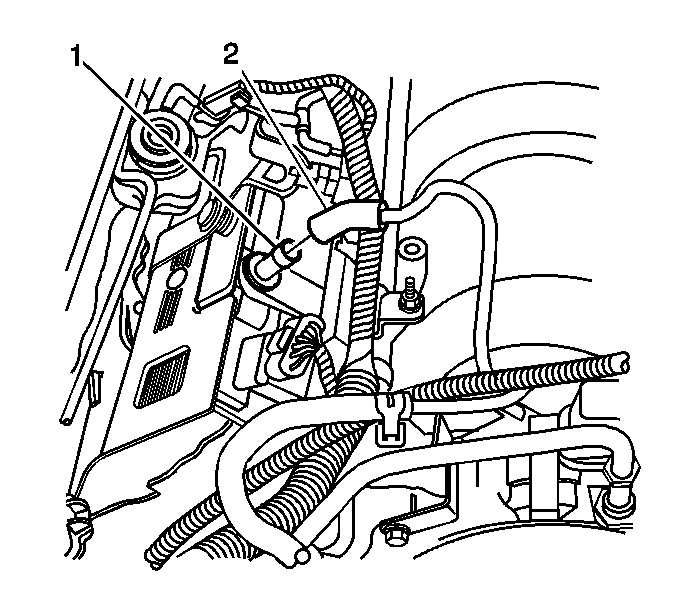
- Remove the 2 pushnuts securing the engine coolant heater wire (1) and position aside, if equipped.
- Carefully position aside the surge tank pipe (2) from the fuel rail studs.
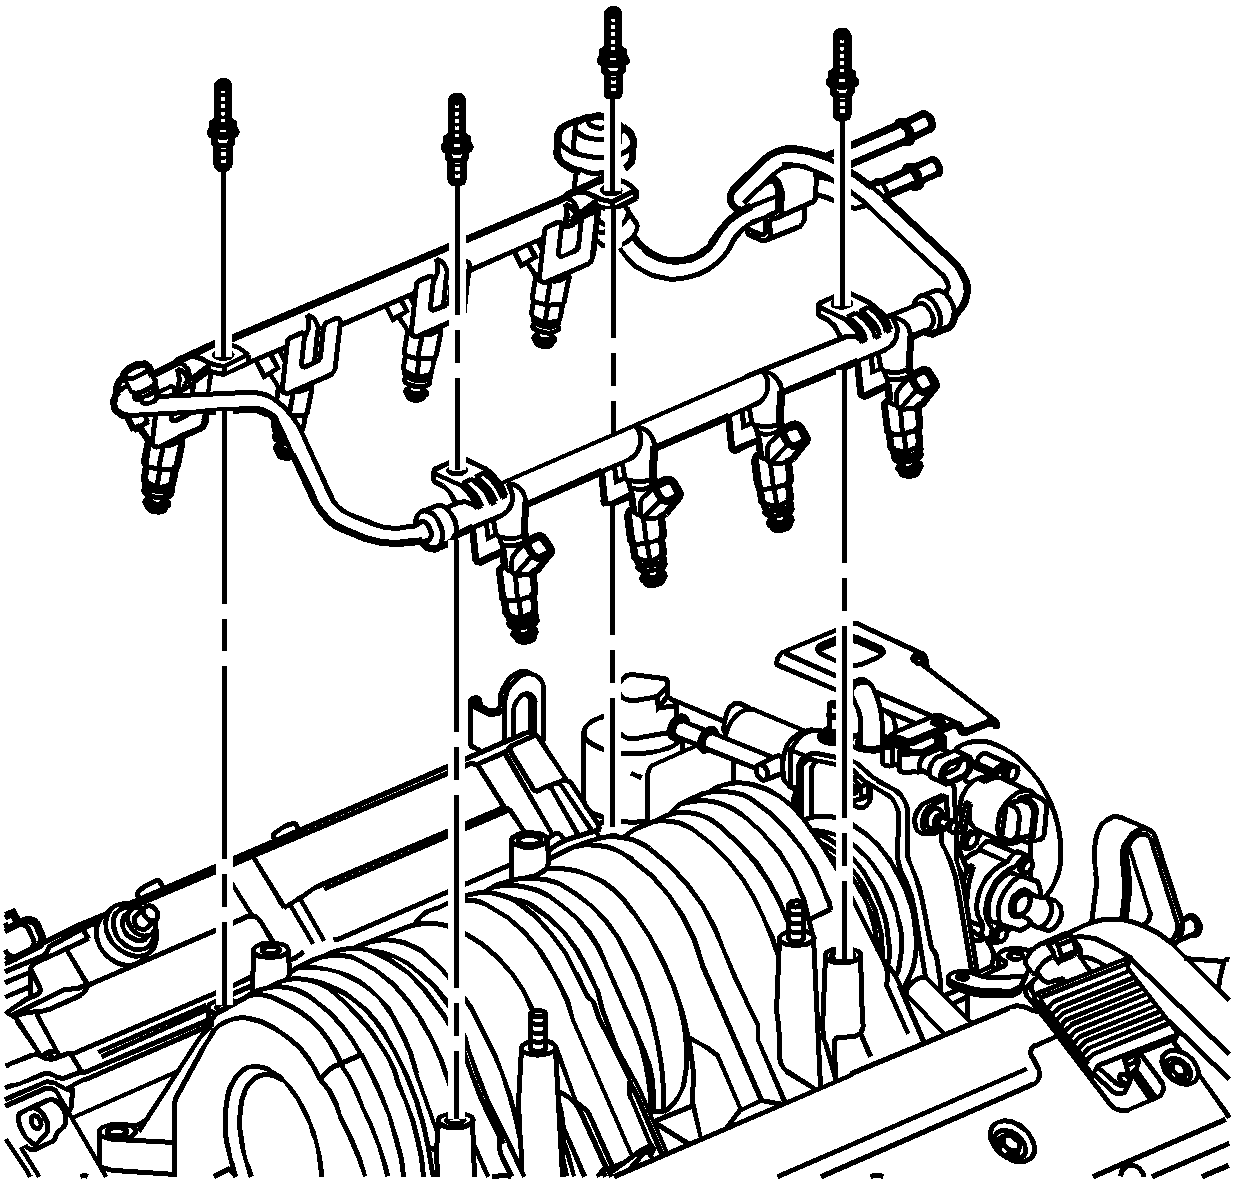
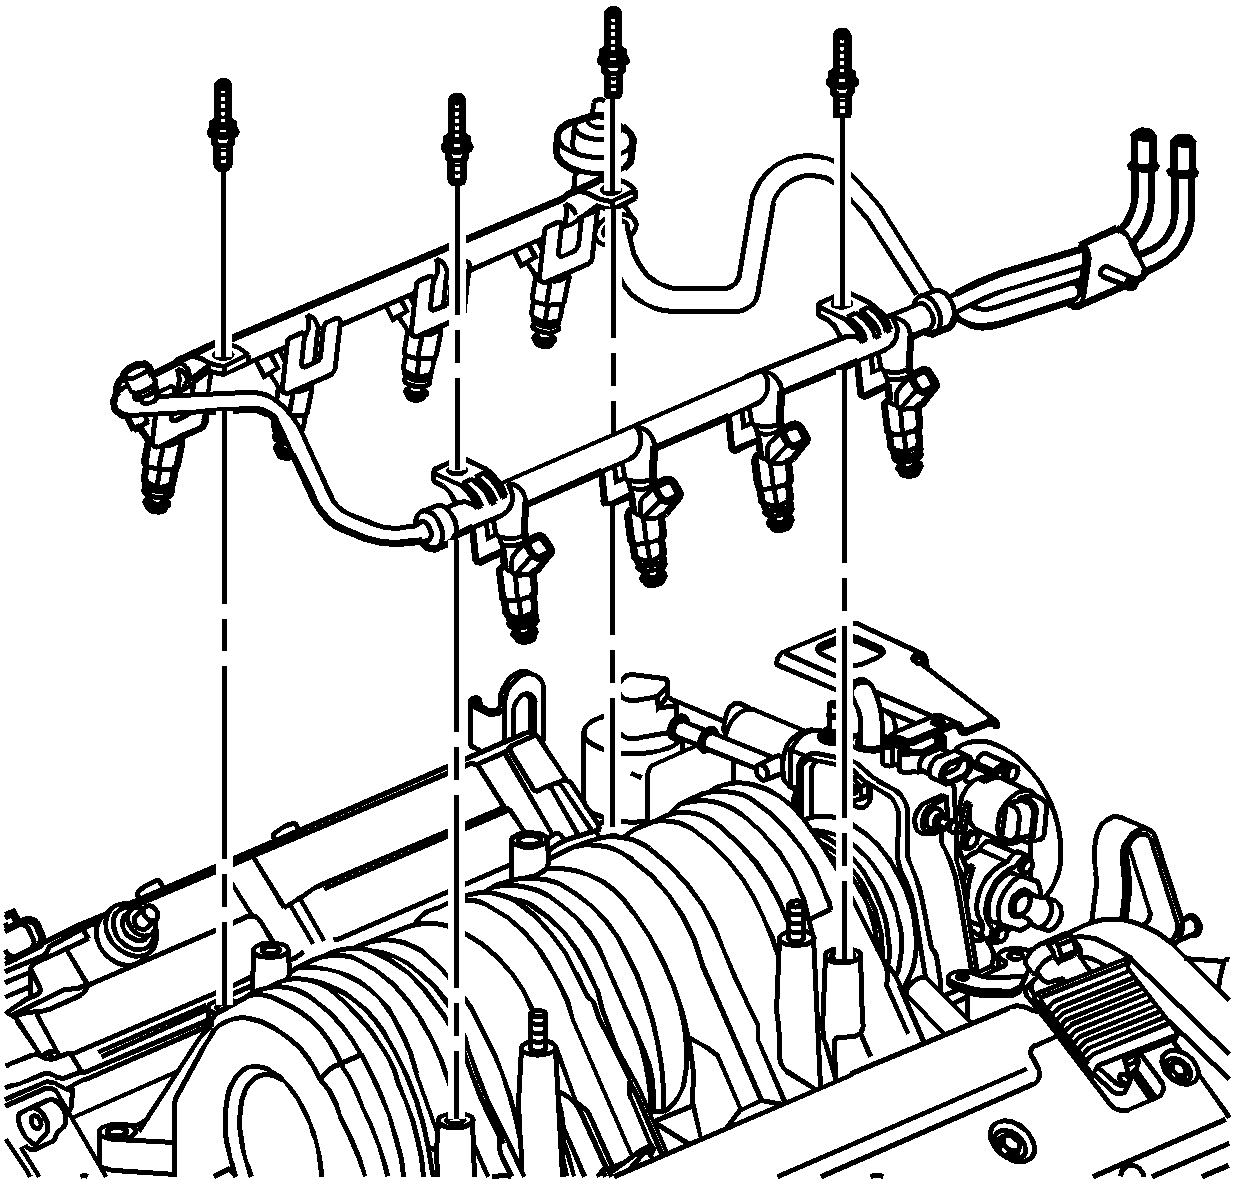
- Disconnect the 8 electrical connectors (1) from the 8 fuel injectors (2).
- Remove the 4 bolts (1) attaching the fuel rail (2) to the intake manifold (3).
- Disconnect the fuel inlet and return quick-connect fittings (2) at the fuel rail. Refer to Metal Collar Quick Connect Fitting Service or Plastic Collar Quick Connect Fitting Service in Engine Controls-4.6L.
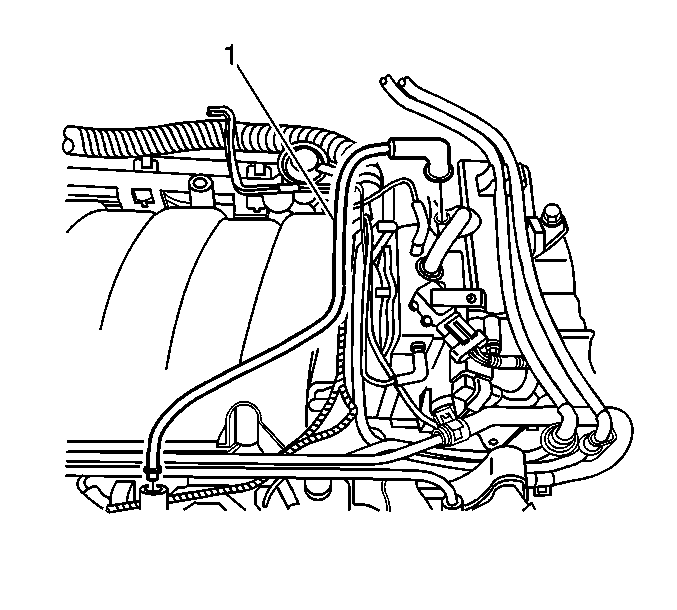
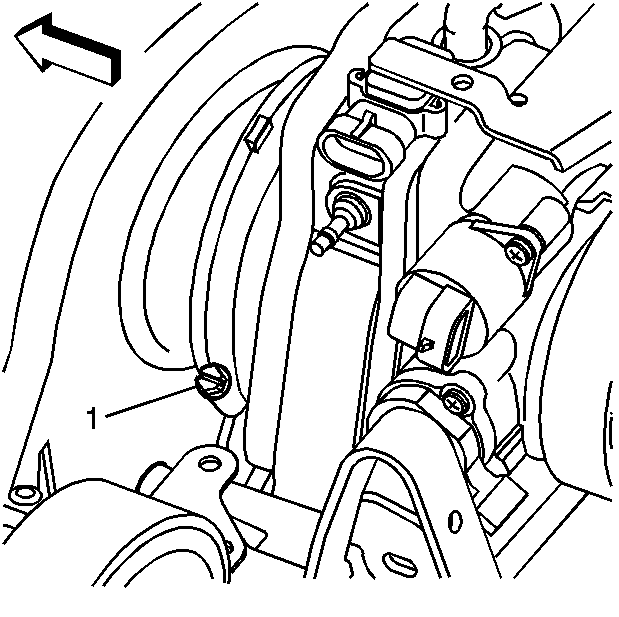
- Disconnect the fuel rail bracket retaining bolt from the water crossover.
- Lift the entire fuel rail and injector assembly from the intake manifold.
- Loosen the plenum duct clamp (1) at the rear of the intake manifold.
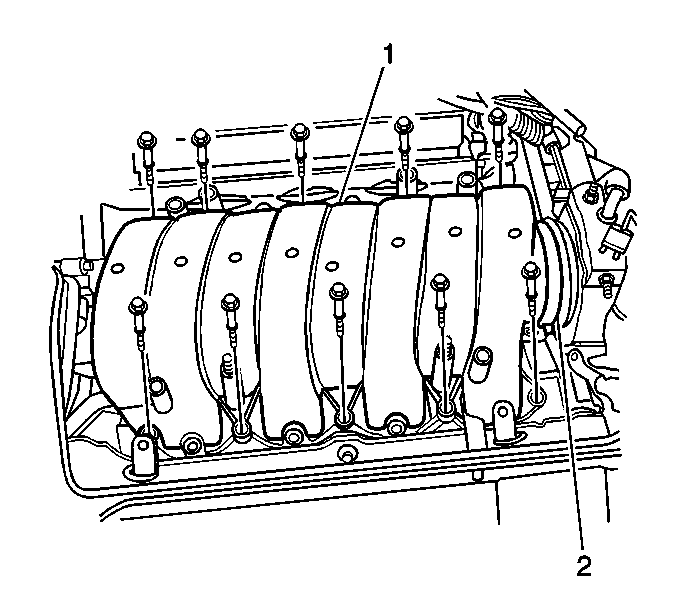
- Remove 10 bolts attaching the intake manifold (1) to the cylinder heads.
- Remove the intake manifold (1) by using an upward lifting motion at the front of the manifold assembly.
- Clean and inspect the intake manifold. Refer to Intake Manifold Cleaning and Inspection in Engine Mechanical-4.6L Unit Repair.
Installation Procedure
- Lightly grease the inside edge of the rubber plenum duct.
- Clean any debris from the cylinder head or intake manifold.
- Install the new gaskets to the intake manifold.
- Place the intake manifold in position by completing the following:
- Loosely install the 10 bolts attaching the intake manifold (1) to the cylinder heads.
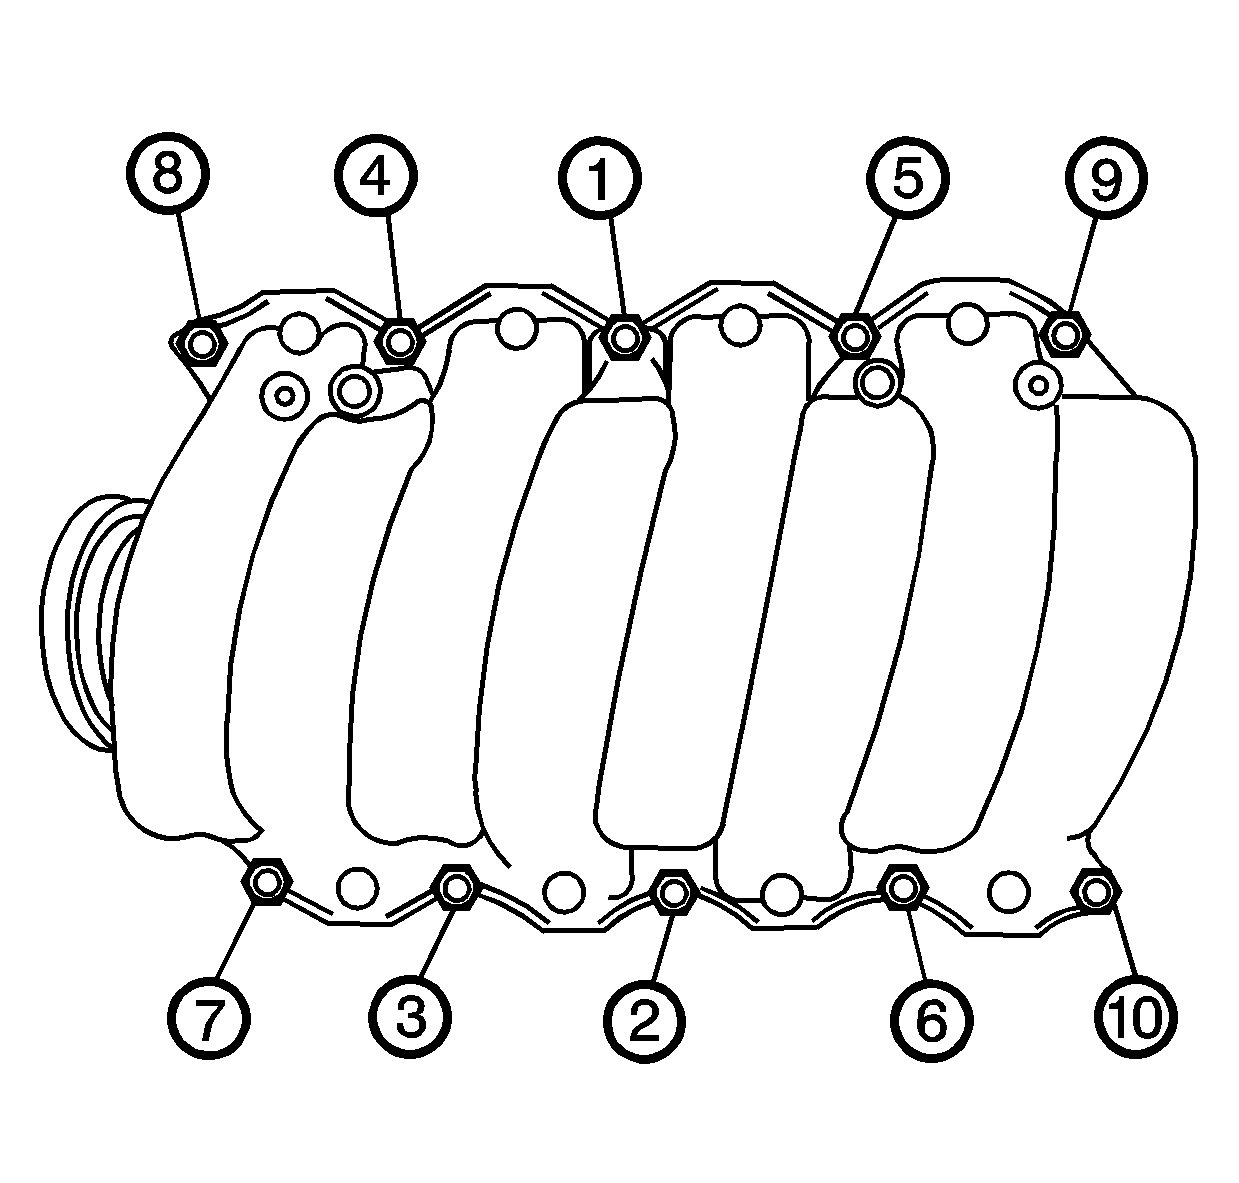
- Tighten the intake manifold bolts in sequence (1-10).
- Ensure that the plenum duct is fully attached to the rear of the intake manifold.
- Lubricate the intake manifold fuel injector bores with light mineral oil GM P/N 9981704, clean engine oil, or equivalent.
- Install the entire fuel rail and injector assembly into the intake manifold by pressing the fuel rail and injector simultaneously into the correct position.
- Install the 4 bolts (1) attaching the fuel rail (2) to the intake manifold (3).
- Install the fuel rail bracket retaining bolt to the water crossover.
- Install the quick connect fittings to the fuel rail. Refer to Metal Collar Quick Connect Fitting Service or Plastic Collar Quick Connect Fitting Service in Engine Controls-4.6L.
- Connect the 8 electrical connectors (1) to the 8 fuel injectors (2).
- Position the surge tank pipe (2) on to the fuel rail studs.
- Position the engine coolant heater wire (1) on to the fuel rail studs, if equipped.
- Install the 2 pushnuts.
- Connect the vacuum tubes (2) to the AIR solenoid.
- Connect the fuel regulator vacuum tube (1).
- Connect the PCV fresh air tube (1) to the camshaft cover.
- Connect the PCV dirty air tube (2) to the camshaft cover.
- Connect the coil module connectors (1) to the coil modules (2) located in the camshaft covers (3).
- To clean, turn the ignition switch to the ON position for 2 seconds, then turn to the OFF position for 10 seconds. Again turn to the ON position and check for fuel leaks.
- Position the intake manifold sight shield (1) to the engine.
- Install the 2 intake manifold sight shield nuts (2).
Important: Ensure the PCV valve hose is firmly connected to the fitting at the front of the intake manifold, prior to installation.
| 4.1. | Position the rear of the intake manifold (1) into the plenum duct (2). |
| 4.2. | Position the front of the intake manifold (1) downward on to the cylinders heads. |
Notice: Use the correct fastener in the correct location. Replacement fasteners must be the correct part number for that application. Fasteners requiring replacement or fasteners requiring the use of thread locking compound or sealant are identified in the service procedure. Do not use paints, lubricants, or corrosion inhibitors on fasteners or fastener joint surfaces unless specified. These coatings affect fastener torque and joint clamping force and may damage the fastener. Use the correct tightening sequence and specifications when installing fasteners in order to avoid damage to parts and systems.
Tighten
Tighten the intake manifold bolts to 10 N·m (89 lb in).
Tighten
Tighten the plenum duct clamp (1) to 2.25 N·m (20 lb in).
Important: DO NOT force the injectors into position.
Tighten
Tighten the fuel rail bolts to 10 N·m (89 lb in).
Tighten
Tighten the fuel rail bracket retaining bolt to 25 N·m (18 lb ft).
Tighten
Tighten the nuts to 3 N·m (27 lb in).
