For 1990-2009 cars only
Removal Procedure
- Open the doors.
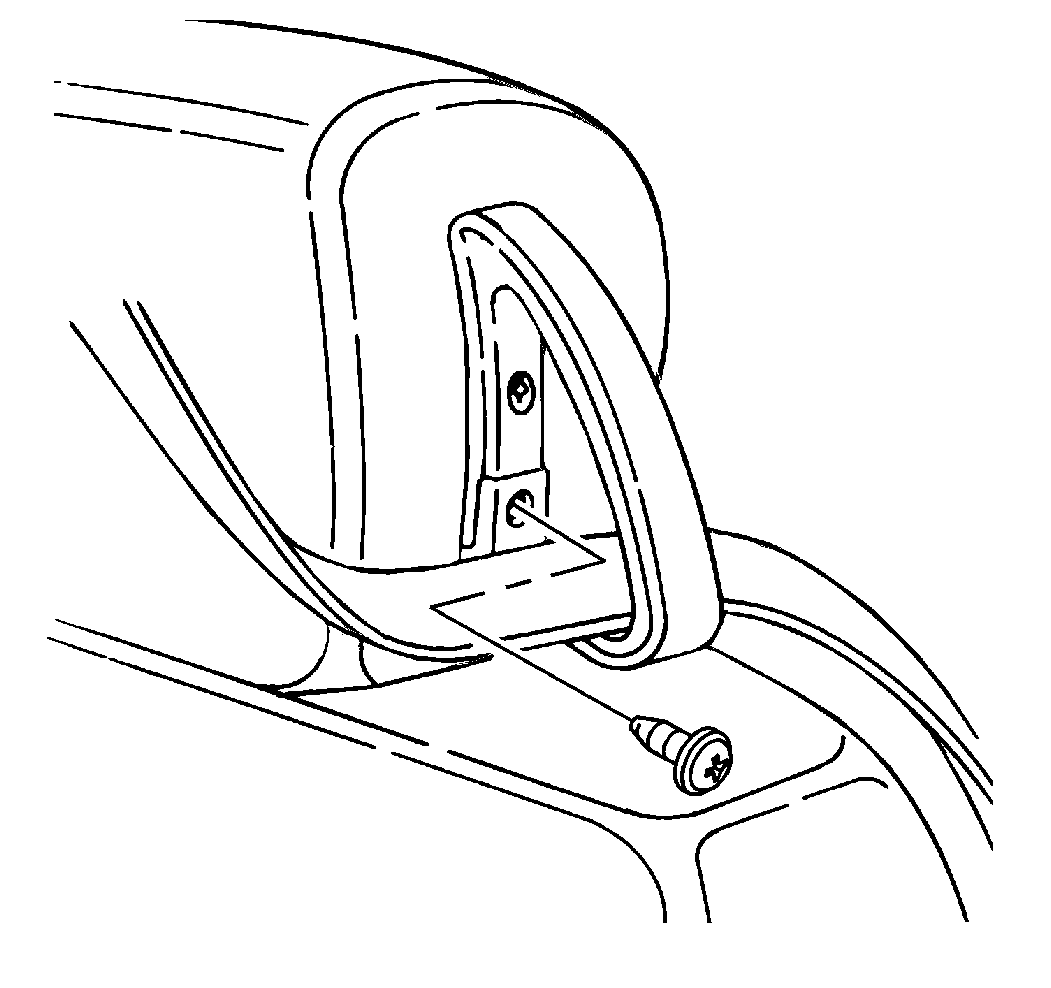
- Remove the lower shoulder belt guide fastener.
- Carefully slide the shoulder belt through the shoulder belt guide loop.
- Remove the front seat, with the aid from an assistant. Refer to Bucket Seat Replacement .
- Disconnect the seat back, heated seat electrical connectors.
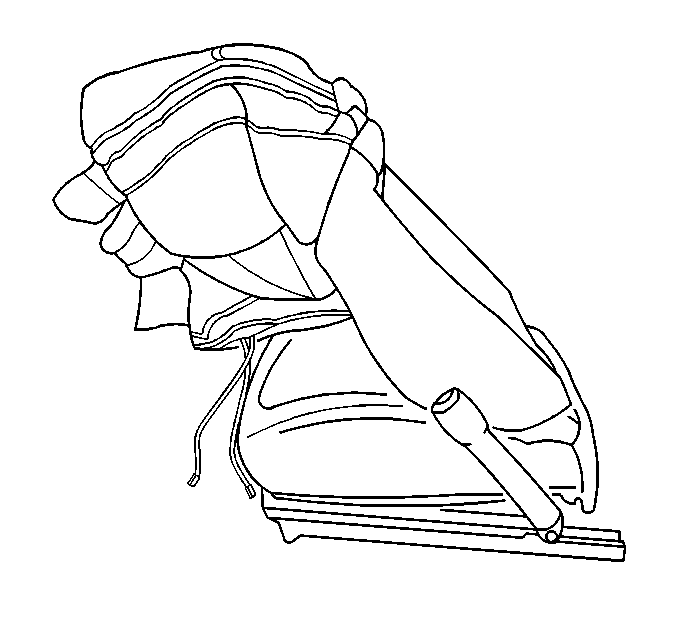
- Tilt the seat back forward.
- Remove the seat back recliner lever knob.
- Open the seat back cover zipper.
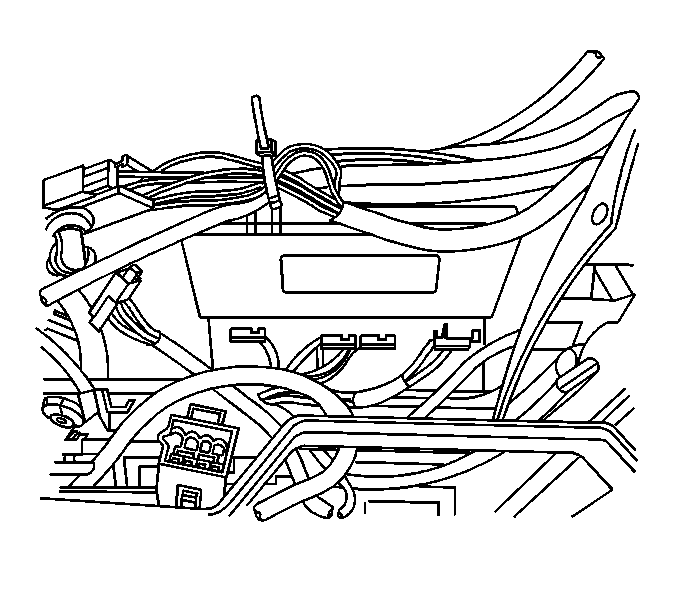
- Cut the tie strap securing the electrical harness.
- Disconnect the electrical connectors from under the seat cushion.
- Pull the heated seat back wiring up through the cushion cover.
- Carefully reach up inside the seat back cover in order to release the head restraint from the retainer guides.
- Raise the headrest to the maximum travel.
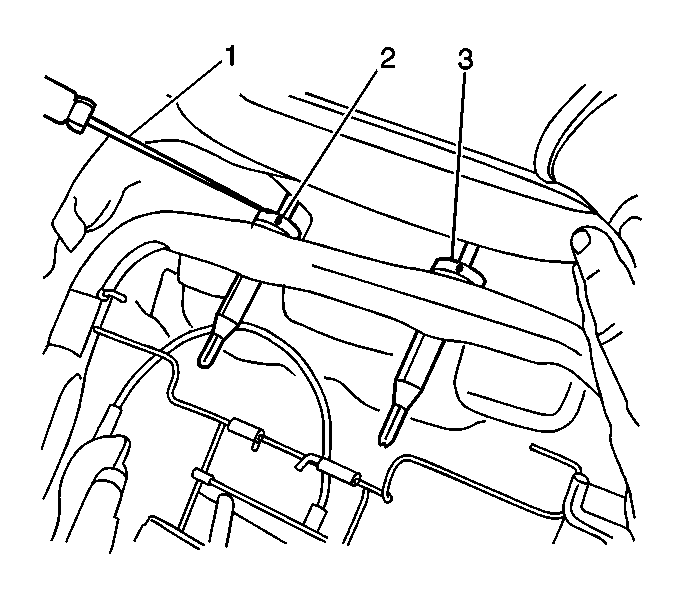
- Insert a small-pointed tool (1) into the holes (2) at the rear side of the head restraint retainer post (3).
- Press the tool inward in order to release the head restraint from the retainer guides.
- Pull the head restraint upward.
- Remove the head restraint.
- Carefully remove the seat back cover and pad as an assembly from the seat back frame.
- Place the seat back cover on a clean protected surface.
- With one hand hold the foam and using your fingers release the glue bond in the foam channels.
- Invert the cover while working upward.
- Separate the cover from the foam pad.
Installation Procedure
- Install the foam cushion on the seat back frame.
- Partially install the seat back cover to the seat back foam.
- Use a 138°C (360°F) hot glue gun. Apply a 6 mm (1/4 in) bead of GM P/N 12377914 or Special Bostik Glue in the first top horizontal channel.
- Carefully place the cover over the foam so that the cover seam is positioned into the glue trench, within thirty seconds of the glue application.
- Use a straight edge of the same length as the glued seam. Apply downward pressure (1-4 psi). Hold the trim cover for one minute.
- Pull the seat back cover downward as the glue channels are secured.
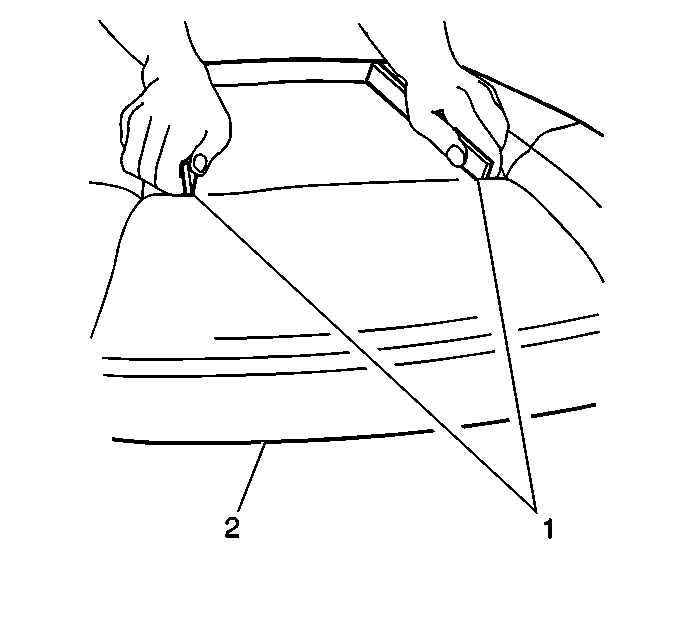
- Use two straight edges (1) of the same length as the seams in order to secure the cover to the foam pad. Apply downward pressure (1-4 psi). Hold the trim cover for 1 minute.
- Lift the rear edge of the trim cover. Apply a 6 mm (1/4 in) bead of glue in the final channel.
- Apply downward pressure (1-4 psi). Hold the trim cover (2) for 1 minute until a firm bond is made.
- Install the head restraint posts into the guides.
- Pull full upward on the head restraint guide in order to ensure a positive lock.
- Carefully guide the heated seat back wiring through the seat cushion frame.
- Secure the electrical wiring with new tie straps.
- Close the seat back cover zipper.
- Install the manual recliner lever knob.
- Tuck the zipper back inside the seat back cover.
- Tilt the seat fully upright.
- Install the front seat, with the aid from an assistant. Refer to Bucket Seat Replacement .
- Carefully guide the shoulder belt through the shoulder belt guide loop.
- Install the shoulder belt guide loop fastener.
- Reposition the seat.
- Close the doors.
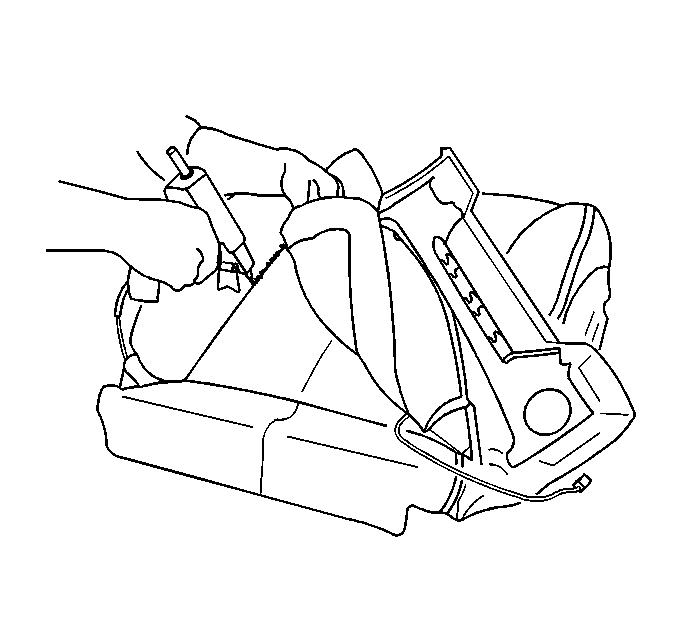
Important: Do not exceed (1/4 in) diameter of hot glue to the seat back foam.

Notice: Use the correct fastener in the correct location. Replacement fasteners must be the correct part number for that application. Fasteners requiring replacement or fasteners requiring the use of thread locking compound or sealant are identified in the service procedure. Do not use paints, lubricants, or corrosion inhibitors on fasteners or fastener joint surfaces unless specified. These coatings affect fastener torque and joint clamping force and may damage the fastener. Use the correct tightening sequence and specifications when installing fasteners in order to avoid damage to parts and systems.
Tighten
Tighten the fastener to 2 N·m (18 lb in).
