Brake Pads Replacement Rear
Linings
The use of GM brake lining material will help to maintain a balance between the front and the rear brake performance. In addition, the use of GM brake lining material will provide the proper brake balance for the purposes of stopping distance and control over the full range of operating conditions. The installation of any front or rear lining material with a performance different from that of the suggested GM replacement parts for this vehicle may change the intended brake balance of this vehicle.
Removal Procedure
- Remove the caliper. Refer to Brake Caliper Replacement . Do not disconnect the brake hose as in Caliper.
- Suspend the caliper.
- Remove the inboard lining and the outboard lining.
- Use a wire brush to remove any corrosion from the machined surfaces of the steering knuckle and the caliper.
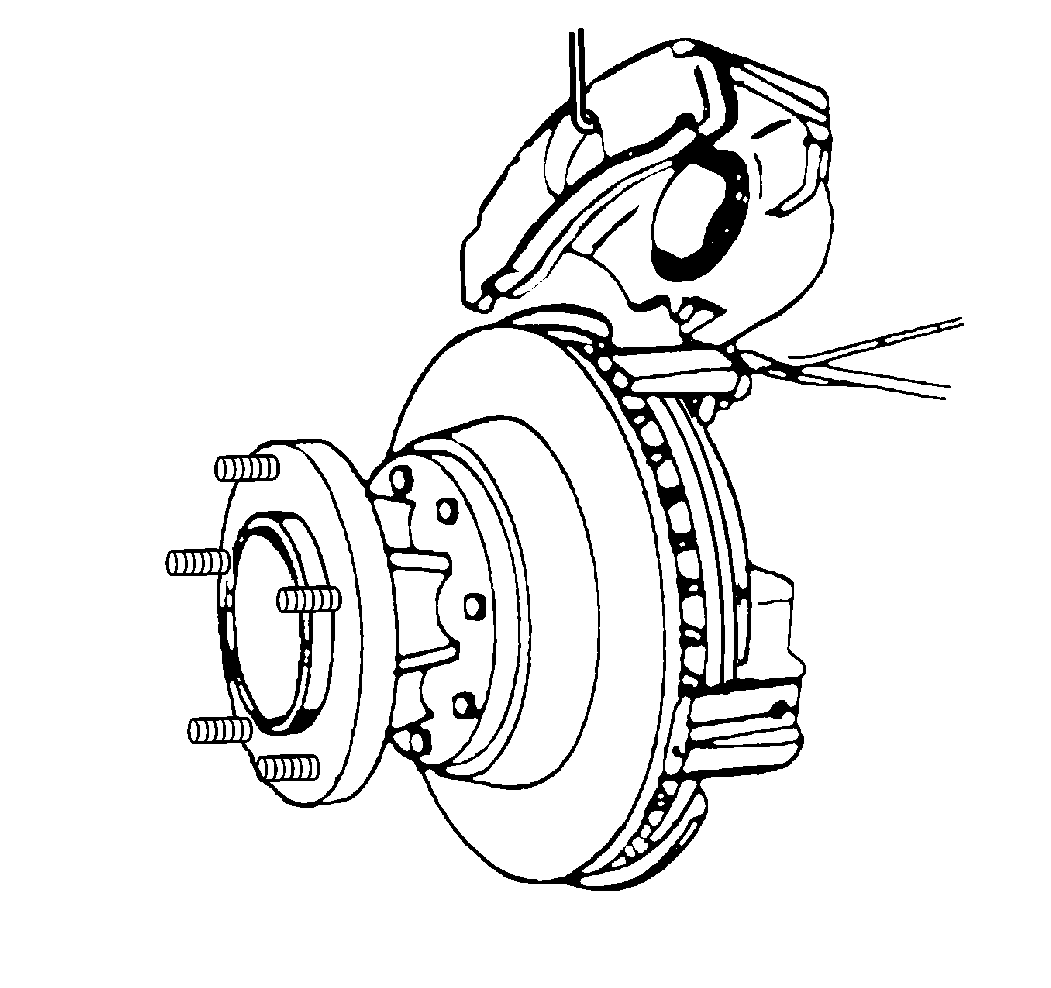
Notice: Do not allow calipers to hang from the flexible hoses. Doing so can damage the hoses.
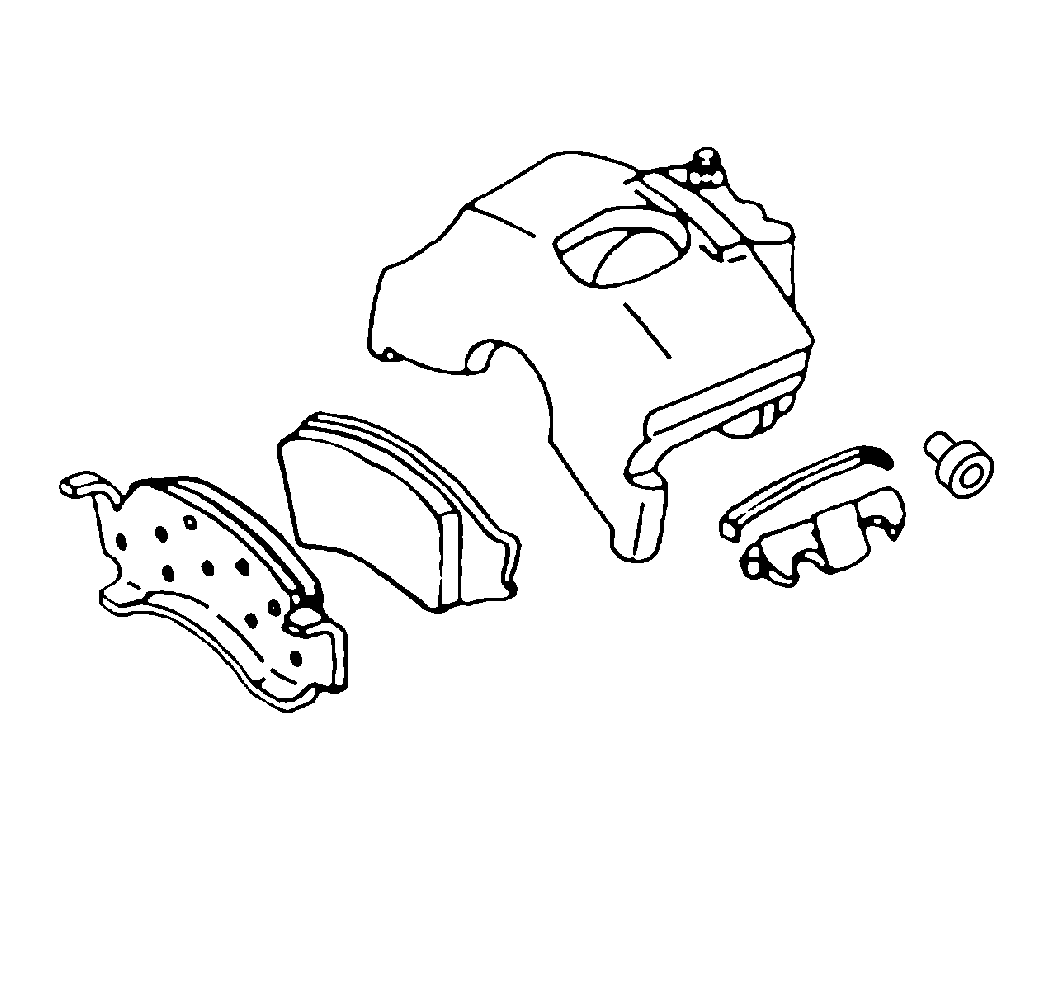
Installation Procedure
- Lubricate the caliper and the steering knuckle, or support, sliding surfaces and the spring with Aeroshell® #5 or the equivalent.
- Place the new pad in a vise.
- Compress the brake pad tangs as necessary to obtain a secure fit between the outer brake pad and the caliper.
- Install the outer brake pad onto the caliper.
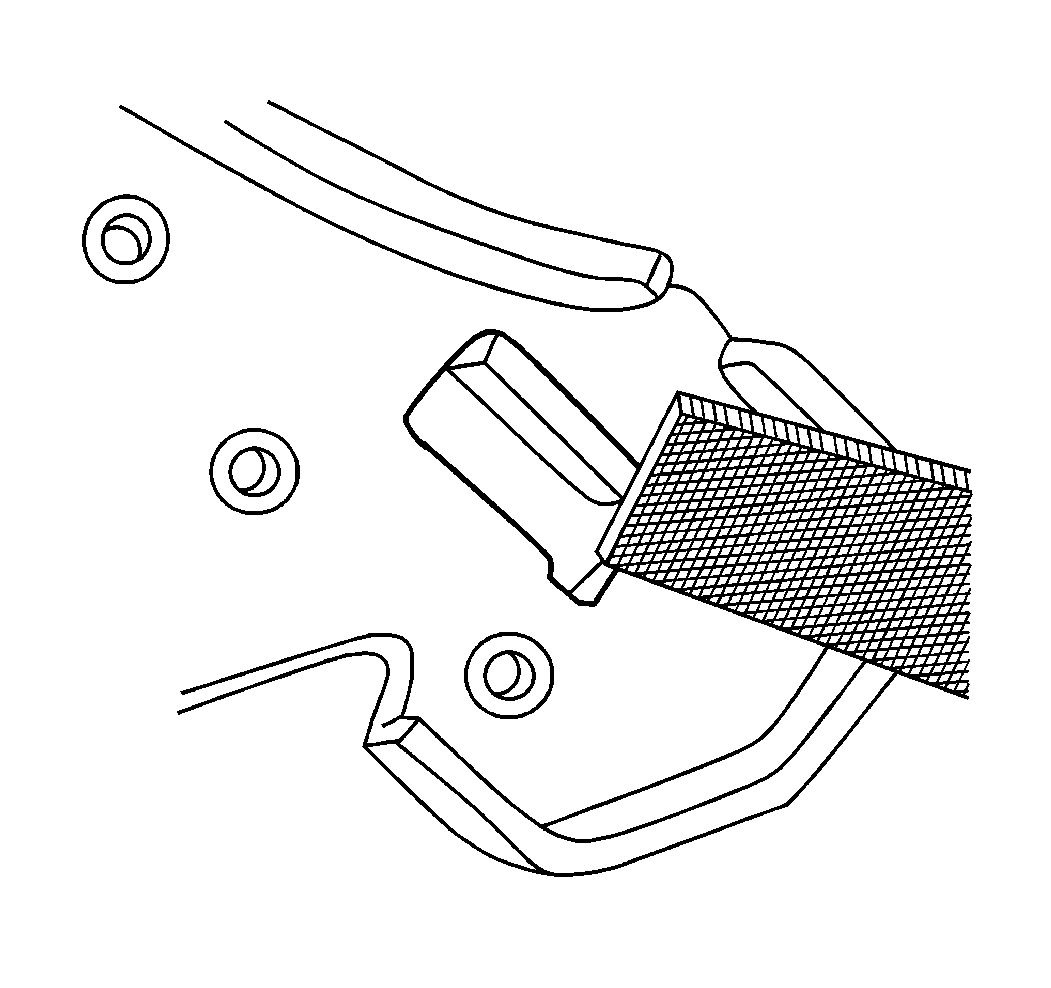
- File the leading edge of the brake pad tang to aid in the installation of the brake pad to the caliper.
- Install the caliper. Refer to Brake Caliper Replacement .
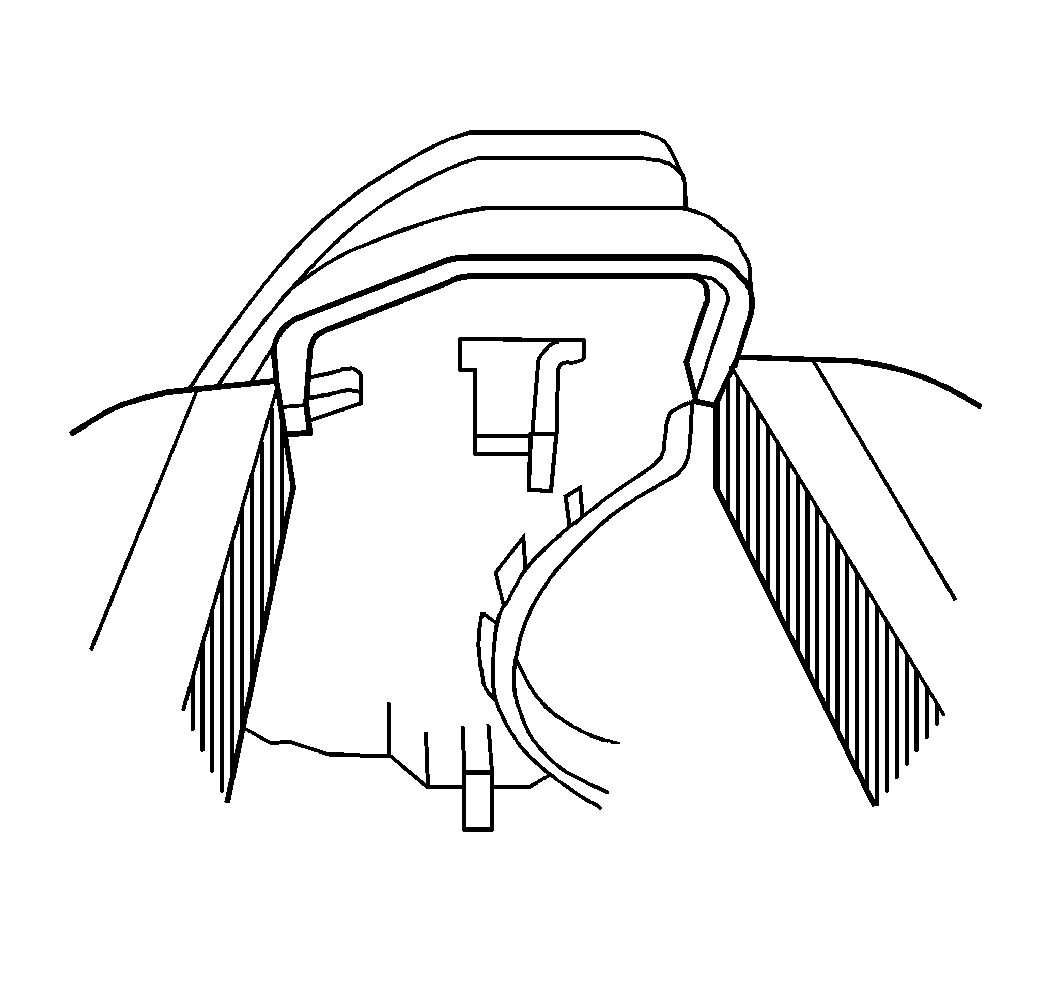
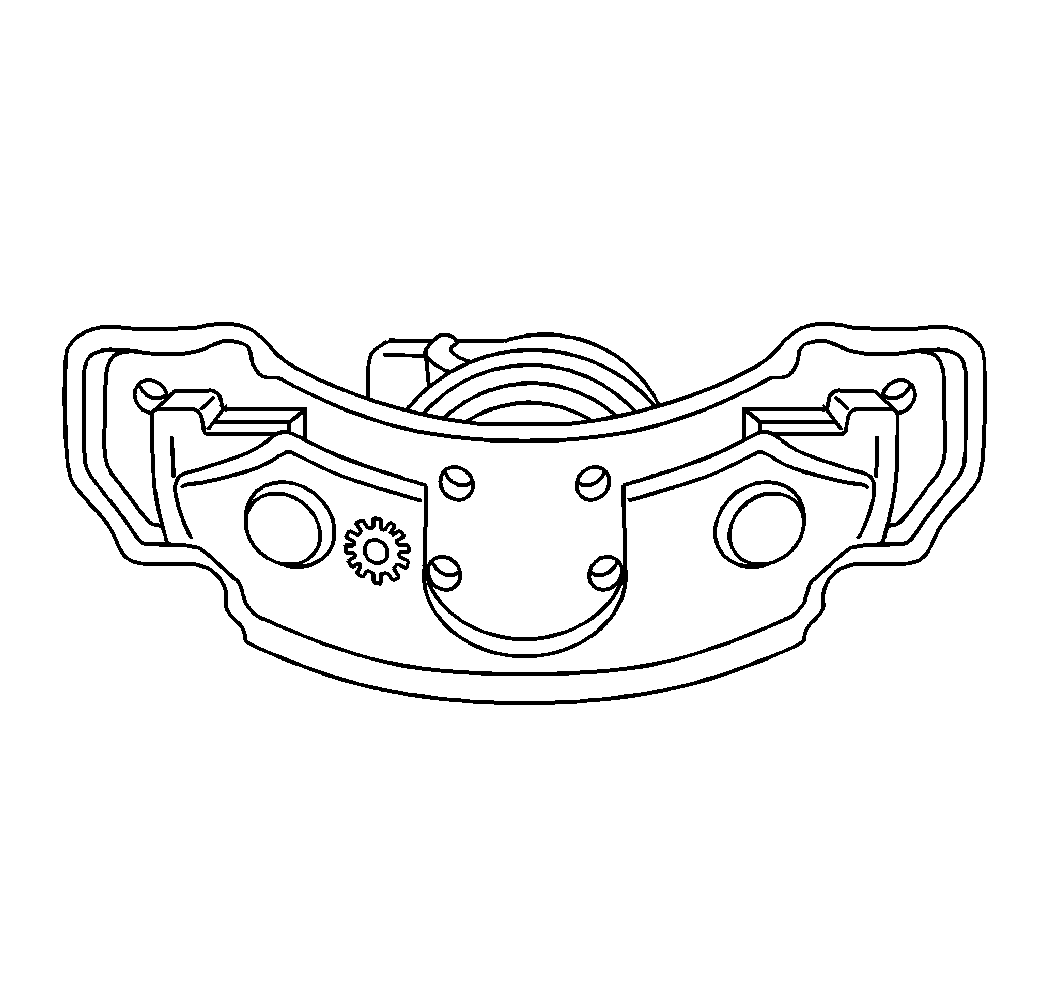
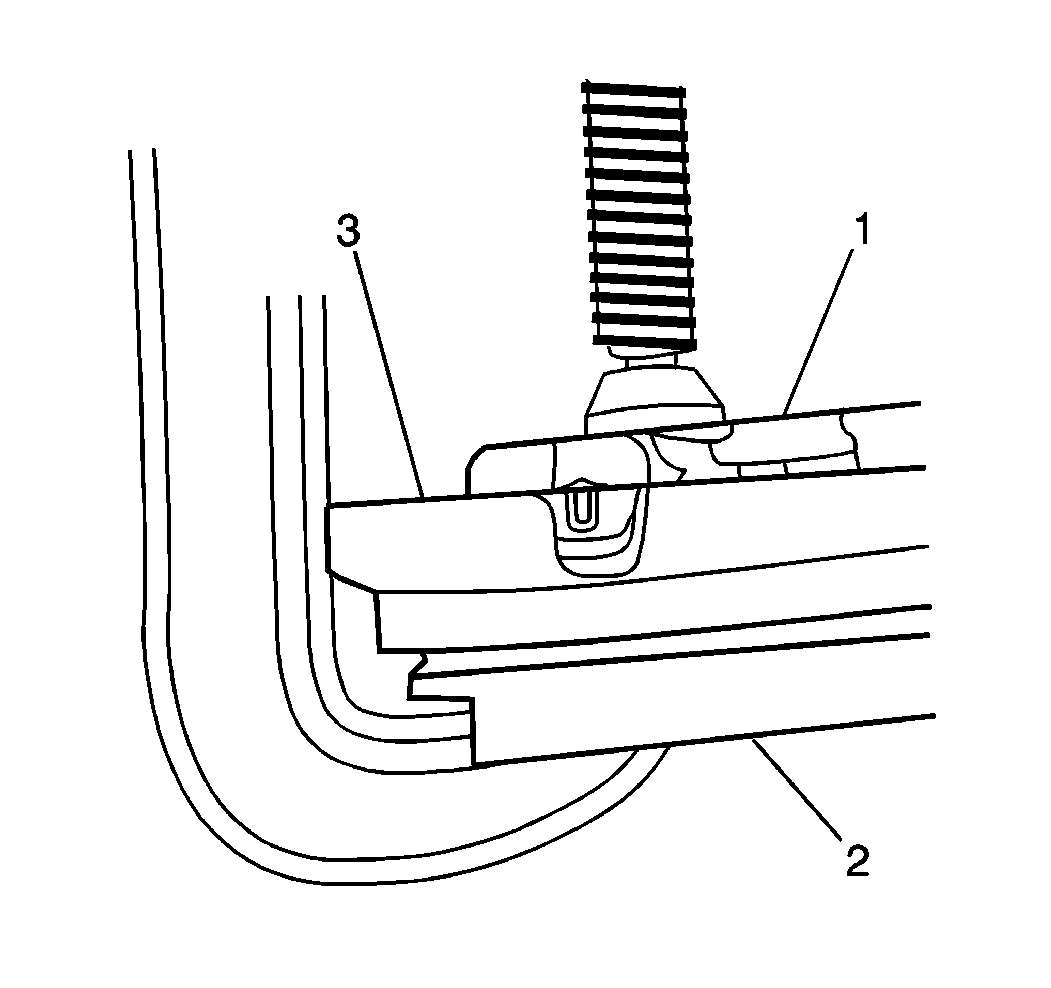
| • | Use a C-clamp to install the pad (3) onto the caliper (1) if it is necessary. |
| • | Do not allow the C-clamp to come in contact with the lining. |
| • | Insert a used brake pad between the C-clamp and the new brake lining. |
Important: Pump the brakes until the brake pedal is firm before moving the vehicle. Check the brake fluid level in the master cylinder after pumping the brakes.
Brake Pads Replacement Front Delco
Linings
The use of GM brake lining material will help to maintain a balance between the front and the rear brake performance. In addition, the use of GM brake lining material will provide the proper brake balance for the purposes of stopping distance and control over the full range of operating conditions. The installation of any front or rear lining material with a performance different from that of the suggested GM replacement parts for this vehicle may change the intended brake balance of this vehicle.
Removal Procedure
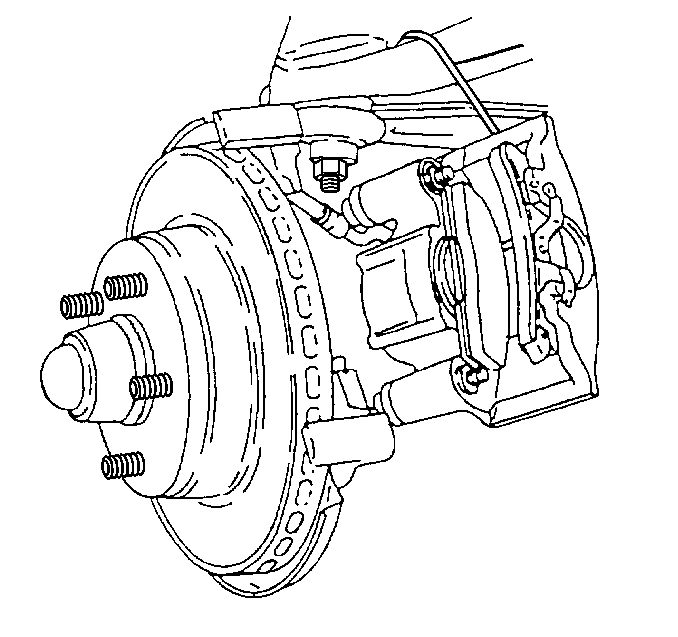
- Remove the caliper. Refer to Brake Caliper Replacement . Do not disconnect the brake hose as in Caliper.
- Suspend the caliper using a wire hanger (1).
- Remove the outboard shoe and lining (3).
- Remove the inboard shoe and the lining.
- Remove the bolt boots.
- Remove the mounting bolt seals.
- Remove the bushings.
- Inspect the mounting bolts, the key, the spring, and the sleeves for any corrosion. Do not attempt to polish away any corrosion. Replace any corroded parts.
- Inspect the bolt boots for any nicks, cuts, or corrosion. Replace any corroded parts.
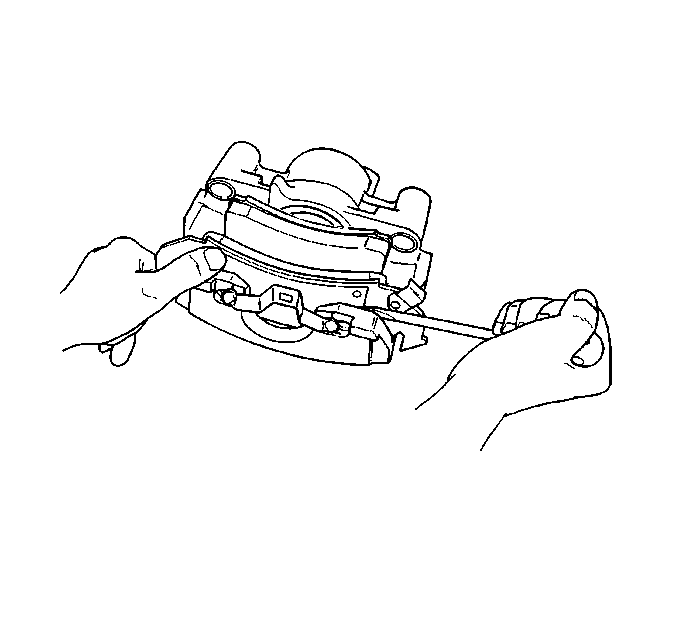
Use a screwdriver to disengage the buttons on the pad from the holes in the caliper housing.
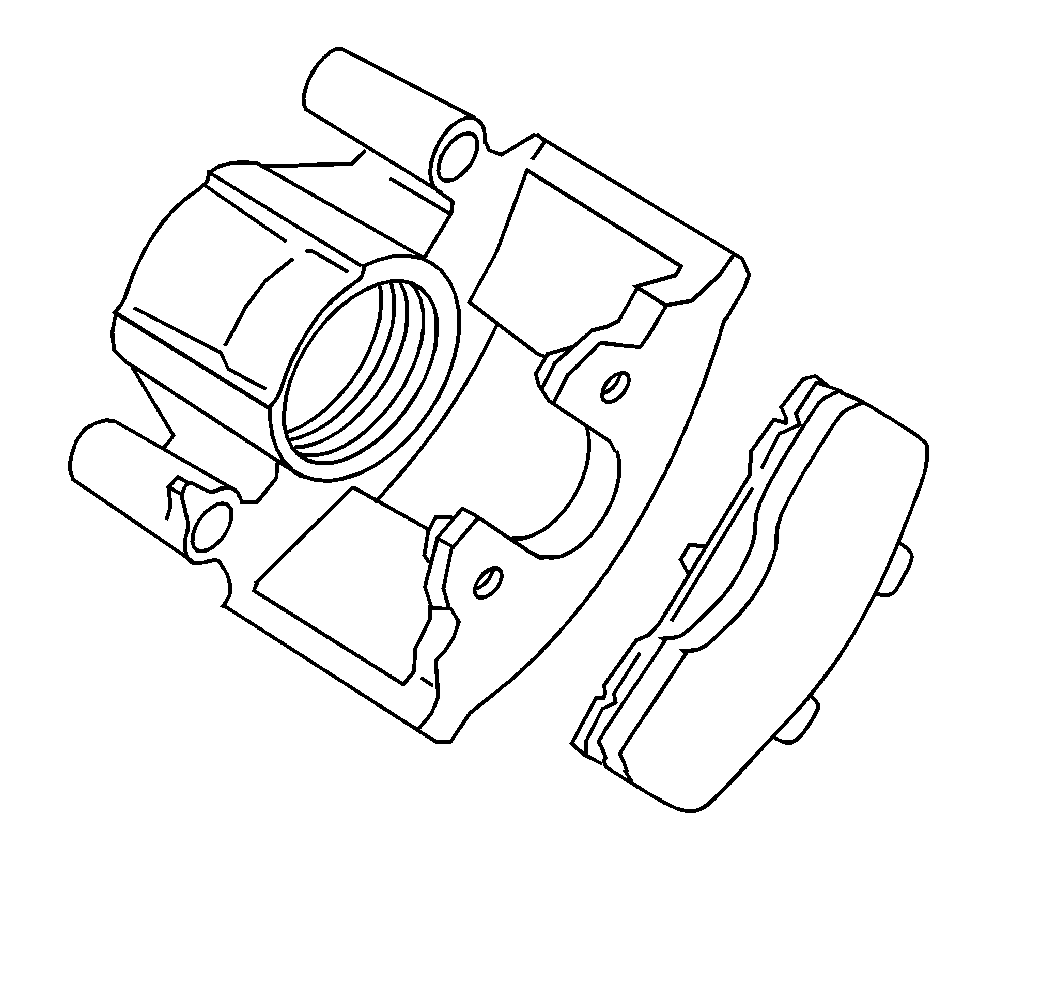
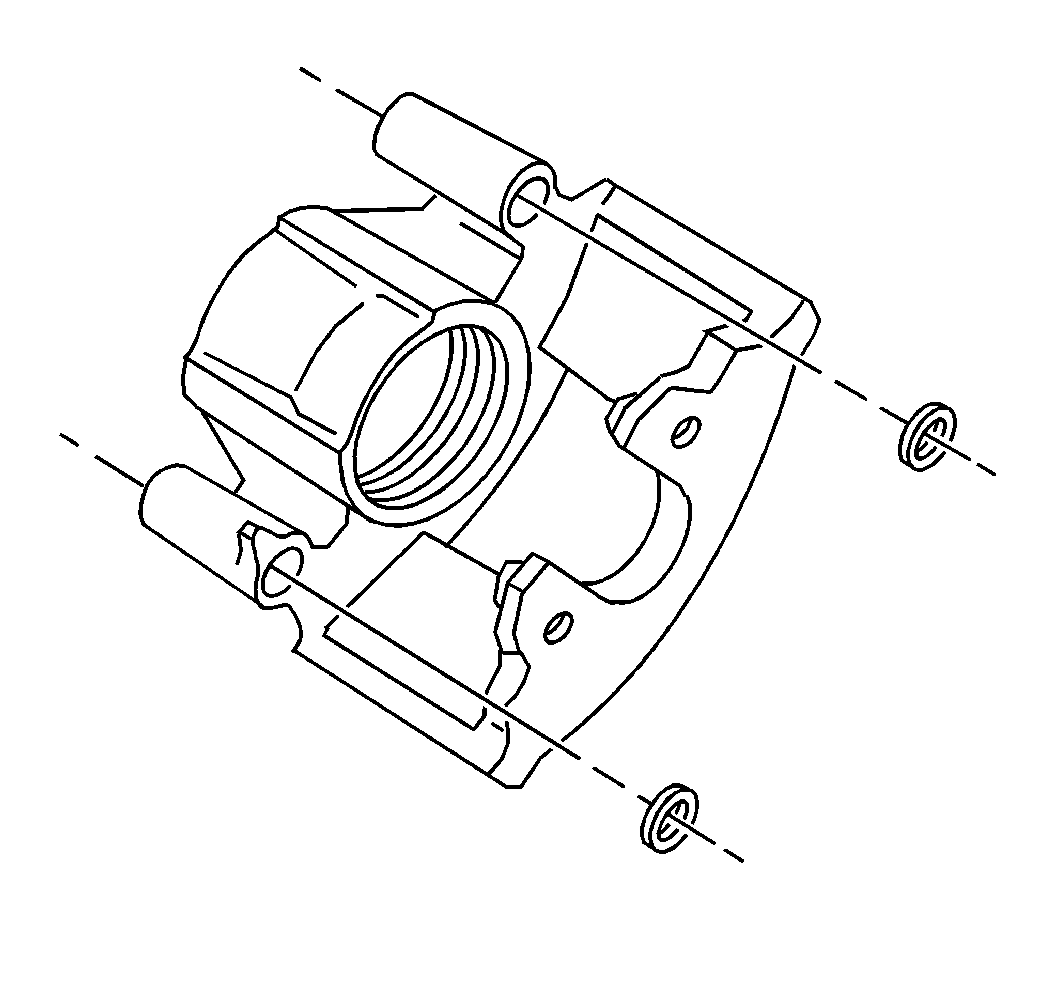
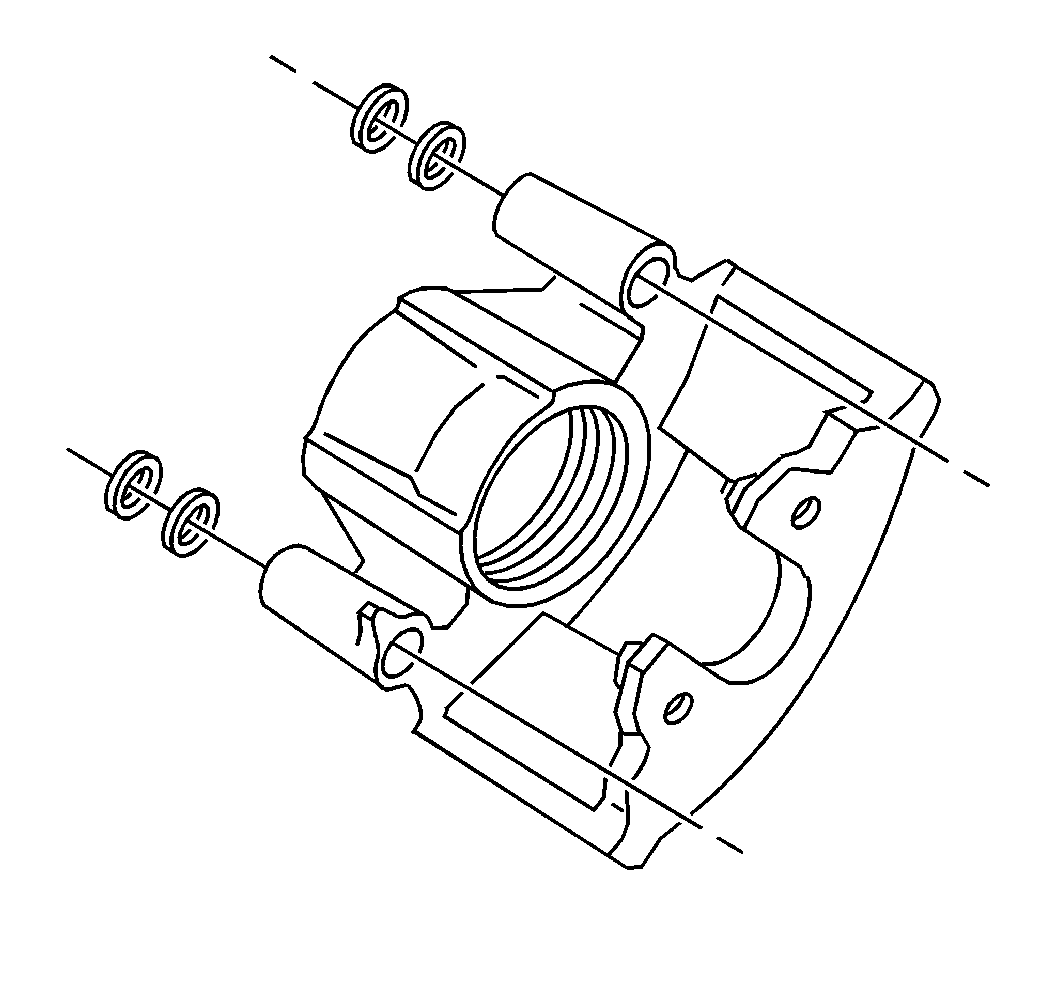
Important: Clean the caliper assembly. Install a new brake hardware kit any time it is necessary to remove it from the rotor.
Installation Procedure
- Lubricate the bushings and the mounting bolt seals with Delco Silicone Lube GM P/N 18010909 or the equivalent.
- Install the new bushings.
- Install the bolt seals.
- Install the new bolt boots.
- Install the inboard lining.
- Snap the retainer spring into the piston.
- Install the outboard lining with the wear indicator at the leading edge of the pad during a front wheel rotation. The back of the pad must lay flat against the caliper.
- Install the caliper. Refer to Brake Caliper Replacement .
- Pump the brakes until the brake pedal is firm before moving the vehicle. Check the fluid level in the master cylinder after pumping the brakes.
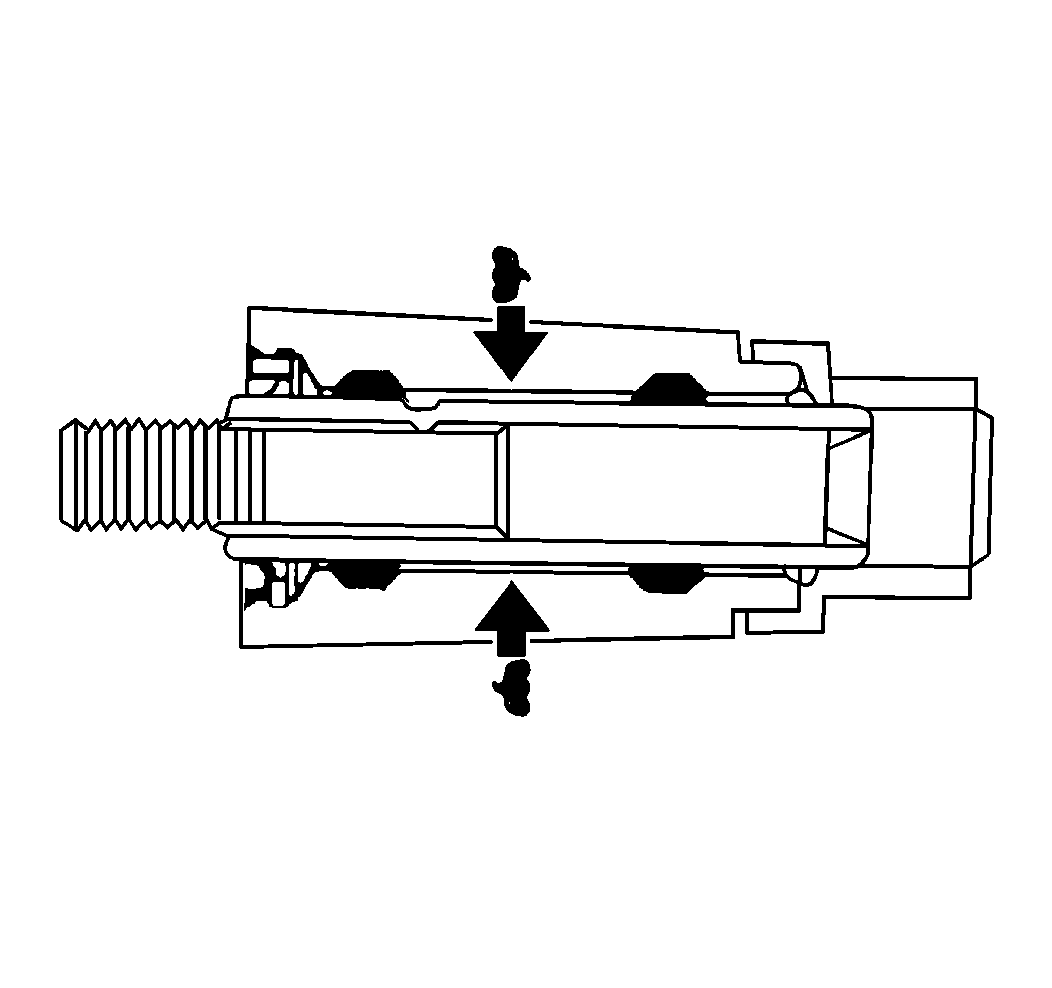


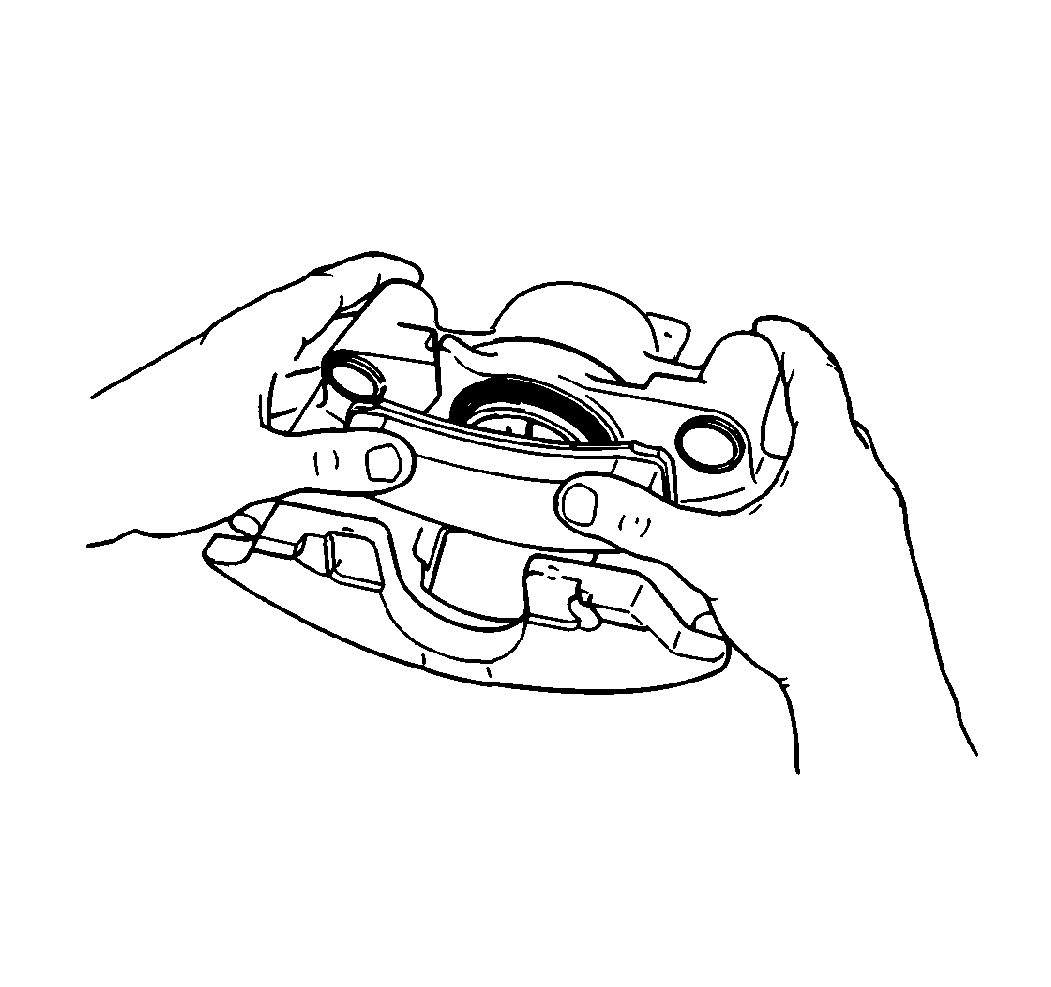
| • | The pad retainer spring is already staked to the inboard shoe. |
| • | The pad must lay flat against the piston. |
Brake Pads Replacement Front Bendix
Linings
The use of GM brake lining material will help to maintain a balance between the front and the rear brake performance. In addition, the use of GM brake lining material will provide the proper brake balance for the purposes of stopping distance and control over the full range of operating conditions. The installation of any front or rear lining material with a performance different from that of the suggested GM replacement parts for this vehicle may change the intended brake balance of this vehicle.
Removal Procedure
- Remove the caliper. Refer to Brake Caliper Replacement . Do not disconnect the brake hose as in Caliper.
- Suspend the caliper.
- Remove the inboard lining.
- Remove the outboard lining.
- Inspect the caliper assembly for signs of fluid leakage. If any leakage is detected refer to Brake Caliper Overhaul .
- Use a wire brush to remove any corrosion from the machined surfaces of the steering knuckle and the caliper.

Notice: Do not allow calipers to hang from the flexible hoses. Doing so can damage the hoses.

Installation Procedure
- Lubricate the caliper and the steering knuckle, or support, sliding surfaces and the spring with Shell Aeroshell® #5 or the equivalent.
- Place the new pad in a vise.
- Compress the vise as needed to obtain a secure fit between the outer brake pad and the caliper.
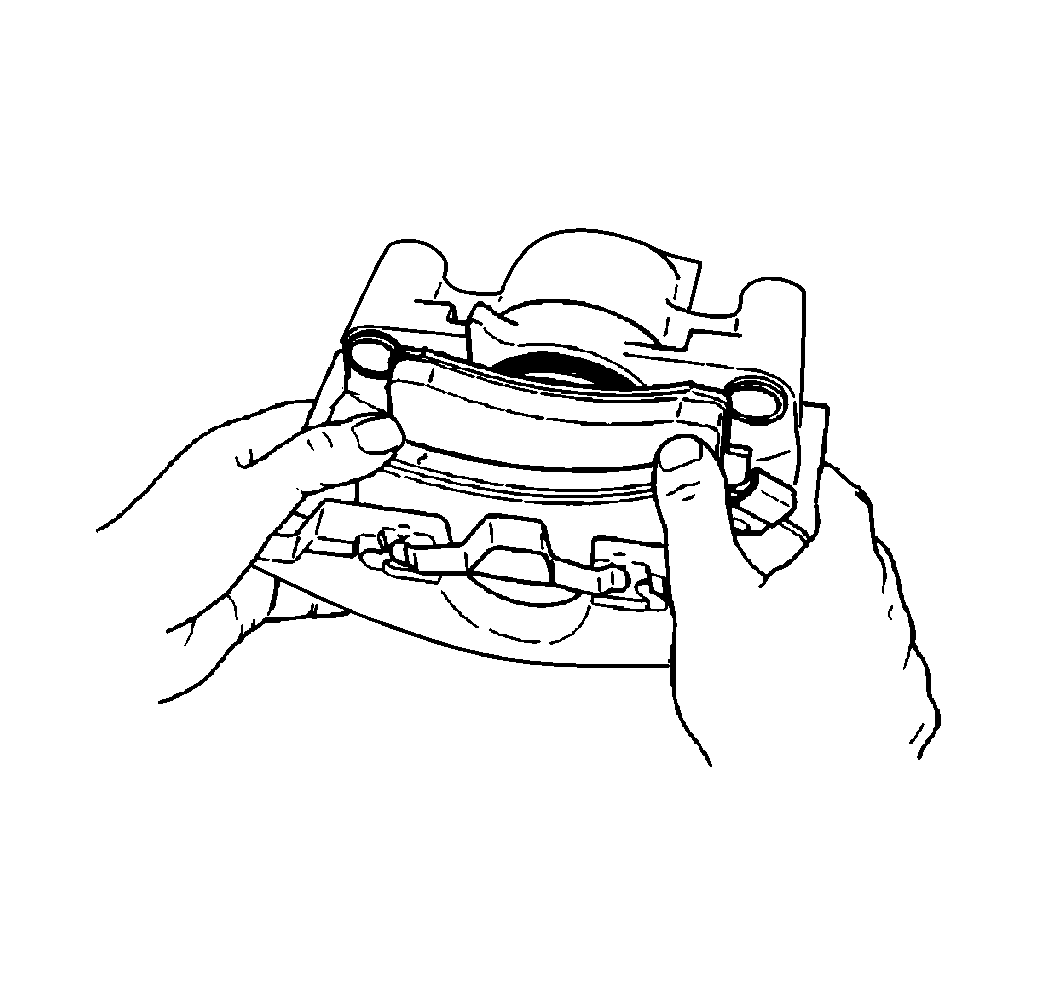
- Install the outer brake pad (3) onto the caliper (1).
- File the leading edge of the brake pad tang to aid in the installation of the brake pad to the caliper.
- Install the caliper. Refer to Brake Caliper Replacement .
- Pump the brakes until the brake pedal is firm before moving the vehicle. Check the brake fluid level in the master cylinder after pumping the brakes.


| • | If it is necessary use a C-clamp to install the pad onto the caliper. |
| • | Do not allow the C-clamp to come into contact with the lining. |
| • | Insert a used brake pad between the C-clamp and the new brake lining. |

