For 1990-2009 cars only
Tools Required
| • | J 8092 Universal Handle |
| • | J 43484 Front Output Shaft Seal Installer |
Removal Procedure
- Raise the vehicle. Refer to Lifting and Jacking the Vehicle in General Information.
- Remove the transfer case shield from the crossmember (if equipped). Refer to Transfer Case Shield Replacement .
- Remove the front propeller shaft from the vehicle. Refer to Front Propeller Shaft Replacement in Propeller Shaft.
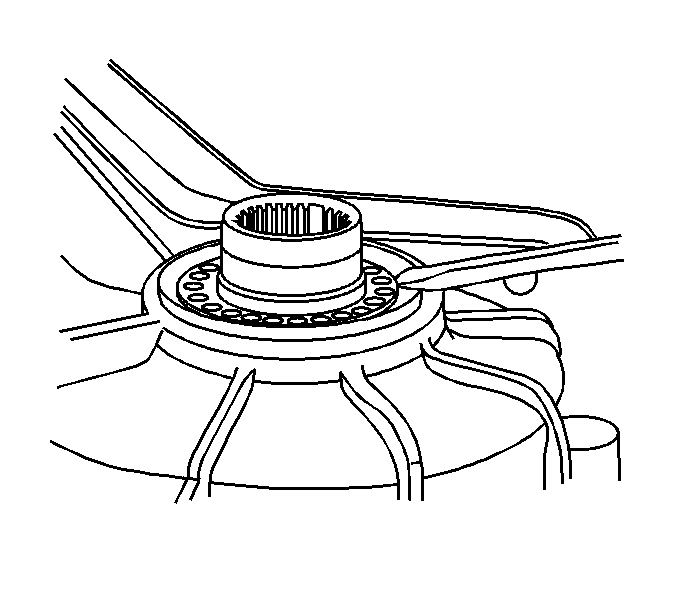
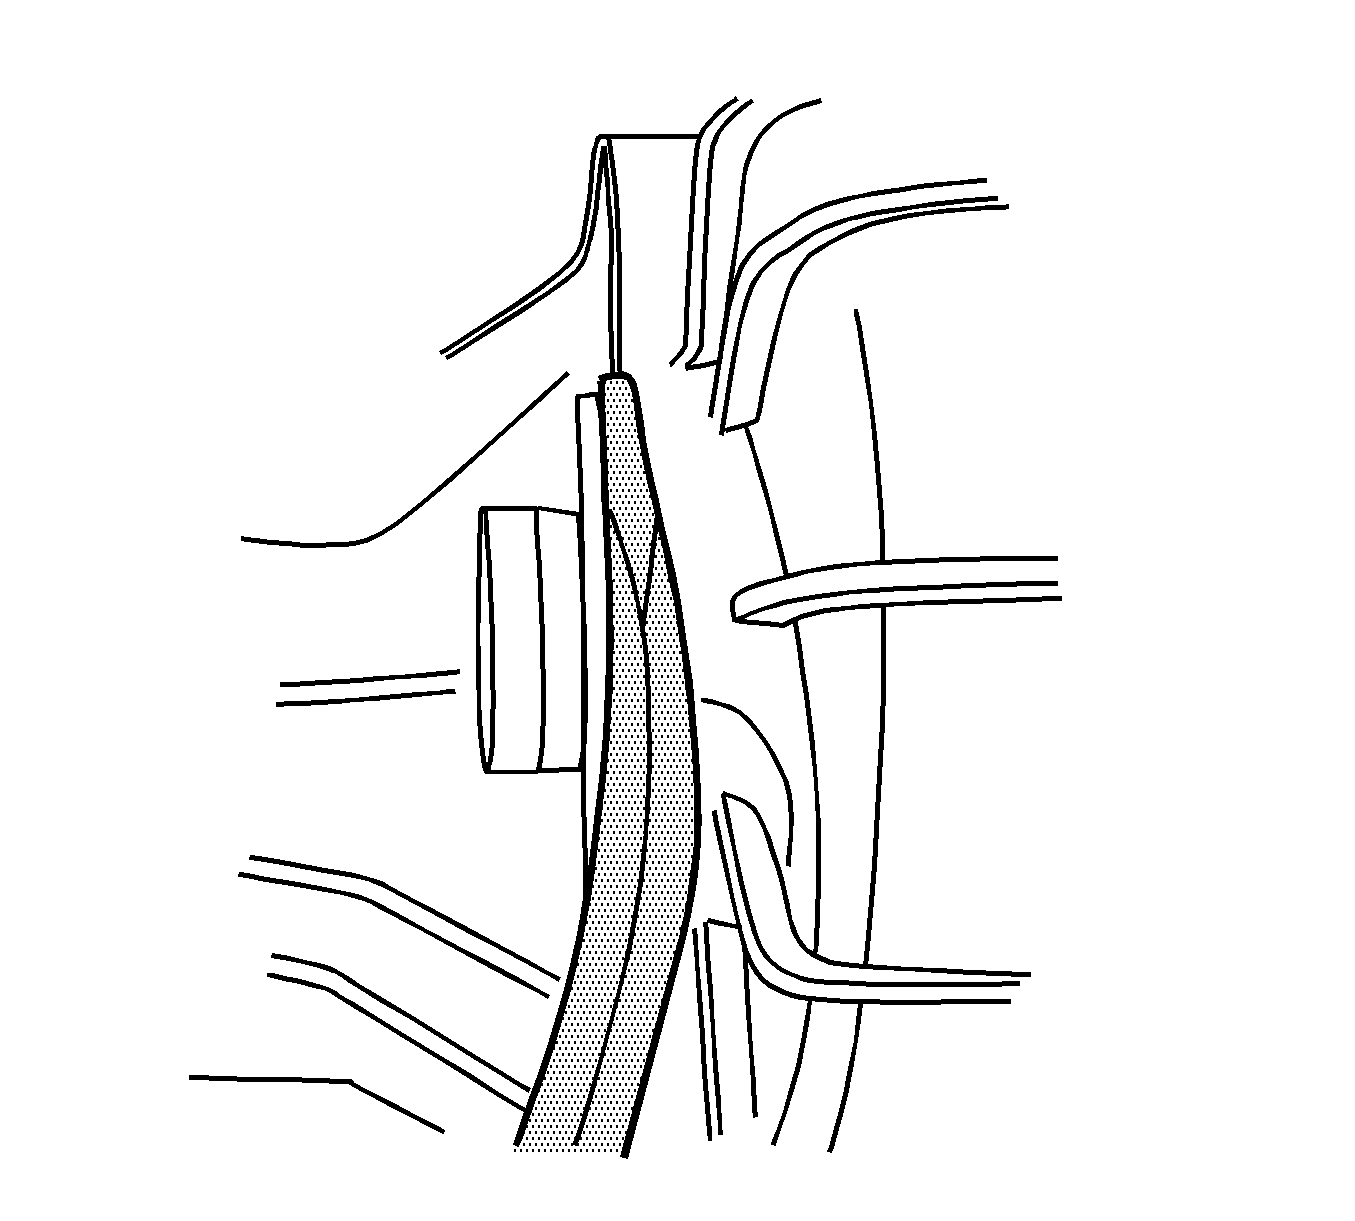
- Insert a flat-tipped screw driver in the inner race.
- Pry the inner race back.
- Insert a small pry bar in the inner race.
- Pry the inner part of the seal from the outer seal body.
- Remove the inner part of the seal.
- Insert a flat-tipped screw driver or small pry bar in the space between the outer race of the seal and the transfer caser.
- Pry the outer race out of the transfer case.
- Remove the outer part of the seal.
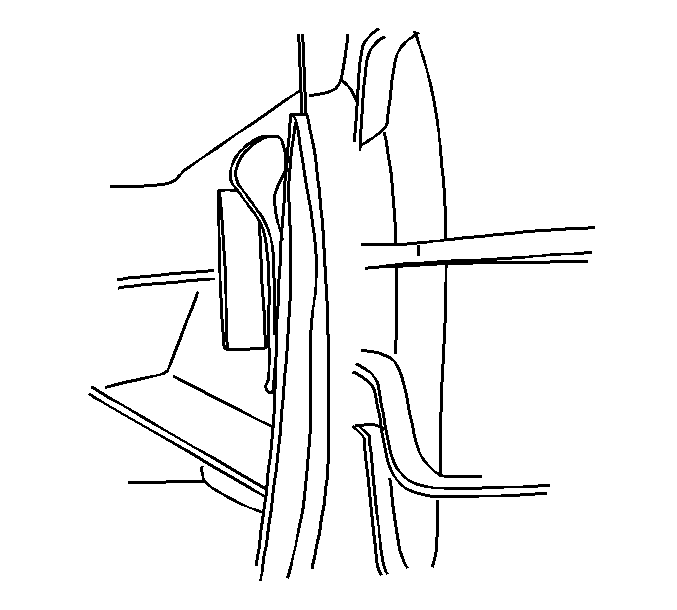
Important: When performing the following service procedure, the outer part of the seal will slightly move out of the transfer case with the inner part seal.
Installation Procedure
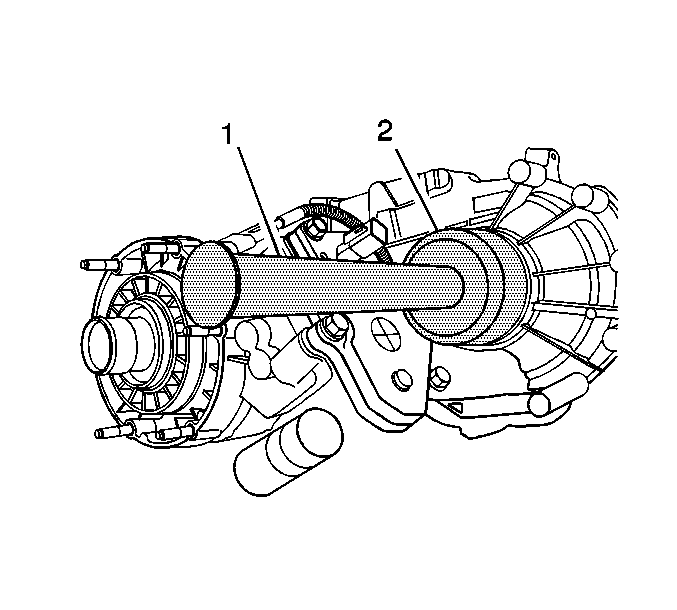
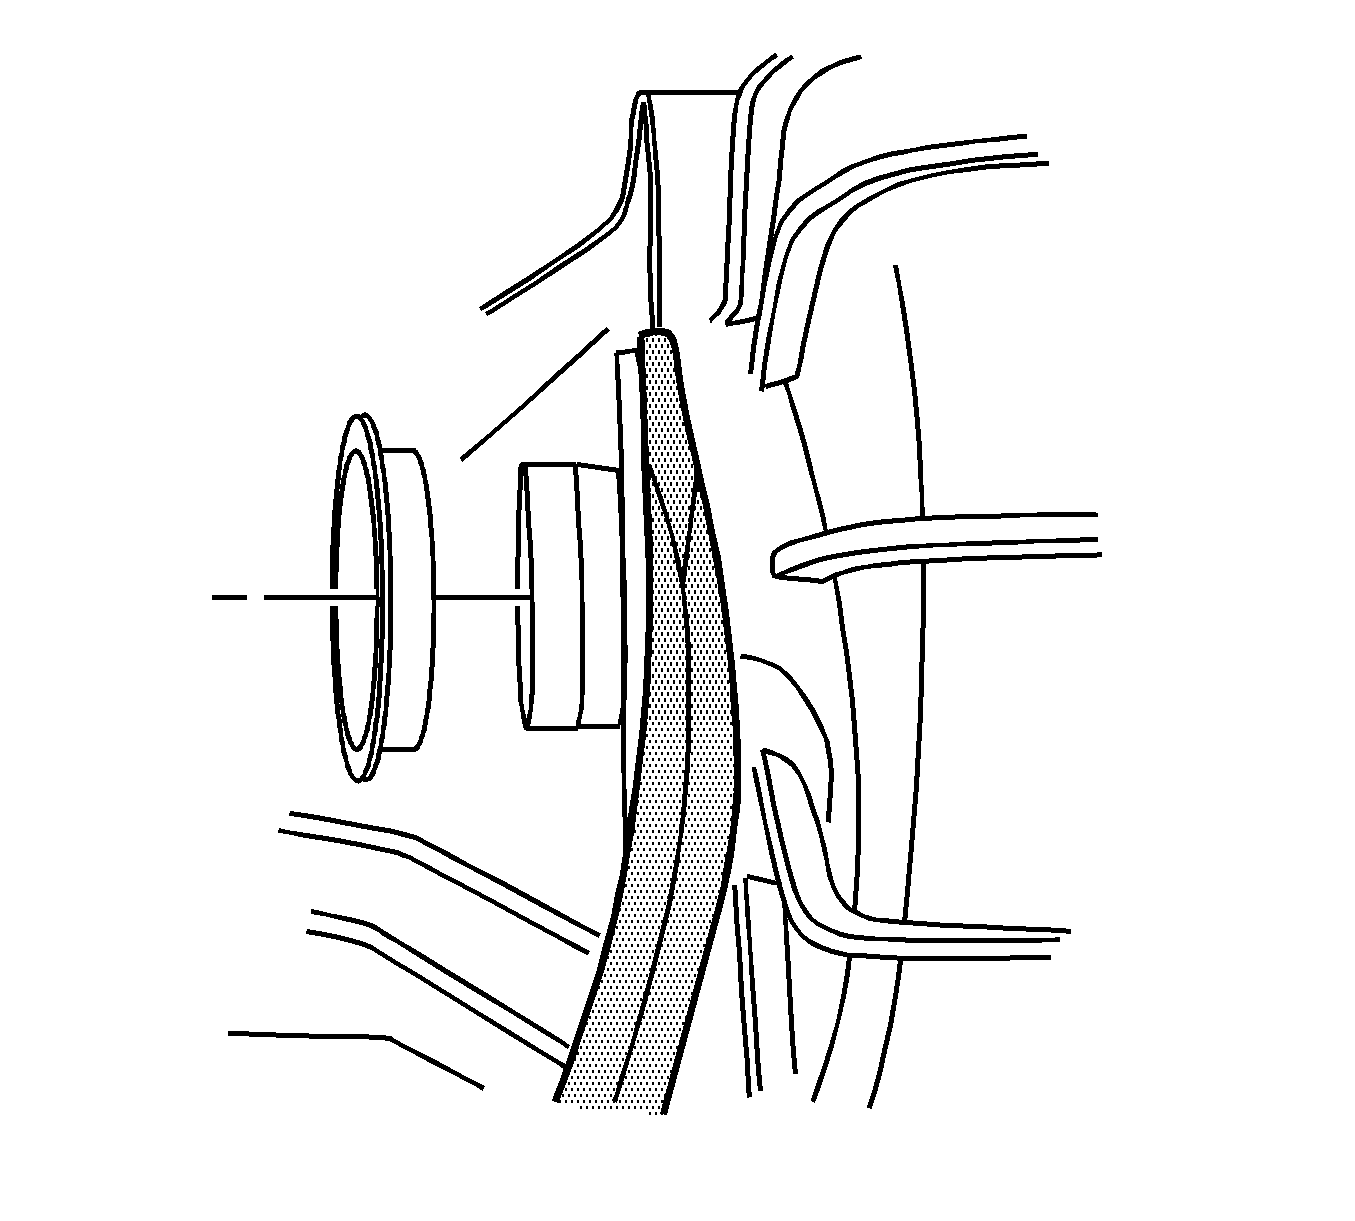
- Install the J 43484 (2) to the J 8092 (1).
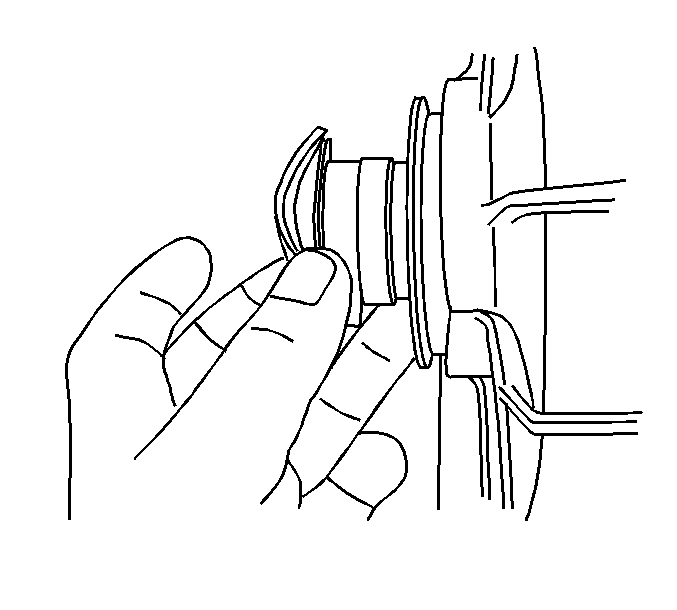
- Install the transfer case front input shaft seal on the J 43484 .
- Using the J 43484 (2) and the J 8092 (1), install the transfer case output seal.
- Install the front propeller shaft. Refer to Front Propeller Shaft Replacement in Propeller Shaft.
- Check the transfer case fluid level. Refer to Transfer Case Fluid Replacement .
- Install the transfer case shield. Refer to Transfer Case Shield Replacement .
- Lower the vehicle. Refer to Lifting and Jacking the Vehicle in General Information.
