Parking Brake Rear Cable Replacement - Right Side without/RPO NYS
Removal Procedure
- Release the park brake.
- Raise and support the vehicle. Refer to Lifting and Jacking the Vehicle in General Information.
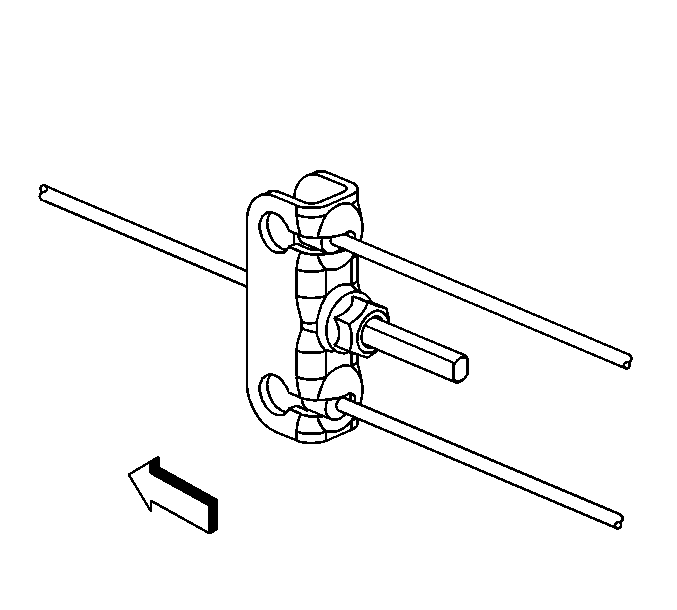
- Relieve the tension on the cable by loosening the nut at the equalizer.
- Disconnect the cable from the equalizer.
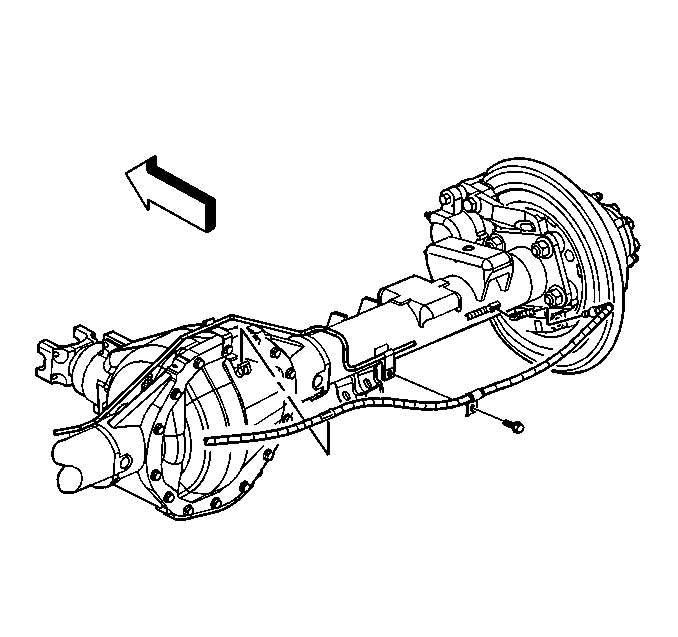
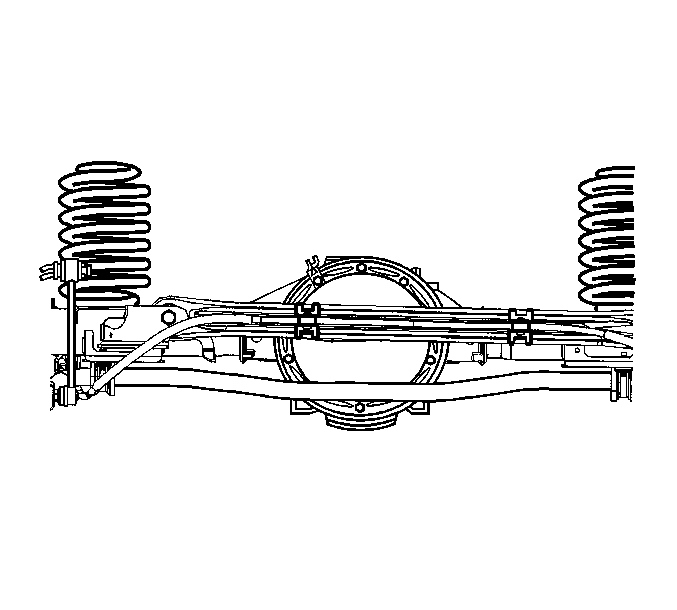
- Remove the bolt from the rear axle clip.
- Remove the cable from the differential clip.
- Remove the cable from the mounting bracket by depressing the locking tabs.
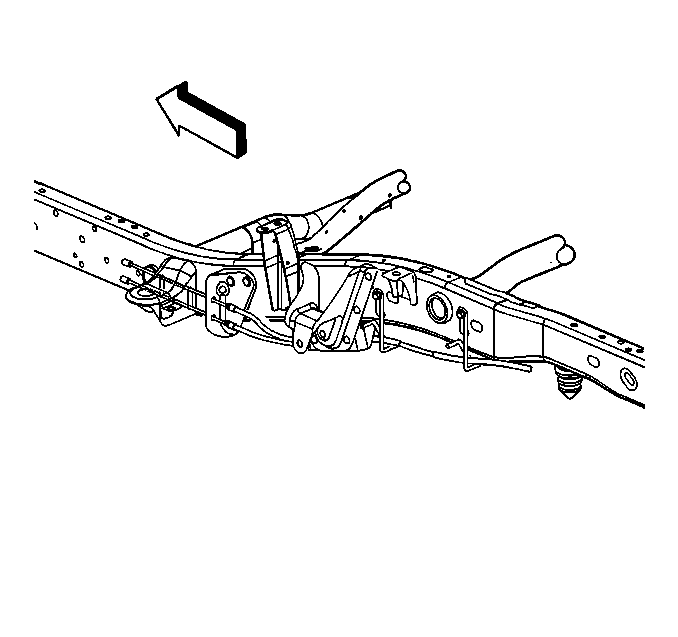
- Remove the cable from the left and right side cable guides, 15 series utilities.
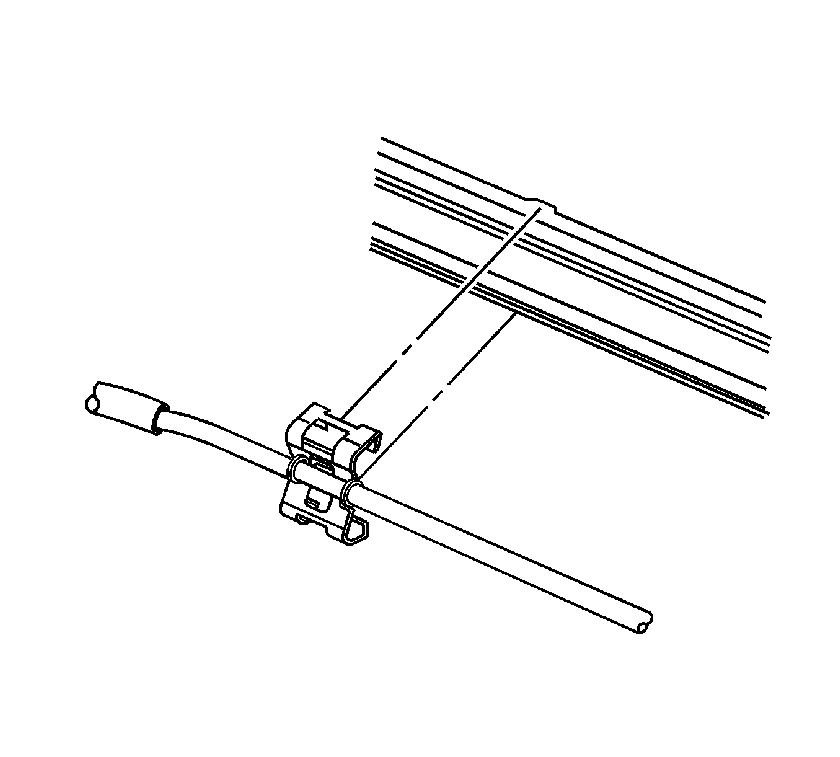
- Remove the cable from the track bar clips.
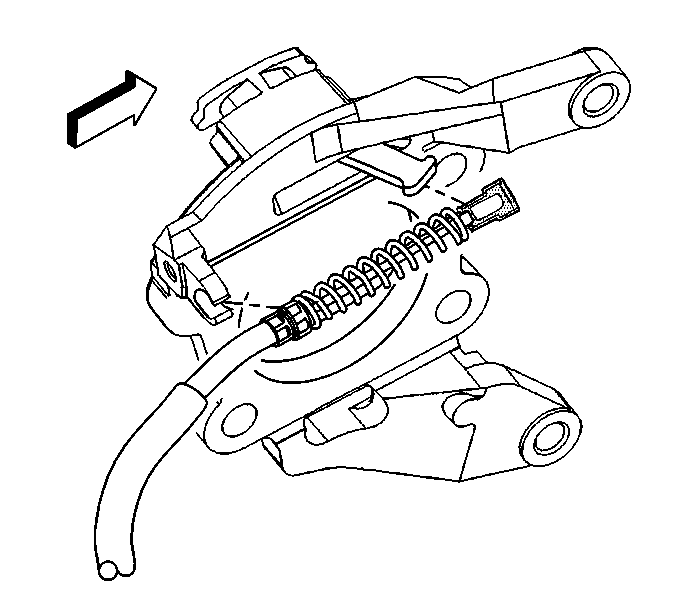
- Remove the cable from the lever, all except 15 series utilities.
- Remove the cable from the backing plate by depressing the locking tabs.
- Remove the cable from the retaining bracket.
- Remove the cable.
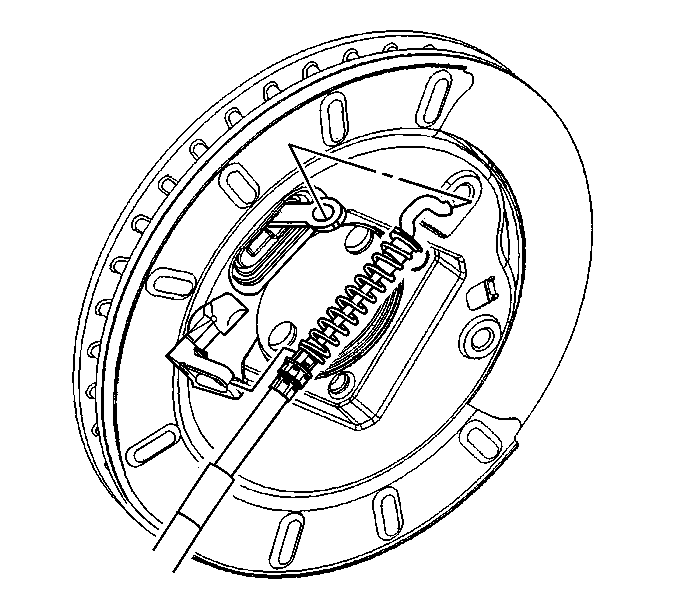
- Remove the cable from the lever, 15 series utilities.
- Remove the cable from the backing plate by depressing the locking tabs.
- Remove the cable from the retaining bracket.
- Remove the cable.
Installation Procedure
- Install the cable taking care to correctly route the cable through the guides and the body mounts.
- Install the cable to the backing plate by pressing the cable into place until locking tabs snap into place, 15 series utilities.
- Attach the cable to the lever.
- Install the cable taking care to correctly route the cable through the guides and the body mounts.
- Install the cable to the backing plate by pressing the cable into place until locking tabs snap into place, all except 15 series utilities.
- Attach the cable to the lever.
- Install the cable to the track bar and secure with the clips. Verify that the clips are installed between the locators on the track bar, 15 series utilities.
- Install the cable to the right and left side guides.
- Install the cable to the mounting bracket until the locking tabs snap into place.
- Bolt the cable to the differential clips.
- Install the cable to the differential clip.
- Connect the cable to the equalizer.
- Tighten the nut to the intermediate cable at the equalizer.
- Remove the safety stands.
- Lower the vehicle.
- Adjust the park brake cable. Refer to Park Brake Adjustment .




Notice: Use the correct fastener in the correct location. Replacement fasteners must be the correct part number for that application. Fasteners requiring replacement or fasteners requiring the use of thread locking compound or sealant are identified in the service procedure. Do not use paints, lubricants, or corrosion inhibitors on fasteners or fastener joint surfaces unless specified. These coatings affect fastener torque and joint clamping force and may damage the fastener. Use the correct tightening sequence and specifications when installing fasteners in order to avoid damage to parts and systems.
Tighten
Tighten the bolt to 25 N·m (18 lb ft).
Important: After installing the cable to the rear axle holding clip, verify that clip is securely retaining the cable. If not, crimp the clip by hand taking care not to pinch or kink the cable.

Tighten
Tighten the nut to 3.5 N·m (31 lb in).
