For 1990-2009 cars only
-
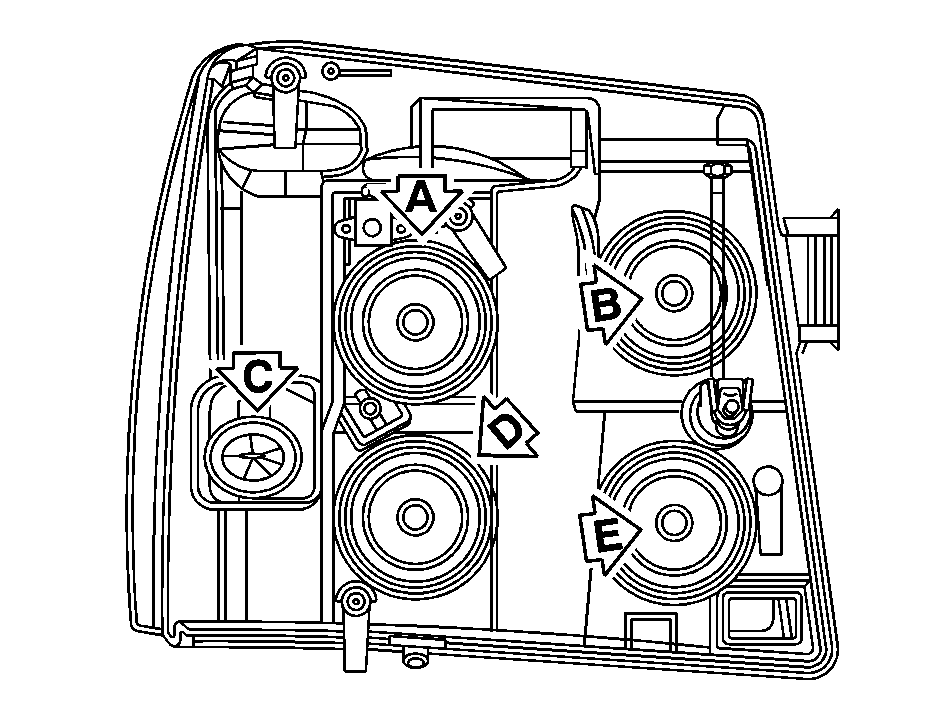
Low-Beam Headlamp
Daytime Running Lamp (DRL)
Sidemarker Lamp
High-Beam Headlamp
Front Parking/Turn Signal Lamp
To replace a headlamp bulb, do the following:
- Open the hood of the vehicle. See Hood Release for more information.
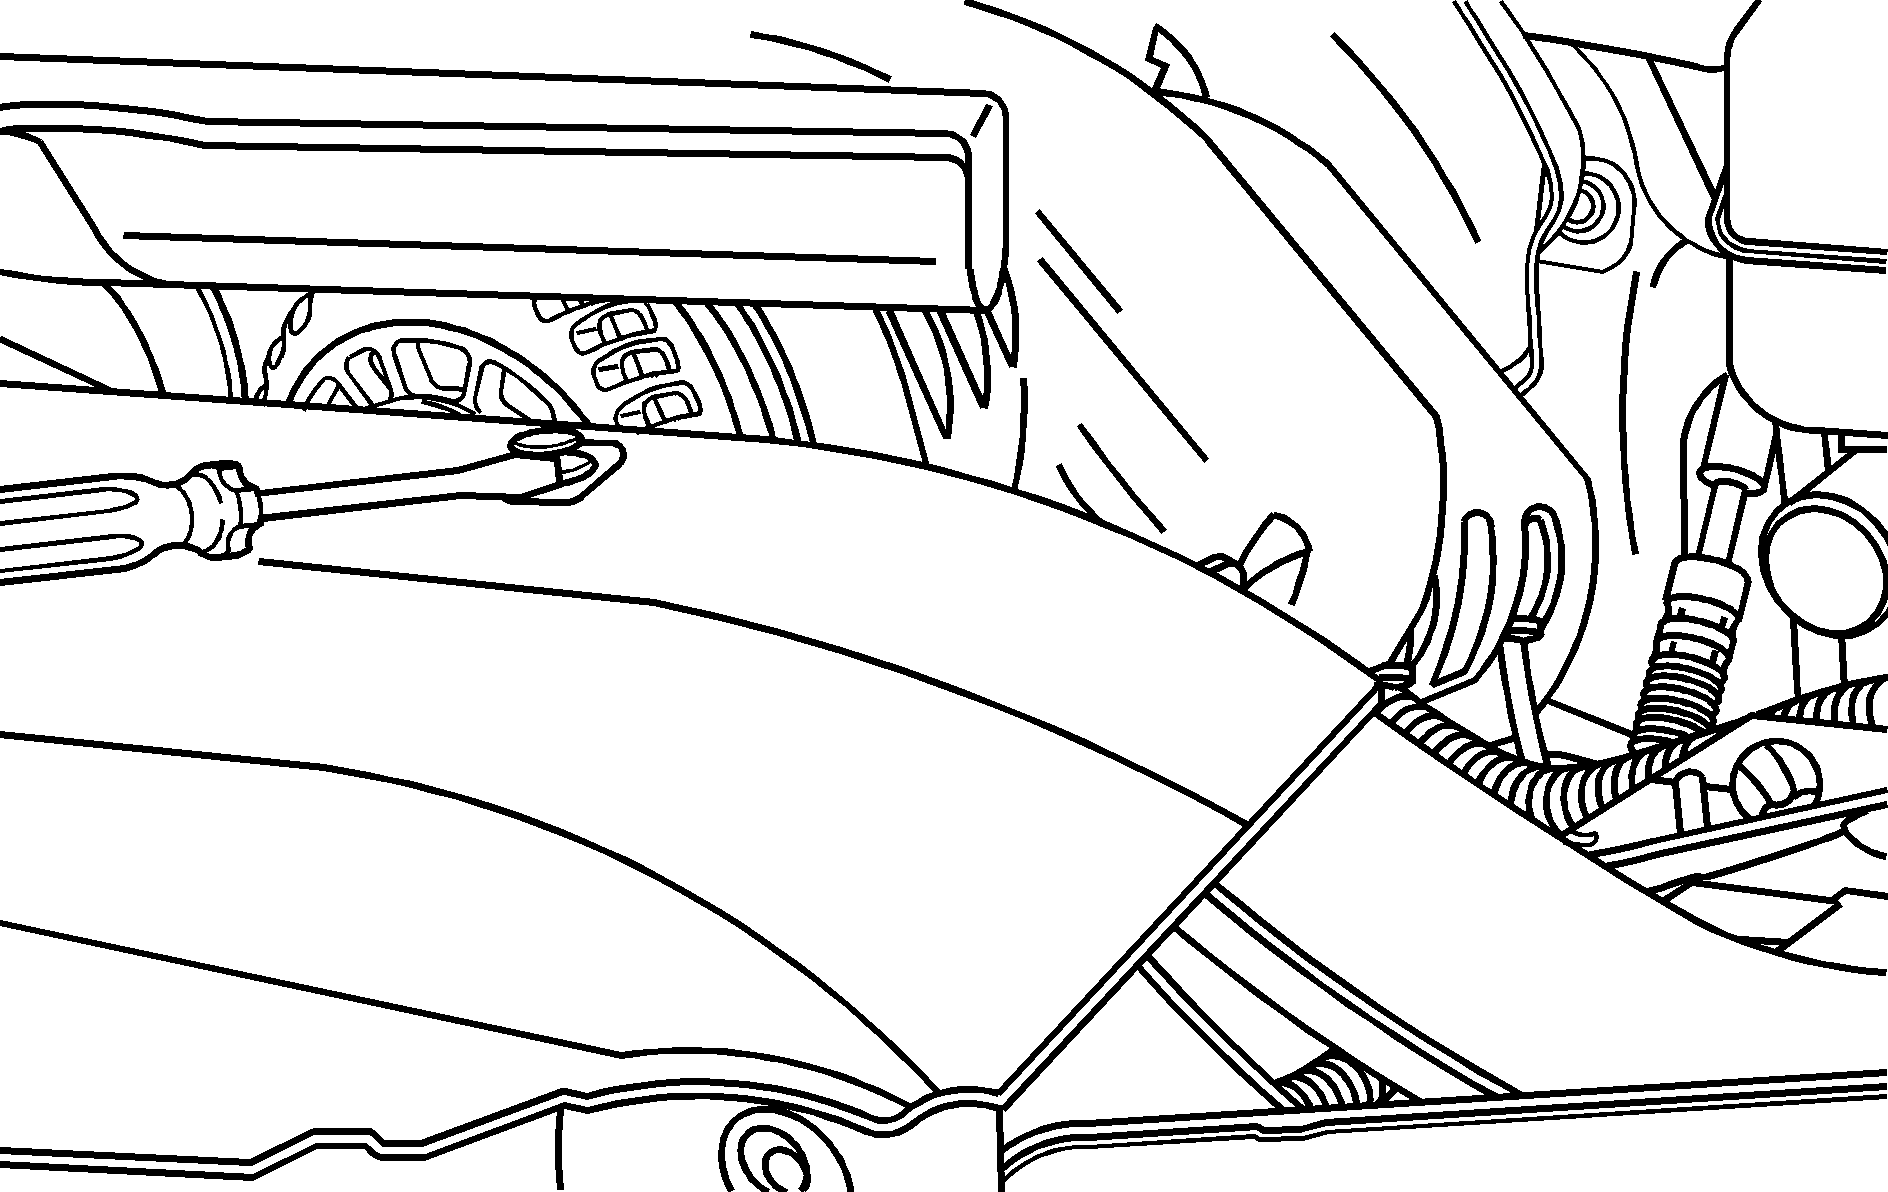
- Pry up the eight fastener plugs on the radiator cover and pull the fasteners out.
- Lift off the radiator cover.
- Pull the top left or right corner of the grill out so the clips release. This will give you the needed clearance for removing the headlamp assembly.
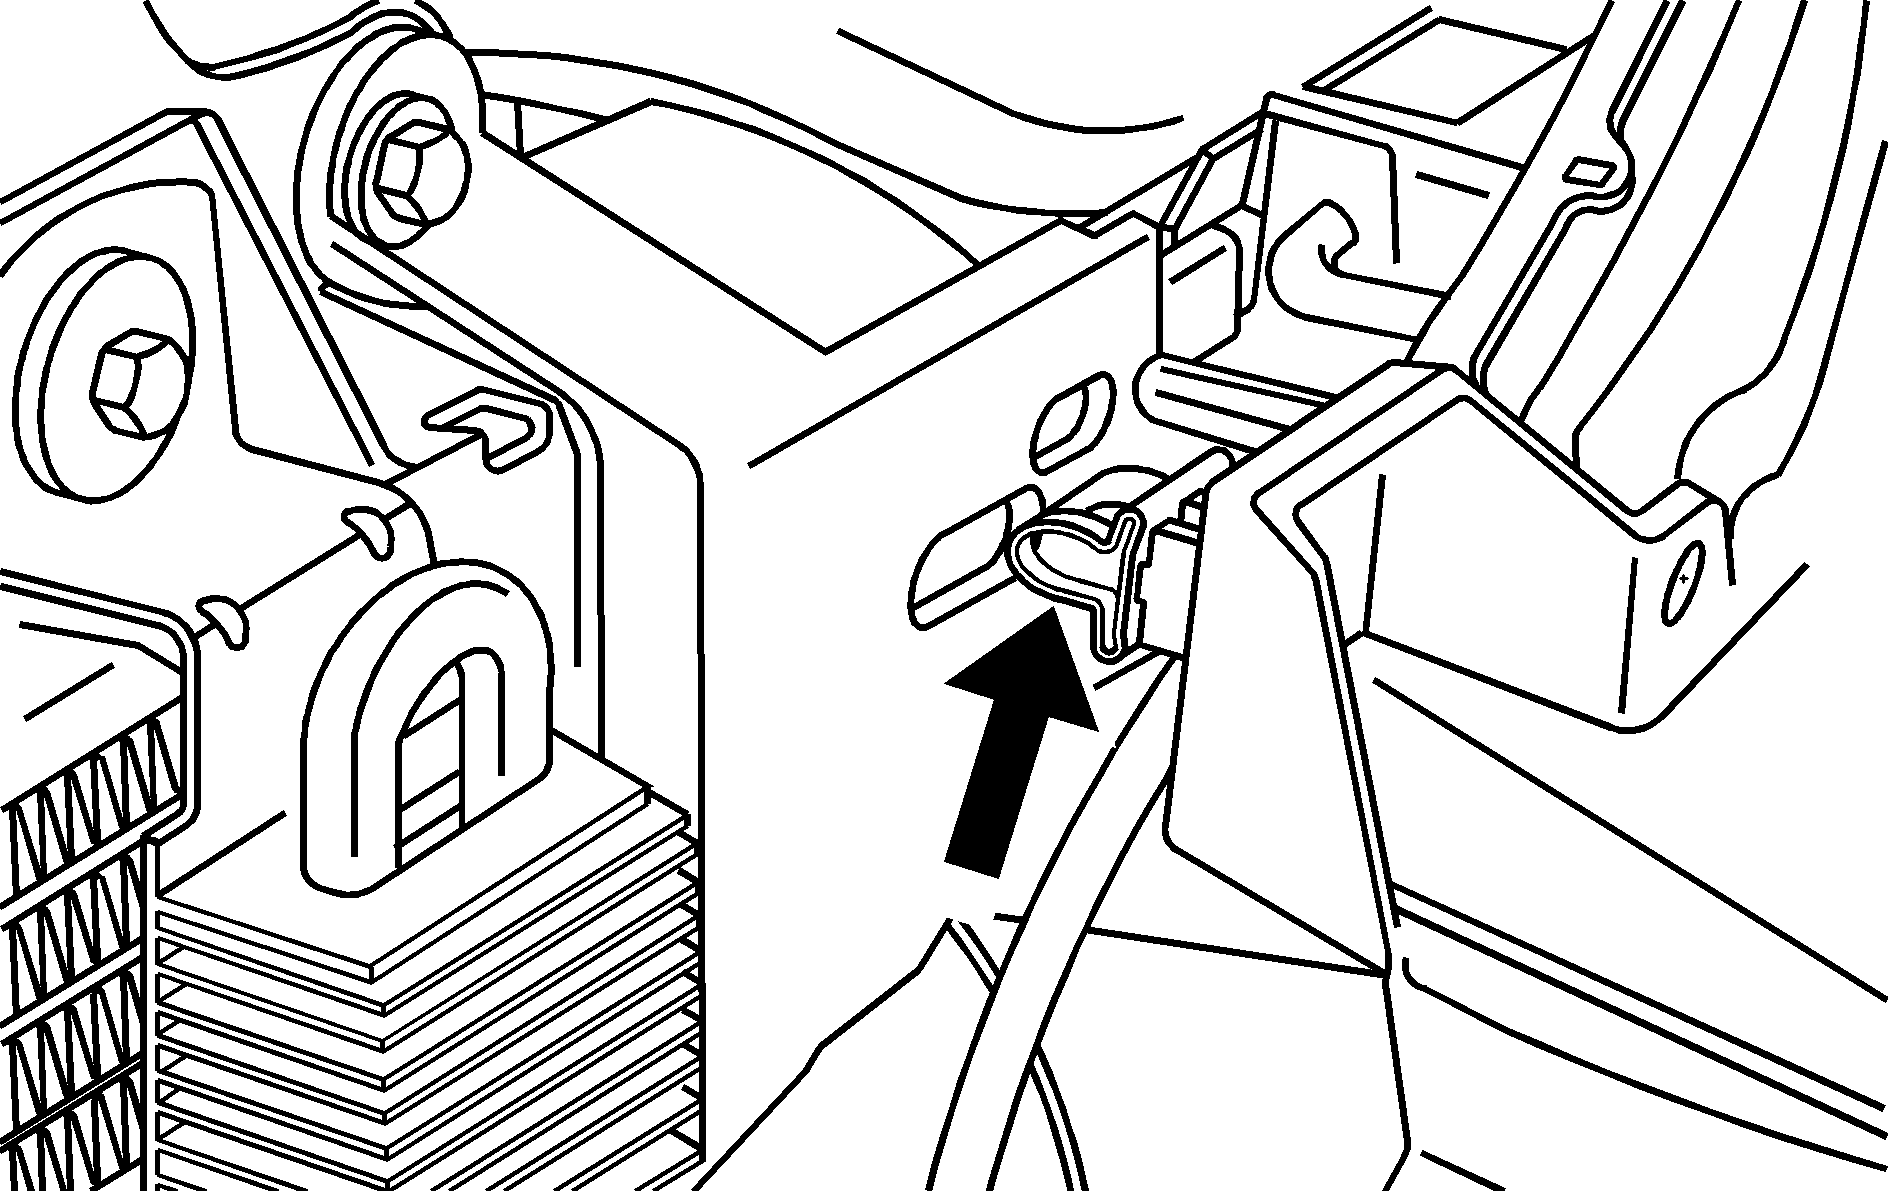
- Remove the horizontal pin from the headlamp assembly by lifting the end of the pin upward until it unsnaps and then pulling it toward the center of the vehicle.
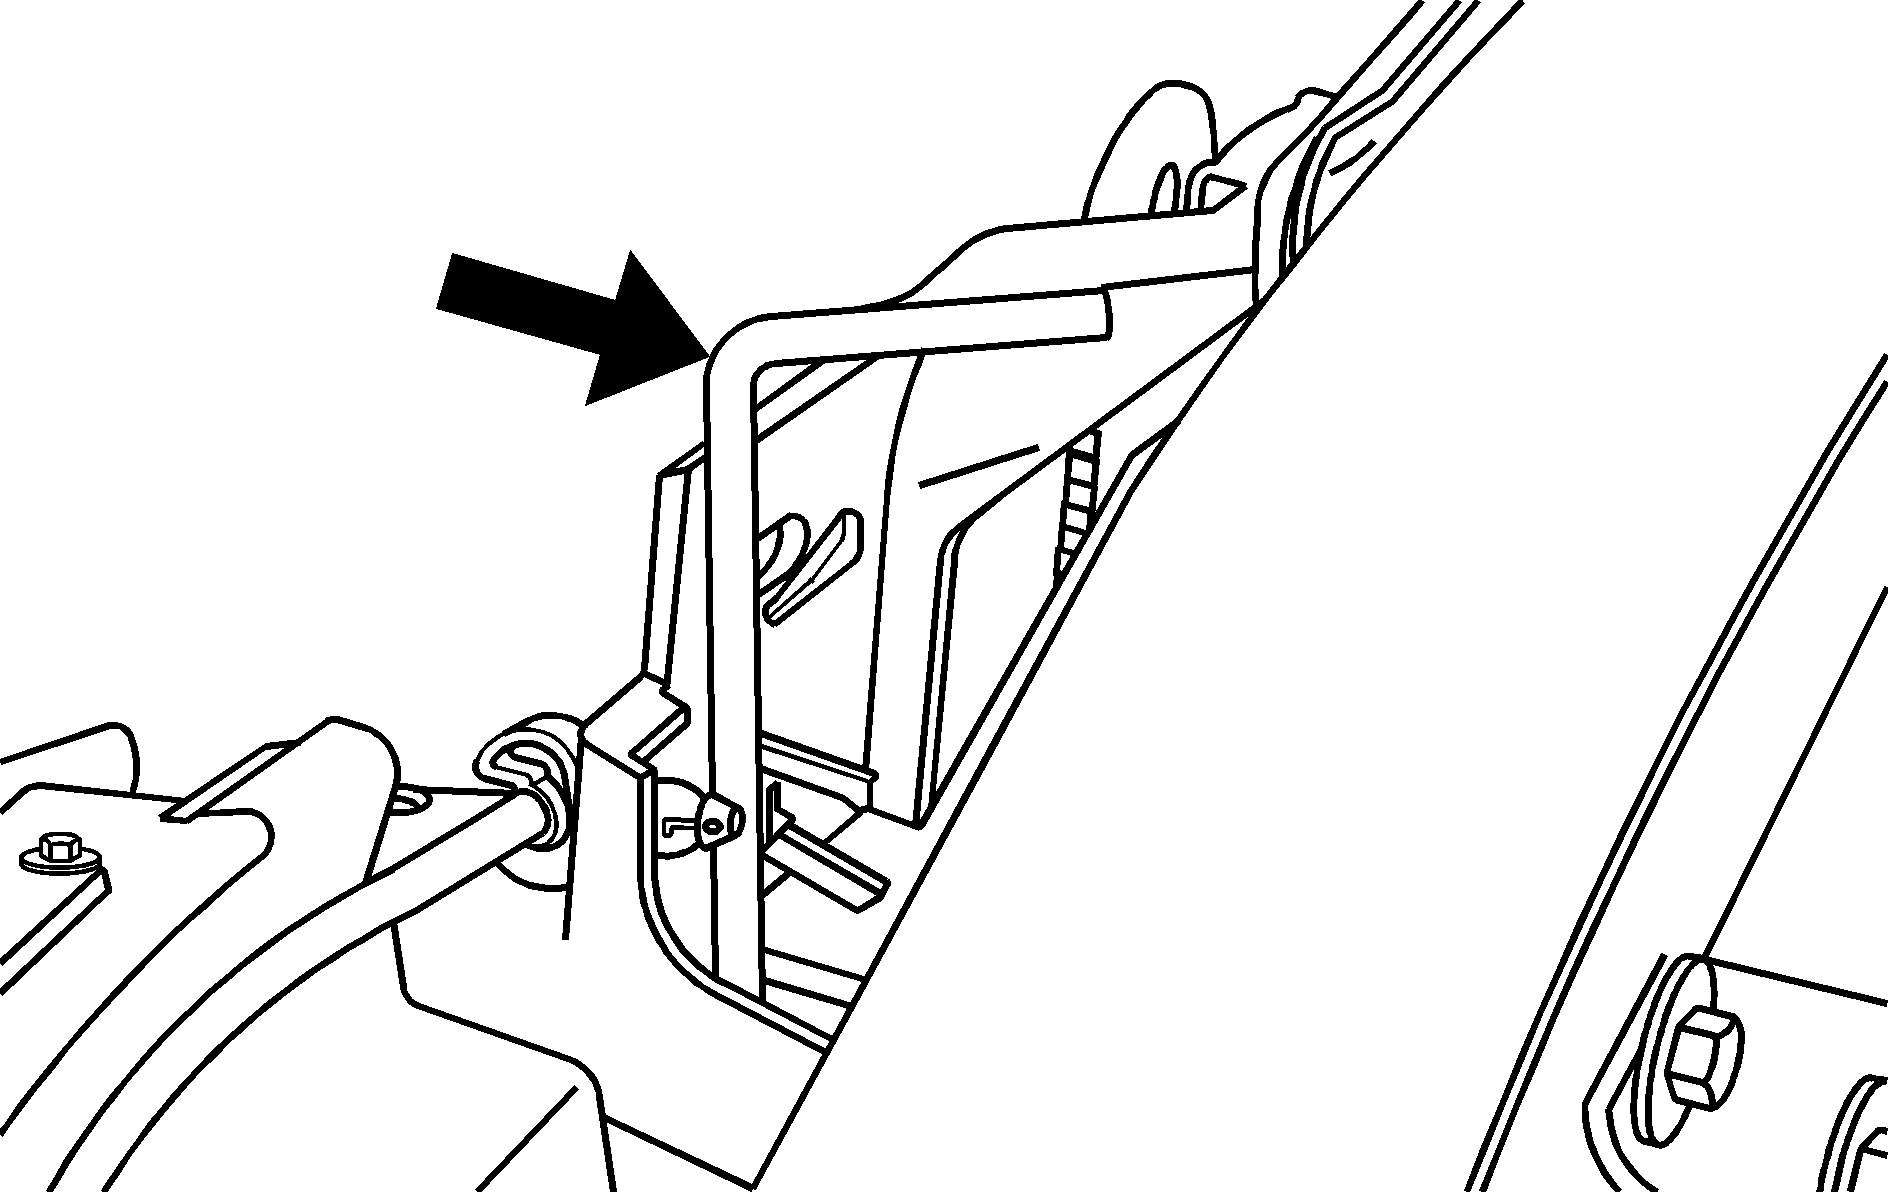
- Remove the vertical pin from the headlamp assembly by turning the end of the pin away from you until it unsnaps and then pulling it upward.
- Remove the headlamp assembly by lifting it up and then pulling it out and away from the front of the vehicle.
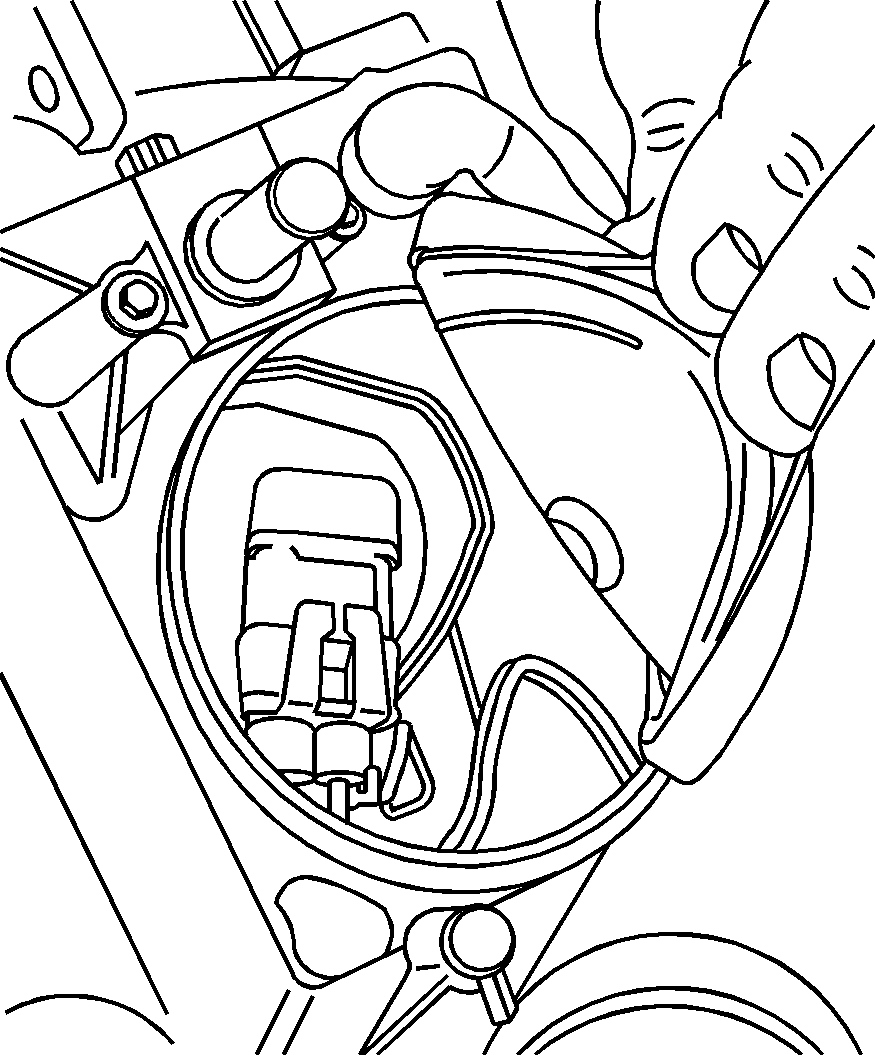
- Disconnect the electrical connector from the lower corner of the headlamp assembly. This will give you better access to the headlamp assembly.
- Remove the rubber, circular-shaped bulb cap of the affected bulb from the headlamp assembly.
- Turn the bulb connector counterclockwise and remove it with the old bulb from the headlamp assembly.
- Unplug the electrical connector from the old bulb.
- Plug in the electrical connector to the new bulb, using care not to touch the bulb with your hands, fingers or anything damp or oily.
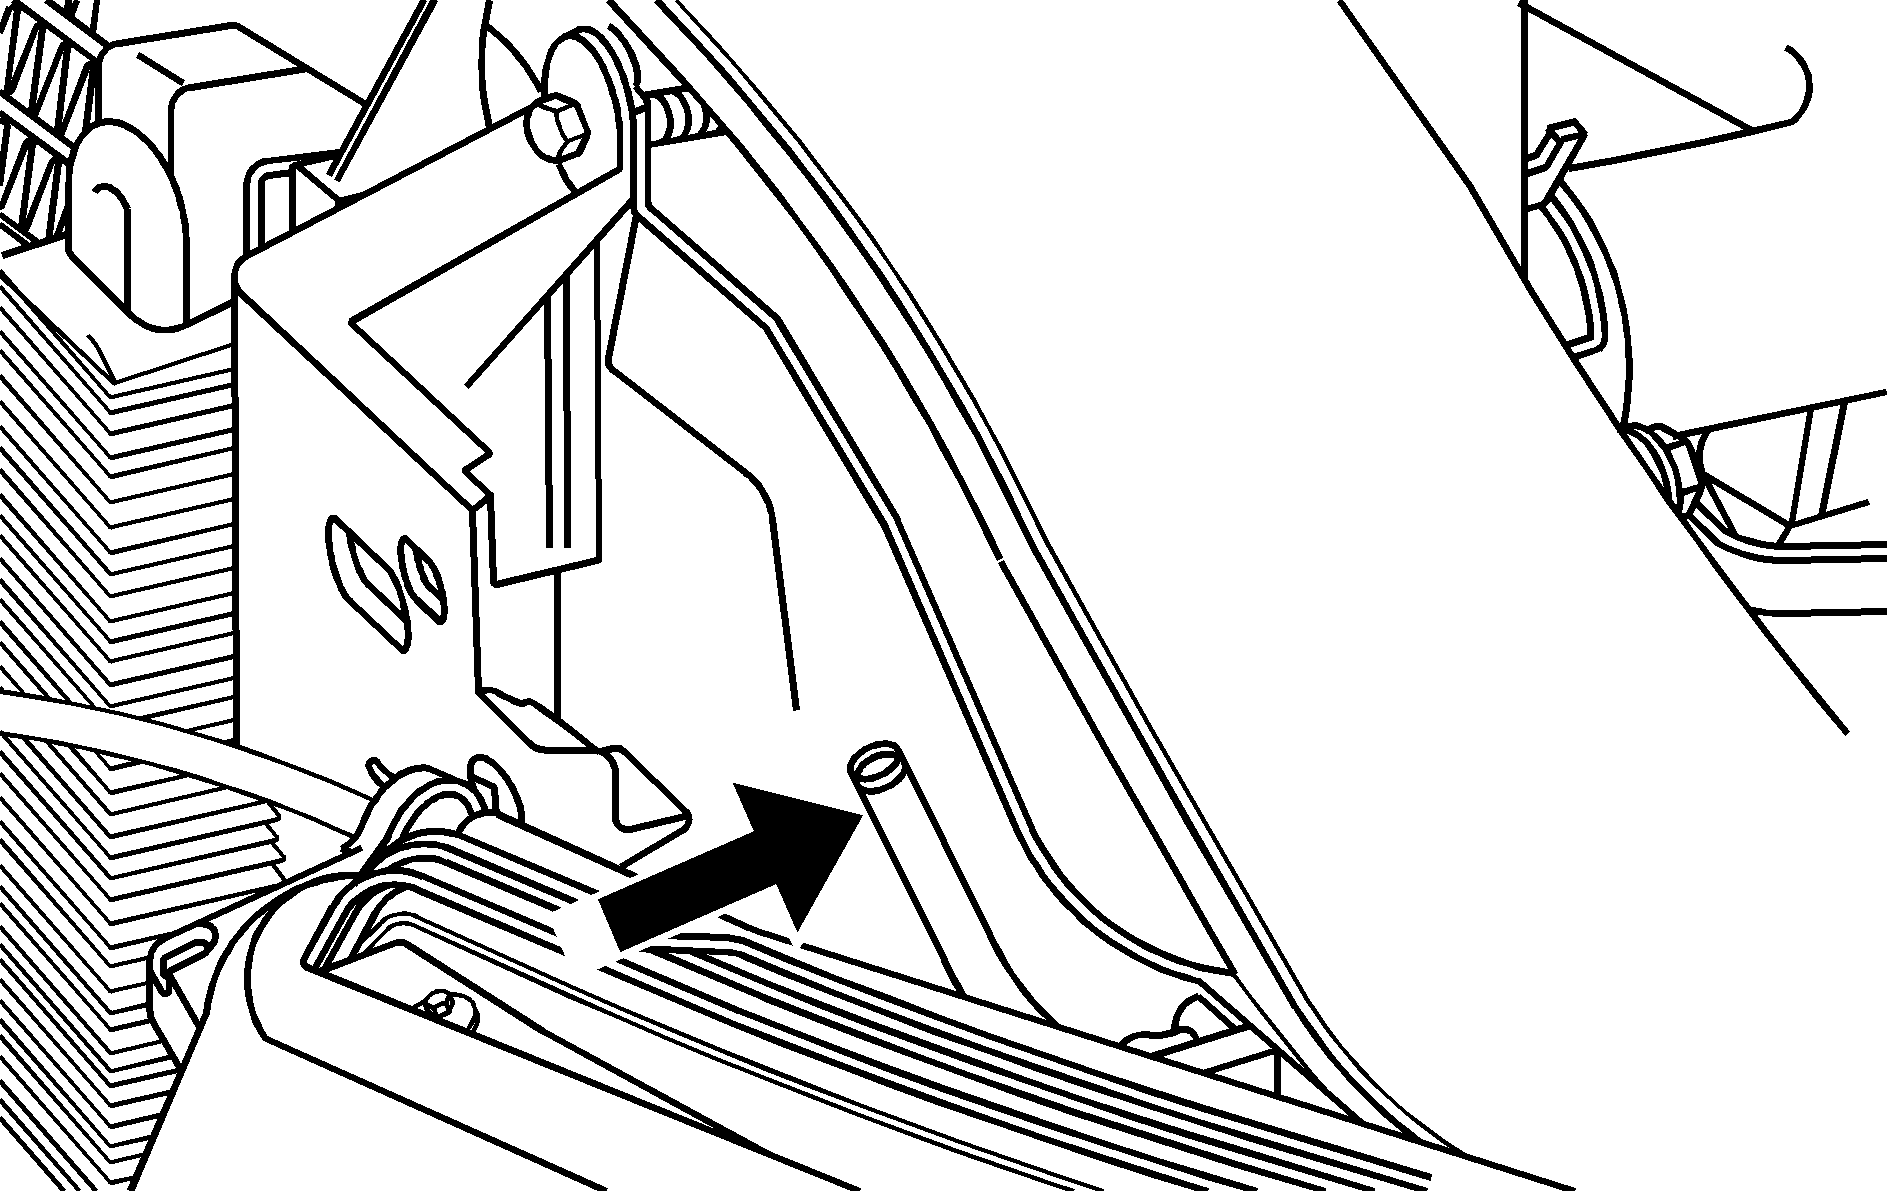
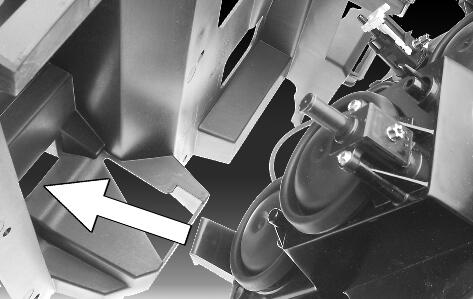
- Place the headlamp assembly back into the vehicle, being sure to align the lower locator tab with the pocket on the vehicle (see arrow). Push the headlamp assembly straight in and then down into position.
- Install the two pins and snap the ends into their locked position.
- Reinstall the grille and radiator cover by reversing the removal procedure described previously.
