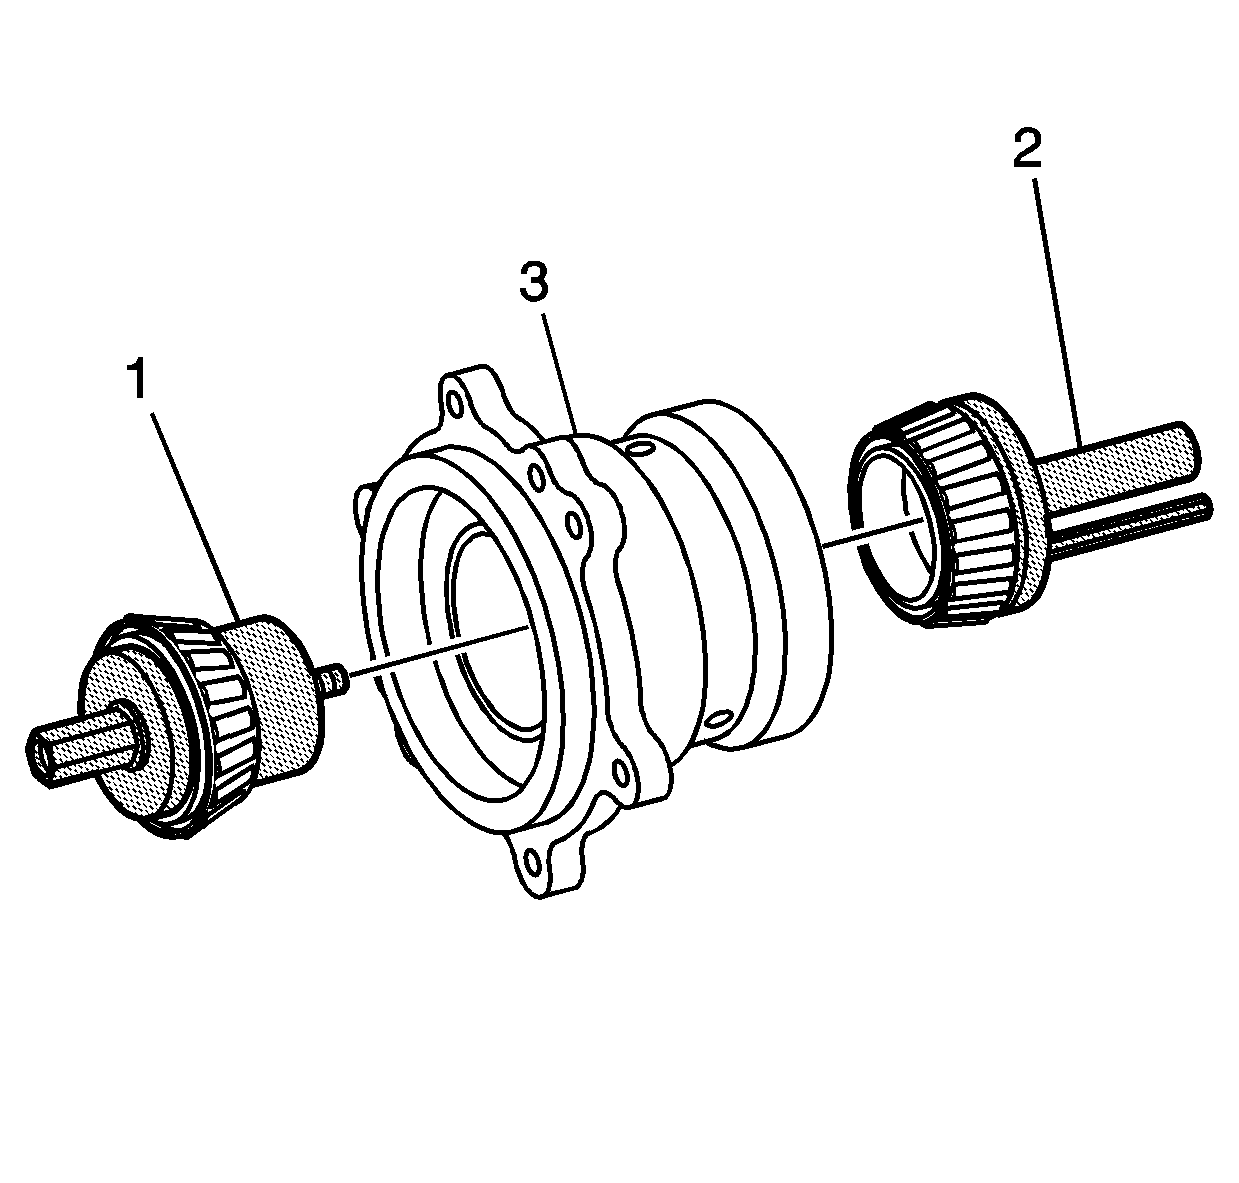
- Install pinion tail bearing then the pinion bearing spacer on the
J 45013-5 (1).
- Install the head bearing on
J 45013-2 (2).
- Install them into the pinion bearing cage (3) as shown.
- Tighten the
J 45013-7 . This will apply the proper bearing preload determined by the custom ground spacer that is provided with the bearing kit.
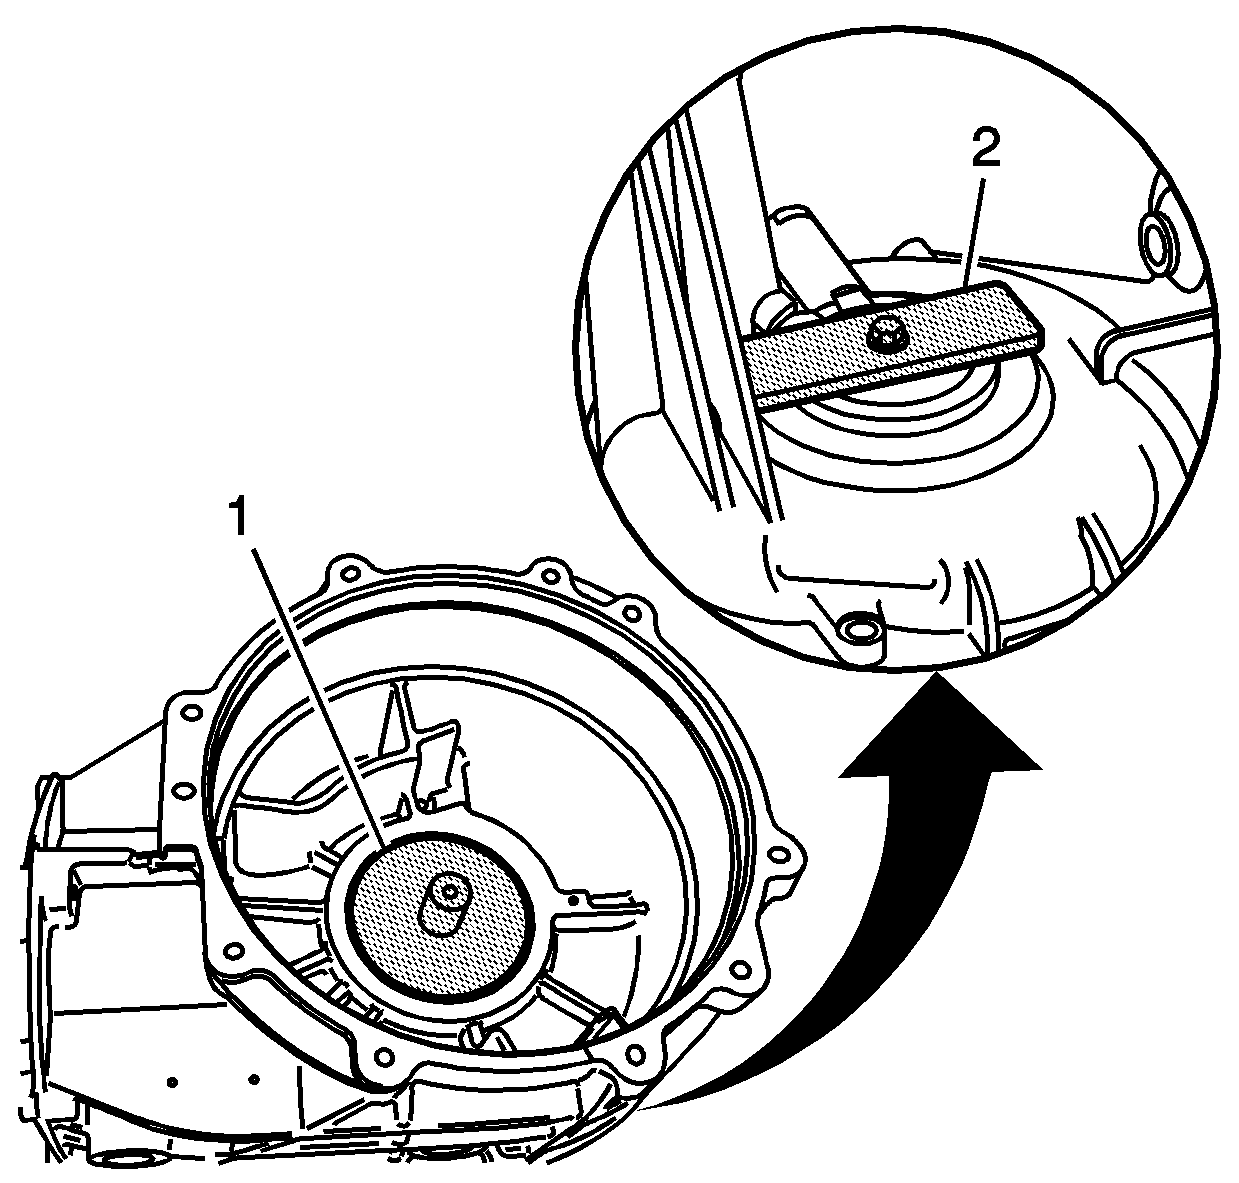
- Install the
J 45013-3 (1) into the differential carrier as shown.
- Turn the carrier over and attach the holding strap
J 42168-9 and thumb screw (2). Snug the thumb screw.
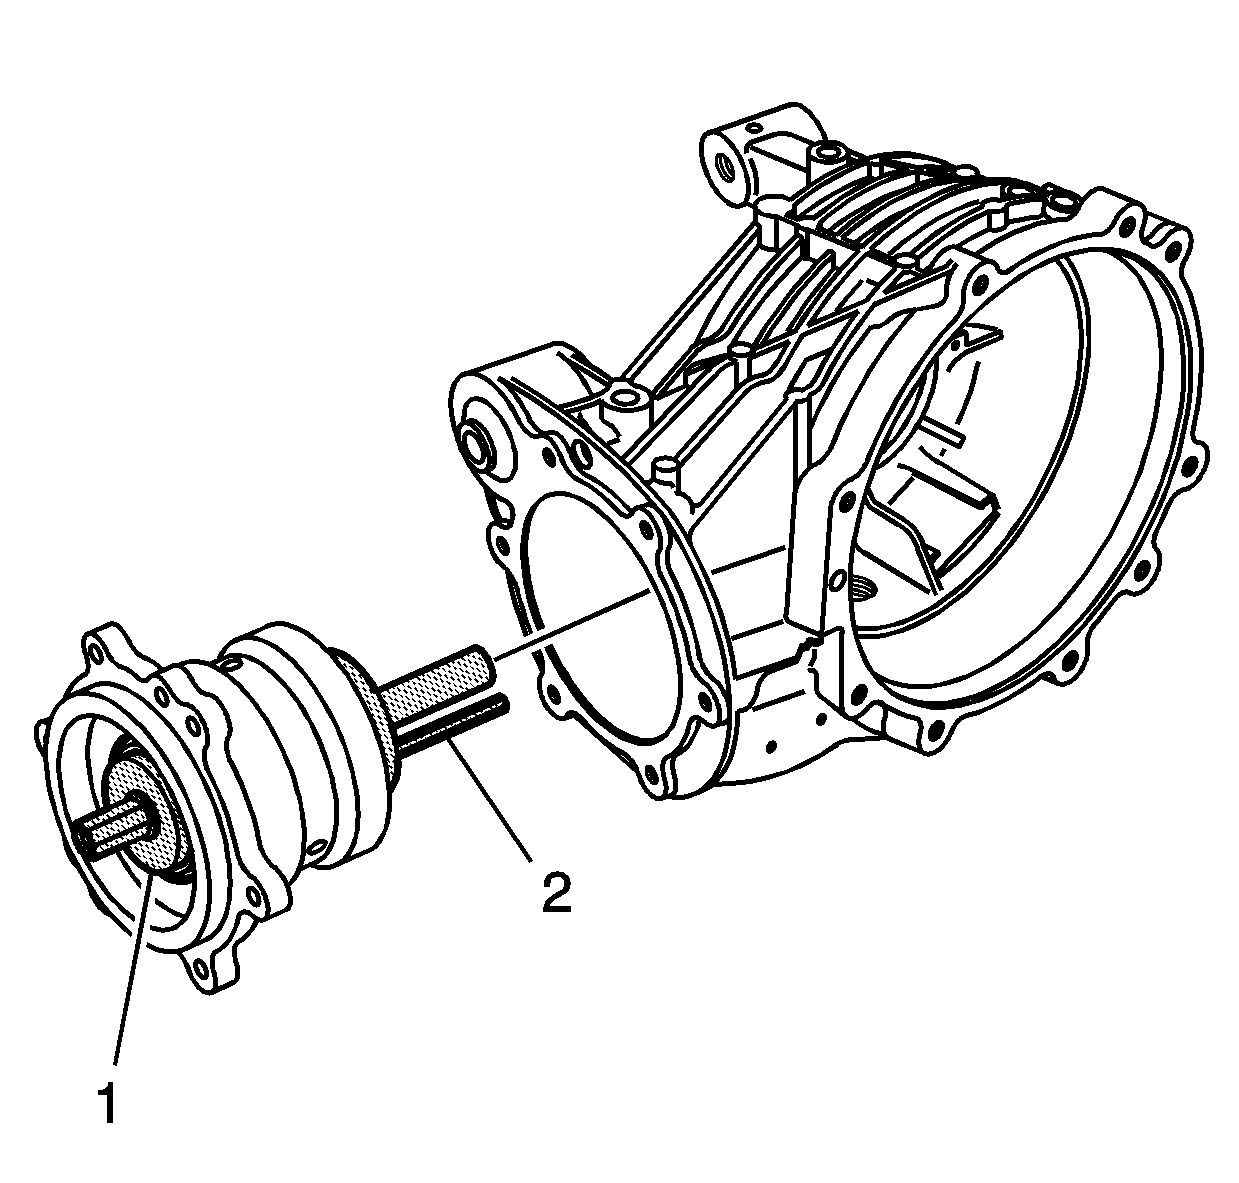
Important: When installing the pinion bearing housing into the carrier, ensure that the gage rod (2) does not hit the ribbing inside the carrier.
- Inspect the pinion cage surfaces. Ensure that there are no nicks or burrs on the pinion cage surfaces or in the carrier bore.
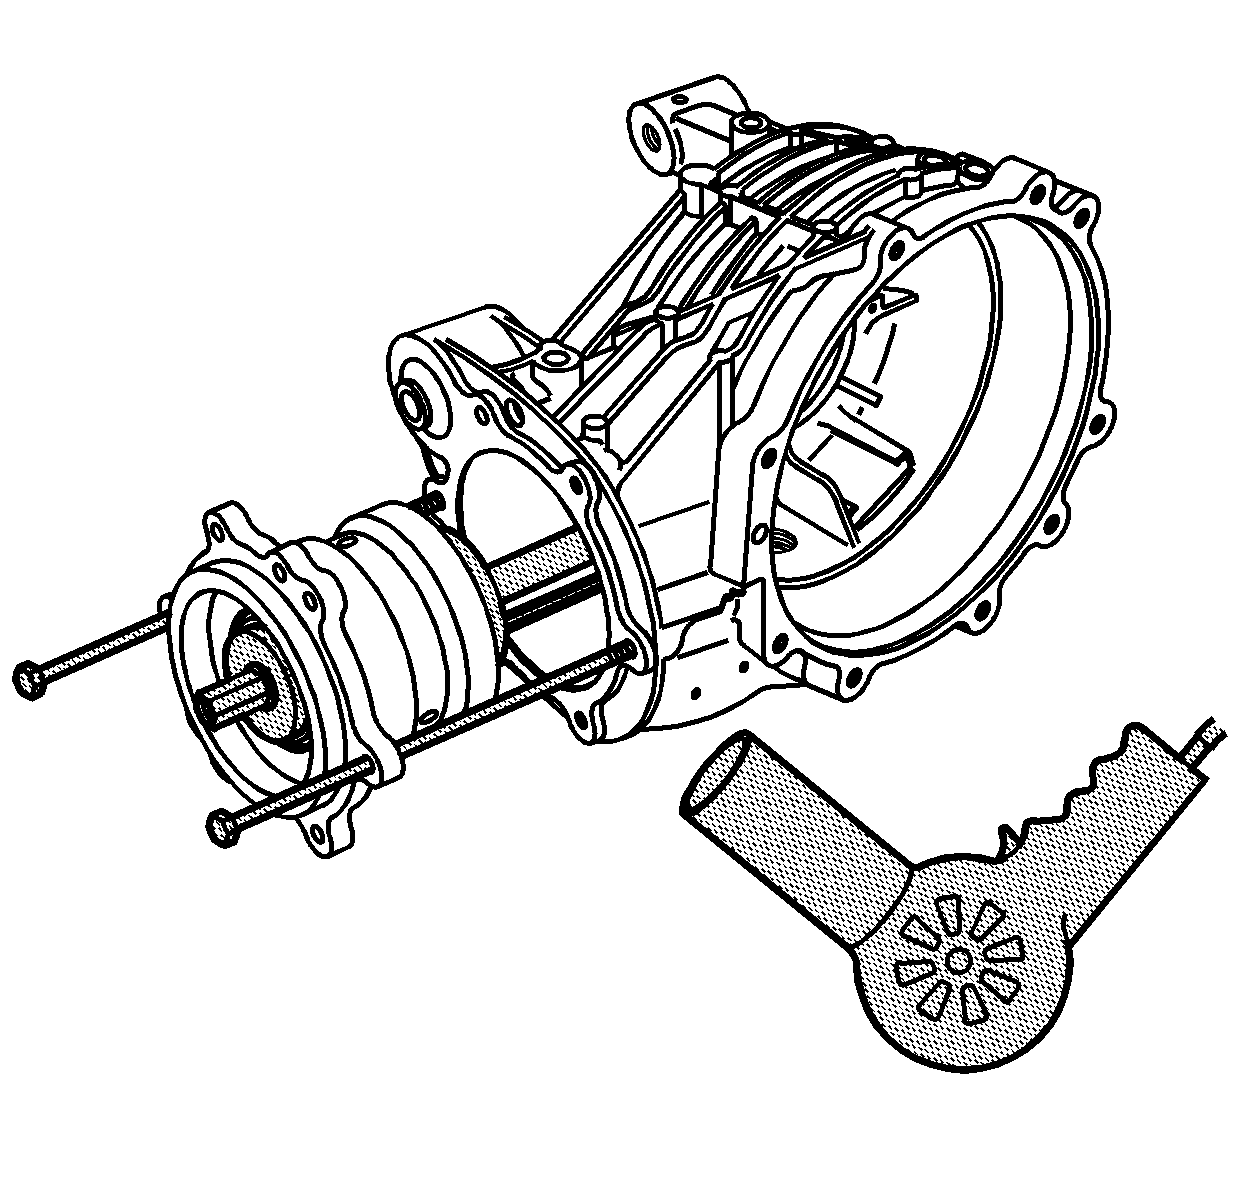
- Using 2 long bolts from
J 45019 as guides, align the bolt holes of the pinion cage and the carrier. Snug the bolts.
- Apply a light coat of gear lube to the carrier bore and pinion cage in order to ease assembly.
- Heat the carrier using
J 25070 in order to ease pinion cage assembly.
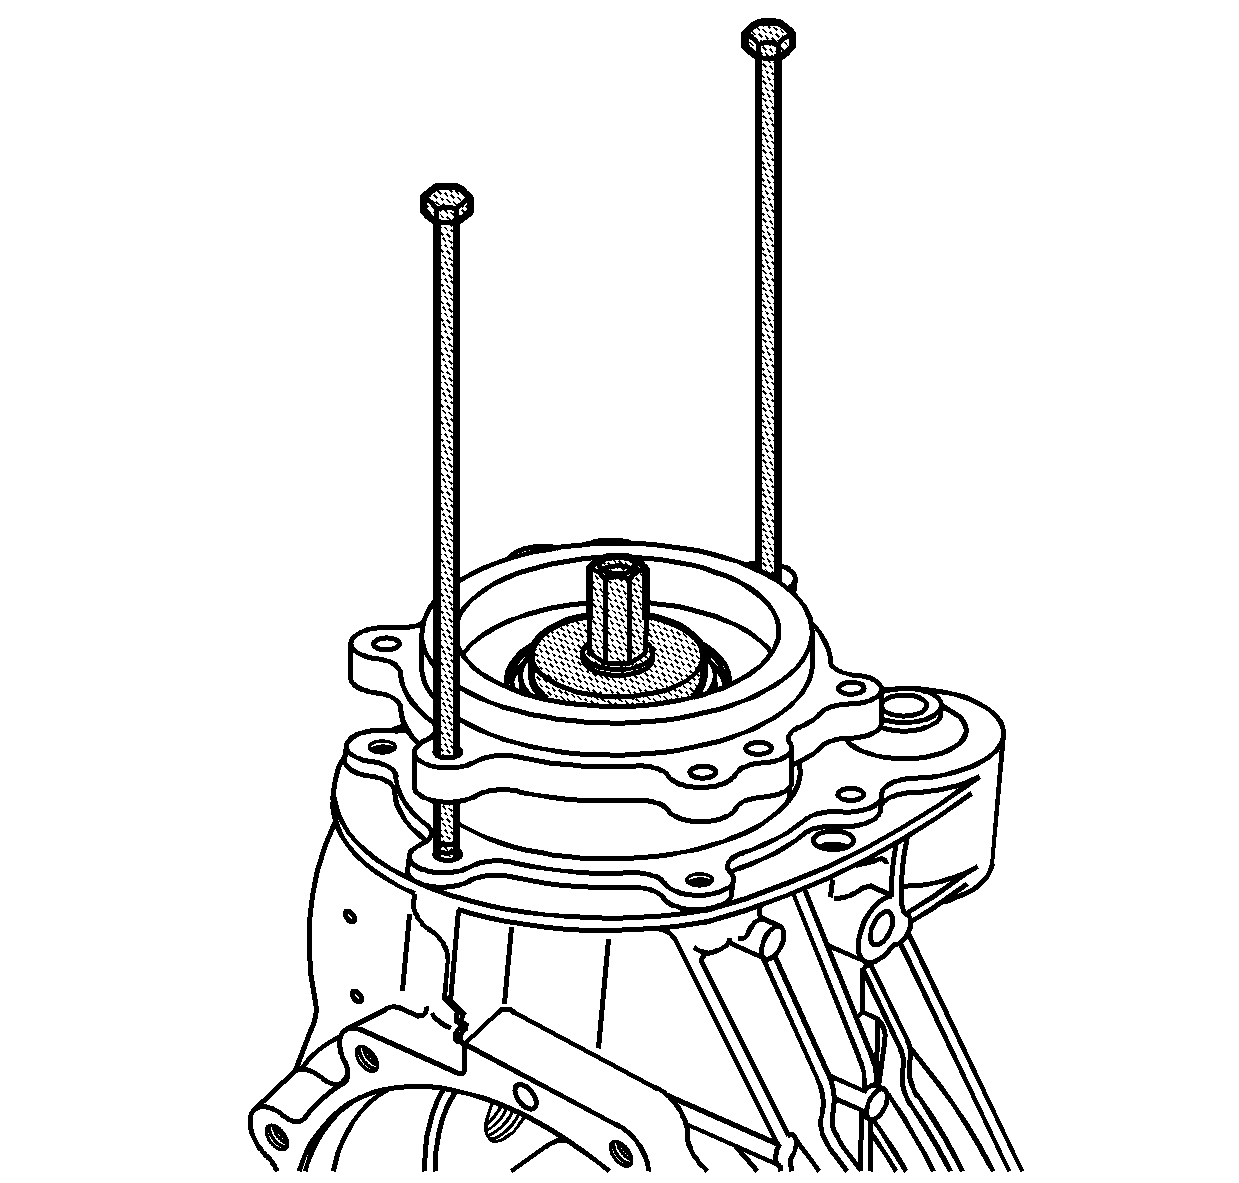
- While aligning the guide bolts and bolt holes, push the pinion cage into the bore of the carrier.
Notice: Refer to Fastener Notice in the Preface section.
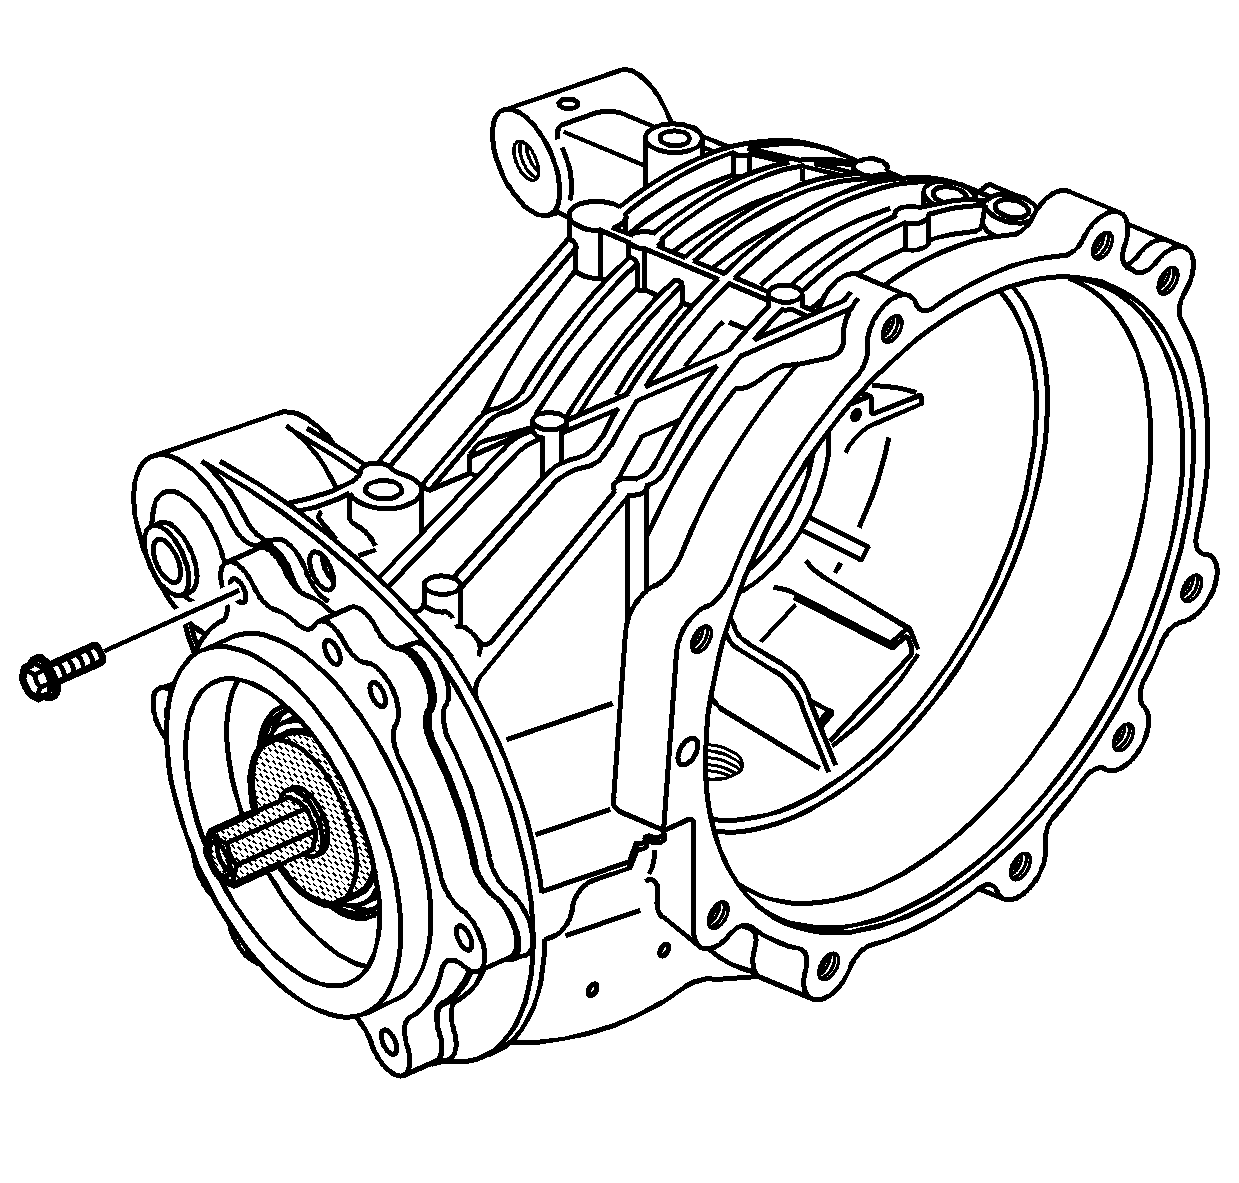
- Install the pinion cage bolts and tighten in a criss-cross pattern.
Tighten
Tighten the pinion cage bolts to 29 N·m (21 lb ft).
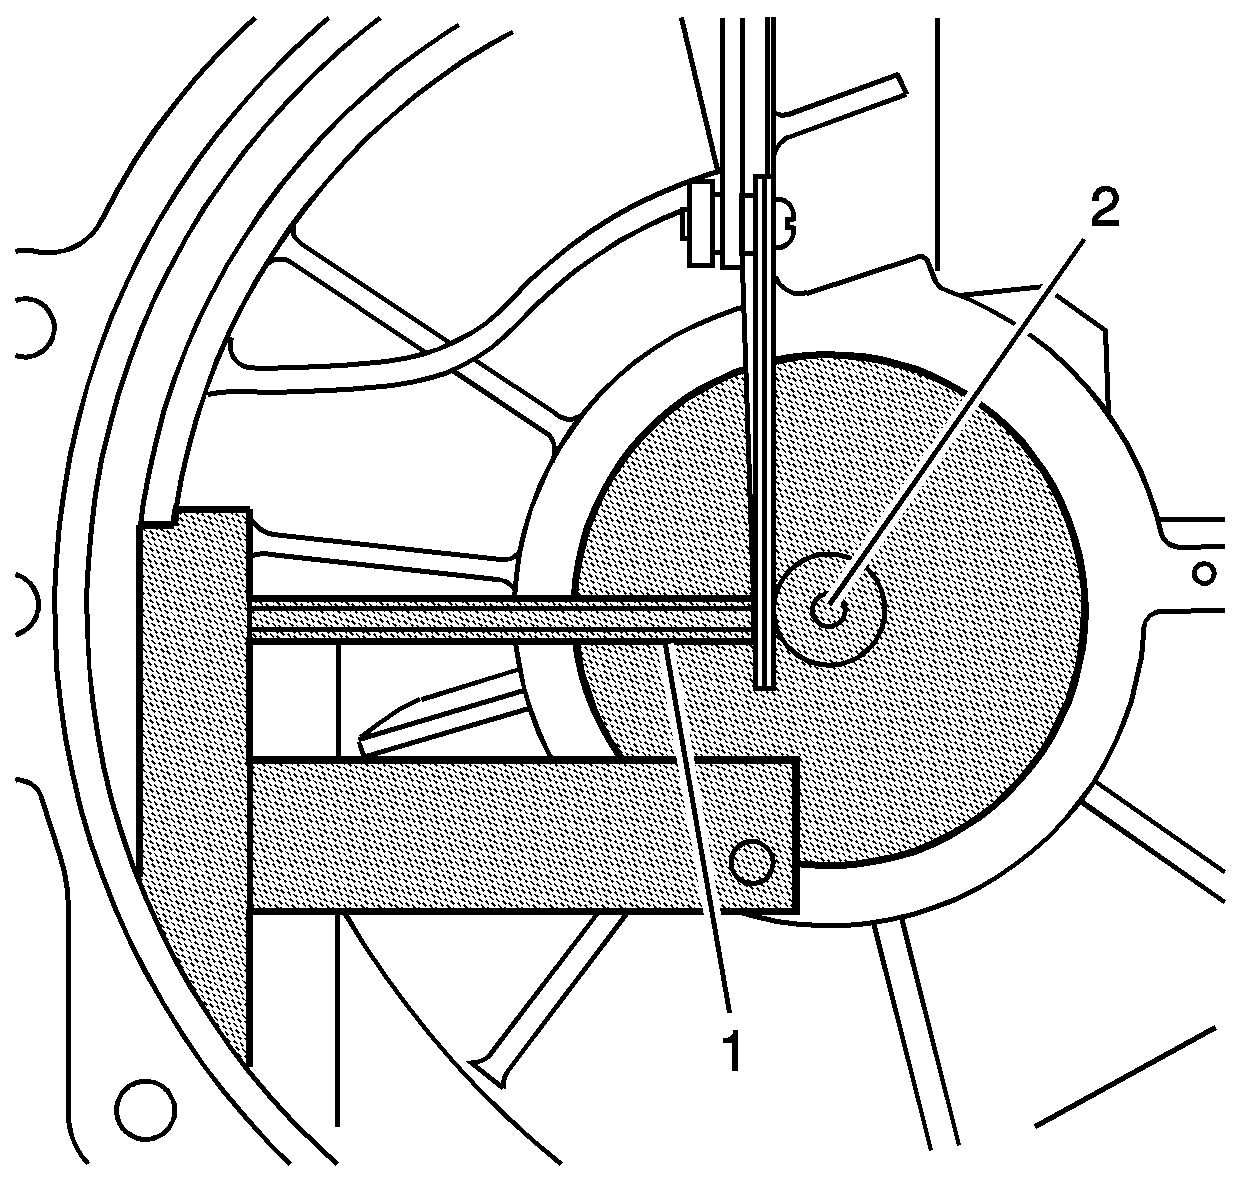
- Measure the distance between the hex rod on the
J 45013-2 (1) and the pillar on the
J 45013-3 (2). Record your measurement as B1.
Important: The A1 and A2 values are unique to each ring gear/pinion and are determined during the manufacturers gear/pinion noise and vibration setup and testing, stamped onto the side area of the gear.
- Calculate the drive pinion shim size value, select corresponding shim calculation table according to the A1 value stamped onto the side area of the gear.
Subtract this measurement B1 from 5 mm (0.196 in), obtained value is B2,
then add the B2 value to the B3 value, this is the amount of drive pinion shim size value. Refer to
Spacer and Shim Specifications.
- Remove
J 45013-3 from the differential case.


