Removal Procedure
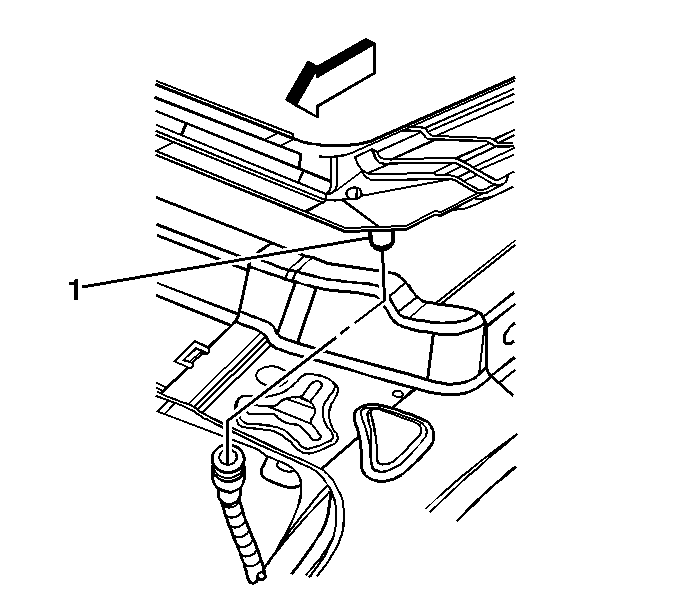
- Remove the headliner. Refer to
Headlining Trim Panel Replacement
.
- Disengage the drain hose from the drain spout (1).
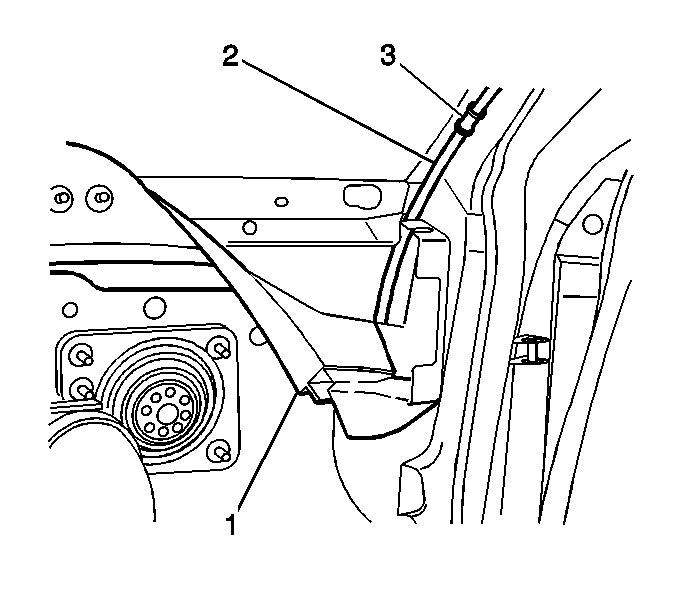
- Remove the instrument panel carrier. Refer to
Instrument Panel Carrier Replacement
.
- Fold the sound barrier (1) inward from the cowl in order to access the sunroof drain hose (2).
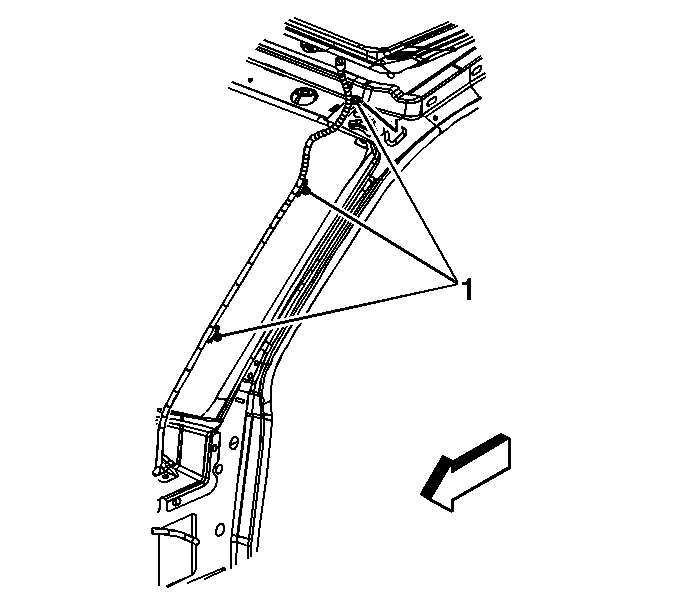
- Disengage the retaining clips (1) on the A pillar.
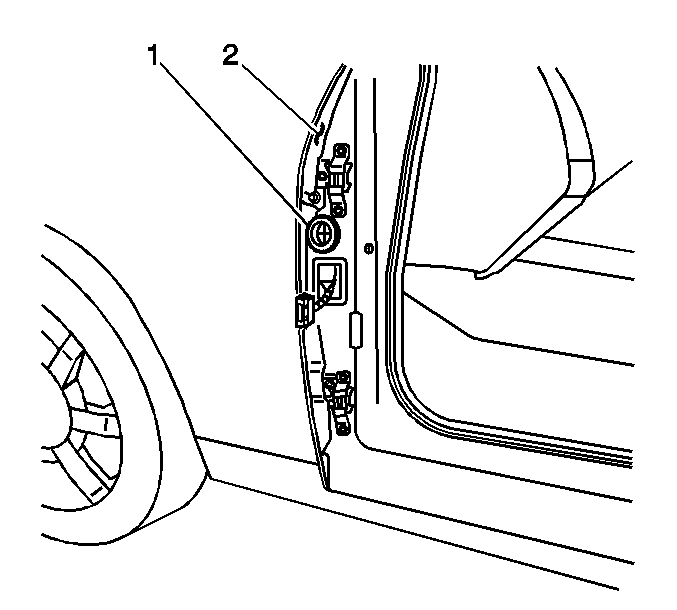
Important: The door must be removed prior to removing the drain hose (1) from the hinge pillar.
- Complete the following steps in order to remove the door:
| 6.2. | Support the door with a suitable floor jack. |
| 6.3. | Remove the check link bolt from the hinge pillar. |
| 6.4. | Remove the hinge to door bolts. |
| 6.5. | Carefully move the door away from the hinge pillar. |
| 6.6. | Disengage the 4 locking tabs on the electrical harness connector to the hinge pillar. |
| 6.7. | Disconnect the electrical connectors. |
| 6.8. | Remove the door, with an assistant. |
Important: Attach a cord to the drain spout end of the drain hose in order to re-route the new drain hose in the original location.
- Attach a cord to the end of the drain hose.
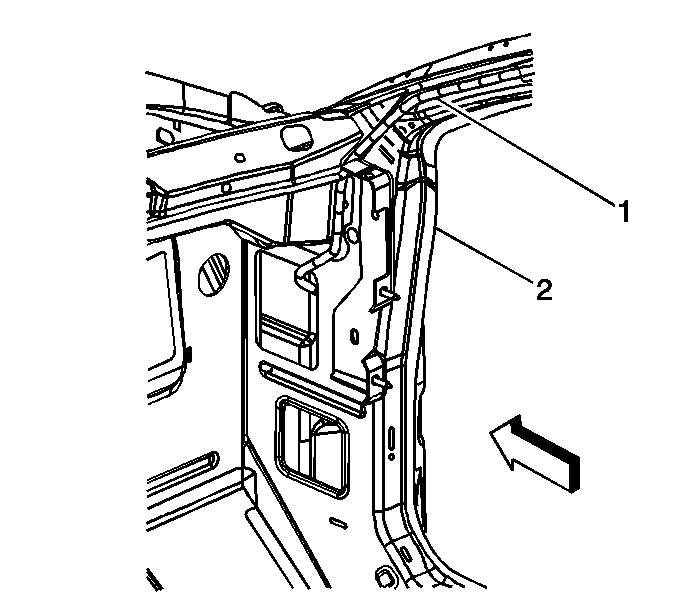
- Carefully guide the sunroof drain hose (1) outward from the front hinge pillar.
- Remove the drain hose (1) from the vehicle.
- Remove the drain hose from the cord.
Installation Procedure

- Attach the cord to the drain spout end of the new drain hose.
- Install the front drain hose into the hinge pillar guide hole.
- Guide the drain hose (1) up through the hinge pillar panel near the A pillar (2) while pulling on the cord.
- Secure the grommet end (1) to the hinge pillar.
- Remove the cord from the drain hose.
- Complete the following steps in order to install the door:
| 6.1. | Position the door to the vehicle, with the aid from an assistant. |
| 6.2. | Connect the electrical connectors. |
| 6.3. | Push the harness inward, in order to secure the 4 locking tabs on the connector to the hinge pillar. |
| 6.4. | Carefully move the door toward the hinge pillar. |
Notice: Refer to Fastener Notice in the Preface section.
| 6.5. | Apply Loctite® Blue, GM P/N 12345382 (Canadian P/N 10953489) or the equivalent to the door hinge bolts. Install the hinge to pillar bolts. |
Tighten
Tighten the bolts to 25 N·m (18 lb ft).
| 6.6. | Install the check link bolt. |
Tighten
Tighten the bolt to 9 N·m (80 lb in).
| | Notice: Striker alignment is a crucial part of door latch operation. Do not
use the door striker to adjust the door to the vehicle. Failure to properly
adjust the striker can result in damage to the door latch and the striker.
|
| 6.7. | Adjust the door for proper alignment. |
| 6.8. | Use body color paint in order to touch up the door hinge bolt heads. |

- Secure the drain hose retainers to the A pillar (1).

- Secure the drain hose to the drain spout (1).
The only suitable lubricant is clean water for the drain hose to
drain spout installation.

- Position the sound barrier (1) to the cowl.
- Install the instrument panel carrier. Refer to
Instrument Panel Carrier Replacement
.
- Install the headliner (3) with an assistant. Refer to
Headlining Trim Panel Replacement
.


