For 1990-2009 cars only
Sunshade Replacement Windshield Sunshade
Removal Procedure
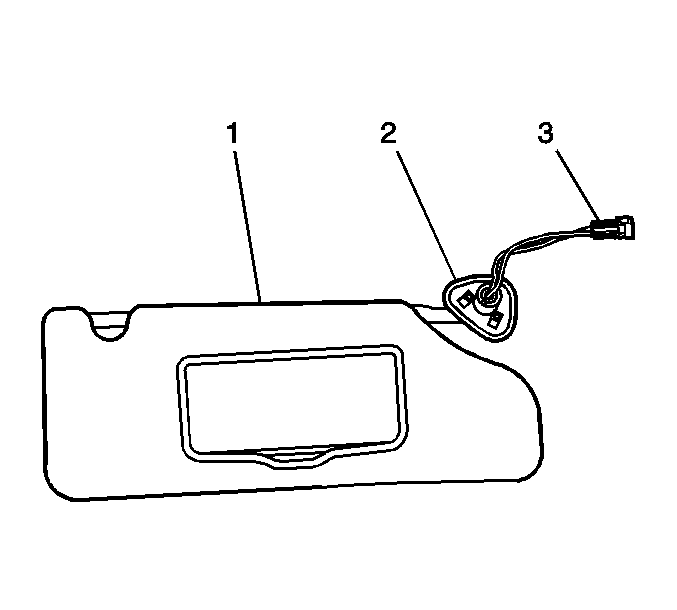
- Detach the sunshade (1) from the sunshade rod retainer clip.
- Remove the windshield pillar molding. Refer to Windshield Pillar Garnish Molding Replacement.
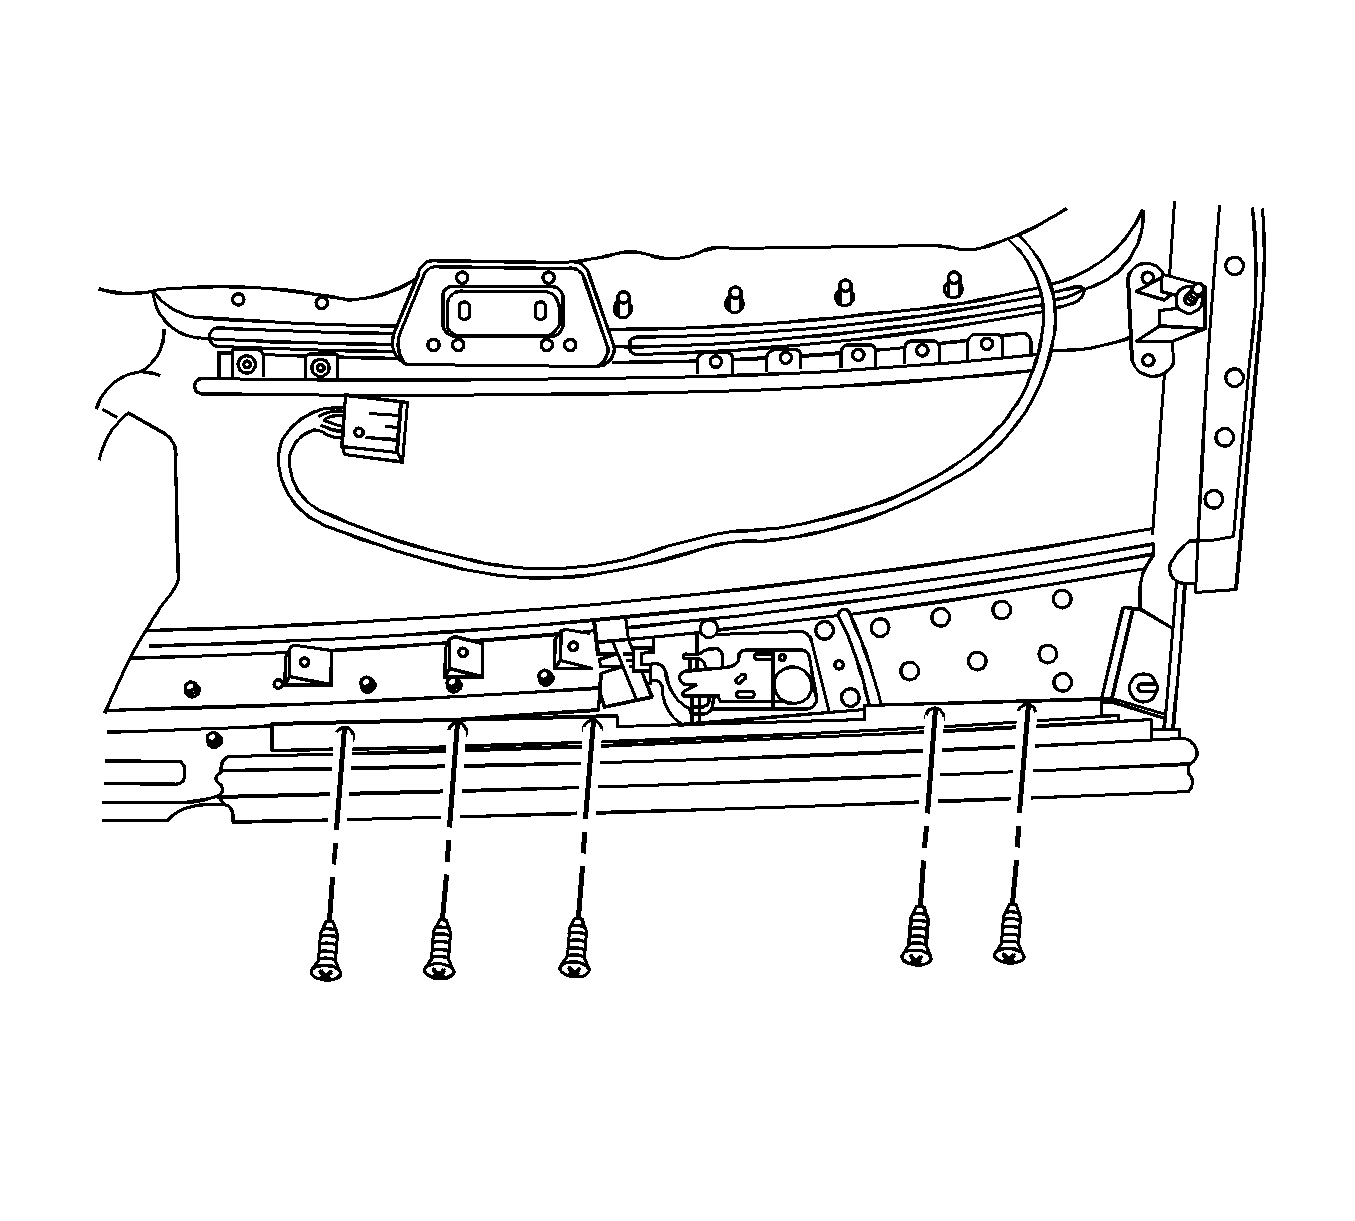
- Remove the fasteners from the outboard bezel (2).
- The plastic retainer will fall out of the headliner (3) when the three fasteners are removed from the bezel.
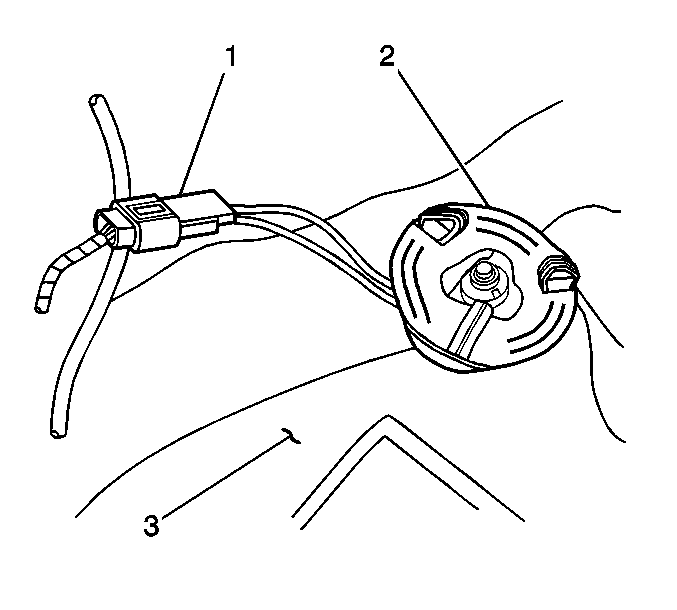
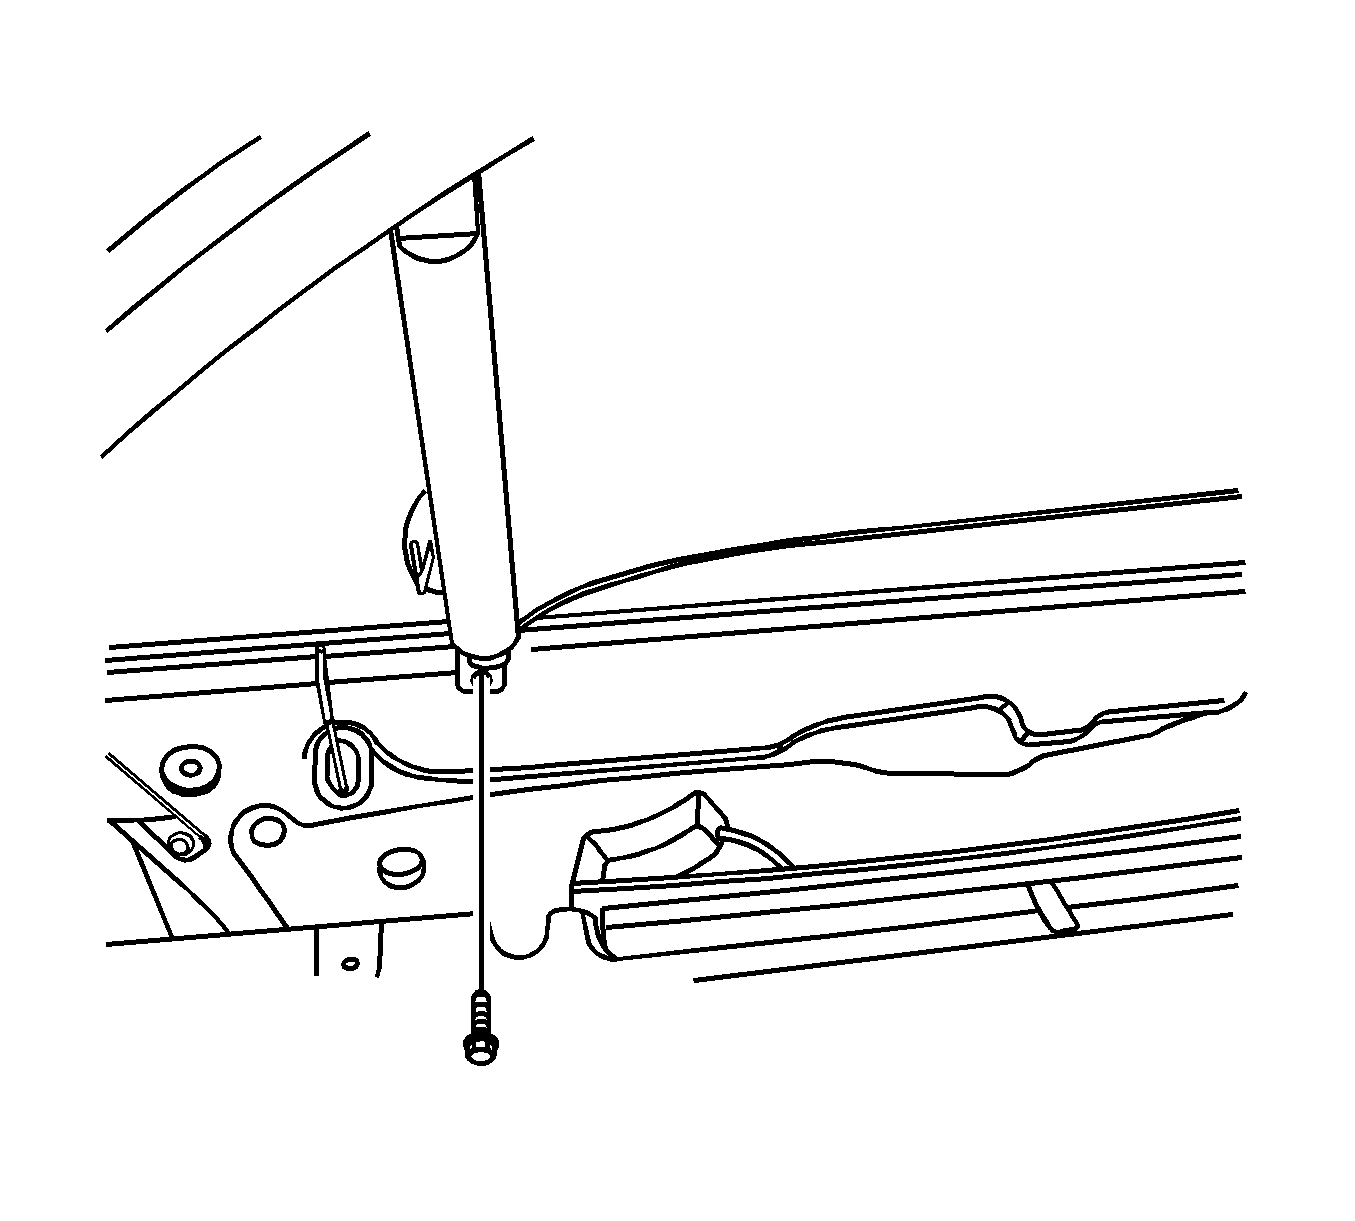
- Carefully reach inside the headliner until the electrical connector (1) is exposed.
- Disconnect the electrical connector.
- Remove the sunshade from the vehicle.
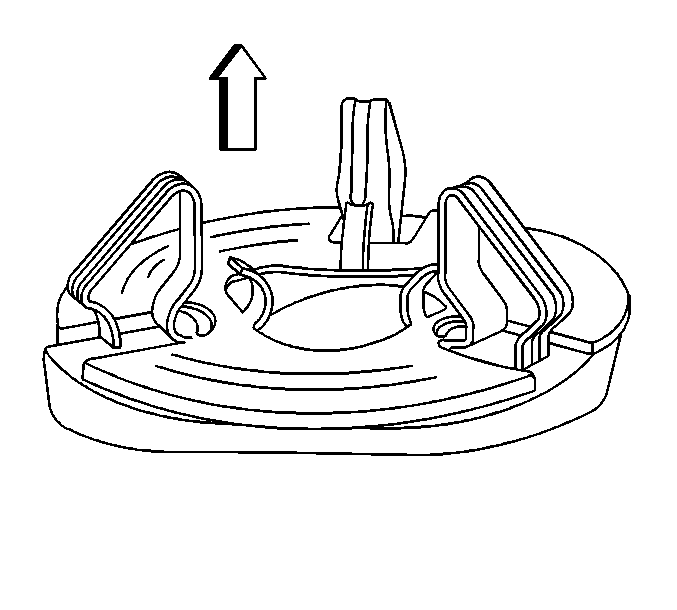
Important: The sunshade bezel is secured to the roof by means of a two piece plastic retainer and metal integral clip.
Notice: Use care when removing and installing the headliner. If reusing the headliner lay the headliner down flat on a clean surface. Excessive bending will damage the headliner.
Installation Procedure
- Position the sunshade to the headliner.
- Push the electrical connector and the wiring through the hole in the headliner.
- Connect the electrical connector (1).
- Position the plastic retainer (2) over the top of the electrical harness.
- Align the fasteners to the holes in the sunshade metal integral clip (2).
- Install the fasteners that secure the bezel (2) to the headliner.
- Install the windshield pillar garnish molding. Refer to Windshield Pillar Garnish Molding Replacement.
- Secure the sunshade to the sunshade rod retainer.
Notice: Refer to Fastener Notice in the Preface section.
Important: Do not pinch the wiring (3) when you install the fasteners.
Tighten
Tighten the fasteners to 2 N·m (18 lb in).
Sunshade Replacement Door Sunshade
Removal Procedure
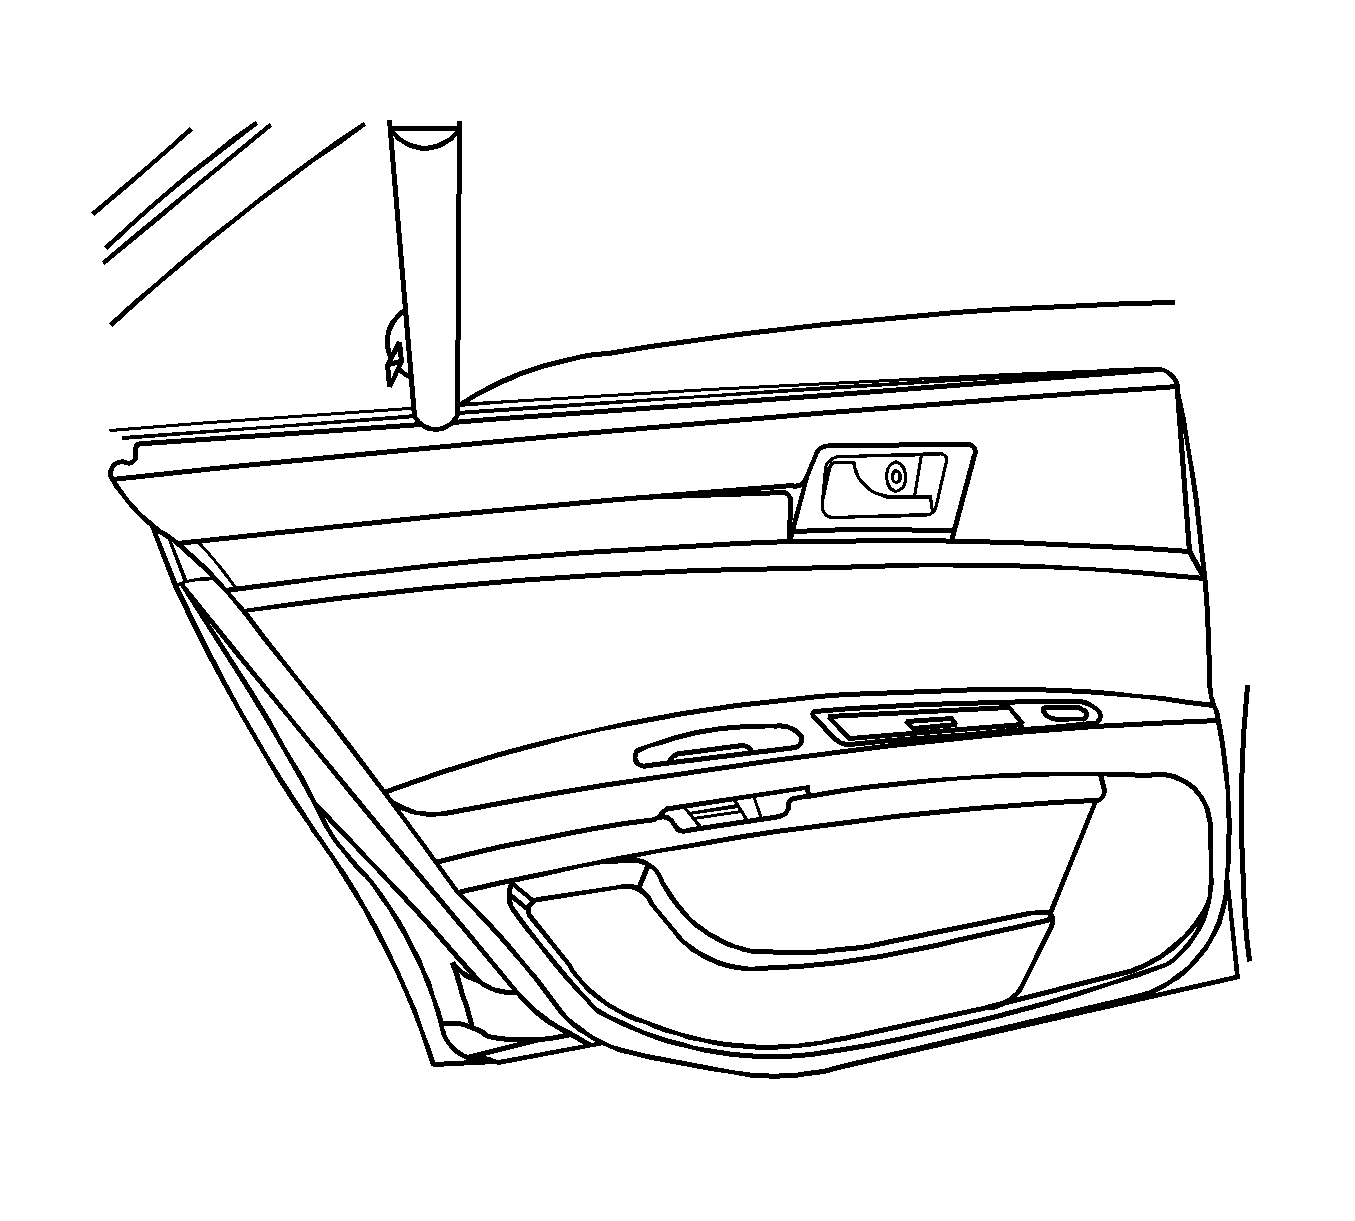
- Remove the rear side door trim panel. Refer to Side Door Sill Nameplate Replacement.
- Remove the fastening screws of the rear window sunshade from the back of the rear side door trim panel.
Installation Procedure
- Install the rear window sunshade to the rear door trim panel.
- Install the mounting screws of the door sunshade.
- Install the rear side door trim panel. Refer to Side Door Sill Nameplate Replacement.
Sunshade Replacement Sail Sunshade
Removal Procedure
- Remove the rear side door trim panel. Refer to Rear Side Door Trim Panel Replacement .
- Remove the mounting screws of the sunshade from the door. Loosen the bottom end of the sunshade.
- Pull downward the sail sunshade. Loosen the locking tab inserted into the window frame at the top end of the sunshade.
- Remove the sunshade.

Installation Procedure
- Insert the top end of the locking tab into the sail sunshade.
- Install the mounting screws at the bottom end of the sail sunshade.
- Install the rear side door trim panel. Refer to Rear Side Door Trim Panel Replacement Sill Trim Plate Replacement, Rear Side Door .
