For 1990-2009 cars only
Removal Procedure
- Remove the rear seat cushion. Refer to Rear Seat Cushion Replacement.
- Remove the rear seat back. Refer to Rear Seat Back Cushion Replacement.
- Remove both rear upper quarter sail panels. Refer to Sail Panel Replacement.
- Disengage the center shoulder belt from the shoulder belt latch.
- Disengage the shoulder belt escutheon from the rear shelf.
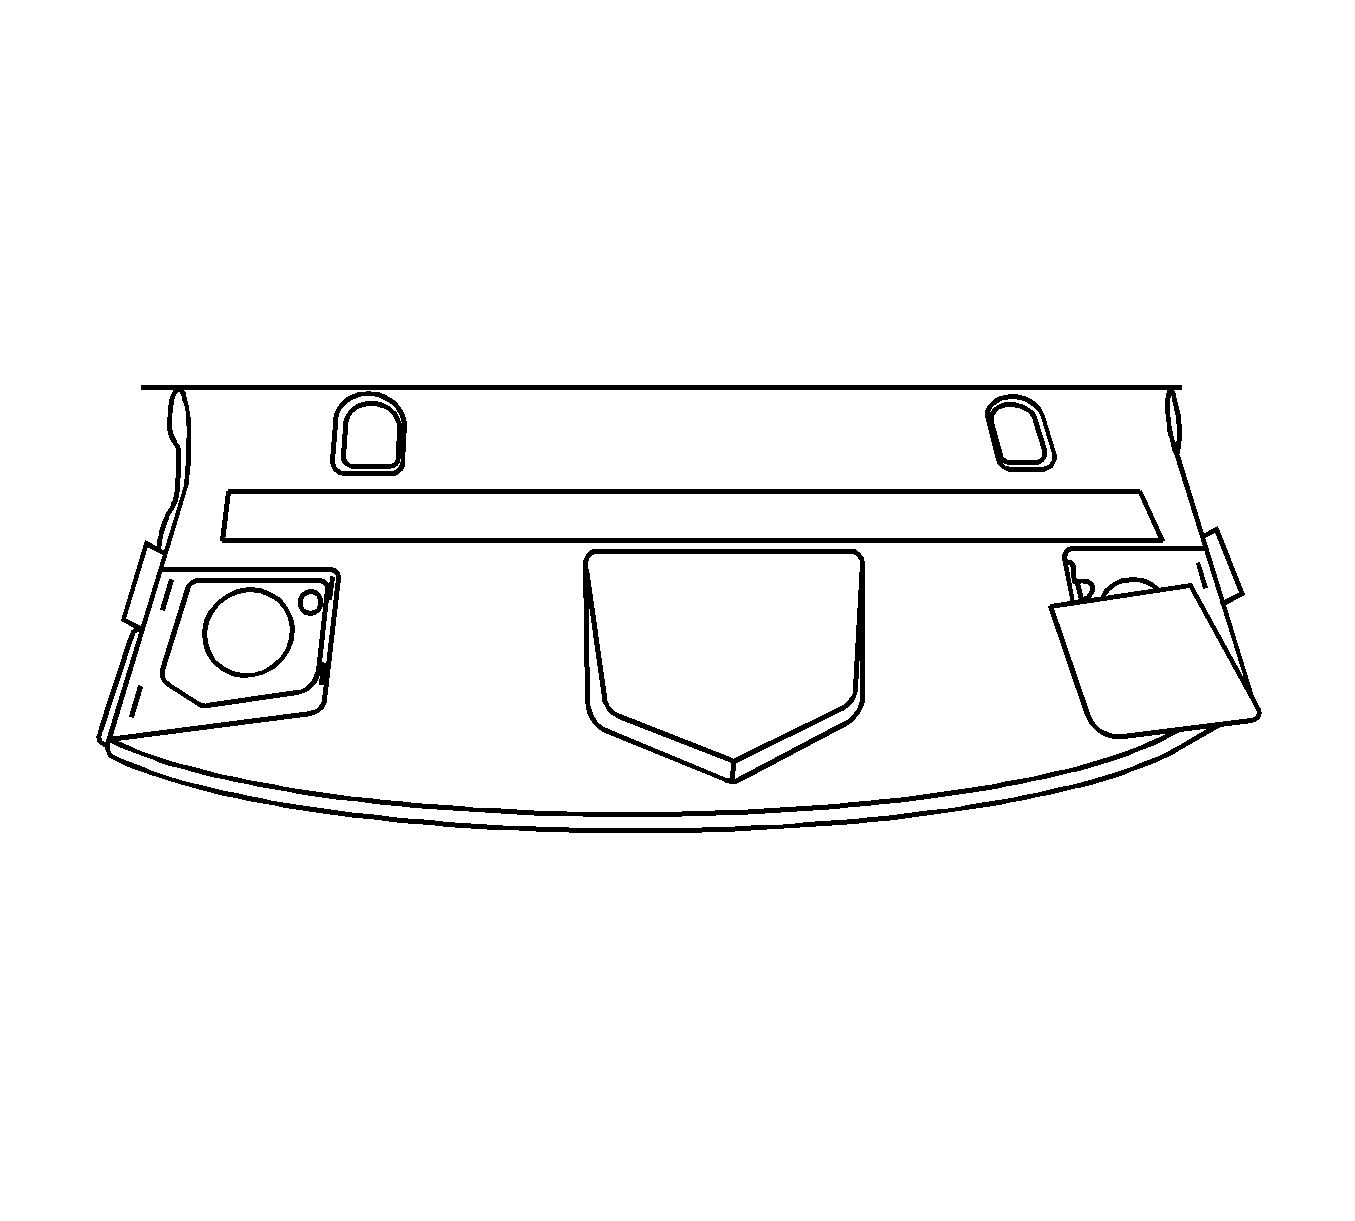
- Disengage the 2 dual lock fasteners at the rear edge of the shelf panel.
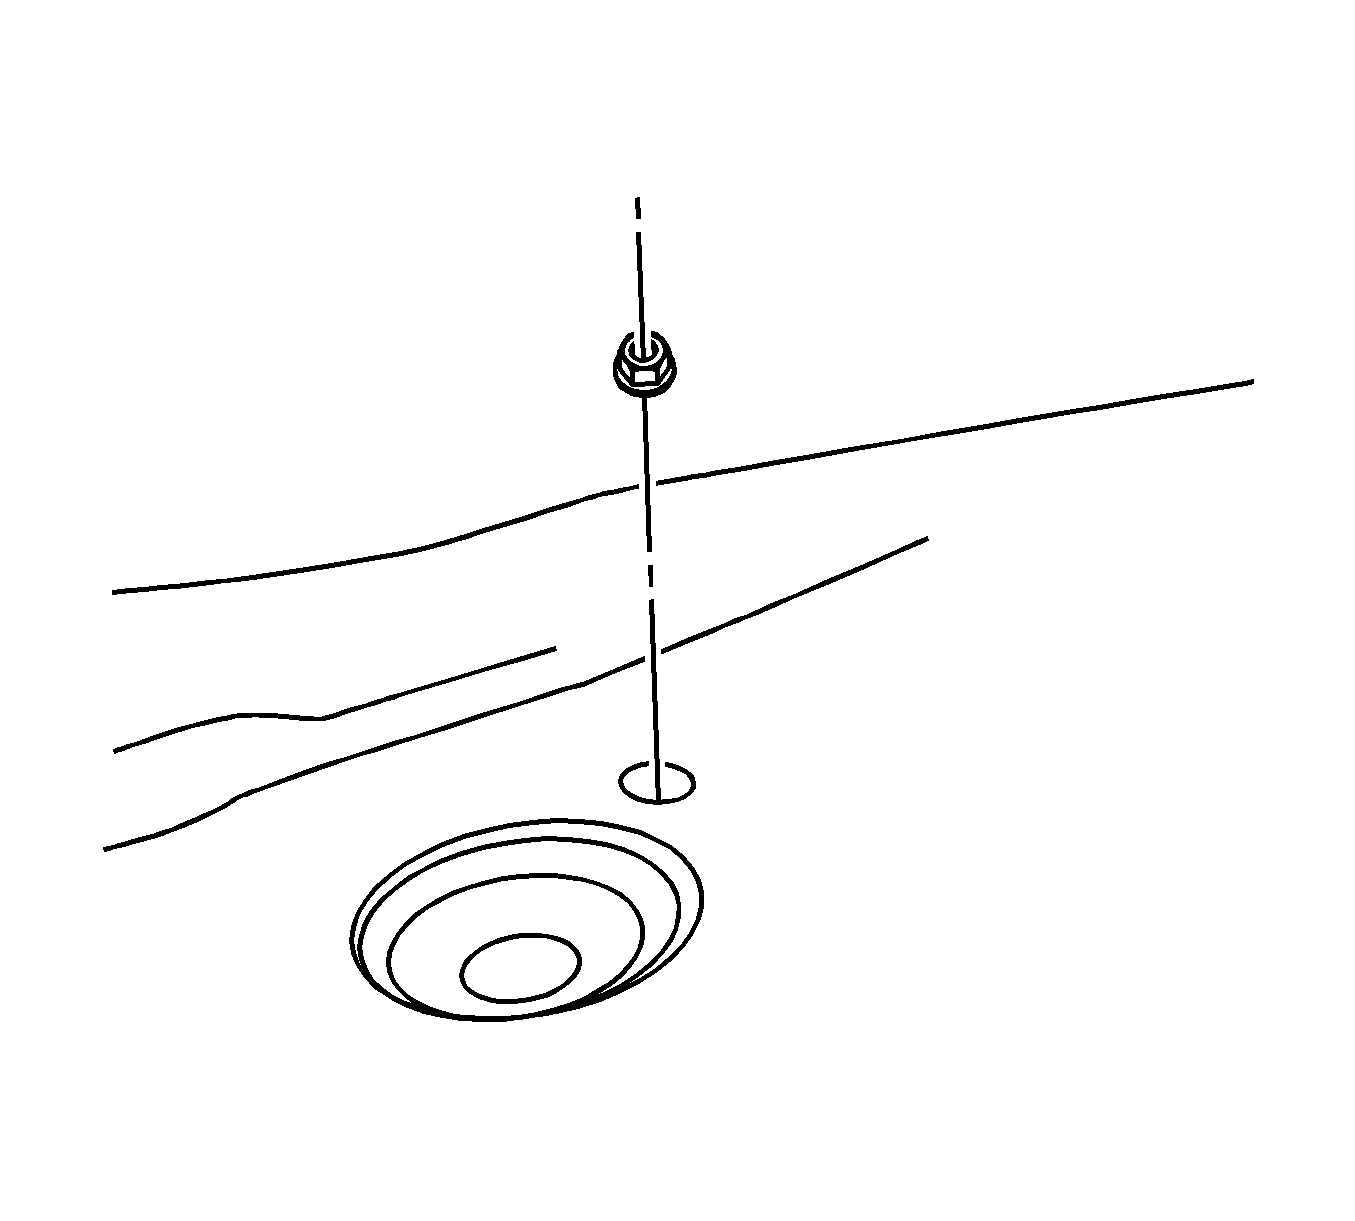
- Pry out the horn net to the left and right of the rear window shelf trim panel to expose the nuts.
- Remove the mounting nuts under the left and right horn net.
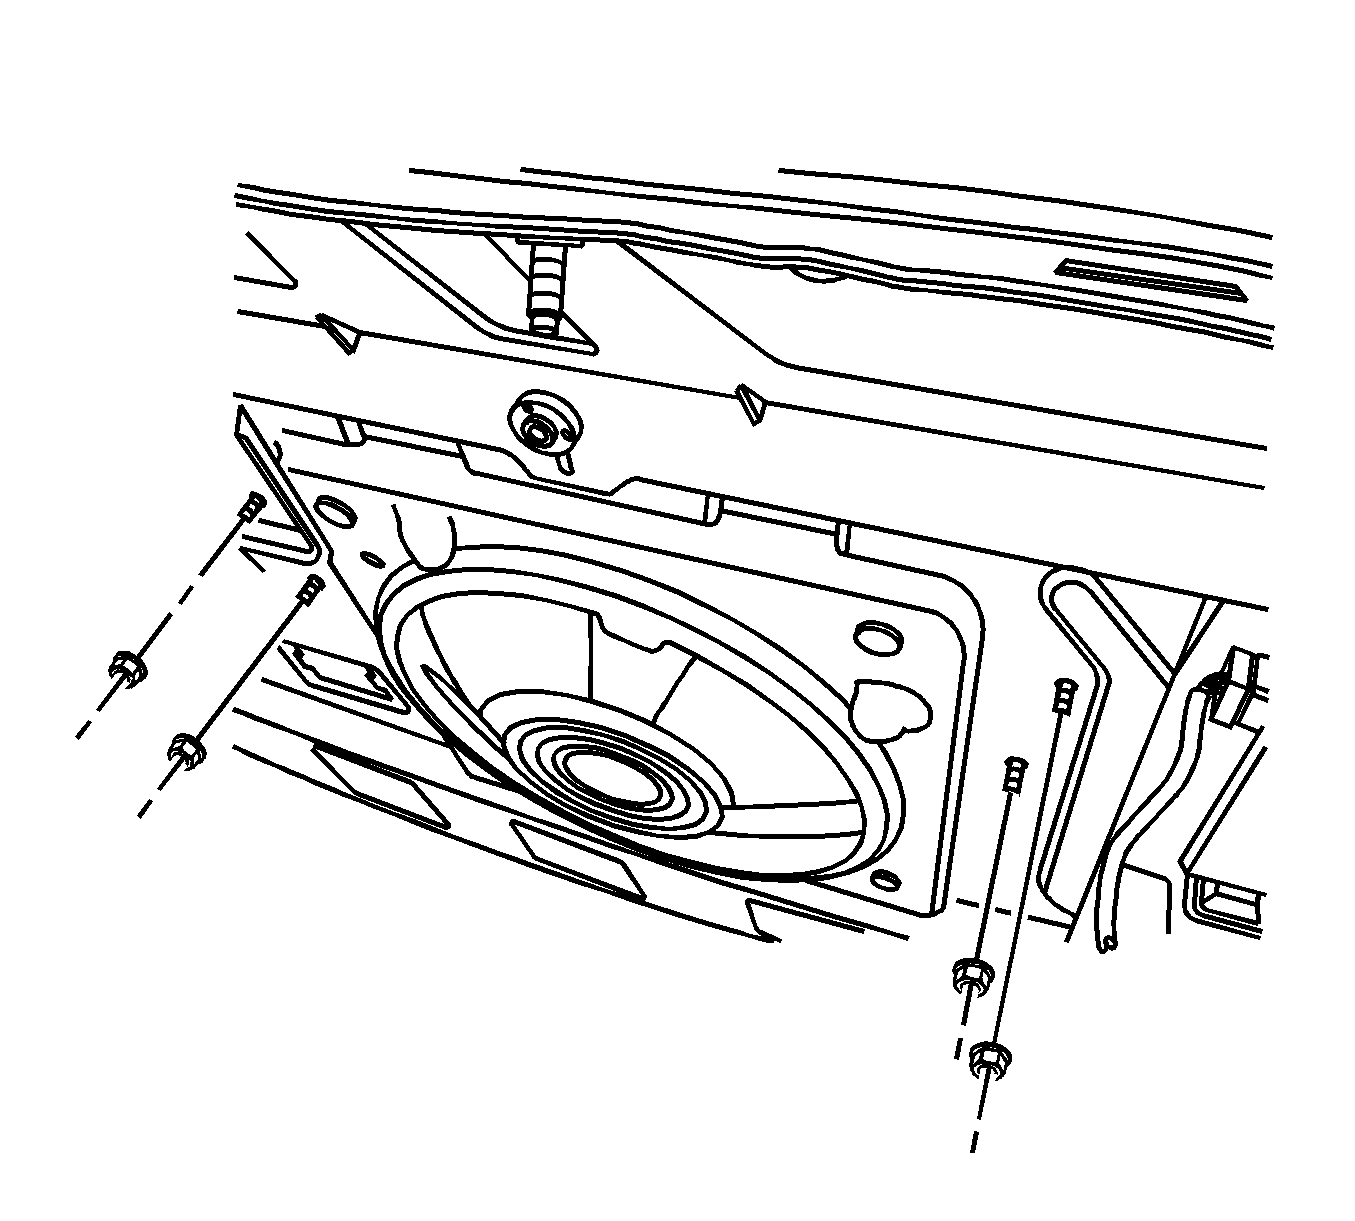
- Remove the 4 mounting nuts under the rear window shelf trim panel in the rear compartment.
- Disconnect the electrical connectors and pull upward the rear window shelf trim panel assembly.


Installation Procedure
- Position the rear window shelf trim panel assembly at the original position and connect the electrical connectors.
- Position the rear center shoulder belt through the rear shelf panel, ensure the shoulder belt is not twisted.
- Snap forcefully the two tabs to secure.
- Secure the shoulder belt escutheon to the rear window shelf trim panel.
- Install the 4 mounting nuts under the rear window shelf trim panel.
- Install the mounting nuts under the left and right horn net.
- Install the horn net.
- Install both rear upper quarter sail panels. Refer to Sail Panel Replacement.
- Install the rear seat back. Refer to Rear Seat Back Cushion Replacement.
- Install the rear seat cushion. Refer to Rear Seat Cushion Replacement.
Caution: Refer to Fastener Caution in the Preface section.

Tighten
Tighten the screw to 9 N·m (80 lb in).

Tighten
Tighten the screw to 9 N·m (80 lb in).
