For 1990-2009 cars only
Removal Procedure
- Disable the SIR system. Refer to SIR Disabling and Enabling.
- Remove the instrument panel. Refer to Instrument Panel (I/P) Replacement .
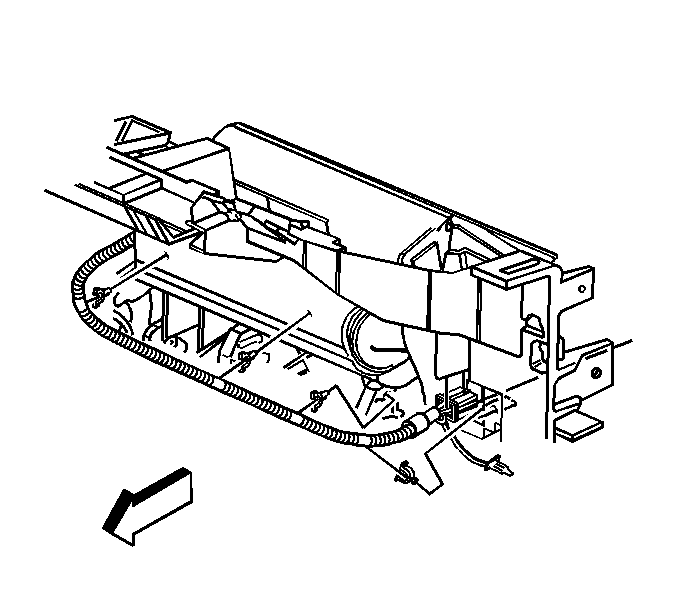
- Note the wire harness routing position on the I/P module to help in assembly.
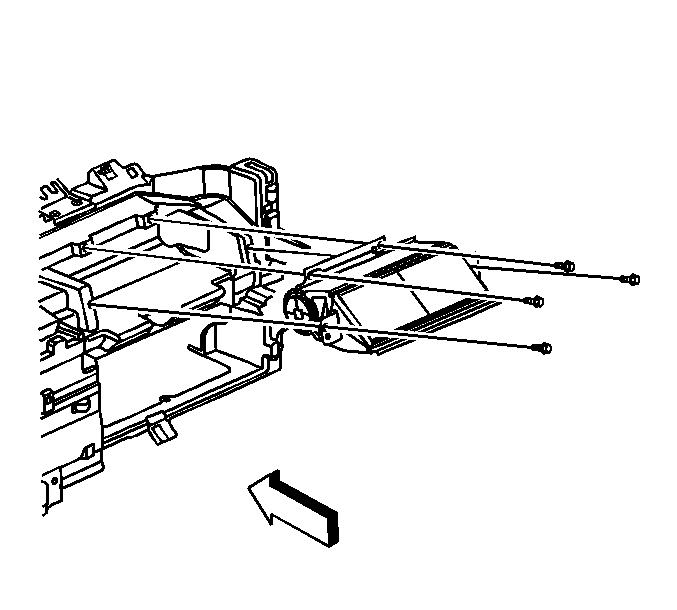
- Remove the I/P module mounting fasteners.
- Remove the I/P module from the I/P.
Warning: Refer to SIR Inflator Module Handling and Storage Warning in the Preface section.
Warning: Refer to SIR Warning in the Preface section.
Warning: A deployed dual stage inflator module will look the same whether one or both stages were used. Always assume a deployed dual stage inflator module has an active stage 2. Improper handling or servicing can activate the inflator module and cause personal injury.


Installation Procedure
- Route the I/P module pigtail down through the I/P.
- Remove the I/P module to the I/P.
- Install the I/P module mounting fasteners.
- Route the I/P module wiring harness in place to secure the I/P module yellow 2-way connector clip.
- Install the I/P retainer. Refer to Instrument Panel (I/P) Replacement .
- Connect the I/P module yellow connector to the vehicle harness yellow connector.
- Install the CPA to the instrument panel module connector.
- Enable the SIR system. Refer to SIR Disabling and Enabling.
- After the inflation module is replaced, deploy the old module before discarding it. If the module is replaced during warranty period, deploy and discard it after the required retention period of the part. Refer to Inflator Module Handling and Scrapping for correct discarding procedure of the module.

Caution: Refer to Fastener Caution in the Preface section.
Tighten
Tighten the fasteners to 9 N·m (80 lb in).

