For 1990-2009 cars only
Removal Procedure
- Remove the luggage carrier assembly. Refer to Luggage Carrier Replacement .
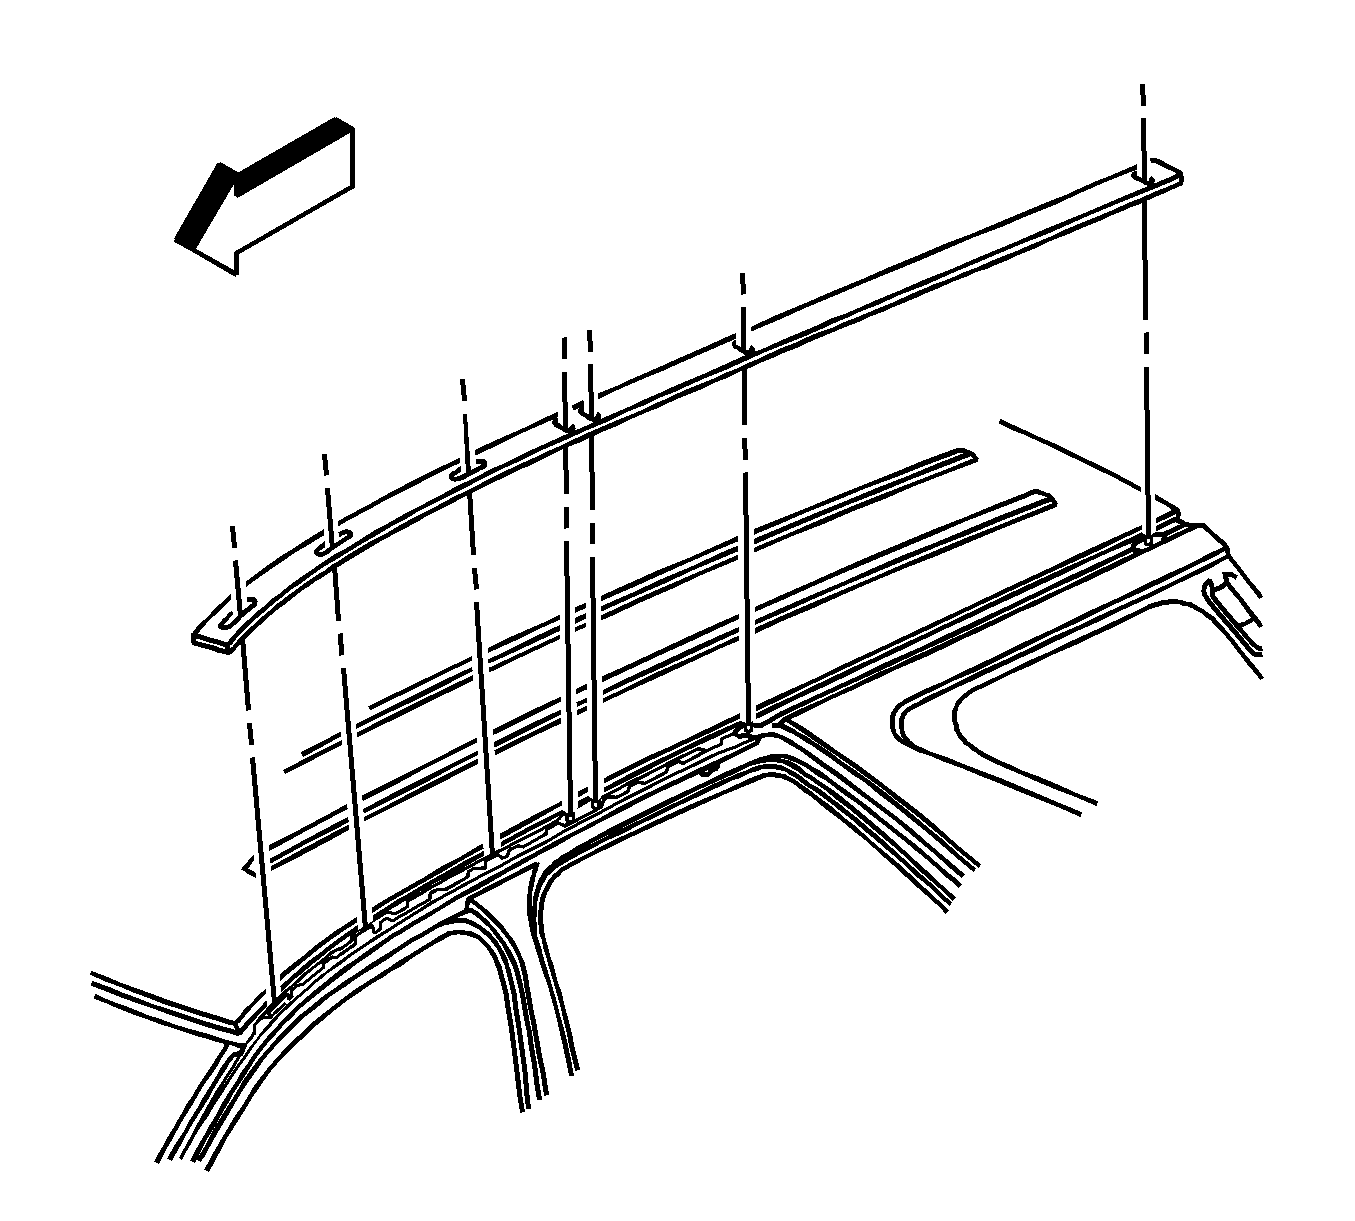
- Starting at the rear glass, carefully remove the finish molding from the roof ditch.
- Remove the roof panel joint reveal molding.
- Clean excessive tape residue from the roof ditch with a 50/50 mixture by volume of isopropyl alcohol and water.
- Wipe dry the roof ditch with a clean lint-free cloth.

Important: If the roof panel finish molding cracks, breaks, or is damaged in any way, replace the molding.
Installation Procedure
- Ensure that the body and part temperature is above 19°C (66°F).
- Align the reveal molding slots over the studs and over the tabs for the retainer clips in the roof ditch.
- Peel approximately 3 inches of the tape backing from the reveal molding.
- Begin at the front of the vehicle, position the molding into the roof ditch.
- Working rearward, remove the tape backing while pressing the reveal molding into the roof ditch.
- Secure the finish molding from front to rear in the roof ditch.
- Install the luggage carrier assembly. Refer to Luggage Carrier Replacement .

Important: The body and component part temperature must be above 19°C (66°F) prior to adhesion.
