For 1990-2009 cars only
Rear Side Door Lower Molding Replacement old remove
Tools Required
J 25070 Heat Gun
Removal Procedure
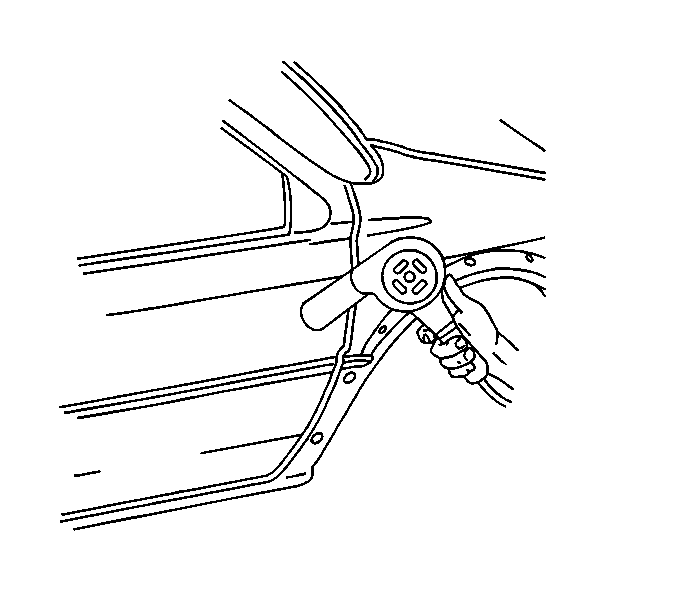
- Use a J 25070 in a circular motion for 30 seconds 152 mm (6 in) from the surface to heat the upper edge of the rear door body side molding to 21-32°C (70-90°F).
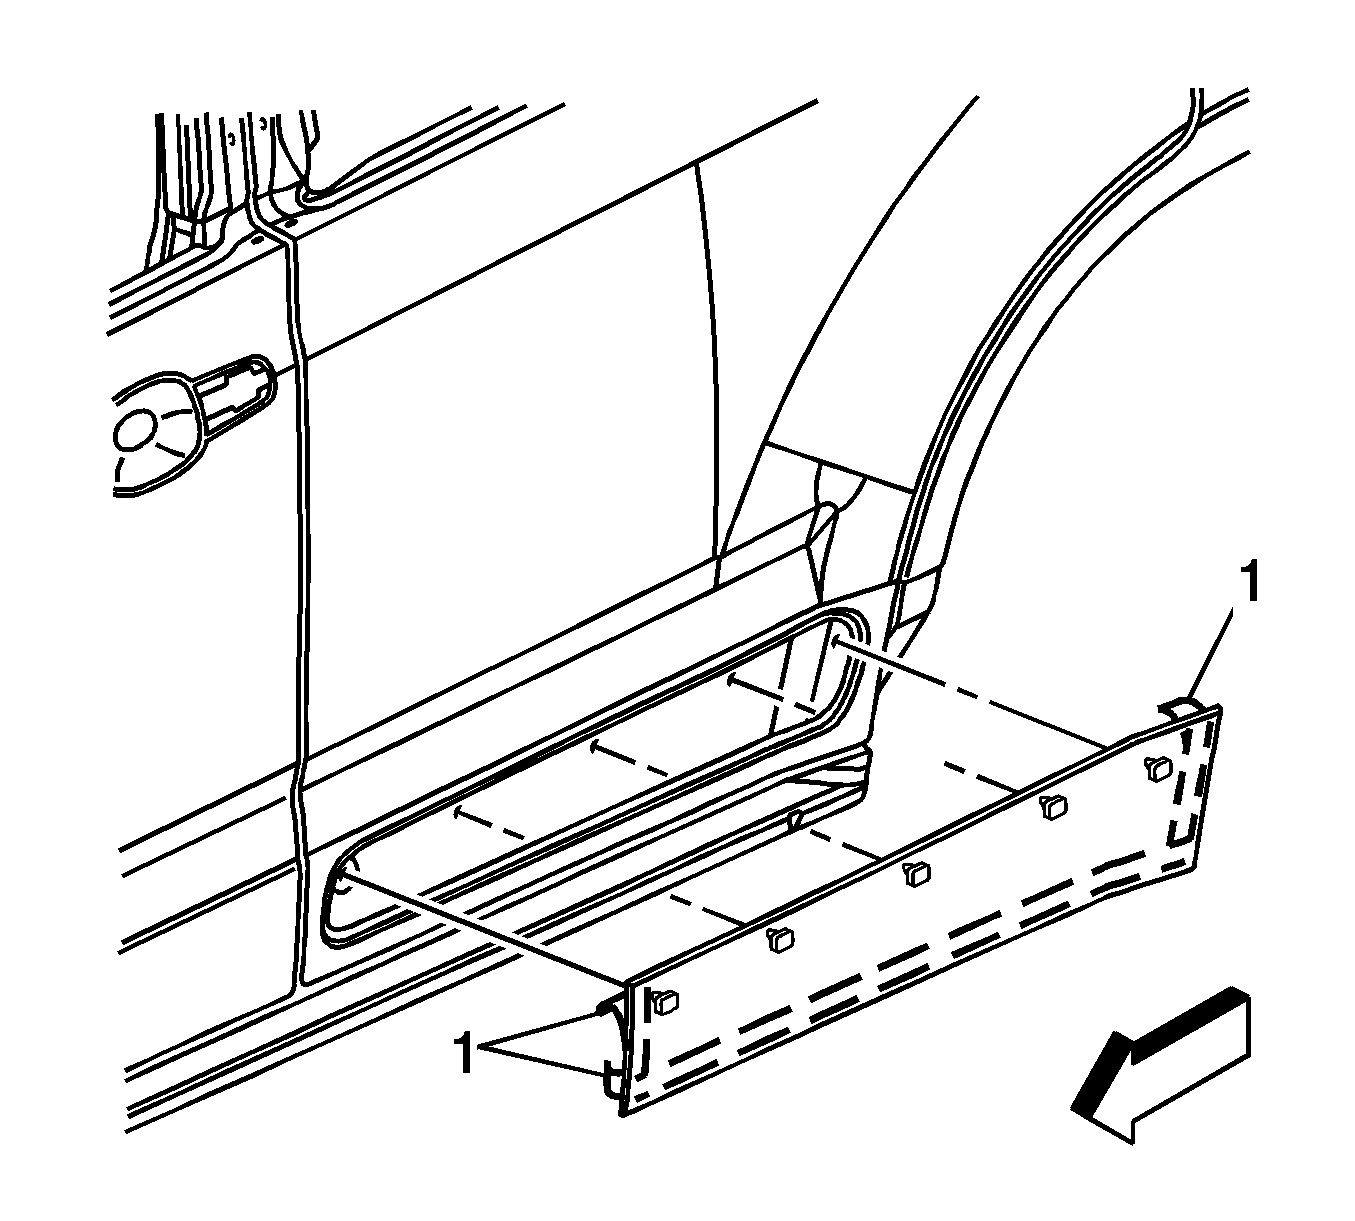
- Use a plastic, flat-bladed tool to remove the edges (1) of the rear door lower molding from the surface.
- Pull the top edge of the rear door lower molding away from the door in order to disengage the retainers.
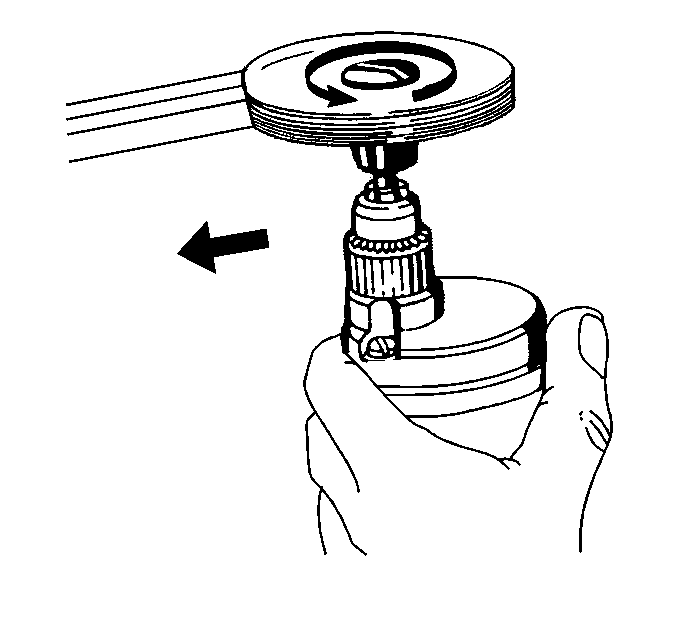
- Remove all adhesive from the rear door panel using 3M™ Scotch Brite molding adhesive remover disk 3M™ P/N 07501 or equivalent.
- Clean the door panel surface using Varnish Makers and Painters (VMP) naphtha and allow to air dry.

Notice: Refer to Exterior Trim Emblem Removal Notice in the Preface section.


Installation Procedure
- Use a J 25070 in a circular motion for 30 seconds 152 mm (6 in) from the surface to heat the lower rear door to 21-32°C (70-90°F).
- Remove the protective liner (1) from the back side of the door molding adhesive strip.
- Position the rear door lower molding to the door.
- Press the retainers into the door in order to secure the molding.
- Press the molding inward in order to secure the molding.


Important: Do not touch the adhesive backing on the molding.
