Removal Procedure
- Turn the ignition OFF.
- Remove the oil filter cap.
- Remove and discard the oil filter cartridge.
- Raise and support the vehicle. Refer to Lifting and Jacking the Vehicle .
- Place a suitable drain below the oil pan drain plug.
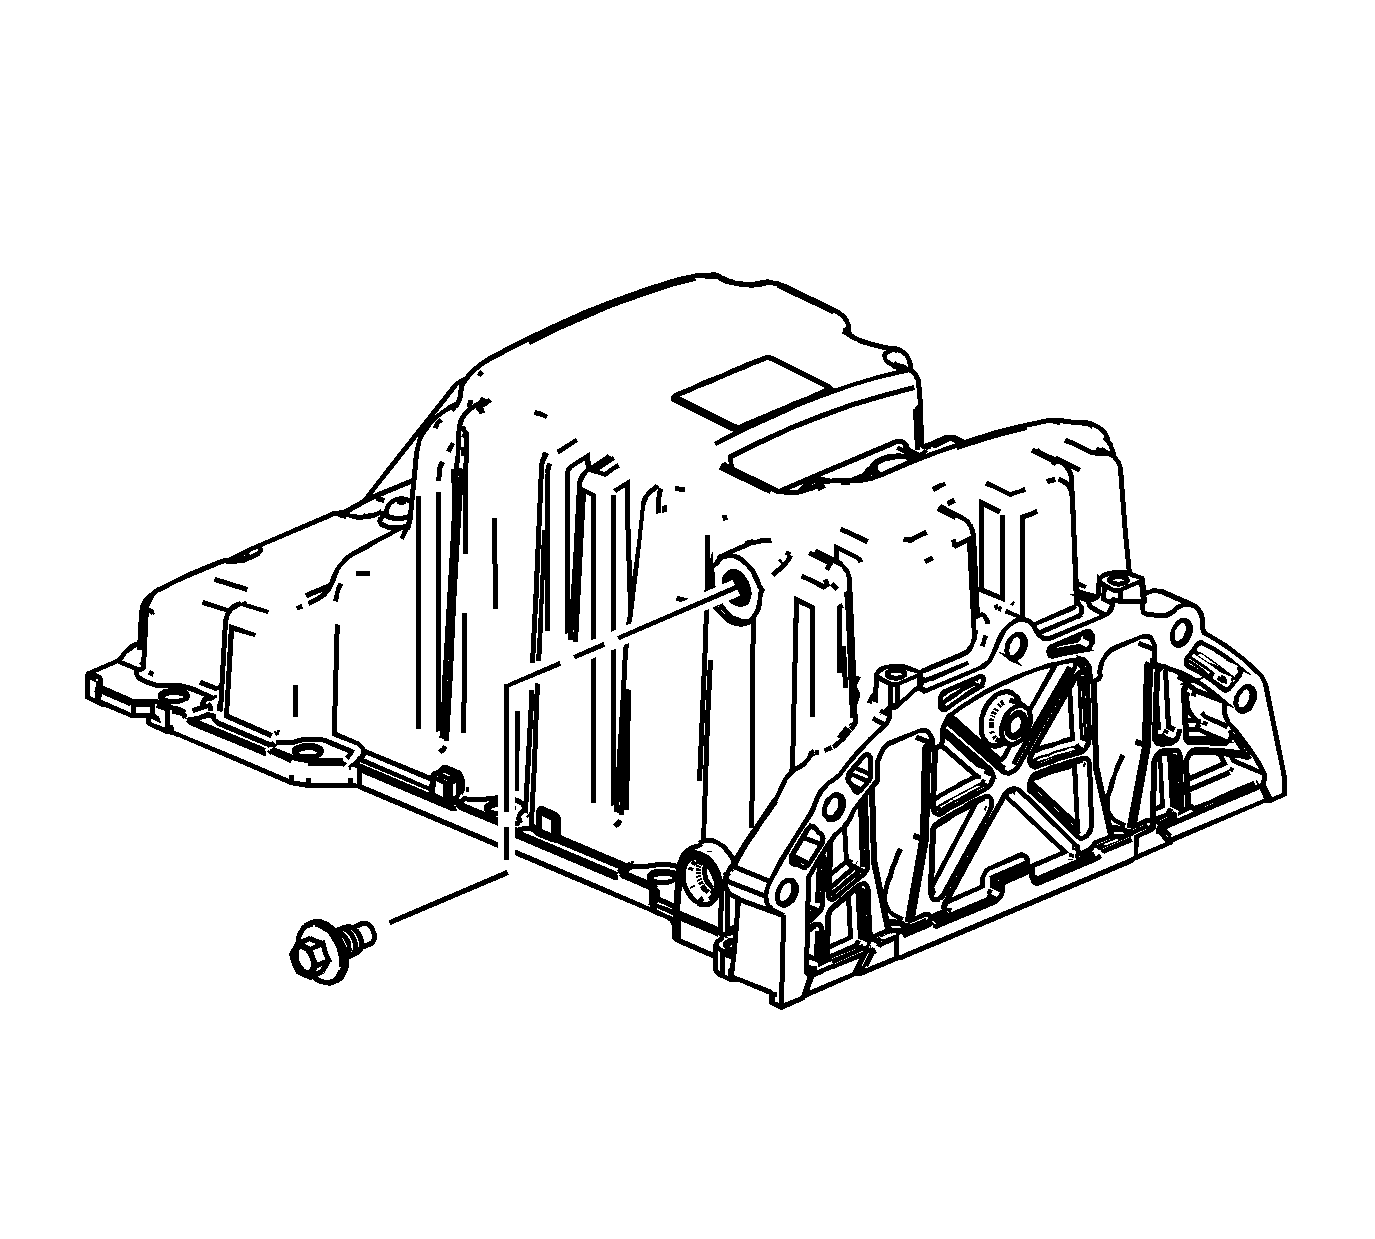
- Remove the oil pan drain plug.
- Allow the oil to drain completely.
Important: Use a six-point socket to remove the oil filter cap.
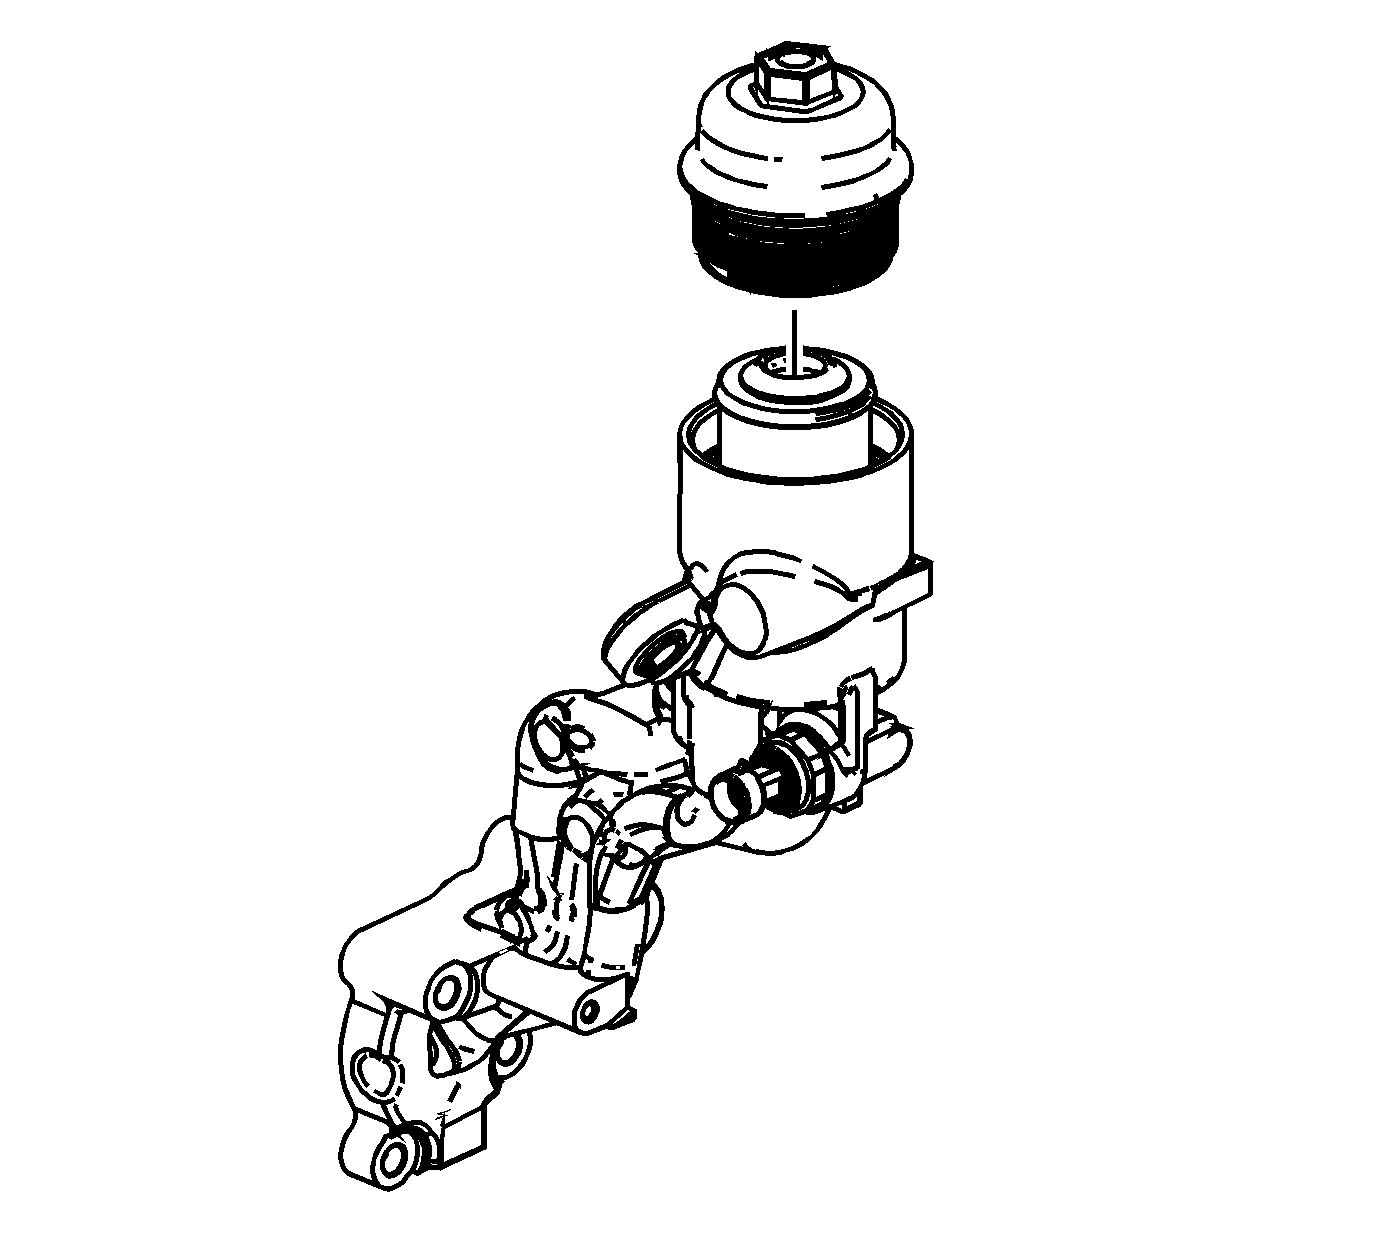
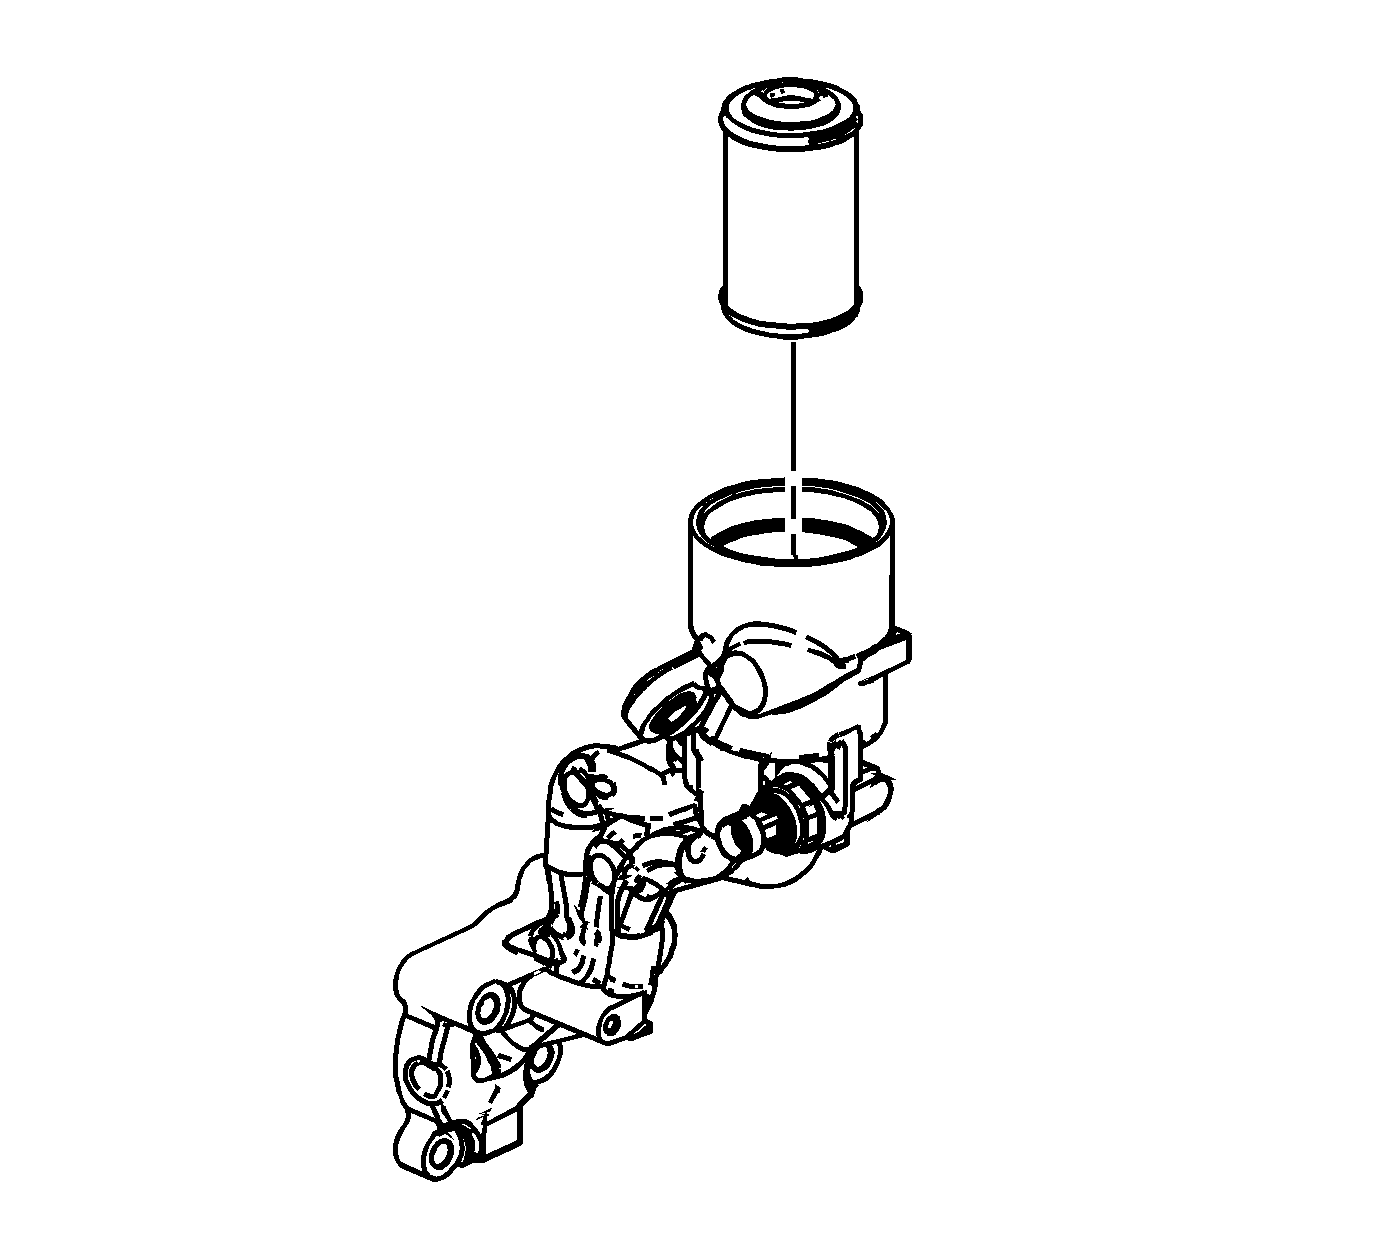
Important: It is normal for oil to drain from the oil filter chamber in the oil filter adapter housing. Do NOT replace the oil filter adapter for this condition.
Installation Procedure
- Install the oil pan drain plug and NEW O-ring seal.
- Lower the vehicle.
- Install the NEW oil filter cartridge.
- Lubricate the oil filter cap threads with clean engine oil.
- Install the oil filter cap.
- Install the oil fill cap.
- Fill the engine with the appropriate oil type and quantity. Refer to Fluid and Lubricant Recommendations and Approximate Fluid Capacities .
Notice: Refer to Fastener Notice in the Preface section.

Tighten
Tighten the oil pan drain plug to 20 N·m (15 lb ft).

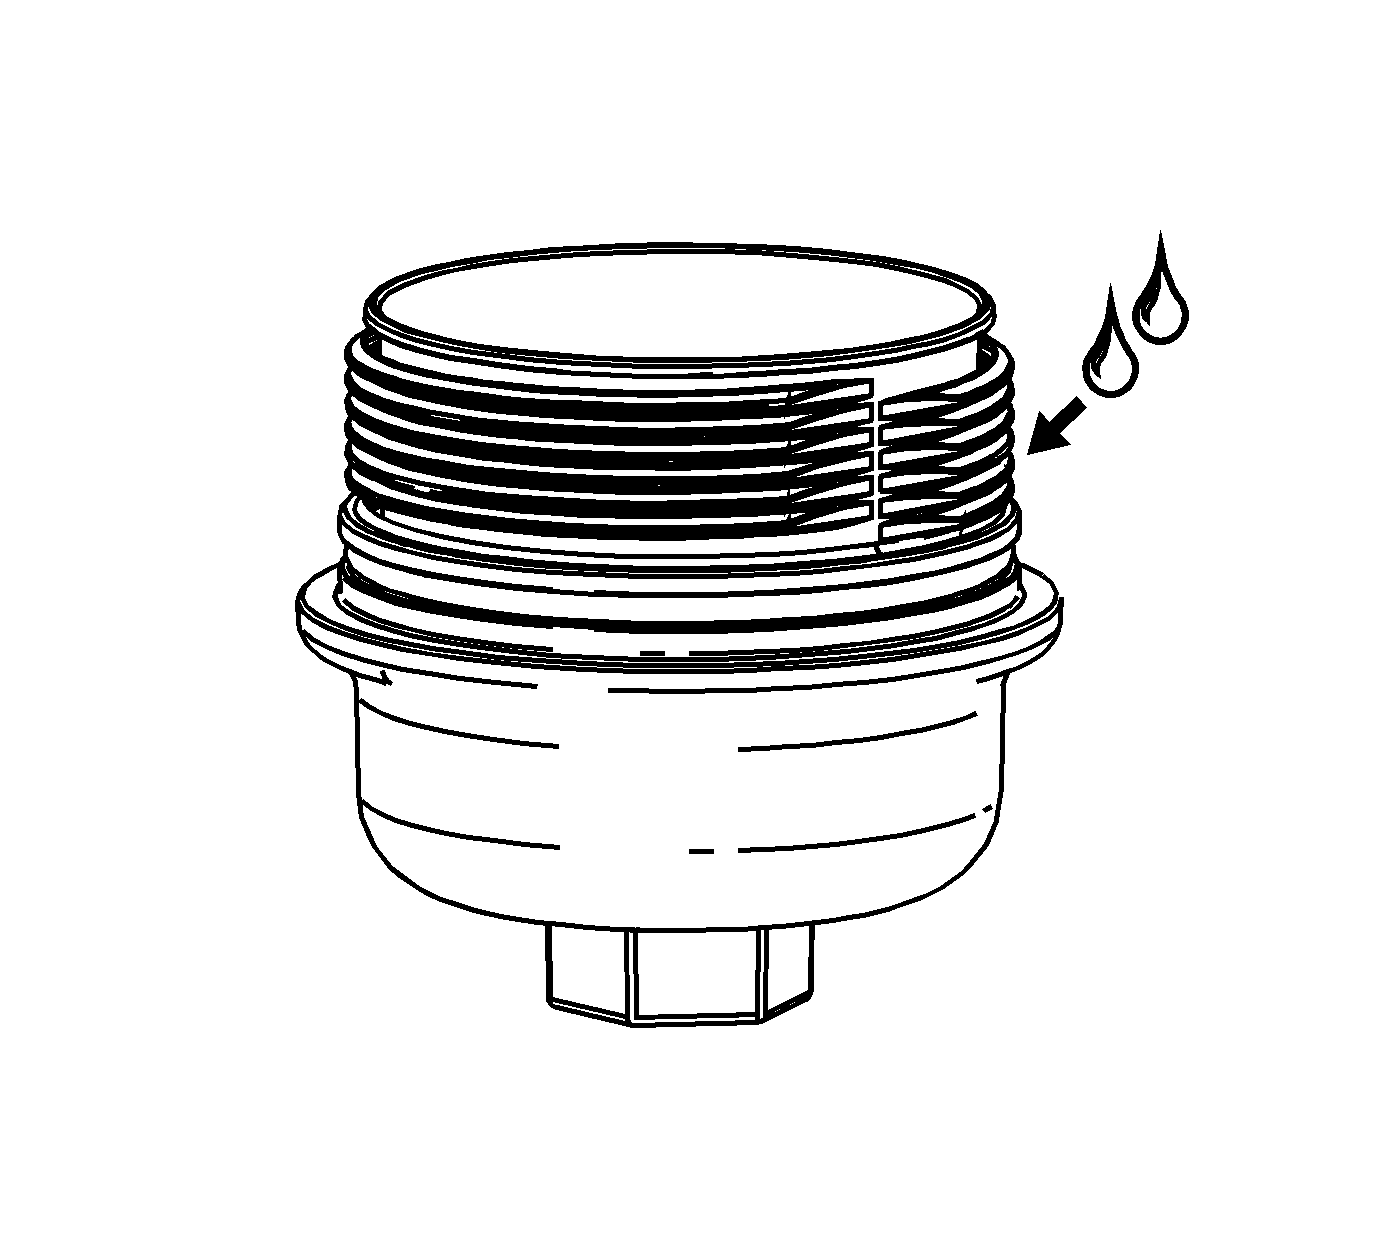
Notice: Lubrication must be applied to the threads of the oil filter cap prior to installation. Failure to lubricate the oil filter cap threads can hinder later removal and cause possible oil filter cap damage.
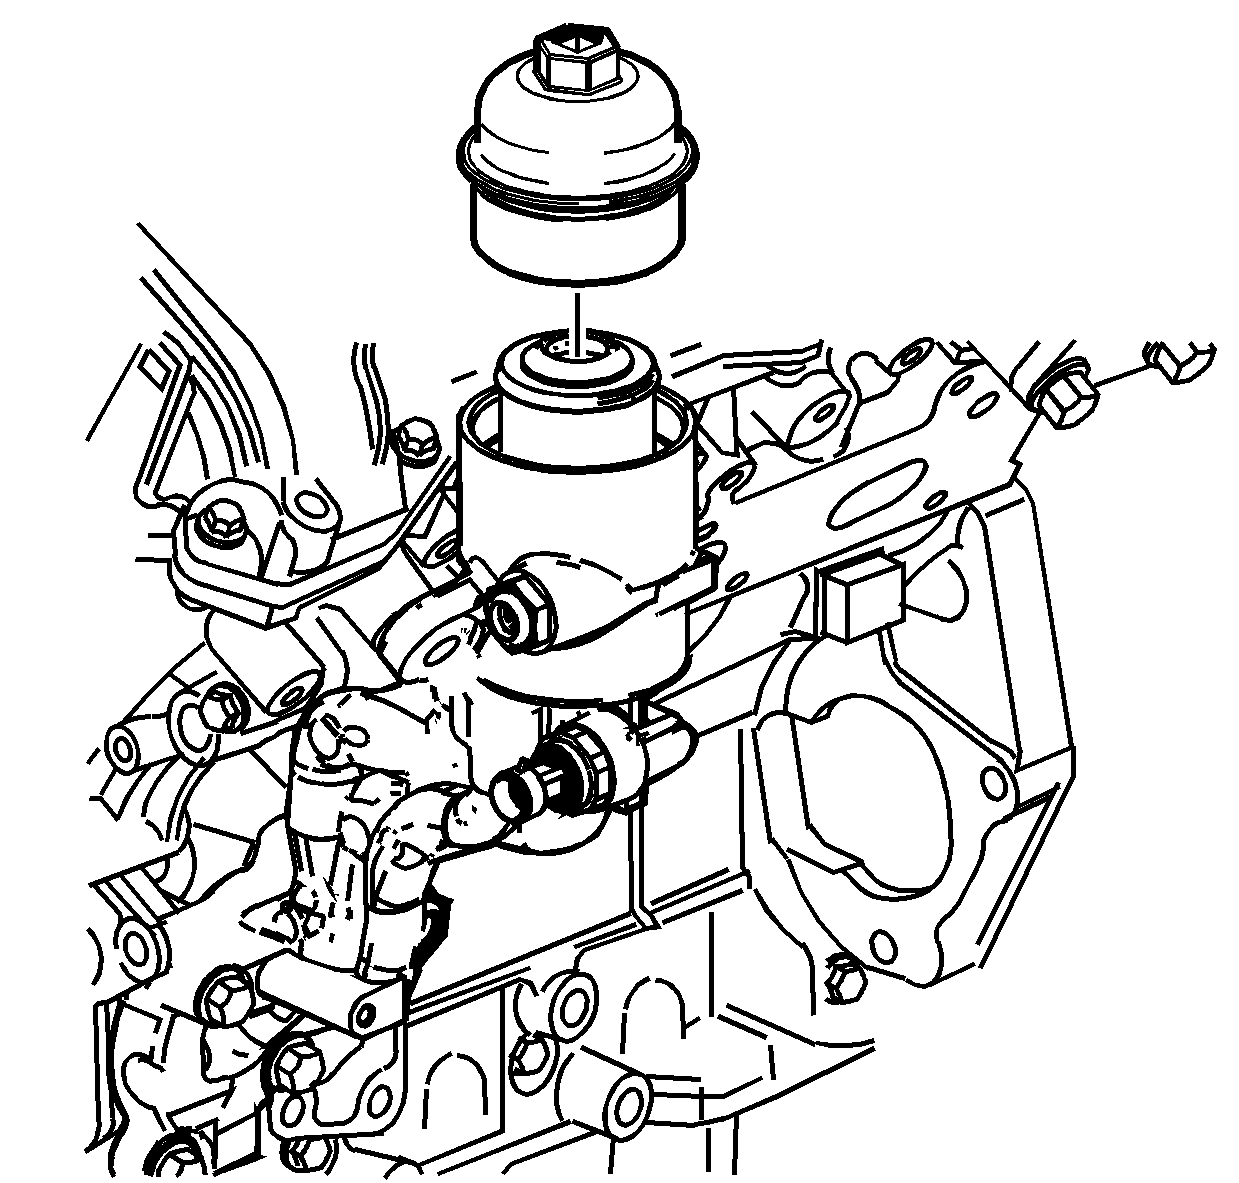
Notice: Proper oil filter cap tightening is mandatory. Failure to tighten the oil filter cap to the proper specification can hinder later removal and cause possible oil filter cap damage.
Important: Use a six-point socket to install the oil filter cap.
Tighten
Tighten the oil filter cap to 25 N·m (18 lb ft).
