For 1990-2009 cars only
Removal Procedure
- Raise and support the vehicle. Refer to Lifting and Jacking the Vehicle .
- Disconnect the exhaust system from the rear exhaust hangers.
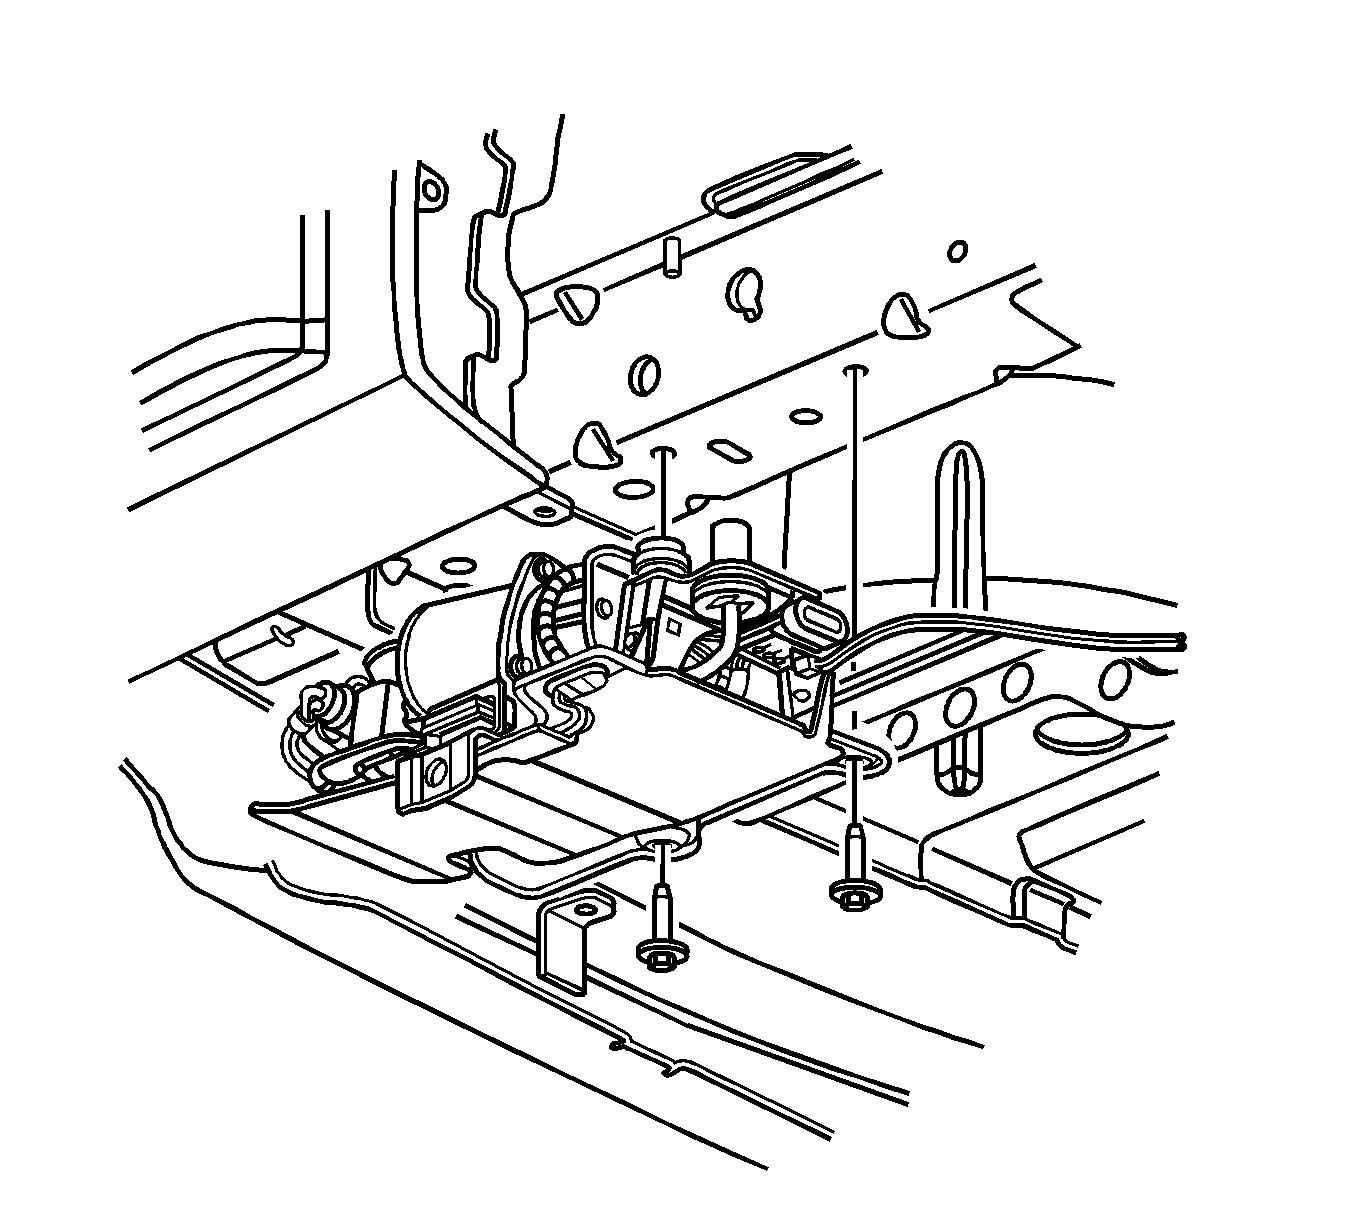
- Remove the automatic level control (ALC) compressor bracket mounting bolts.
- Carefully lower the ALC compressor assembly.
- Twist the air tube at the ALC compressor clamp.
- Disconnect the air tube from the ALC compressor.
- Disconnect the ALC electrical harness connector.
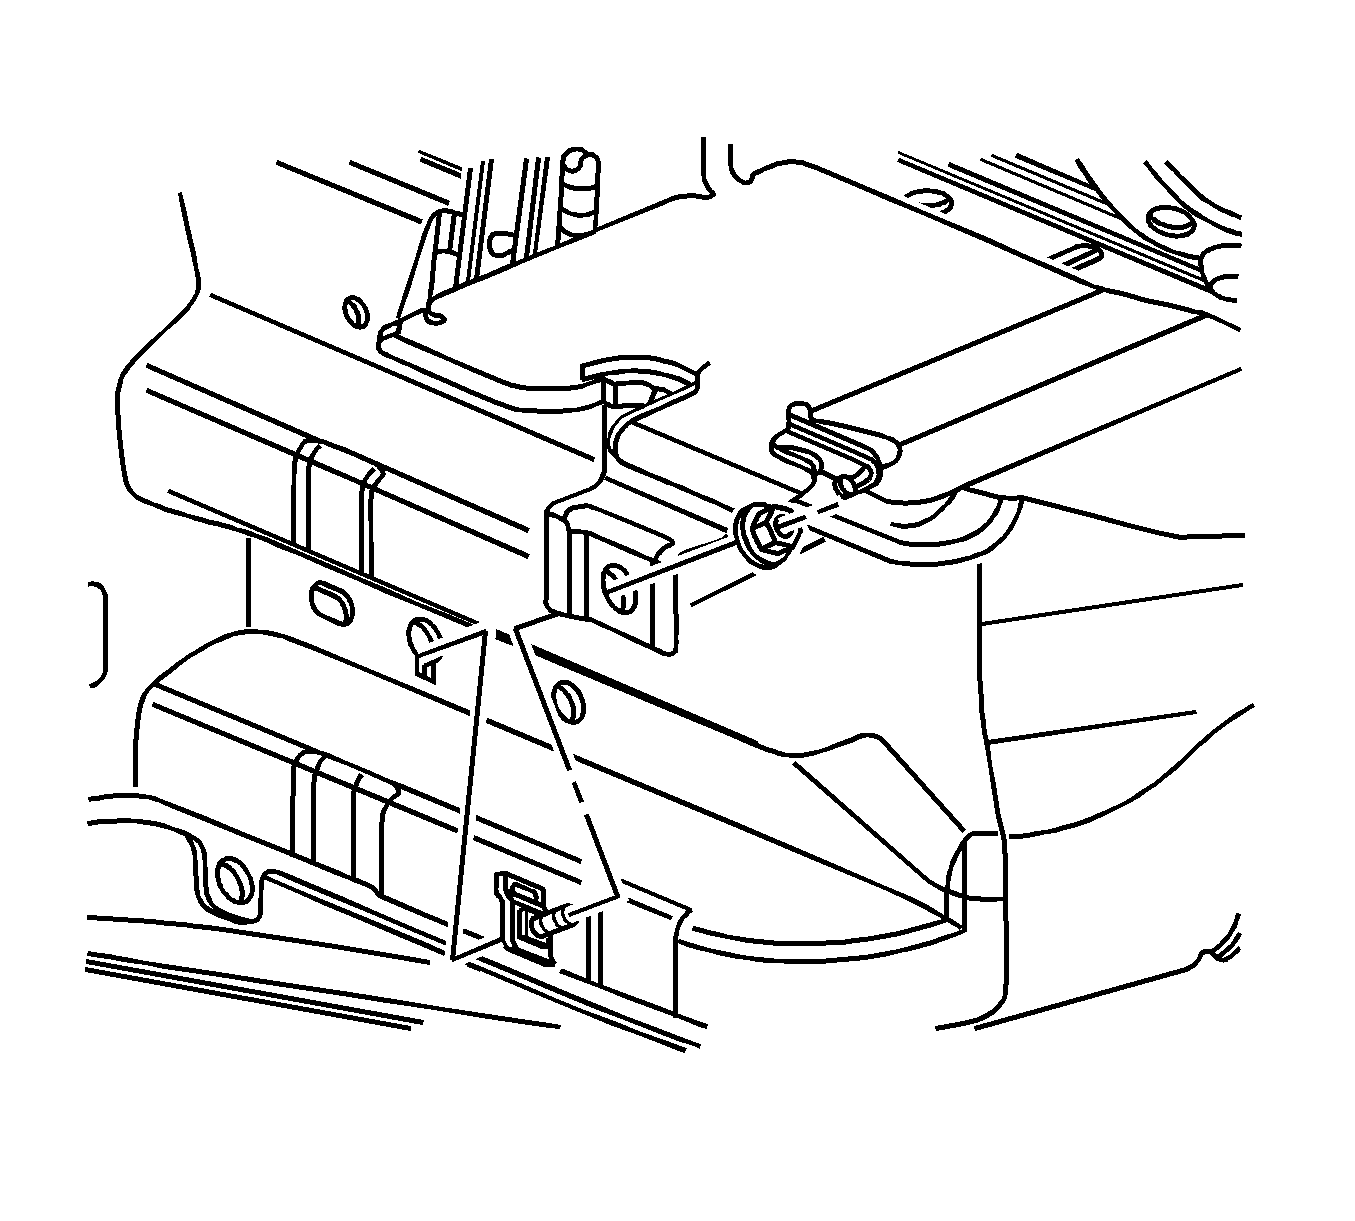
- Remove the ALC compressor bracket side mounting nut.
- Remove the ALC compressor with the bracket from the vehicle.
- Remove the ALC compressor top bracket mounting screw.
- Remove the electrical harness connector from the ALC bracket.
- Disconnect the bleed hose from the clip.
- Remove the ALC bracket to ALC compressor screws.
- Remove the ALC bracket from the ALC compressor.


Installation Procedure
- Position the ALC bracket to the ALC compressor.
- Install the ALC bracket to ALC compressor screws.
- Connect the bleed hose to the clip.
- Install the electrical connector to the ALC compressor bracket.
- Connect the air tube to the ALC compressor.
- Connect the ALC electrical harness connector.
- Install the ALC bracket side mounting nut.
- Install the ALC bracket mounting bolts.
- Connect the exhaust system the rear exhaust hangers.
- Lower the vehicle.
Notice: Refer to Fastener Notice in the Preface section.
Tighten
Tighten the screws to 9 N·m (80 lb in).


Tighten
Tighten the bolts to 9 N·m (80 lb in).
