For 1990-2009 cars only
Removal Procedure
- Raise and support the vehicle. Refer to Lifting and Jacking the Vehicle .
- Remove the tire and wheel. Refer to Tire and Wheel Removal and Installation .
- Remove the automatic level control link from the upper control arm.
- Remove the brake pipe bracket retaining nuts.
- Remove the brake pipe bracket from the mounting studs.
- Support the lower control arm with a suitable jack.
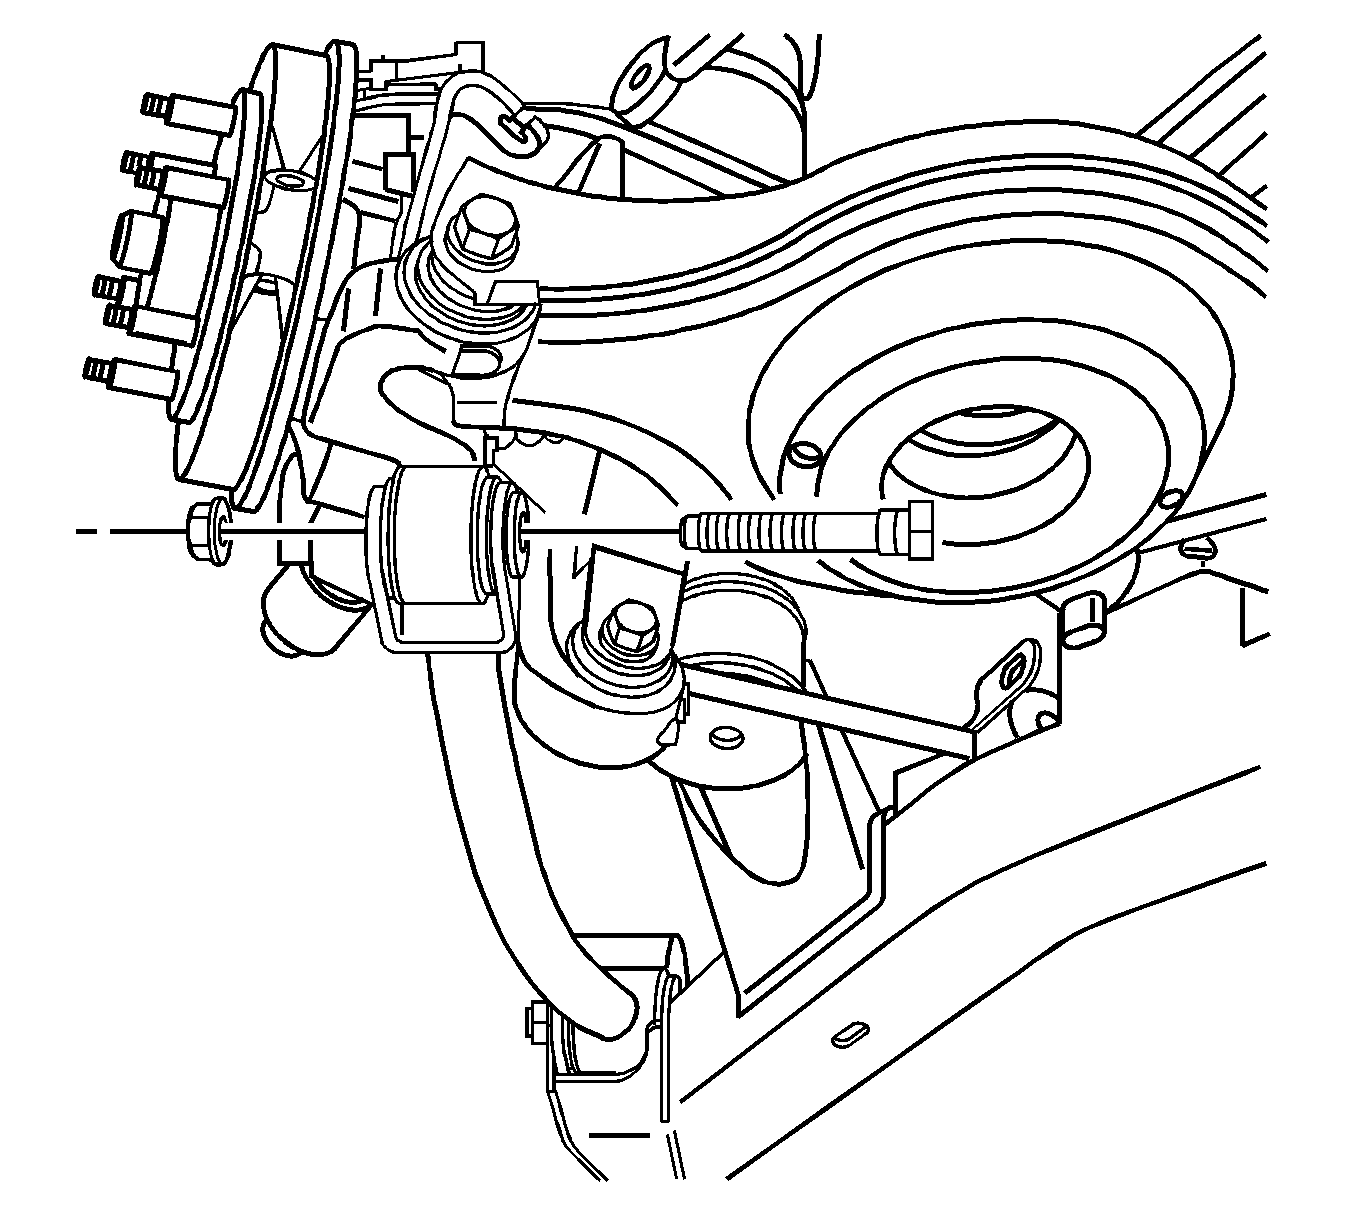
- Remove the trailing link to knuckle nut.
- Remove the trailing link to knuckle bolt.
- Remove the jack.
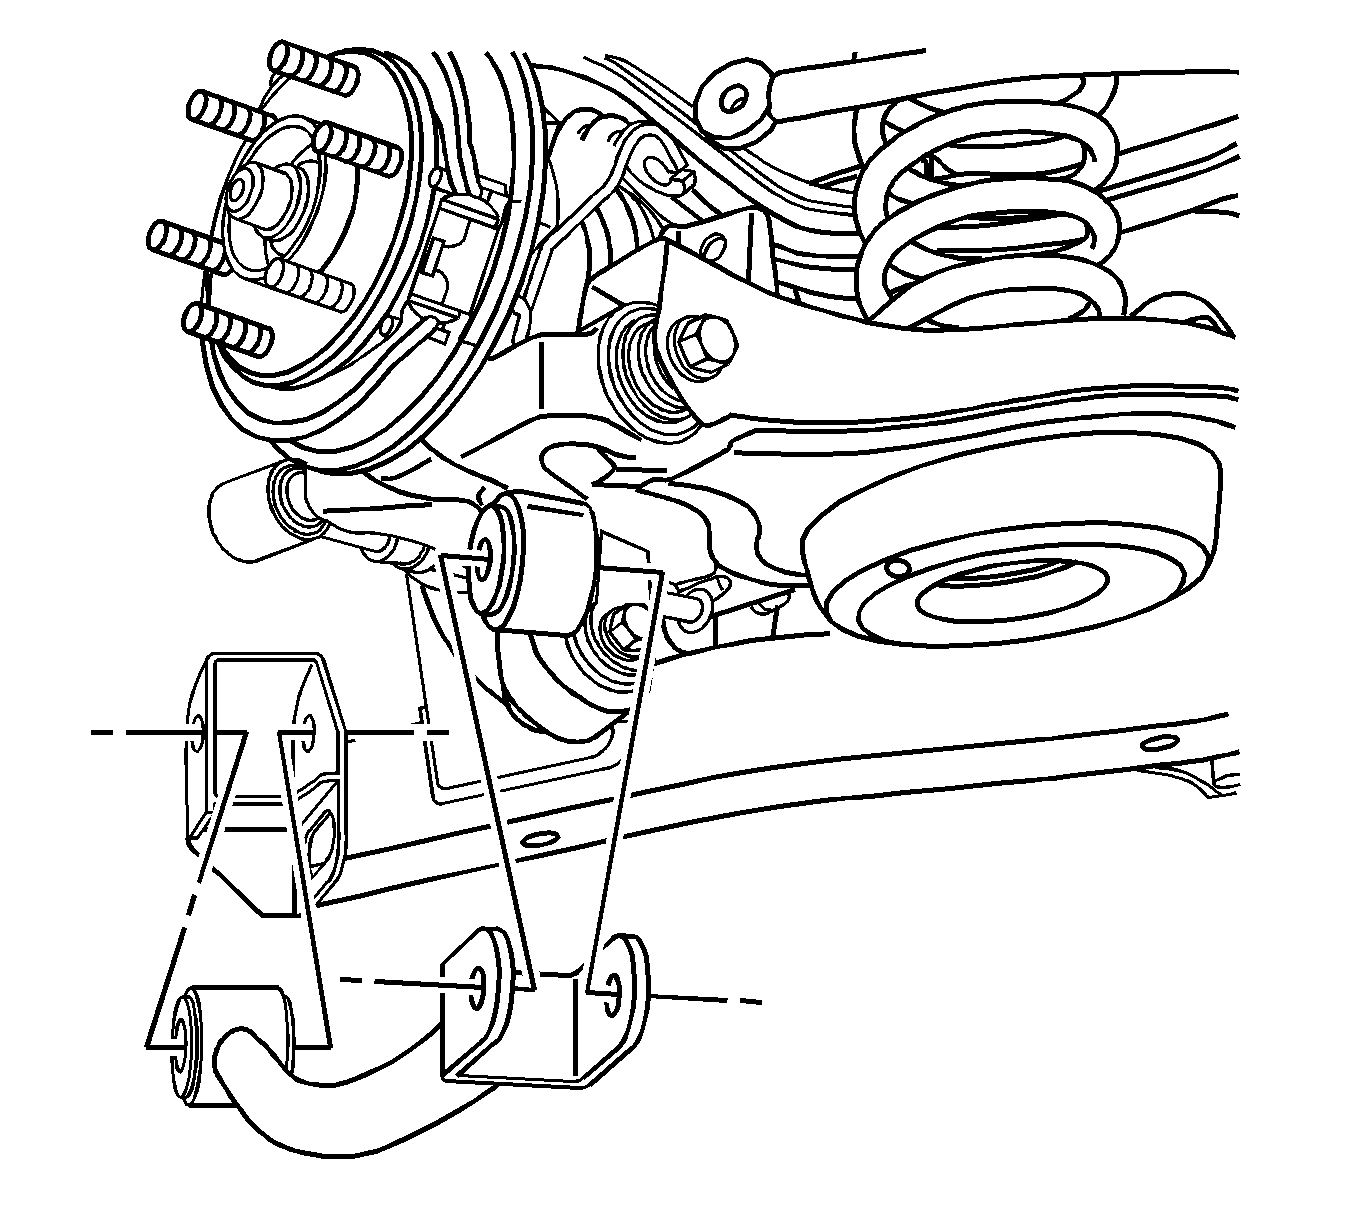
- Support the frame with a suitable jack.
- Remove the front bolts from the frame.
- Lower the front of the rear frame.
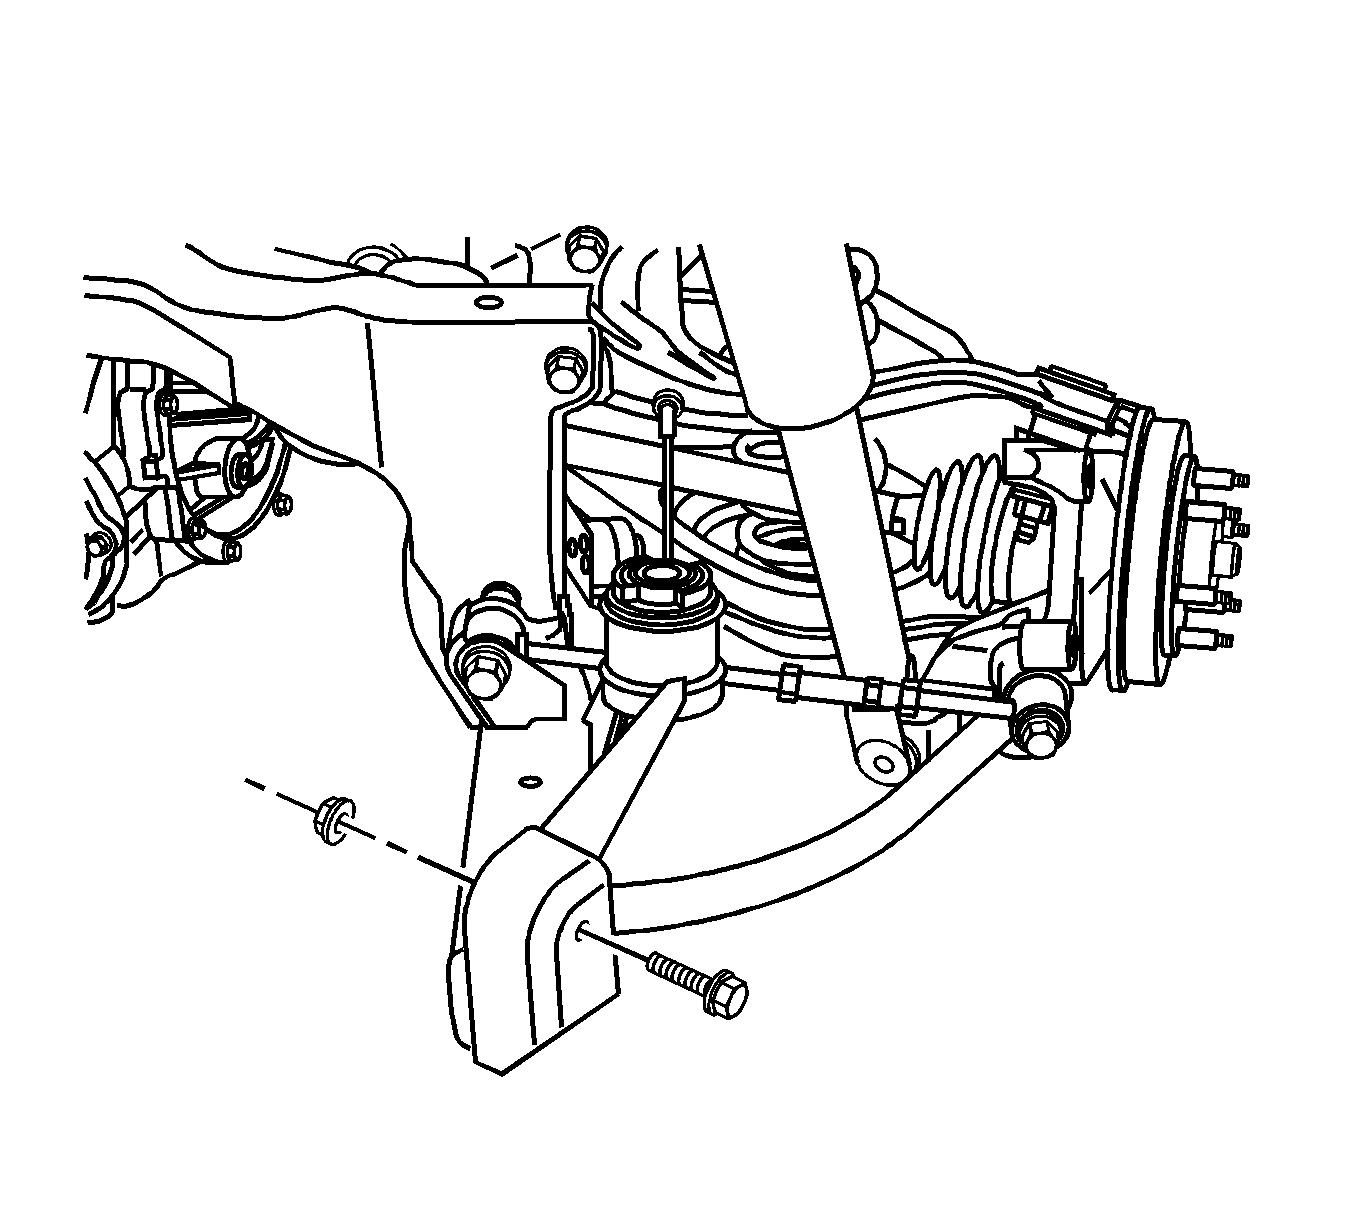
- Remove the trailing link to frame nut.
- Remove the trailing link to frame bolt.
- Remove the trailing link from the vehicle.
Installation Procedure
- Install the trailing link to the vehicle.
- Install the trailing link to frame bolt.
- Install the trailing link to frame nut.
- Raise the frame with a suitable jack.
- Install the front bolts to the frame.
- Remove the jack.
- Support the lower control arm with a suitable jack for alignment of the trailing link and the knuckle.
- Install the trailing link to knuckle bolt.
- Install the trailing link to knuckle nut.
- Install the brake pipe bracket from the mounting studs.
- Install the brake pipe bracket retaining nuts.
- Install the automatic level control link to the upper control arm.
- Install the tire and wheel. Refer to Tire and Wheel Removal and Installation .
- Lower the vehicle.
Important: Loosely install the trailing link before tightening.
Notice: Refer to Fastener Notice in the Preface section.
Tighten
Tighten the bolts to 265 N·m (195 lb ft).
Tighten
| • | Tighten the trailing link to frame nut to 150 N·m (111 lb ft). |
| • | Tighten the trailing link to knuckle mounting bolt to 170 N·m (125 lb ft). |
Tighten
Tighten the bolts to 10 N·m (89 lb in).
