For 1990-2009 cars only
Suction Hose Replacement LH2 w/o C57
Tools Required
| • | J 39400-A Halogen Leak Detector |
| • | J 45689 A/C Quick Joint Tool |
Removal Procedure
- Recover the refrigerant. Refer to Refrigerant Recovery and Recharging .
- Remove the suction hose quick connect fitting. Refer to Air Conditioning Line/Tube Connector Removal/Replacement .
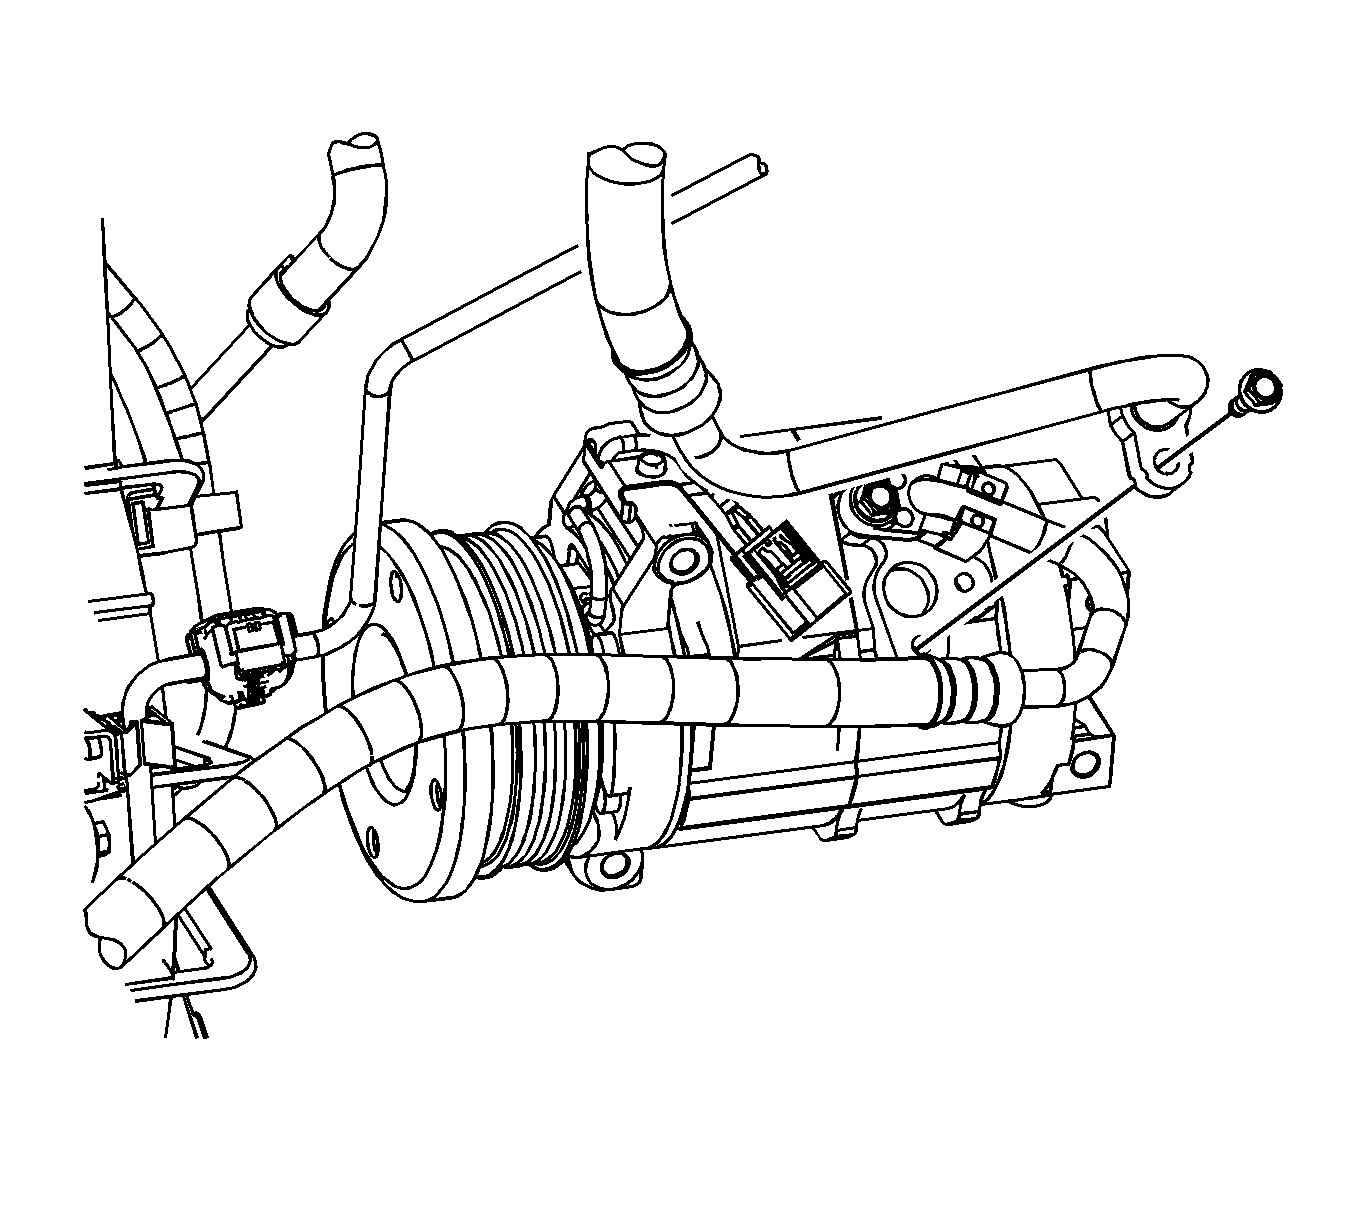
- Remove the suction hose retaining screw from the clamp.
- Separate the suction line from the clamp.
- Remove the air cleaner assembly. Refer to Air Cleaner Assembly Replacement .
- Remove the suction hose retaining bolt from the compressor.
- Remove the suction hose from the vehicle.

Installation Procedure
- Coat the new O-rings with refrigerant oil. Refer to O-Ring Replacement .
- Install the suction hose.
- Connect the suction hose to the suction pipe.
- Install the suction hose quick connect fitting. Refer to Air Conditioning Line/Tube Connector Removal/Replacement .
- Position the suction hose into the bracket.
- Install the suction hose retaining screw into the bracket.
- Connect the suction hose to the compressor.
- Install the retaining bolt to the compressor.
- Install the air cleaner assembly. Refer to Air Cleaner Assembly Replacement .
- Evacuate and recharge the refrigerant system. Refer to Refrigerant Recovery and Recharging .
- Leak test the fittings of the component using J 39400-A .
Notice: Refer to Fastener Notice in the Preface section.
Tighten
Tighten the screw to 2 N·m (18 lb in).

Tighten
Tighten the bolt to 9 N·m (80 lb in).
Suction Hose Replacement LY7 w/o C57
Tools Required
| • | J 39400-A Halogen Leak Detector |
| • | J 45689 A/C Quick Joint Tool |
Removal Procedure
- Recover the refrigerant. Refer to Refrigerant Recovery and Recharging .
- Remove the air cleaner intake duct. Refer to Air Cleaner Assembly Replacement .
- Disconnect the drive belt from the A/C compressor. Refer to Air Conditioning Compressor and Power Steering Pump Belt Replacement .
- Remove the suction hose retaining bolt from the A/C compressor.
- Disconnect the suction hose from the A/C compressor.
- Remove the suction hose retaining screw from the clamp.
- Separate the suction hose from the clamp.
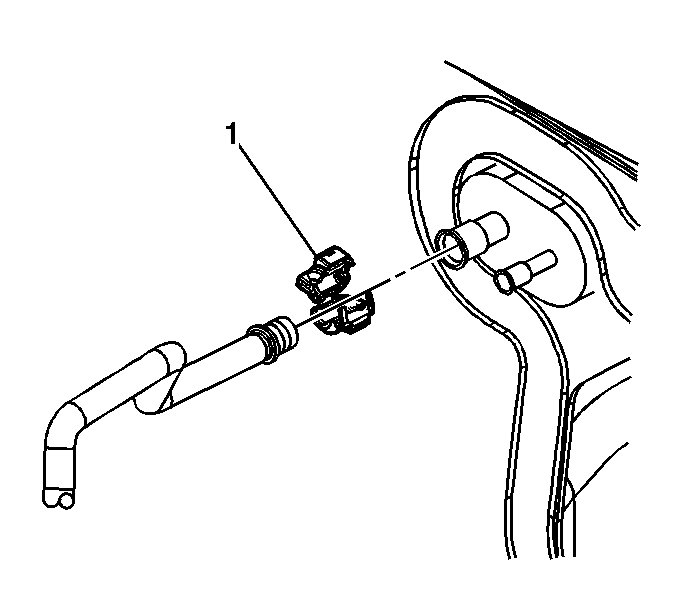
- Remove the suction hose quick connect fitting (1). Refer to Air Conditioning Line/Tube Connector Removal/Replacement .
- Disconnect the suction hose from the thermal expansion valve (TXV) suction tube.
- Remove the suction hose from the vehicle.
- Remove and discard the O-rings from the suction hose.
Important: It is not necessary to completely remove the power steering and A/C compressor drive belt.


Installation Procedure
- Install new O-rings onto the suction hose. Refer to O-Ring Replacement .
- Install the suction hose.
- Connect the suction hose to the TXV suction tube.
- Install the suction hose quick connect fitting (1). Refer to Air Conditioning Line/Tube Connector Removal/Replacement .
- Position the suction hose into the clamp.
- Install the suction hose retaining screw into the clamp.
- Connect the suction hose to the A/C compressor.
- Install the suction hose retaining bolt to the A/C compressor.
- Connect the drive belt to the A/C compressor. Refer to Air Conditioning Compressor and Power Steering Pump Belt Replacement .
- Install the air cleaner intake duct. Refer to Air Cleaner Assembly Replacement .
- Evacuate and recharge the refrigerant. Refer to Refrigerant Recovery and Recharging .
- Leak test the fittings of the component using J 39400-A .

Notice: Refer to Fastener Notice in the Preface section.
Tighten
Tighten the screw to 2 N·m (18 lb in).

Tighten
Tighten the bolt to 9 N·m (80 lb in).
