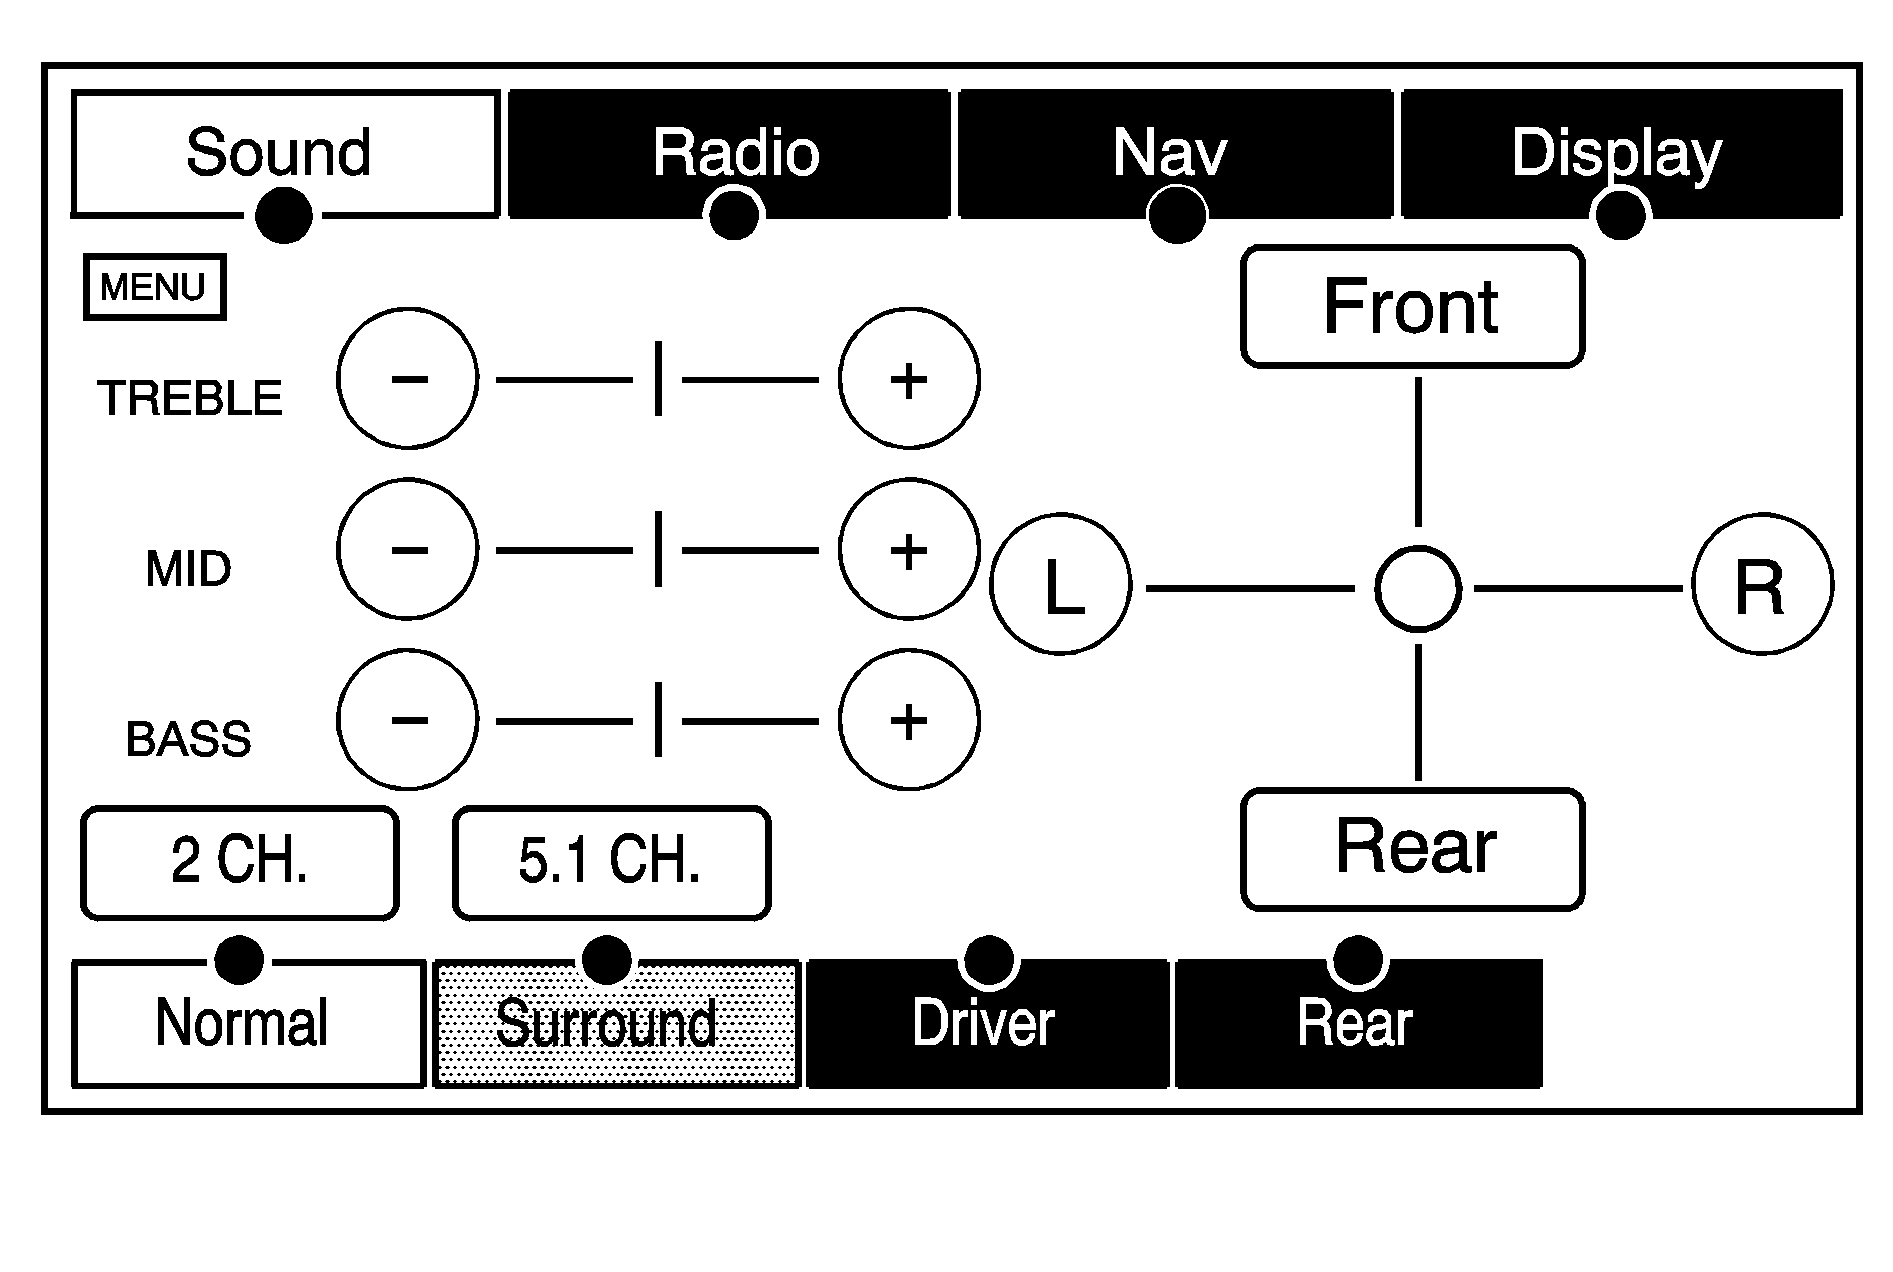
Press the MENU hard key to adjust several of your system's features and preferences. The last selected menu screen will be the screen that displays (Sound, Radio, Nav (navigation), or Display).
Sound
Press the MENU key to enter the Menu options, then press the MENU key repeatedly until Sound is selected or touch the Sound screen button to make speaker and equalization or DSP (Digital Signal Processing) adjustments. See Navigation Audio System for more information.
Radio
Press the MENU key to enter the Menu options, then press the MENU key repeatedly until Radio is selected or touch the Radio screen button to make changes for radio information displayed, preset pages, XM™ categories, and Automatic Volume Control or Bose® AudioPilot®. See Navigation Audio System for more information.
Nav (Navigation)
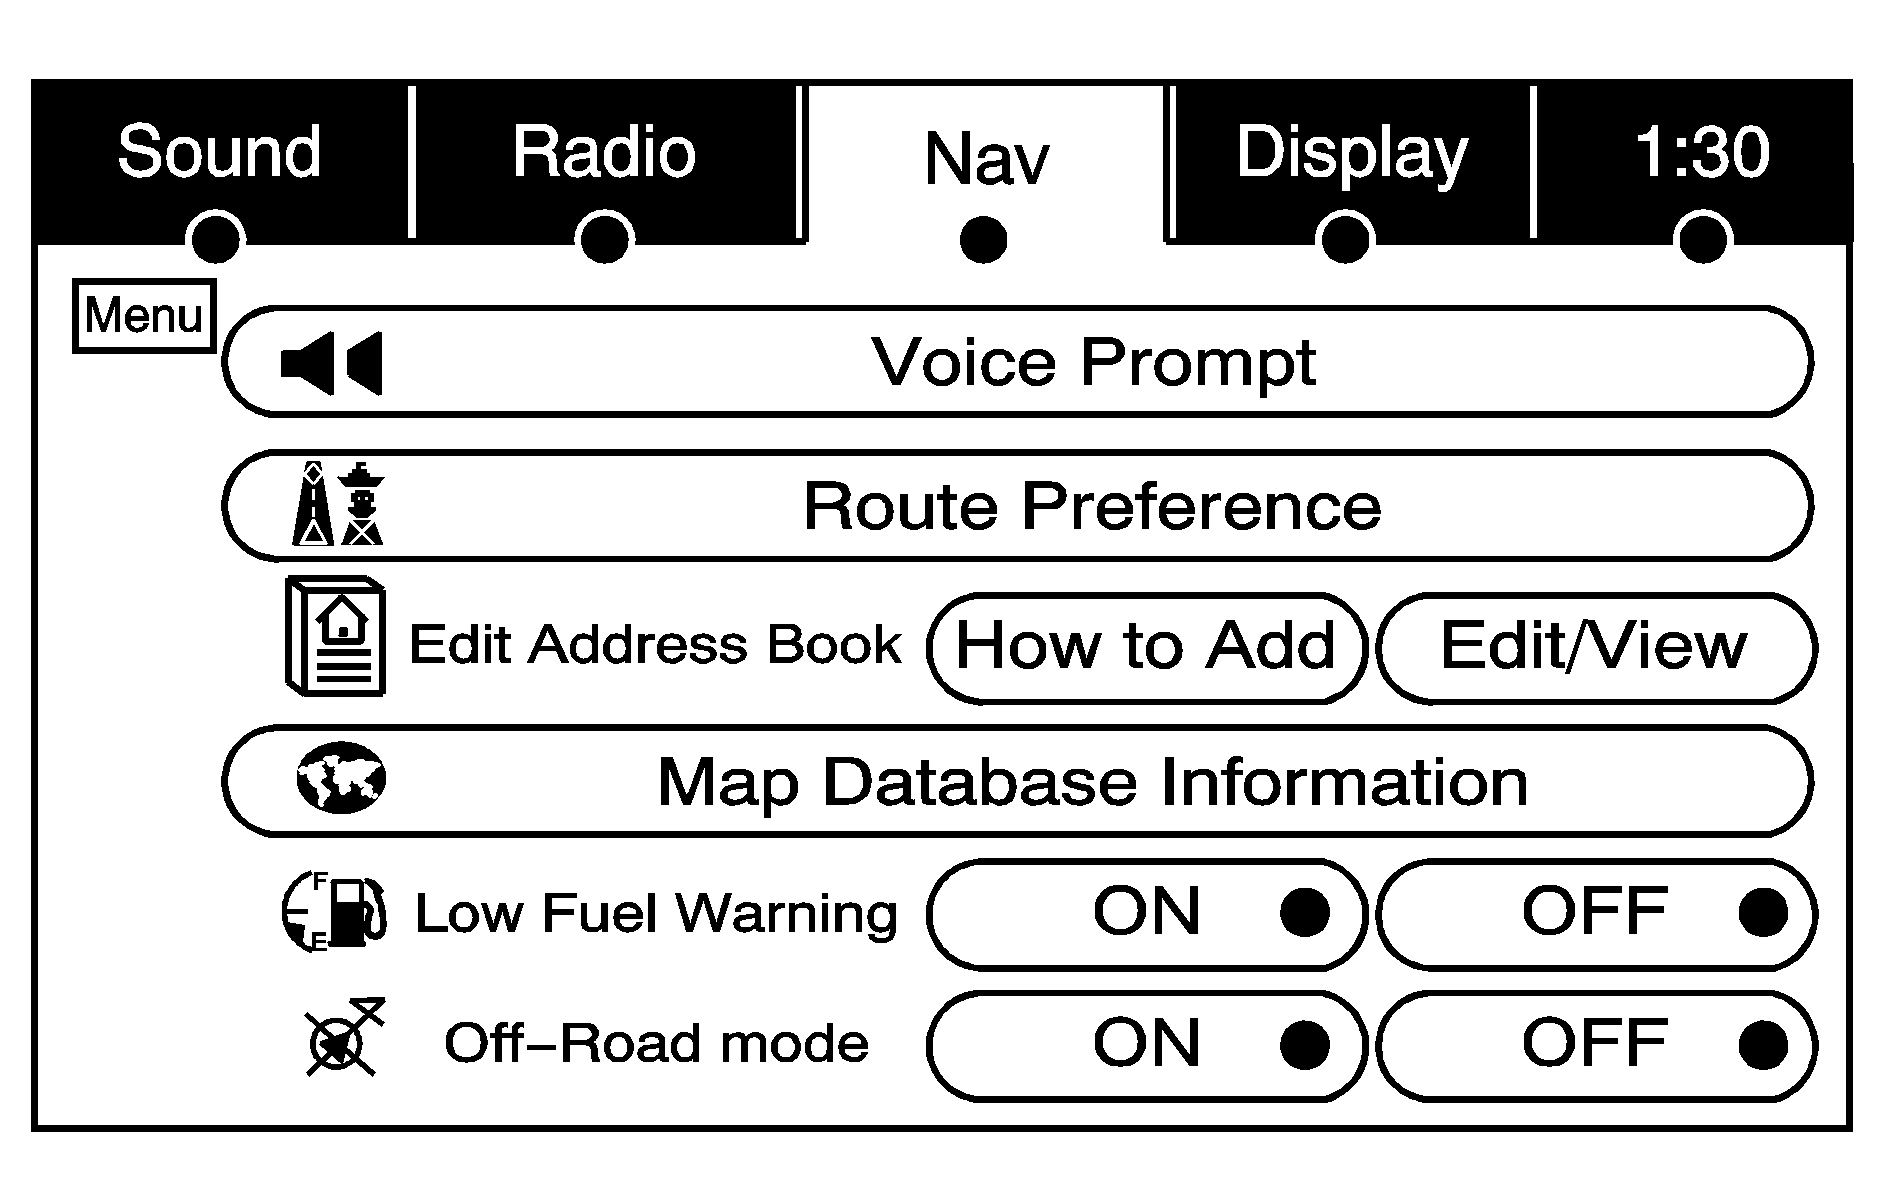
Press the MENU key to enter the Menu options, then press the MENU key repeatedly until Nav is selected or touch the Nav screen button.
Voice Prompt
Voice Prompt: Touch the Voice Prompt screen button to change the volume of the voice prompts or to turn the voice prompts on and off.Voice Prompt Volume: Touch the + (plus) or - (minus) screen buttons to increase or to decrease the volume of the voice prompts.
Turn voice turn instruction: Touch the ON or OFF screen buttons to turn voice instructions on and off while traveling on a planned route.
Route Preference
Touch the Route Preference screen button to change route options when the system calculates a route.
Allow highway: This feature allows the system to use major roads when calculating a planned route.Allow toll road: This feature allows the system to use toll roads when calculating a planned route.
Allow ferry: This feature allows the system to use ferries when calculating a planned route.
Allow time and seasonal restricted road: This feature allows the system to use time restricted and seasonal roads when calculating a planned route.
Edit Address Book -- How to Add
To add an address to the address book, see "Adding Destinations to the Address Book" under Destination.
Edit Address Book -- Edit/View
To edit the name of an address book:
- Select the MENU hard key.
- Select the NAV screen button.
- Select the Edit/View Address Book screen button.
- Select the Address book entry.
- Touch the Name screen button and use the alpha keyboard to edit or add the name.
- Touch the OK screen button to save your changes.
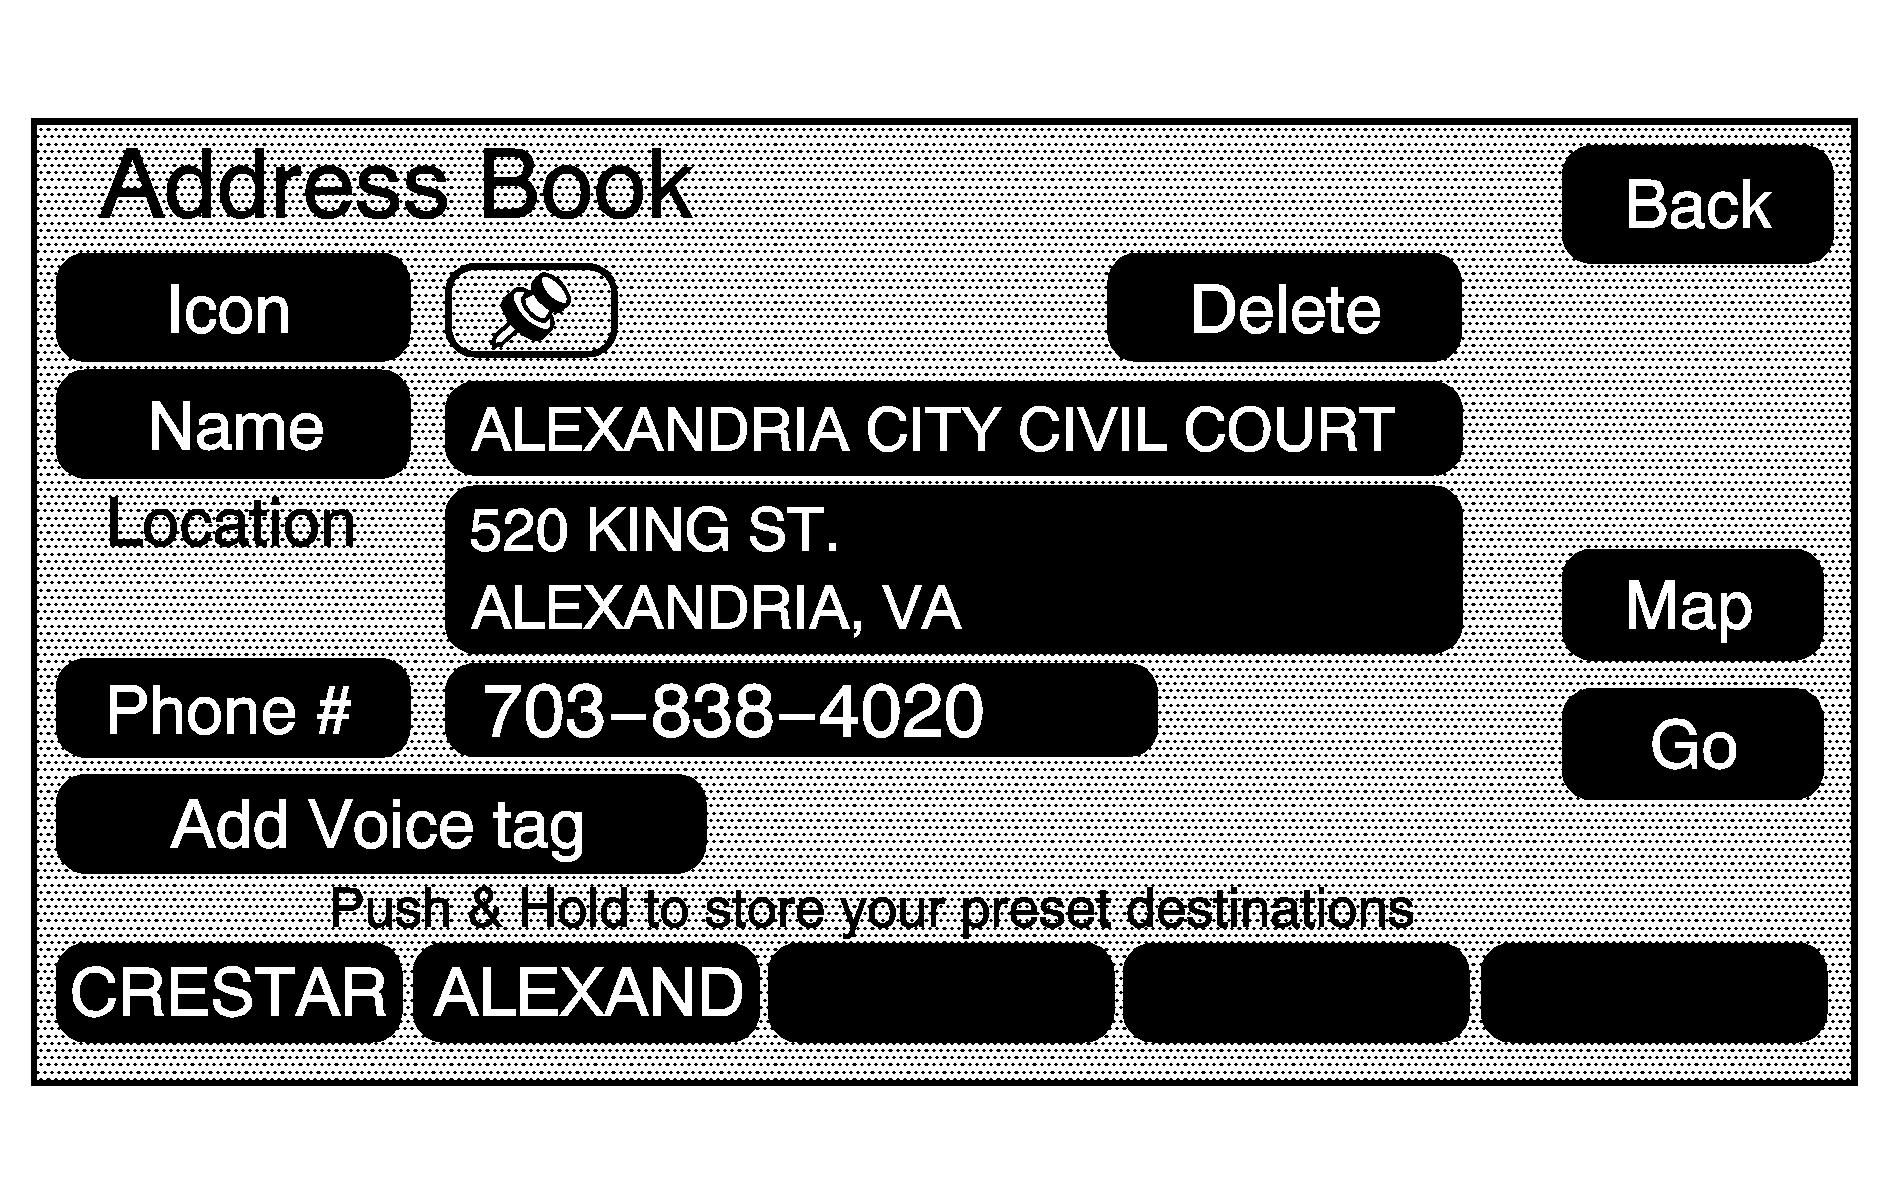
To add or change the phone number of an address book entry:
- Select the MENU hard key.
- Select the NAV screen button.
- Select the Edit/View Address Book screen button.
- Select the address book entry to change.
- Touch the Phone # screen button and use the numeric keyboard to enter or change the phone number.
- Touch the OK screen button to save your changes.
To change the map icon of an address book entry:
- Select the MENU hard key.
- Select the NAV screen button.
- Select the Edit/View Address Book screen button.
- Select the address book entry to change.
- Select the Icon screen button.
- Select an icon from the list.
To add a voice tag to an address book entry:
- Select the MENU hard key.
- Select the NAV screen button.
- Select the Edit/View Address Book screen button.
- Select the Add Voice tag screen button.
- The system will ask for you to state the name. You will have five seconds to state the name. The system will respond back with the name.
To delete an address book entry:
- Select the MENU hard key.
- Select the NAV screen button.
- Select the Edit/View Address Book screen button.
- Select the address book entry to delete.
- Press the Delete screen button to delete the address book entry.
To delete the entire address book:
- Select the MENU hard key.
- Select the NAV screen button.
- Select the Edit/View Address Book screen button.
- Select the address book entry to delete.
- Press and hold the Delete screen button until the delete all address book entries pop-up confirmation displays. Select Yes to delete; select No to cancel the operation.
Map Database Information
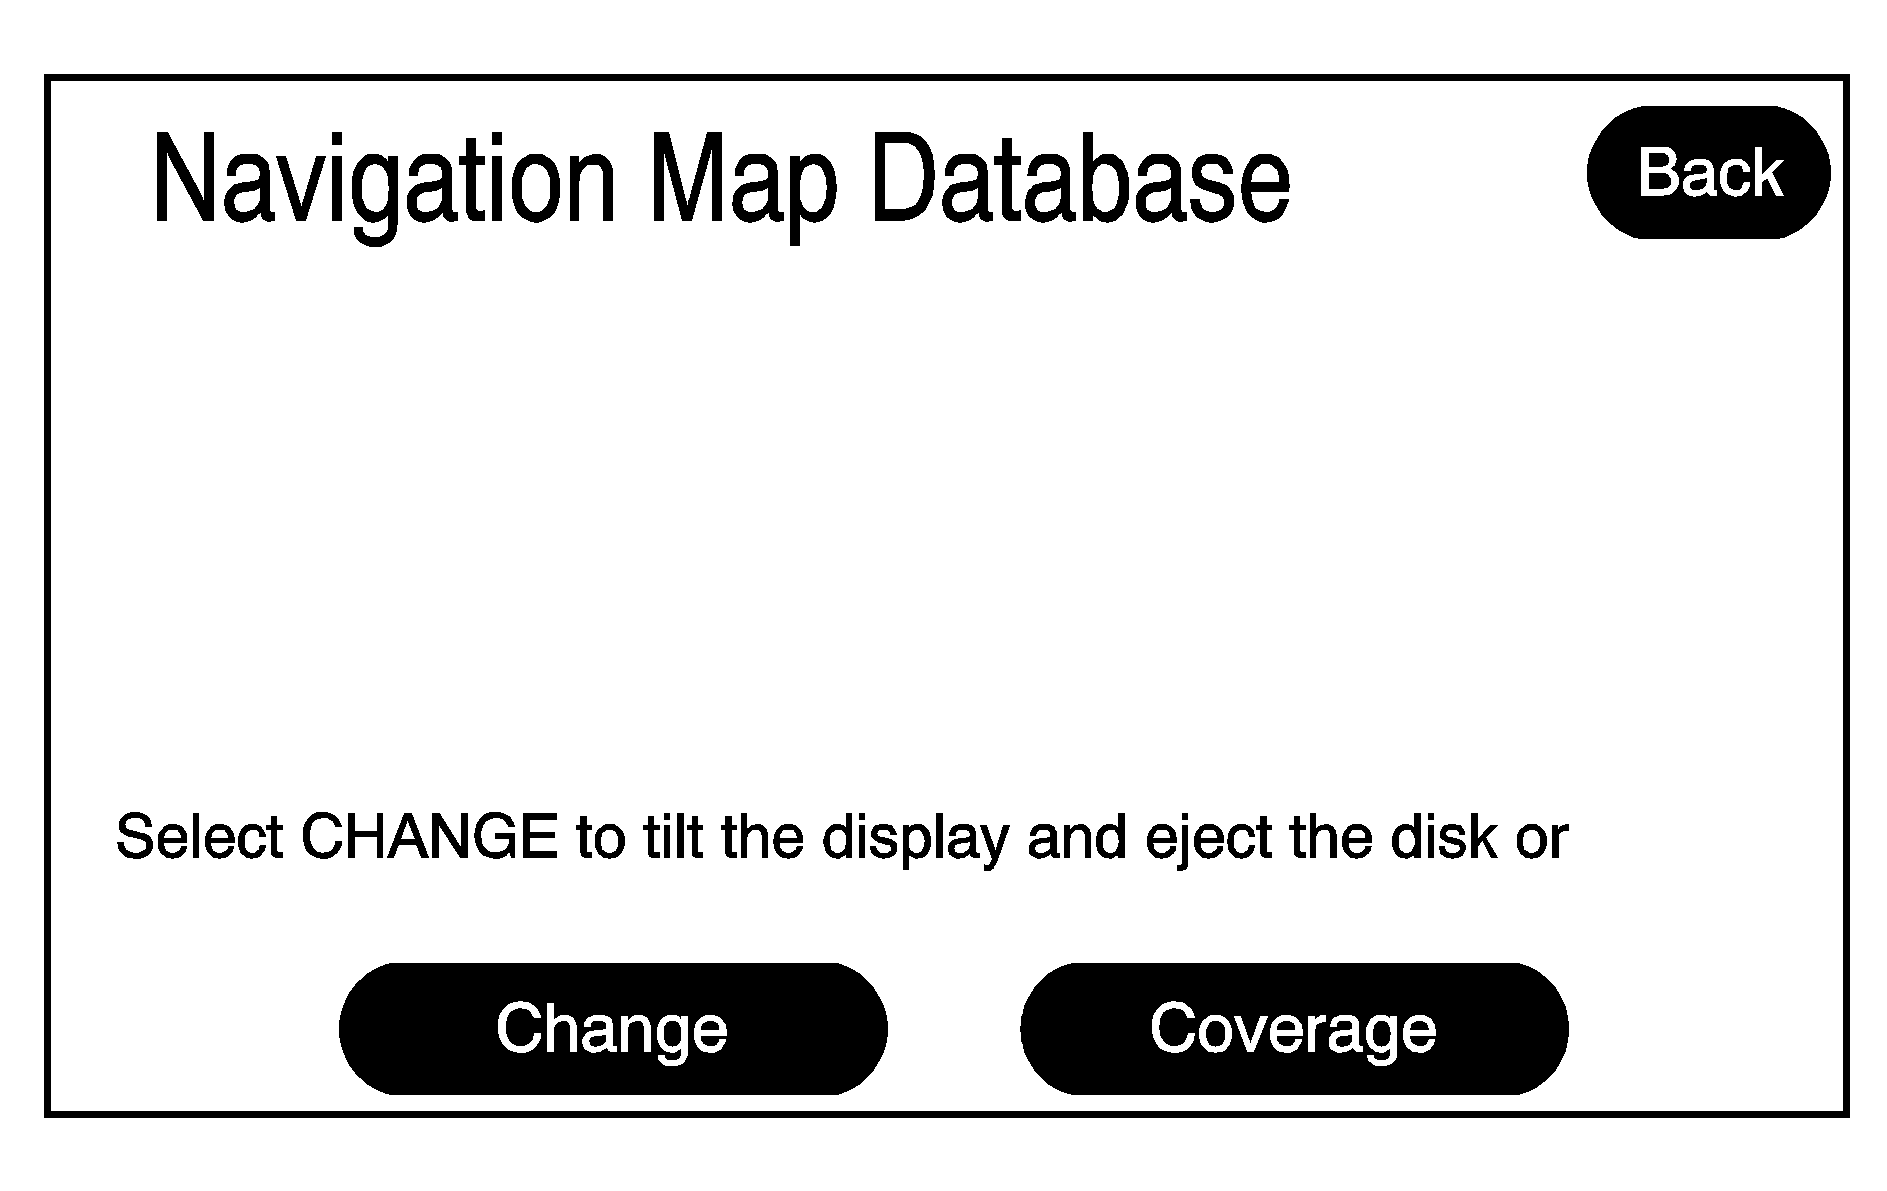
Touch the Map Database Information screen button to change the map DVD and to view the coverage areas of the map DVD.
Change: Touch this screen button to eject or change the map DVD. The screen will tilt, exposing the map DVD slot and, if loaded, the map DVD will eject. Pull the map DVD out. Insert the map DVD partway into the slot. The system will pull it in.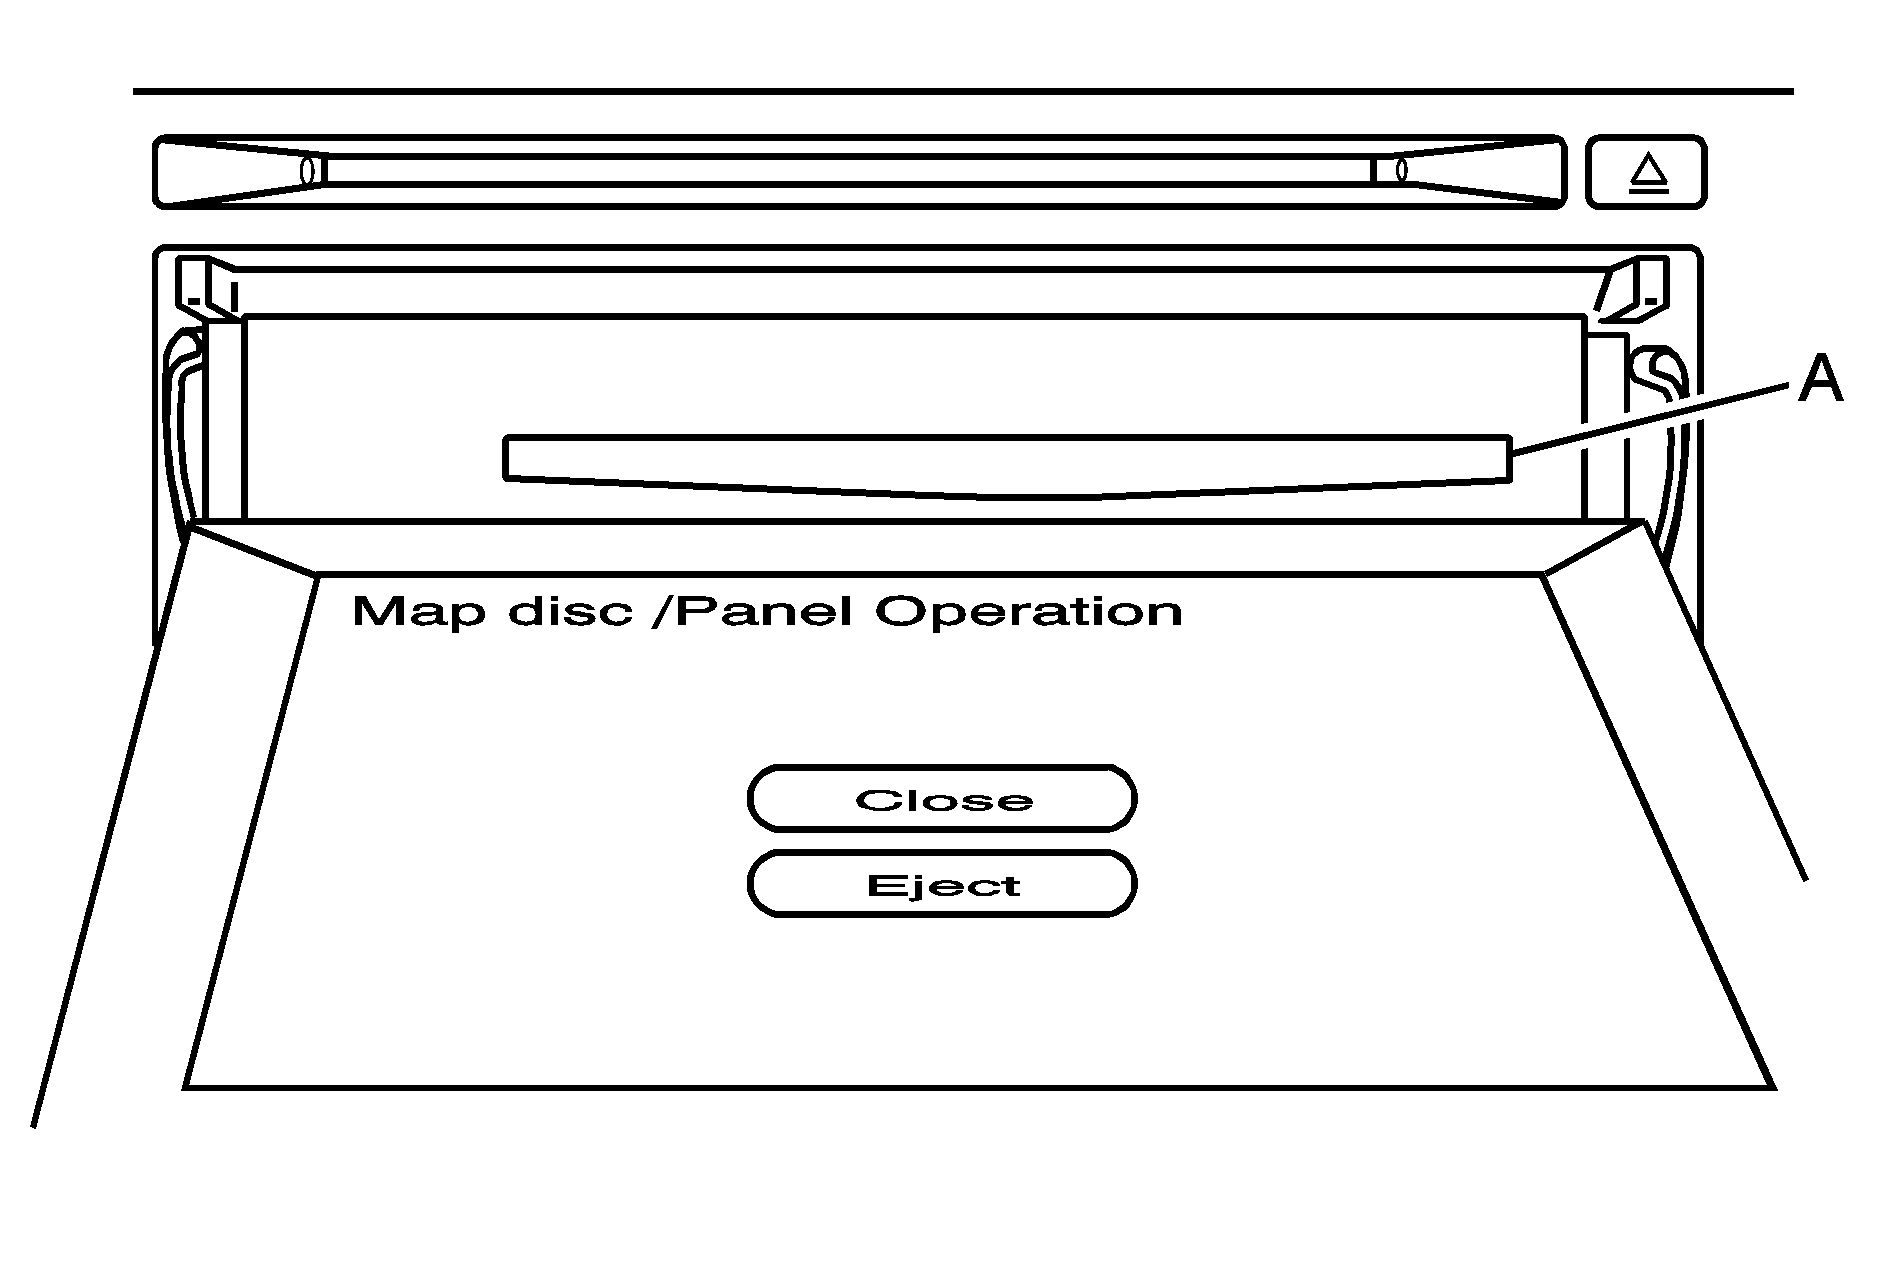
Map DVD Slot
Once the map DVD is loaded touch the Close screen button. The screen will close.
Once the screen is closed touch the OK screen button to proceed to the navigation system. See Getting Started for more information.
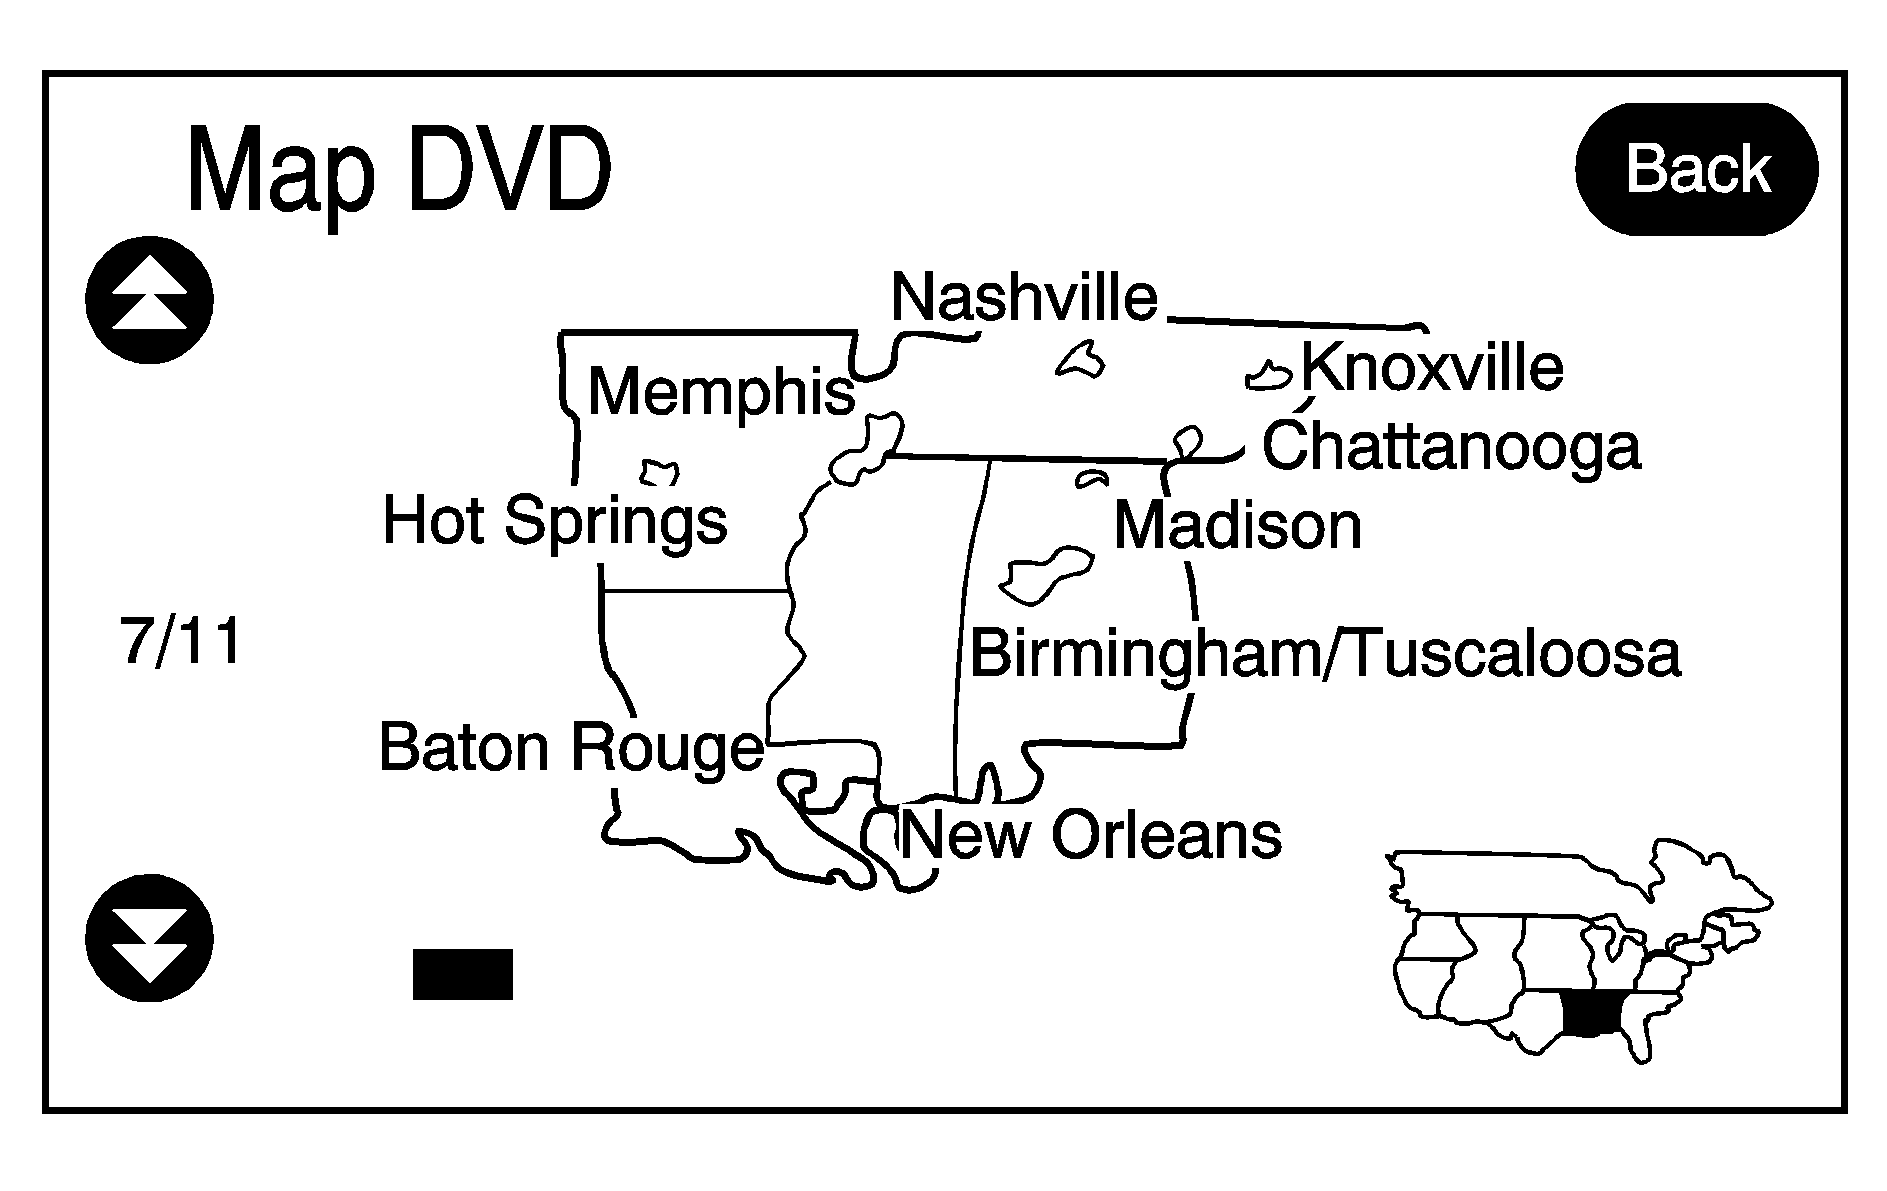
Coverage: Touch this screen button to view the areas covered by the map DVD. Touch the up and down arrow screen buttons to view each region of the map DVD. The screen will display the major cities for the selected region.
Low Fuel Warning
To turn the Low Fuel Warning on or off, do the following:
- Press the MENU key.
- Press the Nav screen button.
- Press the Low Fuel Warning ON or OFF screen button. The active button will be highlighted.
When on, a warning will appear on the display when your vehicle's fuel tank is low on fuel. The warning pop-up window will ask if you would like to view gas station POIs on the map display. Once the gas station POIs are displayed you can automatically route to a gas station by touching the gas station POI symbol on the screen and pressing the GO screen button.
To remove the POIs from the screen, see the POI information under Symbols for more information.
See "Fuel" in the Index of your vehicle's owner manual.
Off-Road Mode
To turn the Off-Road Mode on or off, do the following:
- Press the MENU key.
- Press the Nav screen button.
- Press the Off-Road Mode ON or OFF screen buttons. The active button will be highlighted.
When the off-road mode is turned on, the navigation system will show the path being traveled by the vehicle when not on a marked road. This path will be a simulation since the map database coverage will not have these roads on the DVD. This path will be stored in the navigation system's memory, see "Previous Destination" under Destination for more information.
See "Off-Road Driving" in the Index of your vehicle's owner manual for more information about off-road driving.
Display
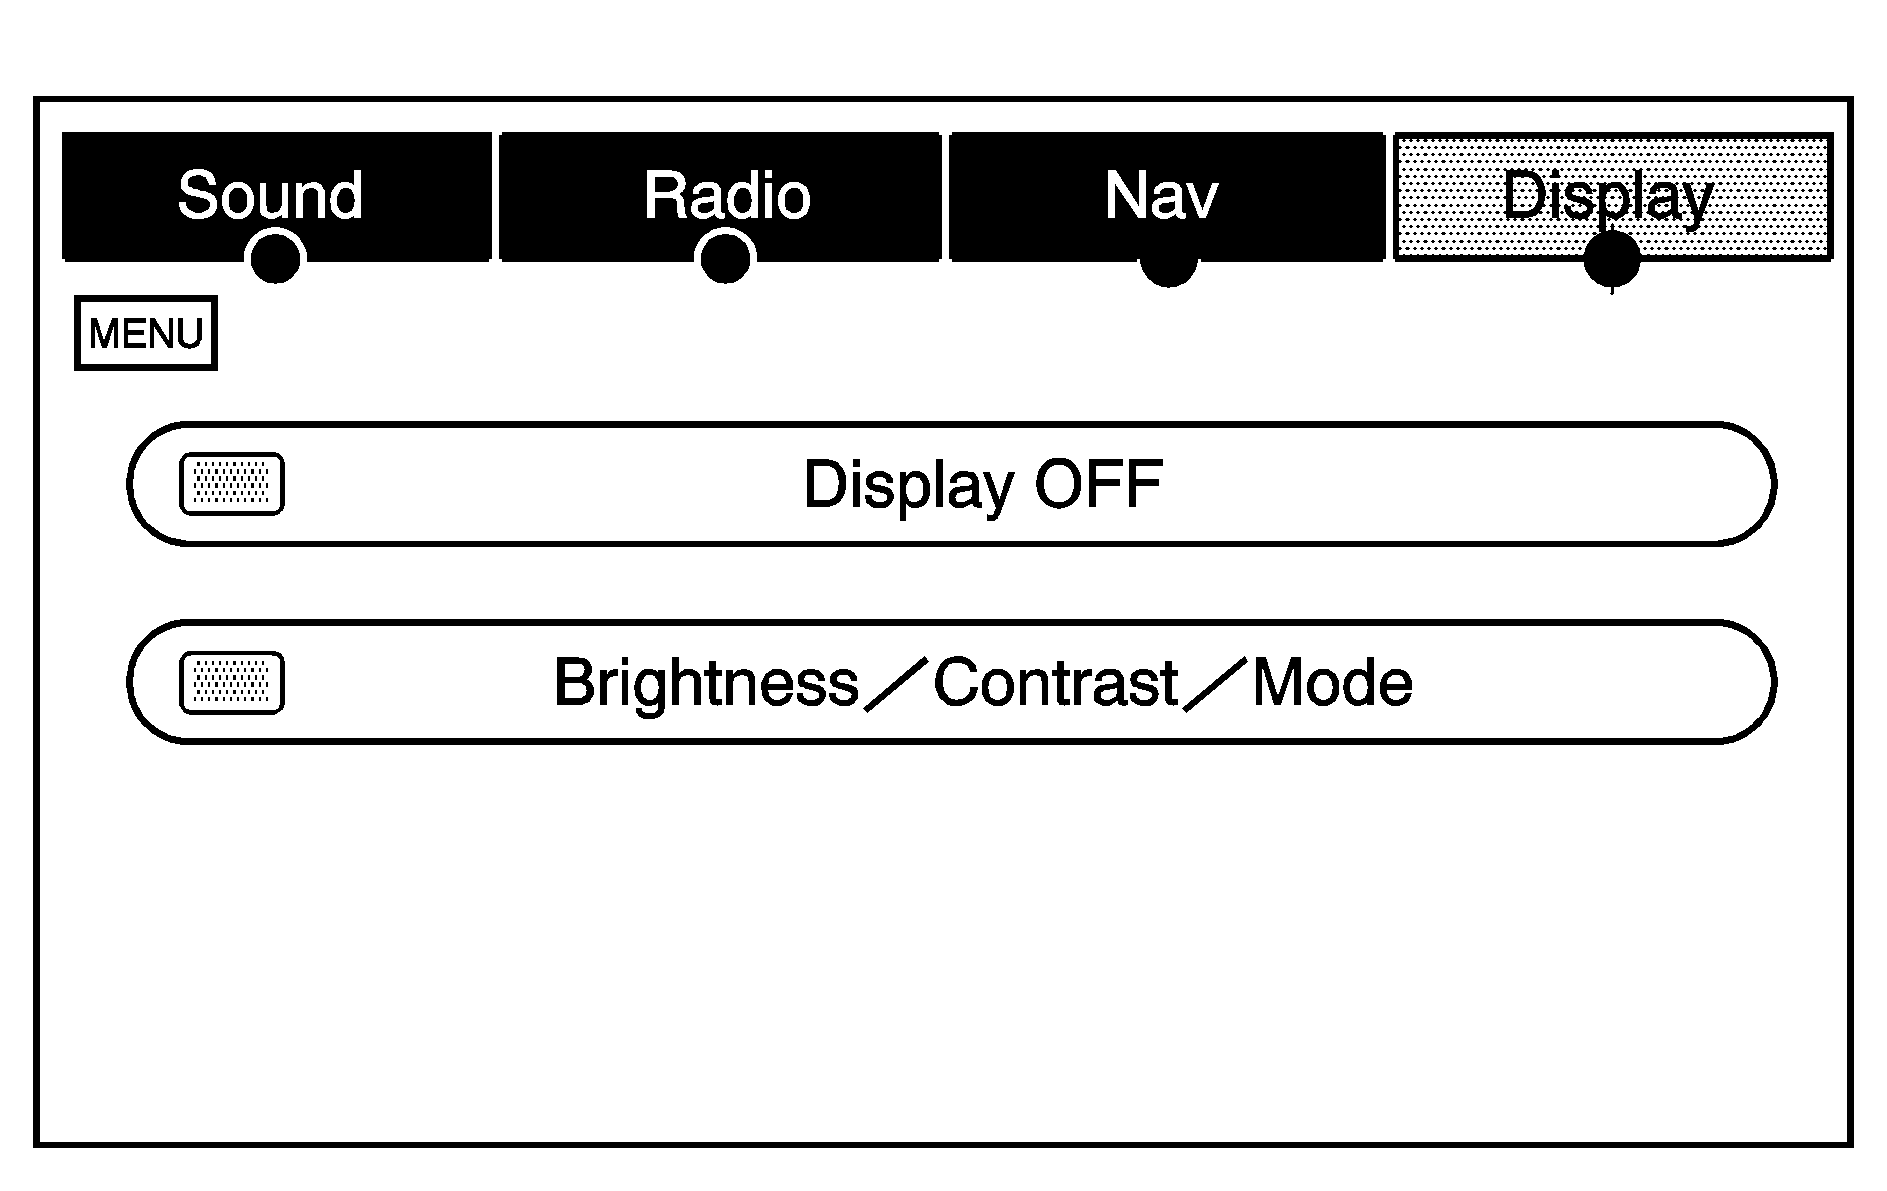
Press the MENU key to enter the Menu options, then press the MENU key repeatedly until Display is selected or touch the Display screen button.
Display Off
Touch this screen button to turn the display off. Press any hard key to view the display.
Brightness/Contrast/Mode
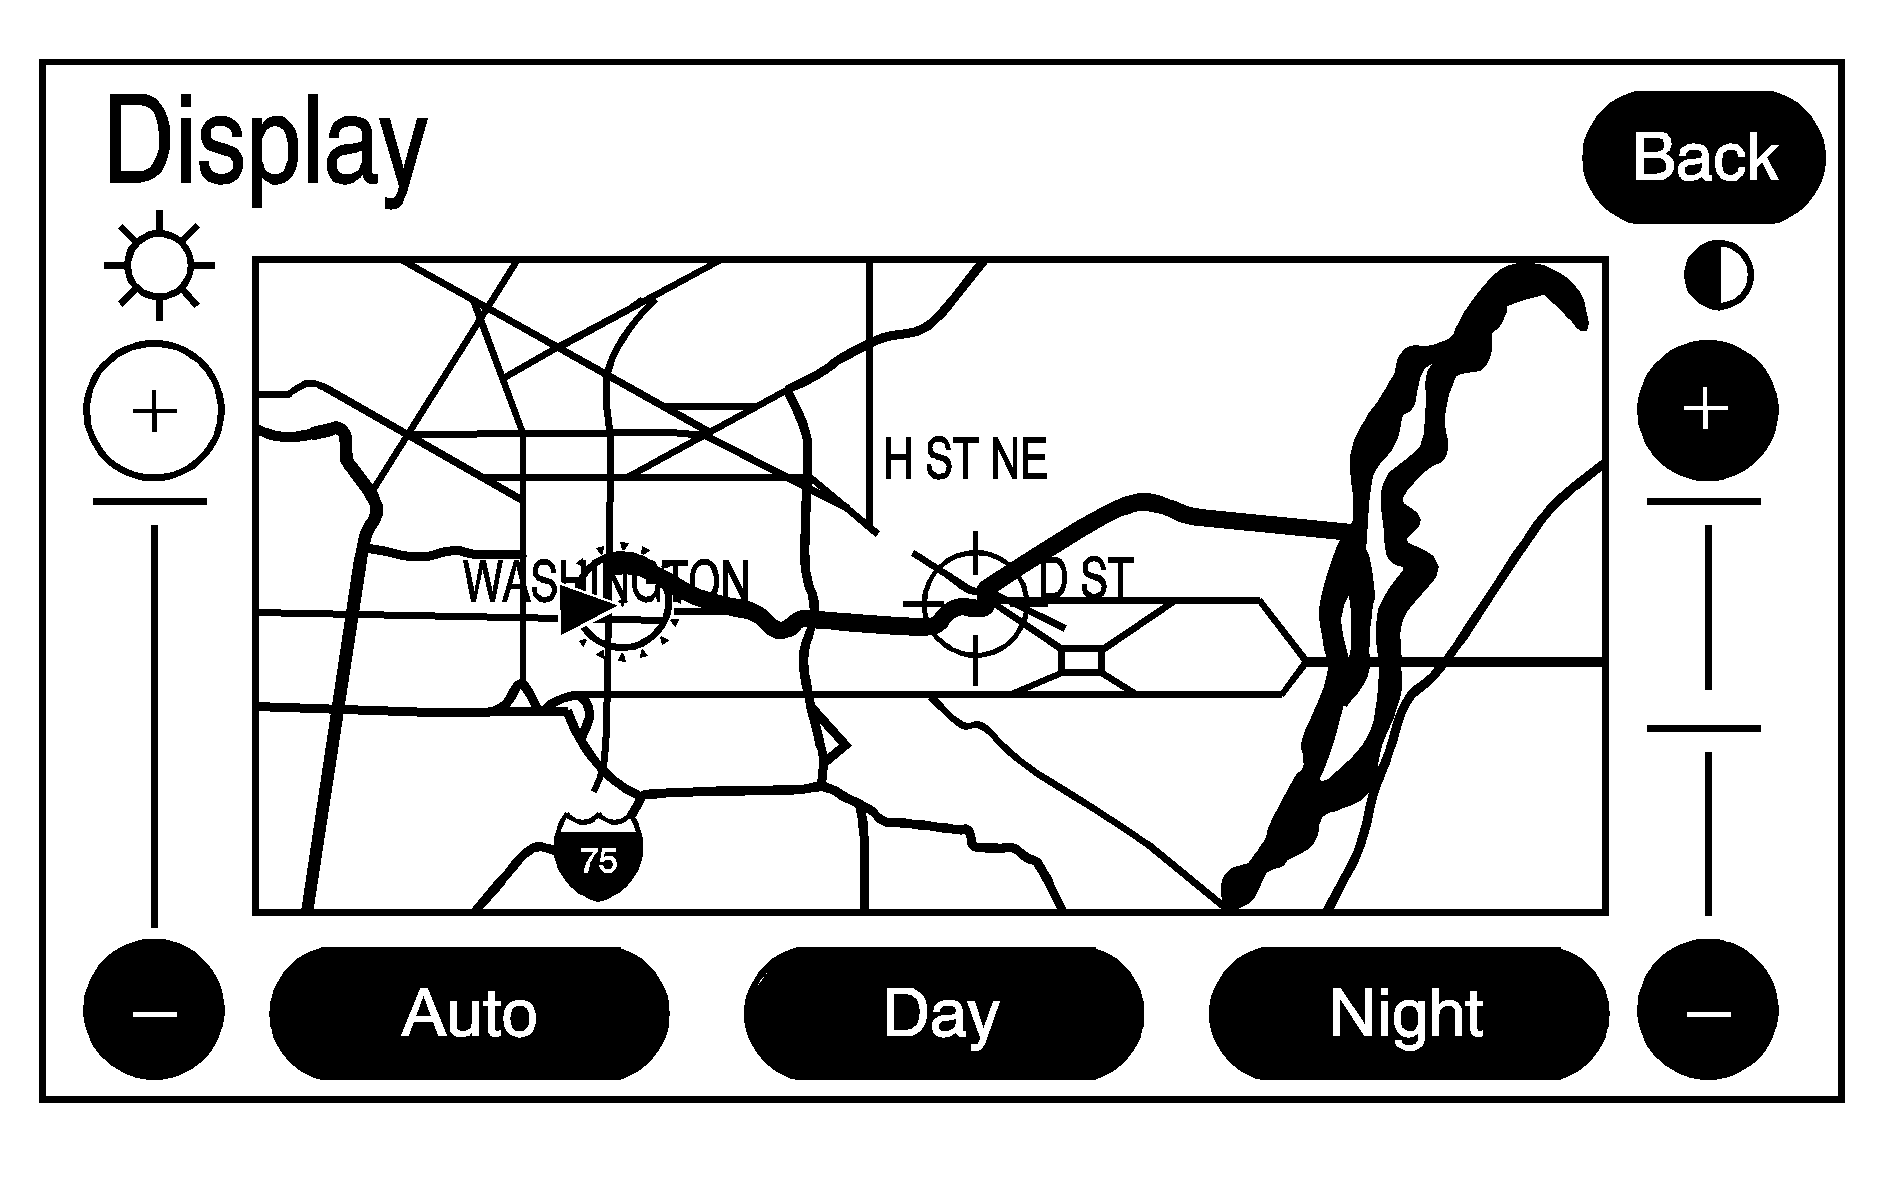
Touch this screen button to change the brightness, contrast, and mode of the display.
(Brightness): Touch the + (plus) or - (minus) screen buttons to increase or decrease the brightness of the screen.(Contrast): Touch the + (plus) or - (minus) screen buttons to increase or decrease the contrast of the screen.
Auto (Automatic): Touch this screen button for the system to automatically adjust the screen background depending on exterior lighting conditions. At night the brightness can be adjusted with the vehicle dimming knob that is located near the headlamp switch.
Night: Touch this screen button and the system will make the map background darker.
Day: Touch this screen button and the system will make the map background brighter.
