For 1990-2009 cars only
Removal Procedure
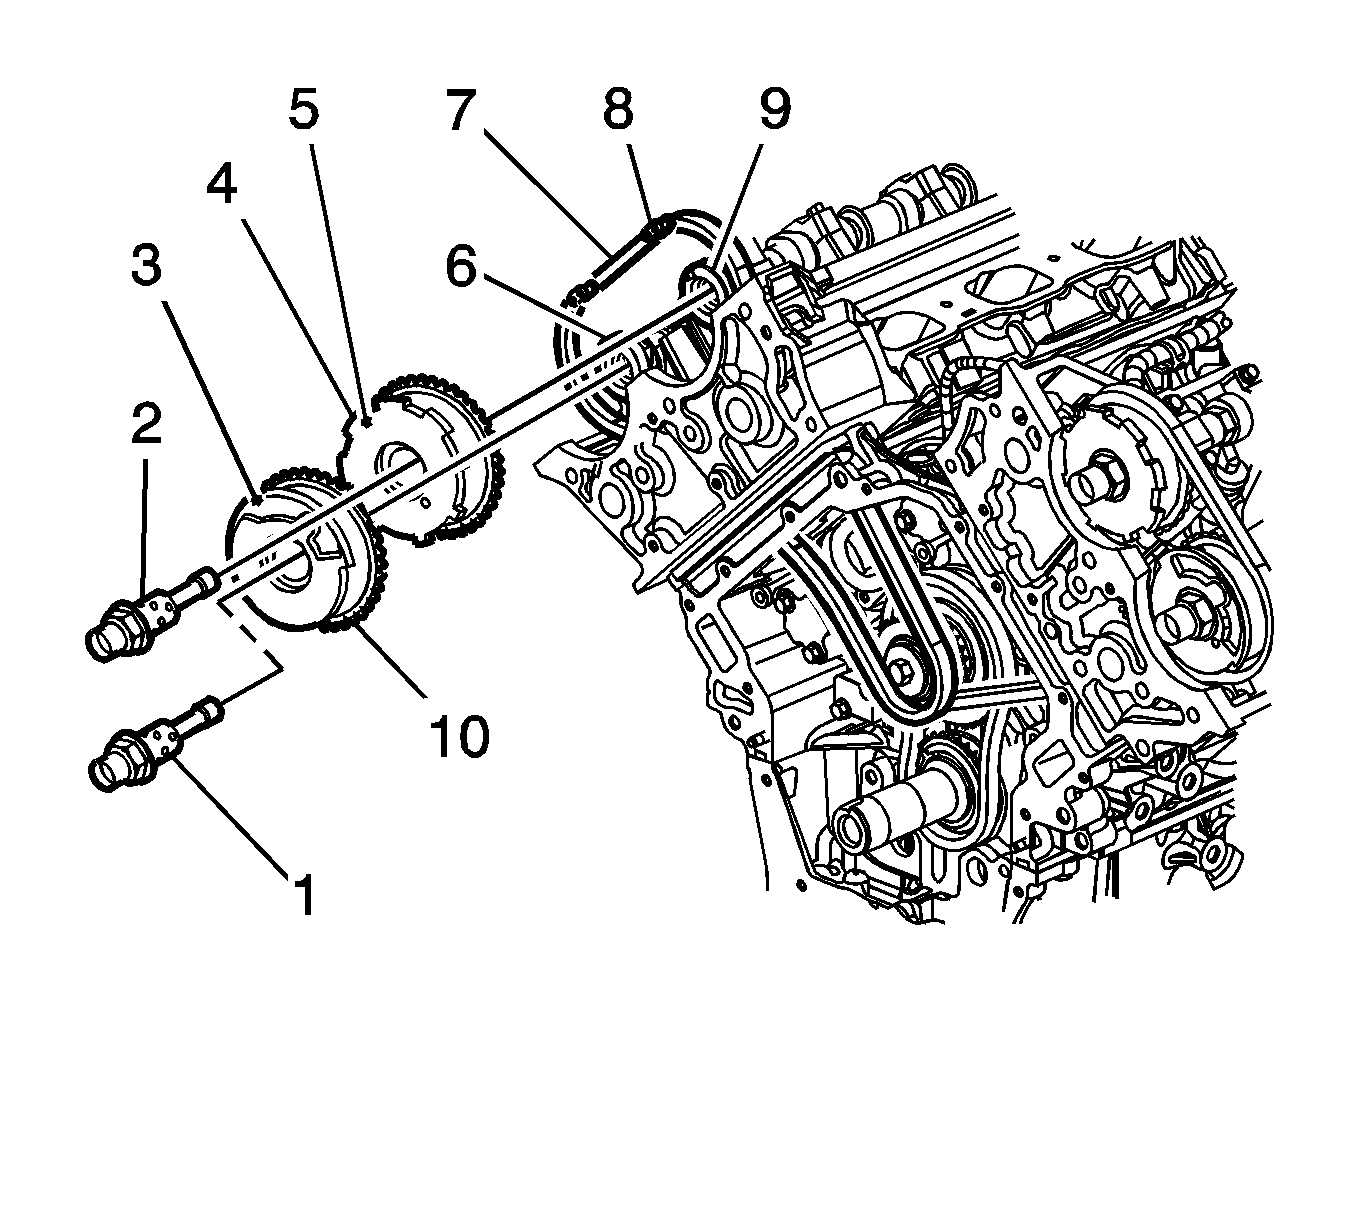
- Remove the right exhaust camshaft position actuator oil control valve (1). Refer to Camshaft Position Actuator Oil Control Valve Replacement - Bank 1 (Right Side) Exhaust .
- Pull the actuator forward to disengage the actuator from the camshaft alignment pin.
- Disengage the secondary timing chain from the actuator and remove the actuator.
- Clean and inspect the camshaft timing drive components. Refer to Camshaft Timing Drive Components Cleaning and Inspection .

Installation Procedure
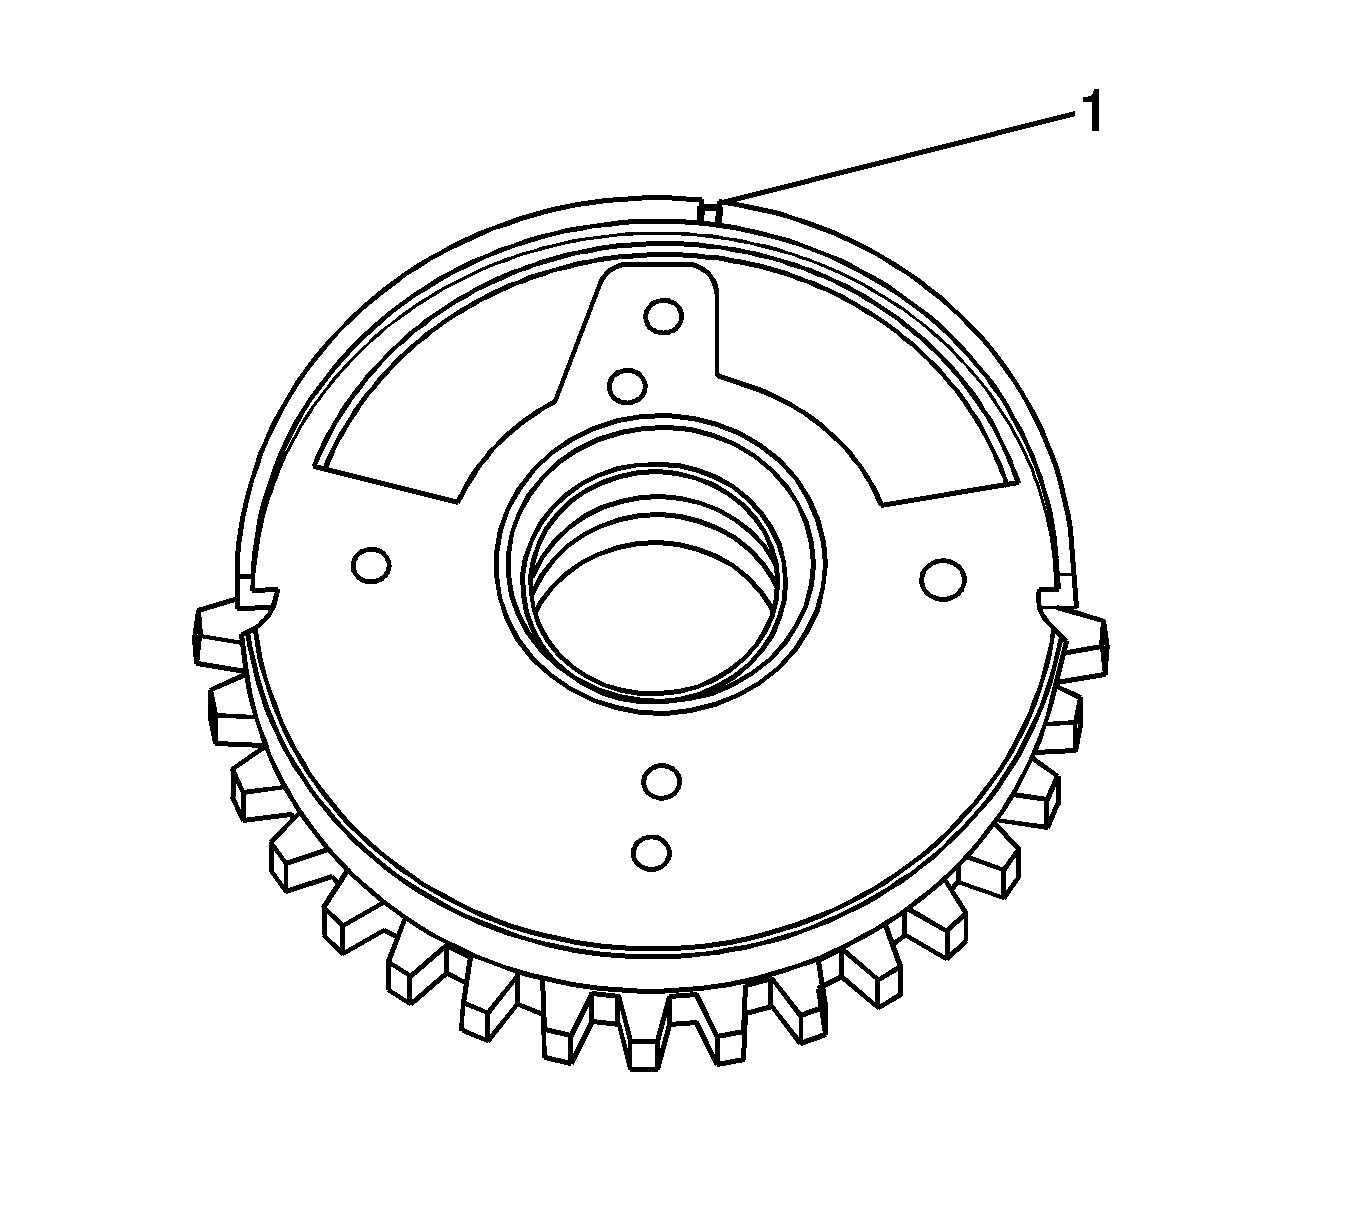
- Locate the camshaft alignment pin hole (2) on the back of the actuator. This hole will mate with the camshaft alignment pin.
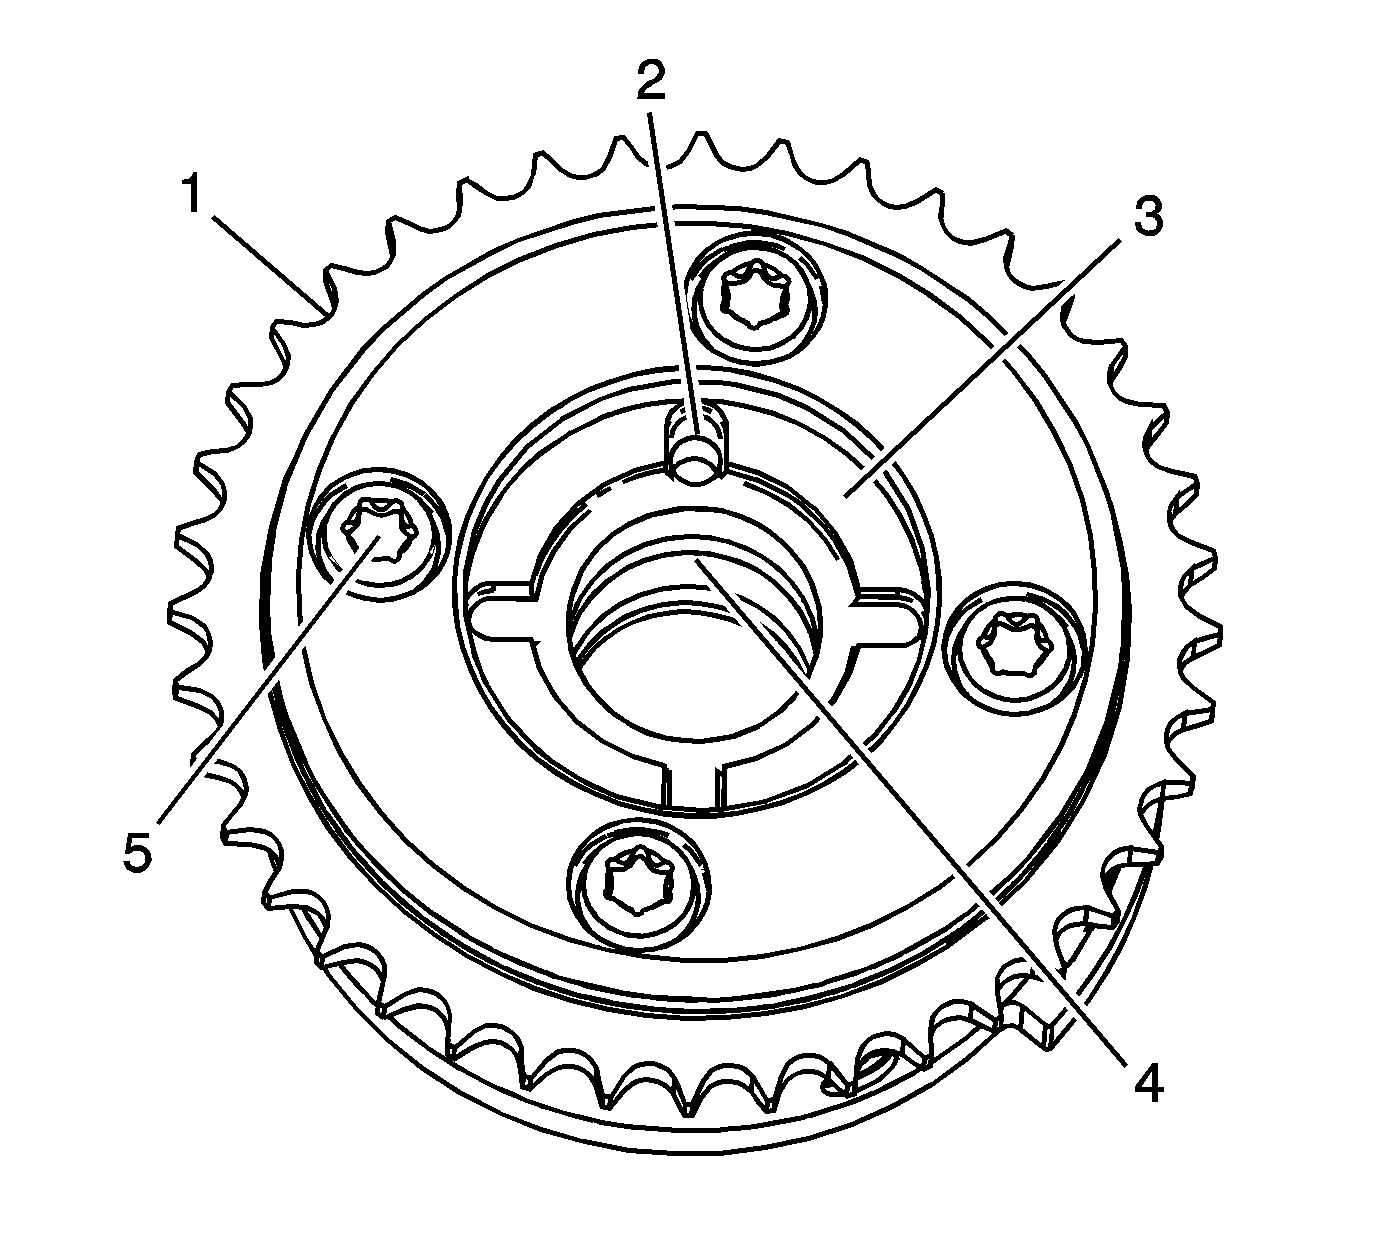
- Locate the timing alignment mark (1) on the front of the actuator.
- Engage the actuator timing gear teeth with the secondary timing chain ensuring that the actuator alignment mark (3) corresponds with the paint mark created on the chain link.
- Slide the actuator over the camshaft alignment pin and install the actuator onto the camshaft.
- Install the right exhaust camshaft position actuator oil control valve. Refer to Camshaft Position Actuator Oil Control Valve Replacement - Bank 1 (Right Side) Exhaust .


