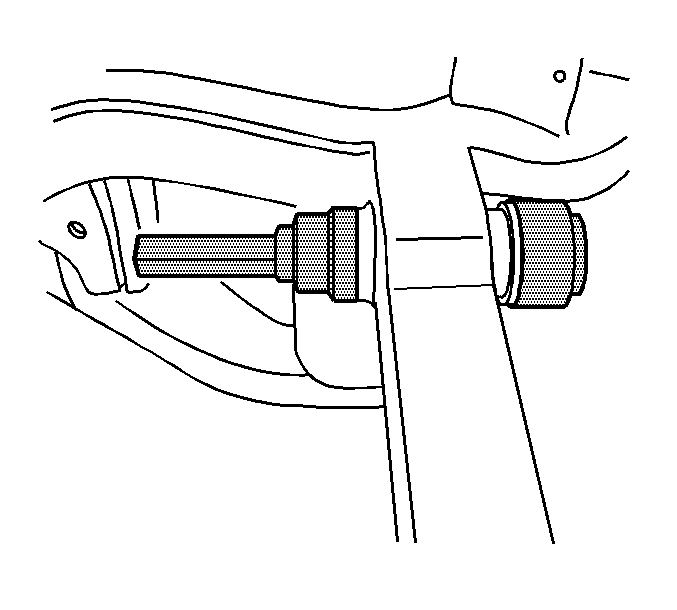
Differential Housing Support Bushing Replacement Front
Special Tools
DT-47706 Bushing Installer
Removal Procedure
Important: DO NOT use air tools in the following service procedure. Use only HAND TOOLS.
- Raise and support the vehicle. Refer to Lifting and Jacking the Vehicle.
- Remove the rear differential assembly. Refer to Differential Replacement.
- Clean the area around the bushing to be replaced.
- Using the DT-47706 (2), remove the rear differential support bushing (3) from the rear differential assembly (1).
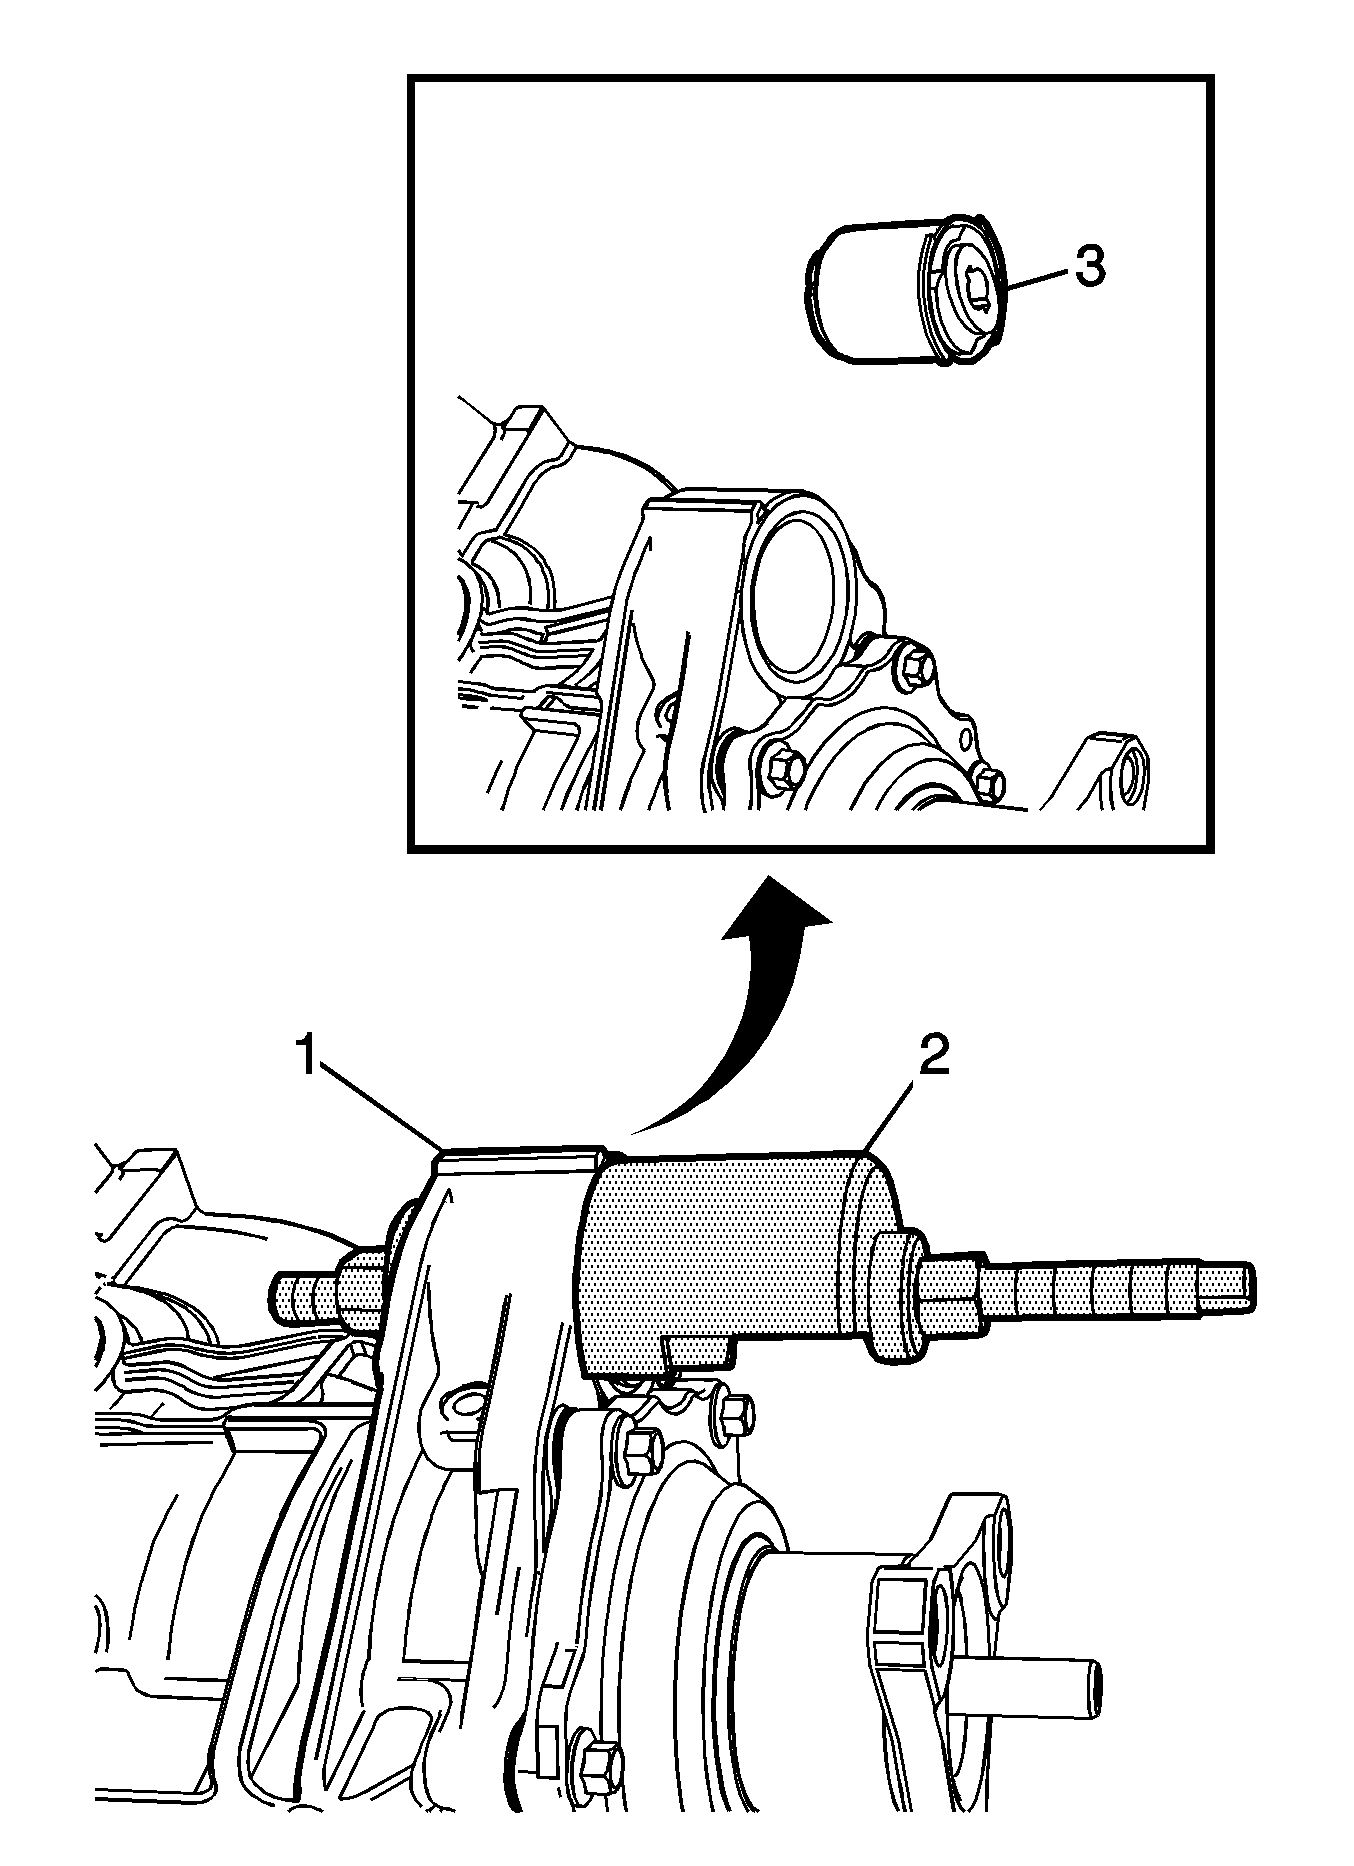
Important: When positioning the DT-47706 on the rear differential, ensure that the tool is properly aligned so as not to damage the mounting area of the bushing or the rear differential pinion housing.
Installation Procedure
- Position the rear differential support bushing (3) squarely aligned in the rear differential (1).
- Using the DT-47706 (2), install the rear differential support bushing (3) in the rear differential assembly (1).
- Install the rear differential assembly. Refer to Differential Replacement.
- Remove the support and lower the vehicle.
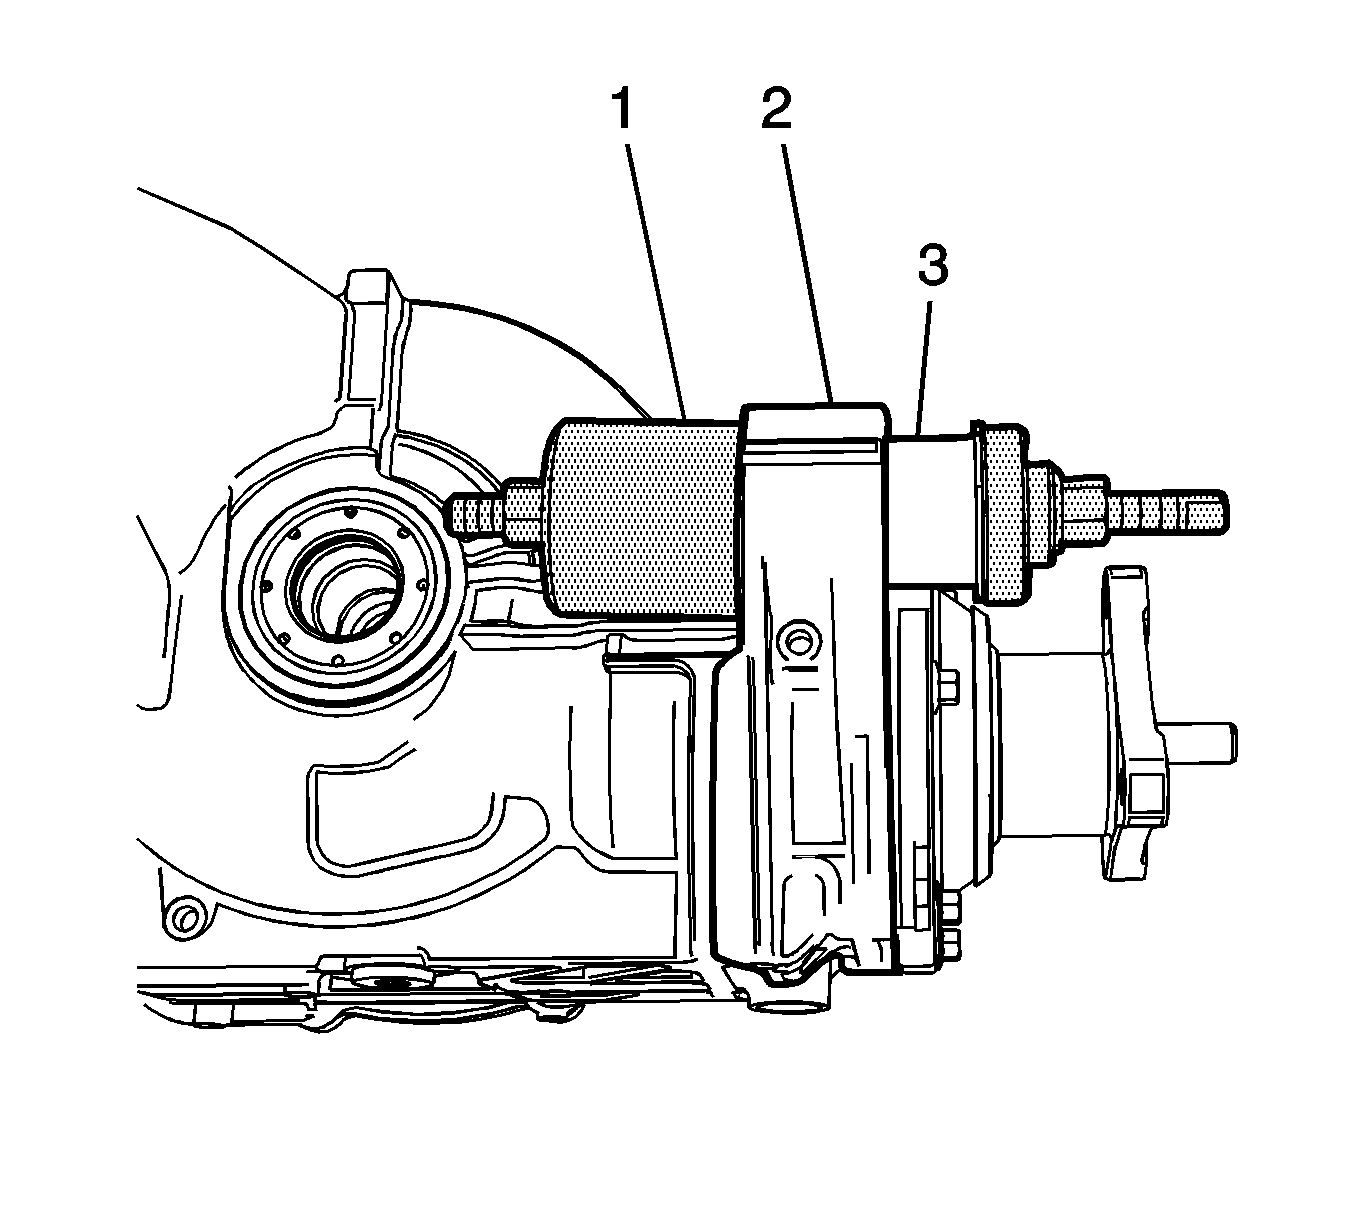
Differential Housing Support Bushing Replacement Rear
Special Tools
| • | J 9519-E Lower Ball Joint Remover and Installer. |
| • | J 21474-01 Control Arm Bushing Set |
Removal Procedure
- Raise and support the vehicle. Refer to Lifting and Jacking the Vehicle .
- Remove the rear differential. Refer to Differential Replacement .
- Remove the rear frame. Refer to Rear Frame Replacement .
- Install J 9519-E and J 21474-01 to the rear differential bushing.
- Using J 9519-E and J 21474-01 remove the rear differential bushing.
- Remove the differential mount bushing and discard
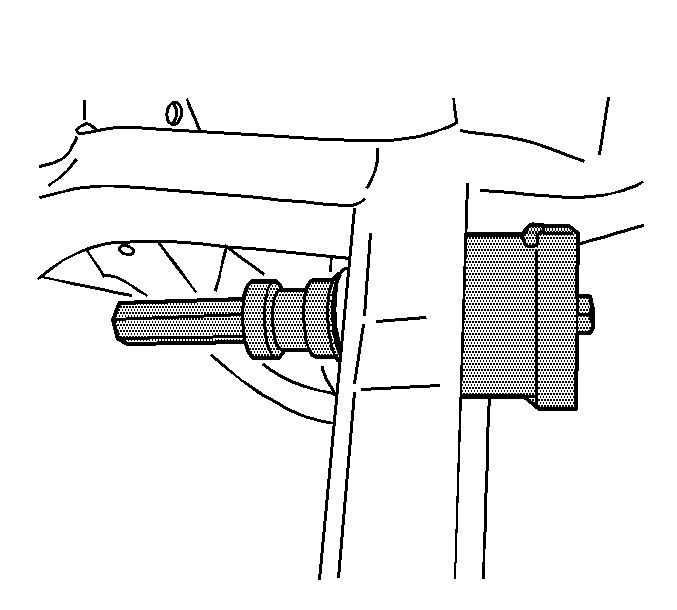
Important: The differential bushing is not fully seated in the bore and has voids that are in the horizontal position. Note and mark the position of the bushing prior to removal and press the new bushing into the same position.
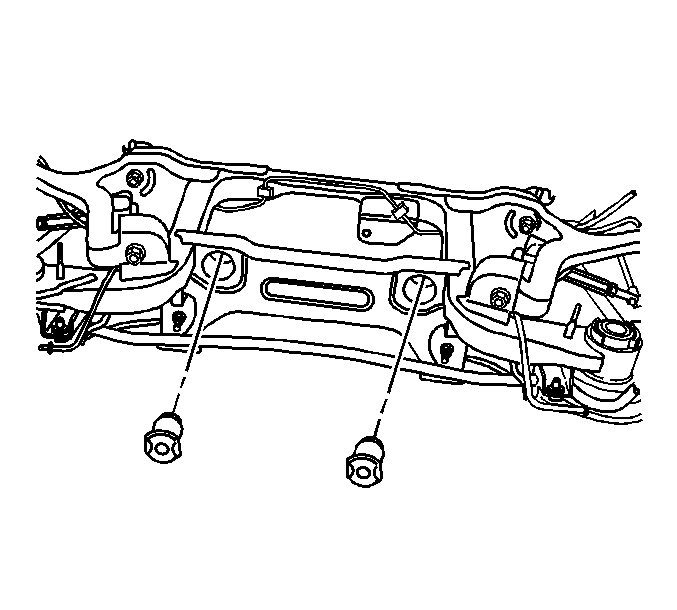
Important: The differential mount bushings need to be pressed in and out evenly from the frame. Side to side movement is not tolerable. Carefully press the differential mount bushing out of the frame.
Installation Procedure
- Ensure the frame pilot hole and the differential mount bushing is free from lubricant or any foreign contaminants.
- Install a new differential mount bushing to the rear of the frame.
- Install J 9519-E and J 21474-01 to the rear differential bushing.
- Using J 9519-E and J 21474-01 press the bushing into the frame.
- Remove J 9519-E and J 21474-01 from the bushing.
- Repeat the above steps for the additional bushing.
- Install the rear frame. Refer to Rear Frame Replacement .
- Install the rear differential assembly. Refer to Differential Replacement .
- Lower the vehicle.

Important: The differential mount bushings need to be installed without lubricant.
Important: The differential bushing is not fully seated in the bore and has voids that are in the horizontal position. Note and mark the position of the bushing prior to removal and press the new bushing into the same position.
