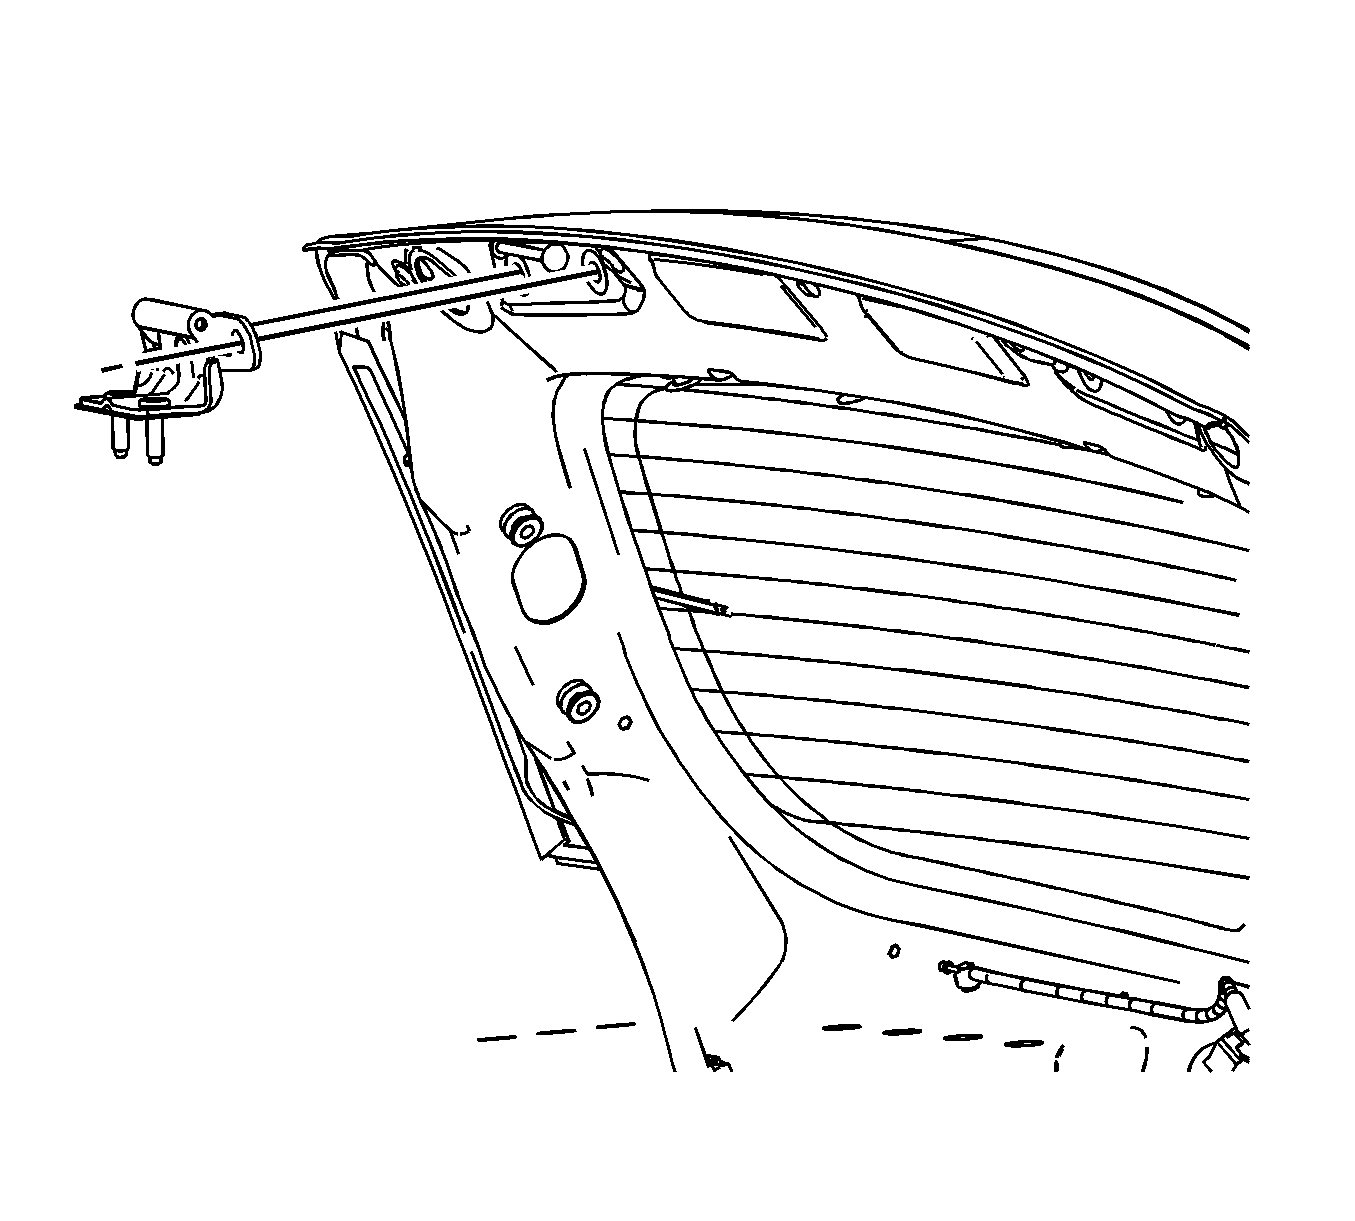
For 1990-2009 cars only
Removal Procedure
- Open the liftgate.
- Use a grease pencil to mark the location of the liftgate hinges.
- Remove the grommet from the upper right corner of the vehicle body.
- Disconnect the electrical connector and the washer hose.
- Remove the grommet from the upper left corner of the vehicle body.
- Disconnect the 2 electrical connectors.
- Support the liftgate in the open position.
- Remove the liftgate assist rods from the upper ball studs.
- Open the access panel doors in the header trim panel.
- Remove the nuts retaining the liftgate hinge to the vehicle.
- With the aid of an assistant, remove the liftgate from the vehicle,
- Remove the bolts retaining the hinges to the liftgate.
- Remove the liftgate hinges from the liftgate.

Installation Procedure
- Position the liftgate hinges to the location marks on vehicle.
- Install the bolts that retain the liftgate hinges to the liftgate.
- With the aid of an assistant, install the liftgate to the liftgate.
- Install the nuts that retain the liftgate hinge to the vehicle.
- Close the access doors in the header trim panel.
- Install the liftgate assist rods to the upper ball stud.
- Remove the liftgate support.
- Connect the two electrical connectors at the upper left corner of the vehicle body.
- Install the grommet to the upper left corner of the vehicle body.
- Connect the electrical connector and the washer hose at the upper right corner of the vehicle body.
- Install the grommet to the upper right corner of the vehicle body.
- Close the liftgate.

Caution: Refer to Fastener Caution in the Preface section.
Tighten
Tighten the liftgate hinge nuts to 25 N·m (18 lb ft).
