For 1990-2009 cars only
Special Tools
| • | J 39400-A Halogen Leak Detector |
| • | J 45689 A/C Quick Connect Joint Tool |
Removal Procedure
- Recover the refrigerant. Refer to Refrigerant Recovery and Recharging.
- Remove the air cleaner intake duct. Refer to Air Cleaner Outlet Duct Replacement for the 4.6L engine or Air Cleaner Inlet Duct Replacement for the 3.6L engine.
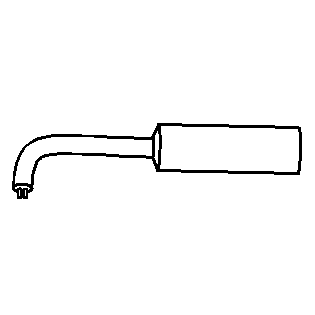
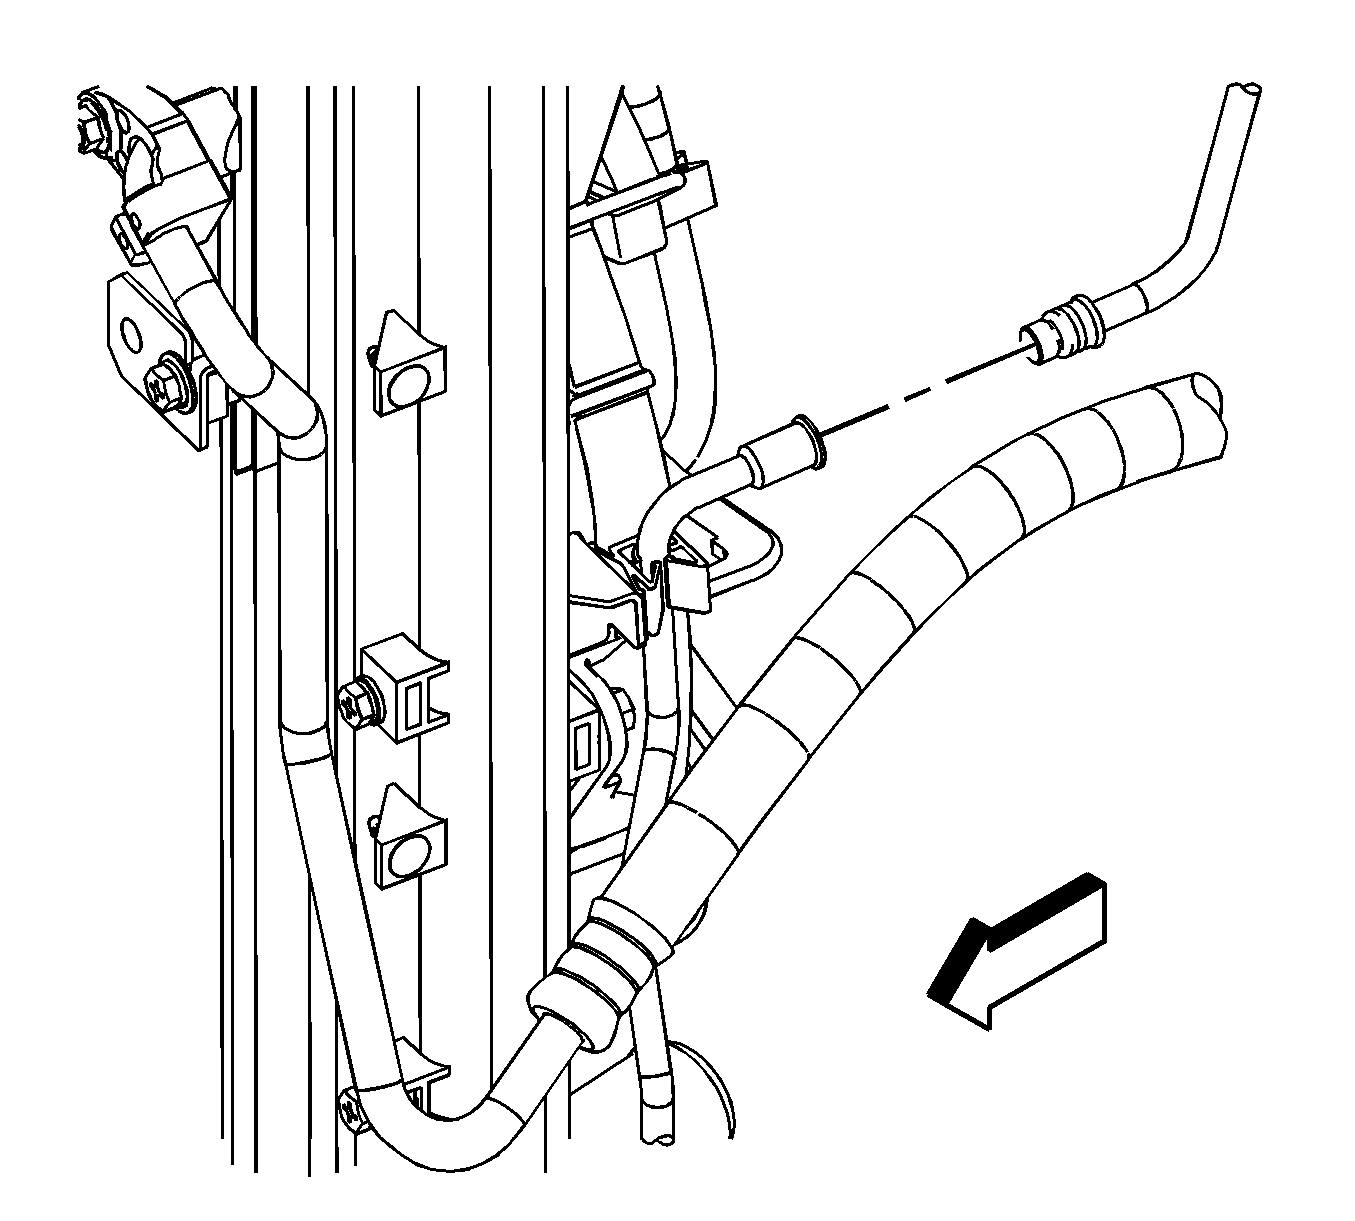
- Remove the quick connect fitting at the condenser tube. Refer to Air Conditioning Line/Tube Connector Removal/Replacement.
- Disconnect the condenser tube from the radiator mounting clip.
- Disconnect the condenser tube from the A/C liquid line.
- Remove and discard the O-rings on the A/C liquid line.
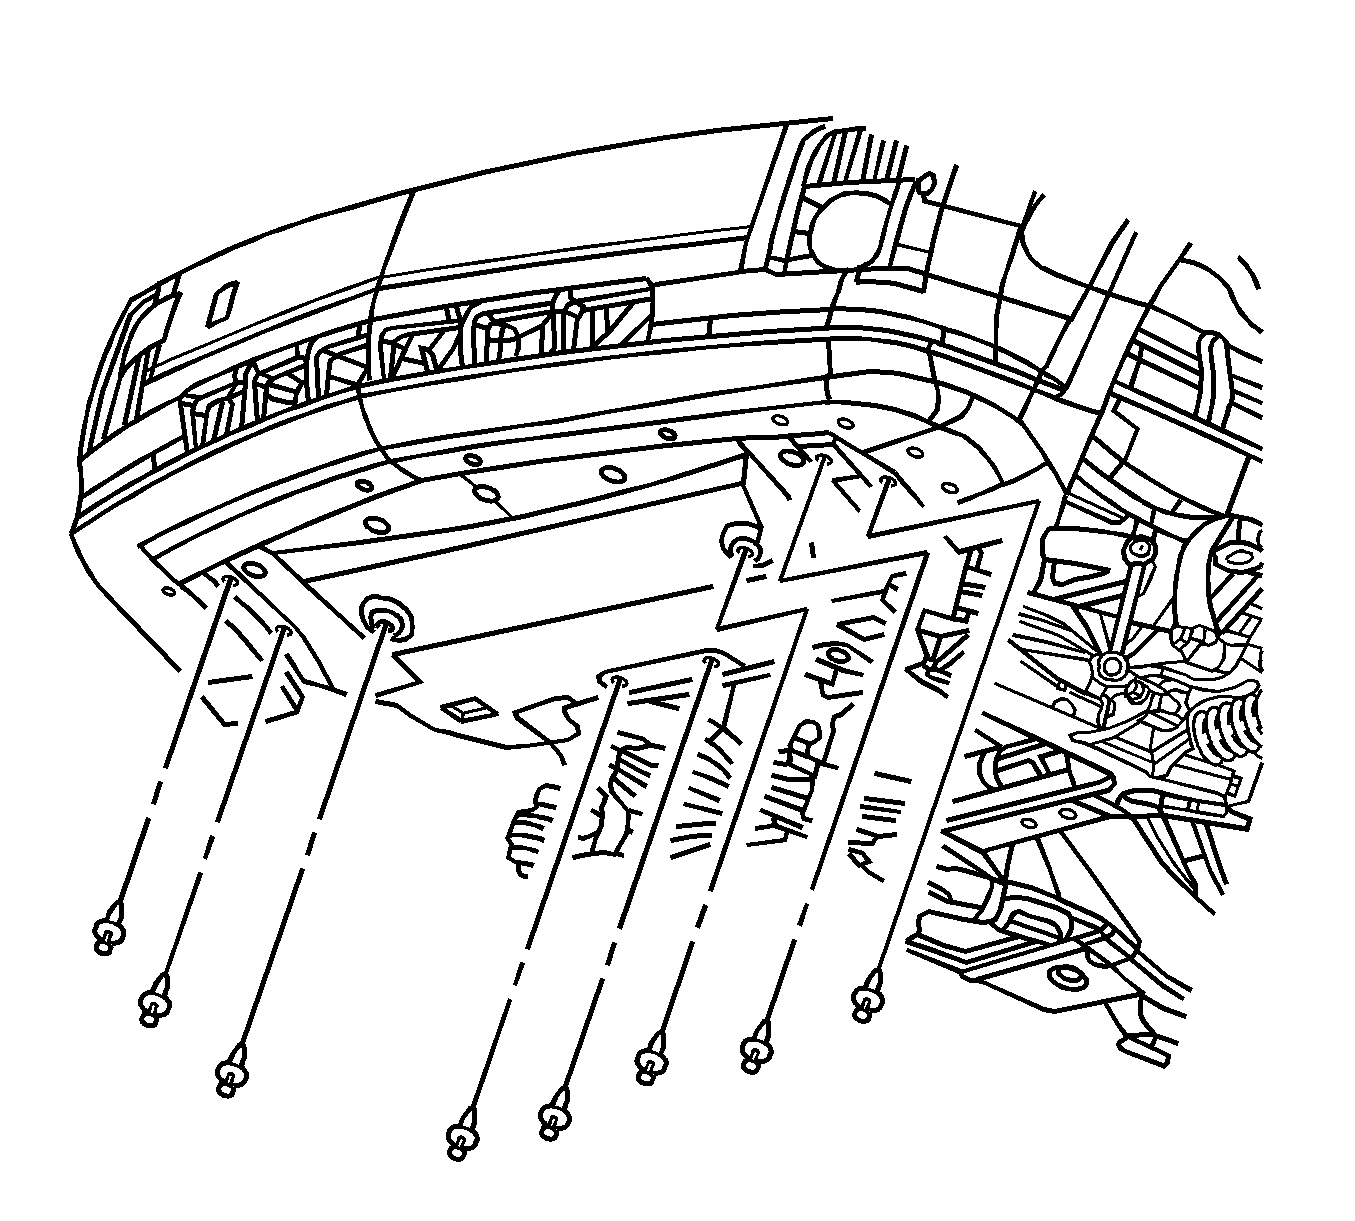
- Raise and support the vehicle. Refer to Lifting and Jacking the Vehicle.
- Remove the front air deflector retainers.
- Remove the front air deflector.
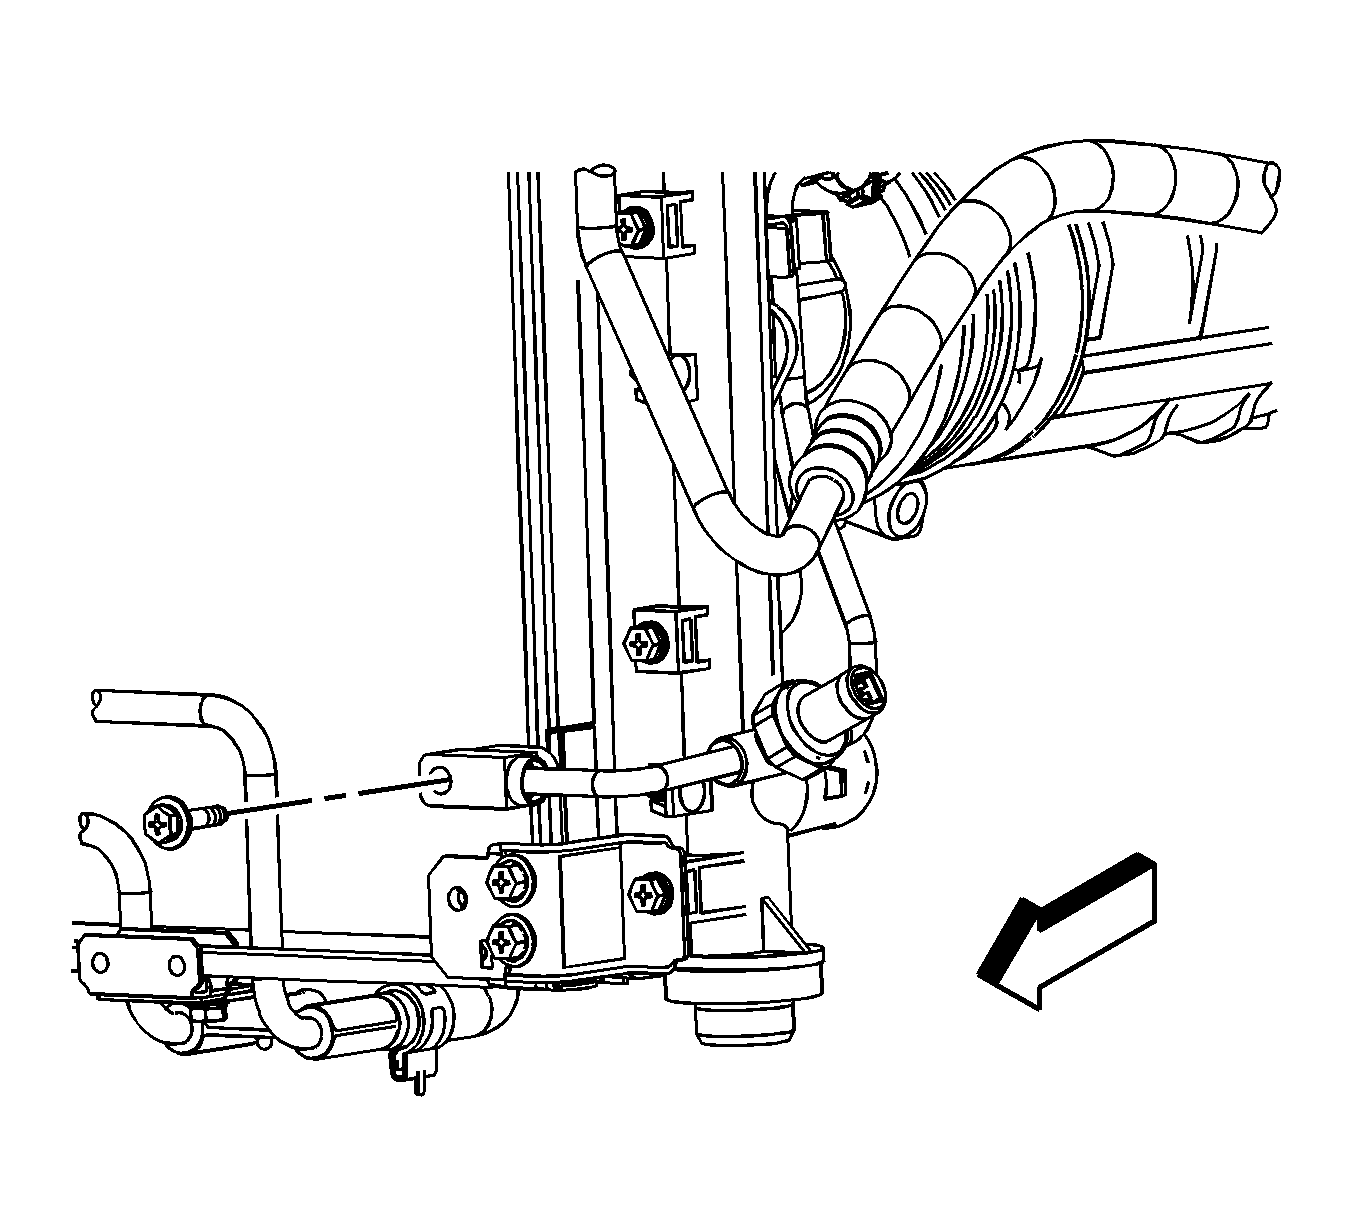
- Remove the condenser tube bolt.
- Disconnect the condenser tube from the condenser.
- Remove and discard the O-ring.
- Disconnect the high pressure sensor electrical connector.
- Remove the condenser tube.
- Remove the high pressure sensor.
Installation Procedure
- Install the high pressure sensor.
- Install the condenser tube.
- Connect the high pressure sensor electrical connector.
- Install a new O-ring to the condenser tube. Refer to O-Ring Replacement.
- Connect the condenser tube to the condenser.
- Install the condenser tube bolt.
- Install the front air deflector.
- Install the front air deflector retainers.
- Lower the vehicle.
- Install new O-rings on the A/C liquid line. Refer to O-Ring Replacement.
- Connect the condenser tube to the A/C liquid line.
- Connect the condenser tube from the radiator mounting clip.
- Install the condenser tube quick connect fitting. Refer to Air Conditioning Line/Tube Connector Removal/Replacement.
- Install the air cleaner intake duct. Refer to Air Cleaner Outlet Duct Replacement for the 4.6L engine or Air Cleaner Inlet Duct Replacement for the 3.6L engine.
- Evacuate and recharge the A/C system. Refer to Refrigerant Recovery and Recharging.
- Leak test the fittings of the component using J 39400-A .
Caution: Refer to Fastener Caution in the Preface section.
Tighten
Tighten the sensor to 9.8 N·m (87 lb in).
Tighten
Tighten the sensor to 9 N·m (80 lb in).
