For 1990-2009 cars only
Removal Procedure
- Remove the HVAC module assembly. Refer to HVAC Module Assembly Replacement .
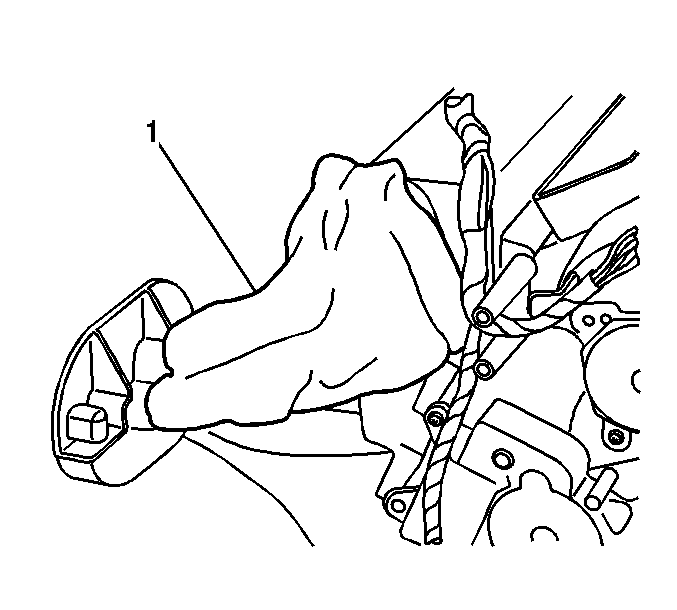
- Remove and discard the insulation (1) from the thermal expansion valve (TXV).
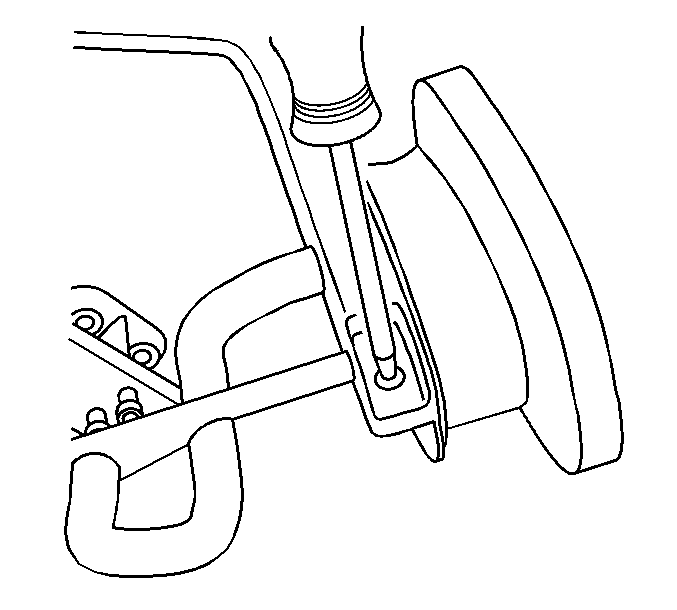
- Remove the HVAC line clamp screw.
- Remove the HVAC line clamp.
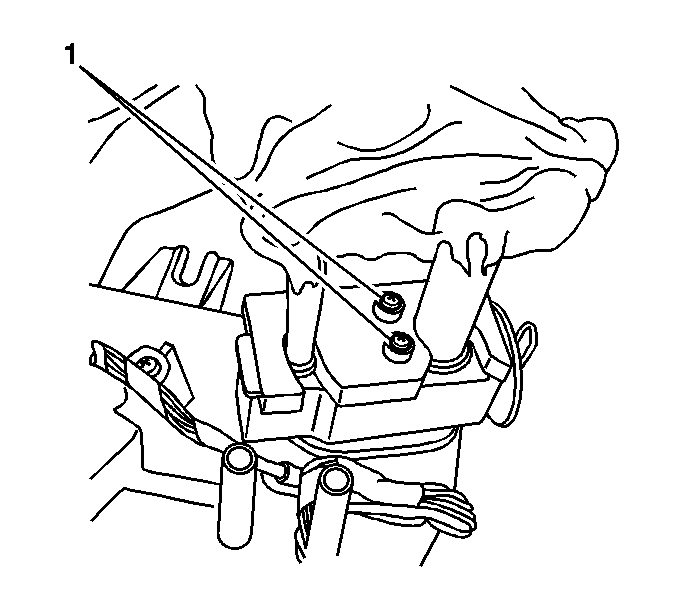
- Remove the TXV to evaporator bolts (1).
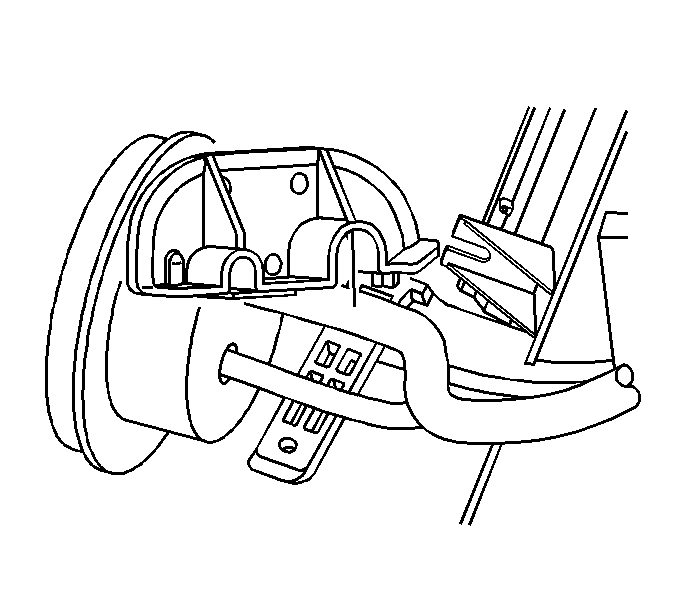
- Remove the TXV line bracket.
- Remove the TXV from the evaporator core.
- Separate the TXV from the A/C lines by pulling straight out.
- Remove and discard all of the O-rings.
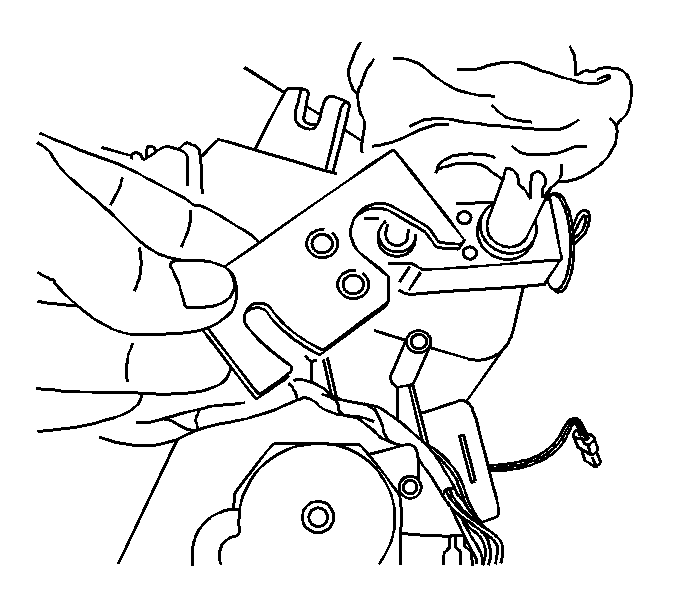
- Disconnect the thermistor electrical connector from the HVAC module retainer.
- Disconnect the LH and the auxiliary temperature actuator electrical connectors. Reposition the harness.
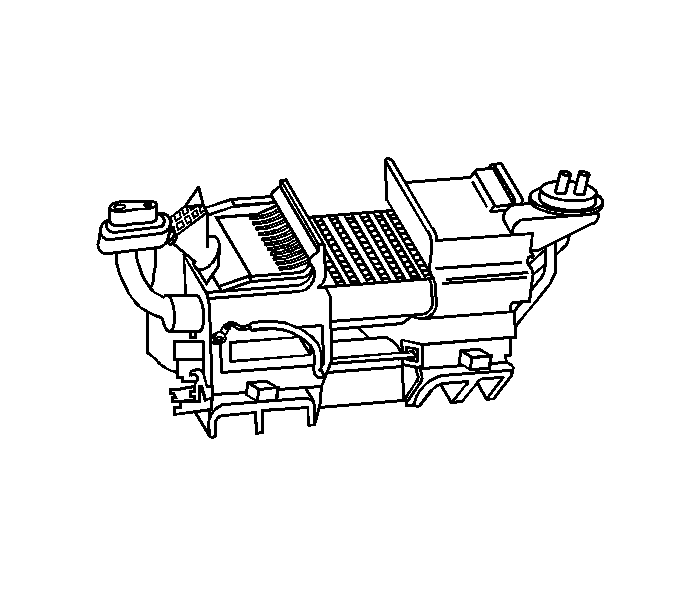
- Release the retainers and remove the front duct on the HVAC module
- Remove the screws that hold the case together.
- Separate the HVAC module.
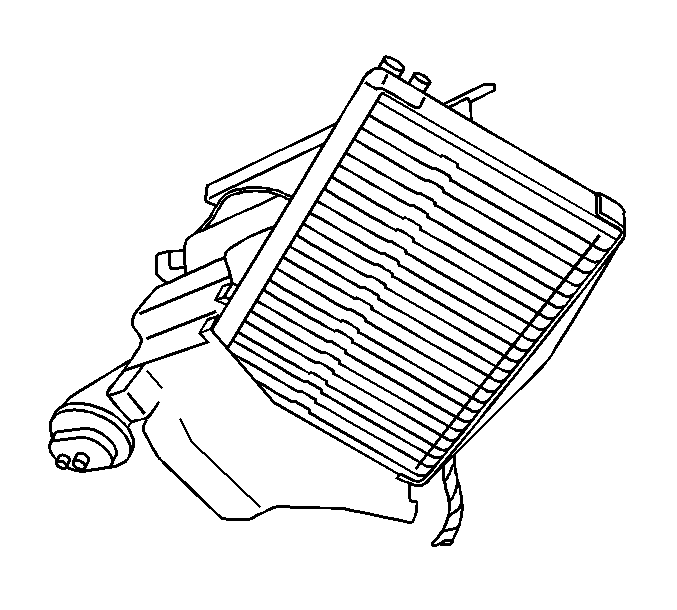
- Remove the evaporator core.

Installation Procedure
- Add refrigerant oil. Refer to Refrigerant System Capacities .
- Install new evaporator core seals to the evaporator.
- Install the evaporator core.
- Slide the HVAC module case halves together.
- Install the screws that hold the case together.
- Install the front duct on the HVAC module. Ensure that the retainers are properly engaged.
- Reposition the wire harness and connect the LH and the auxiliary temperature actuator electrical connectors.
- Connect the thermistor electrical connector to the HVAC module retainer.
- Install new O-rings to the evaporator core and the TXV lines. Refer to O-Ring Replacement .
- Install the A/C lines into the TXV.
- Carefully slide the TXV onto the evaporator core until seated.
- Install the TXV line bracket.
- Install the TXV to evaporator bolts (1).
- Install the HVAC line clamp.
- Install the HVAC line clamp screw.
- Install the insulation (1) onto the lines and the TXV.
- Install the HVAC module. Refer to HVAC Module Assembly Replacement .

Important: Do not force the evaporator core into the HVAC module. Damage to the thermistor can occur.

Important: Ensure that all of the temperature and mode doors align to their corresponding slots within the HVAC module.
Do not force the HVAC module case halves together.Notice: Refer to Fastener Notice in the Preface section.
Tighten
Tighten the screws to 1 N·m (8 lb in).


Tighten
Tighten the bolts to 3.5 N·m (31 lb in).


Tighten
Tighten the screw to 1 N·m (8 lb in).

