The following symbols are the most common symbols that will appear on a map screen.

Your vehicle is shown as this symbol. It indicates the current position and heading direction of your vehicle on the map.
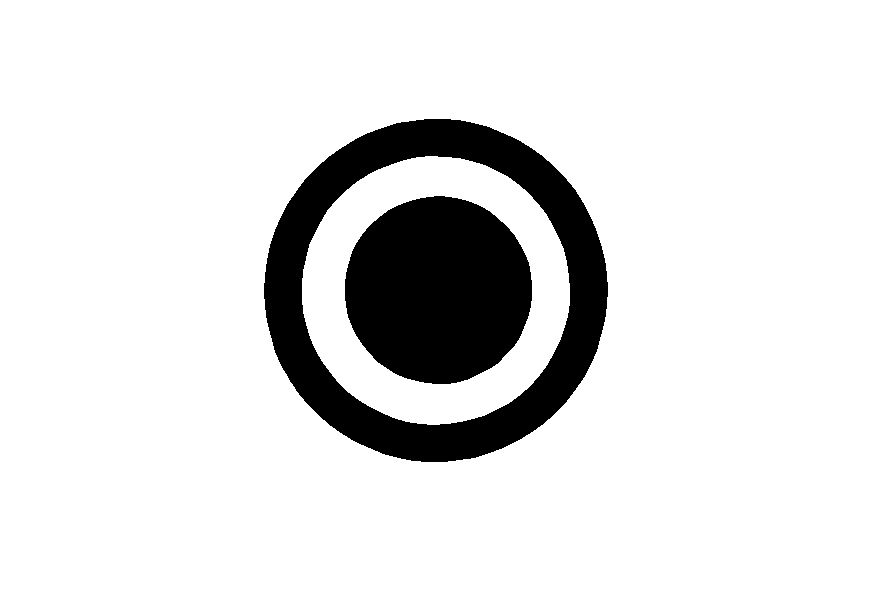
The destination symbol will appear on the map after a route has been planned marking your final destination.
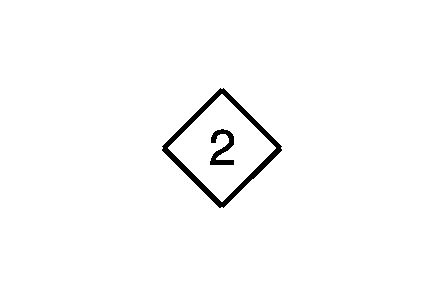
The waypoint symbol will be displayed on the map after a waypoint has been added to your route.
The waypoint symbol will be numbered from one through five depending on how many waypoints have been set.
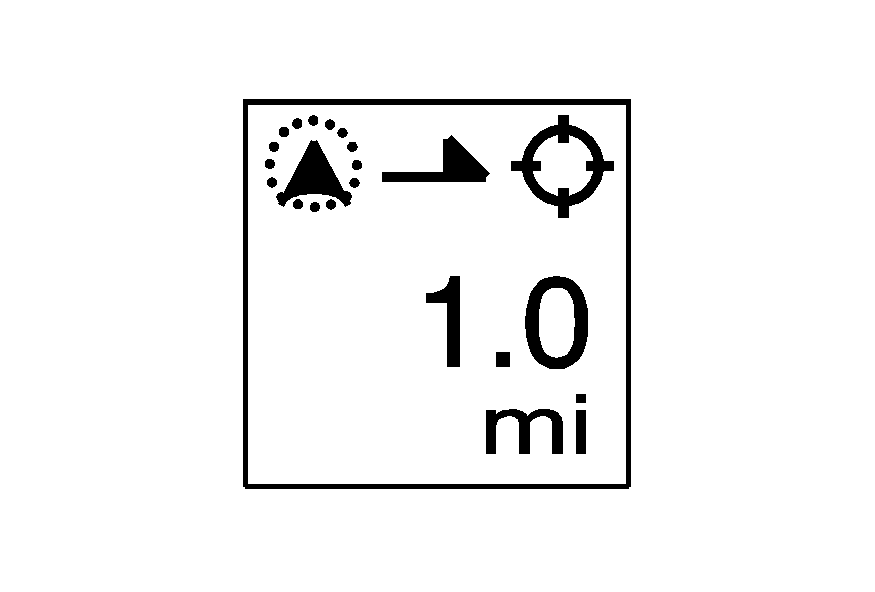
The distance to destination symbol indicates the distance to your final destination. It only appears when time is not available or when you are scrolling on the map.
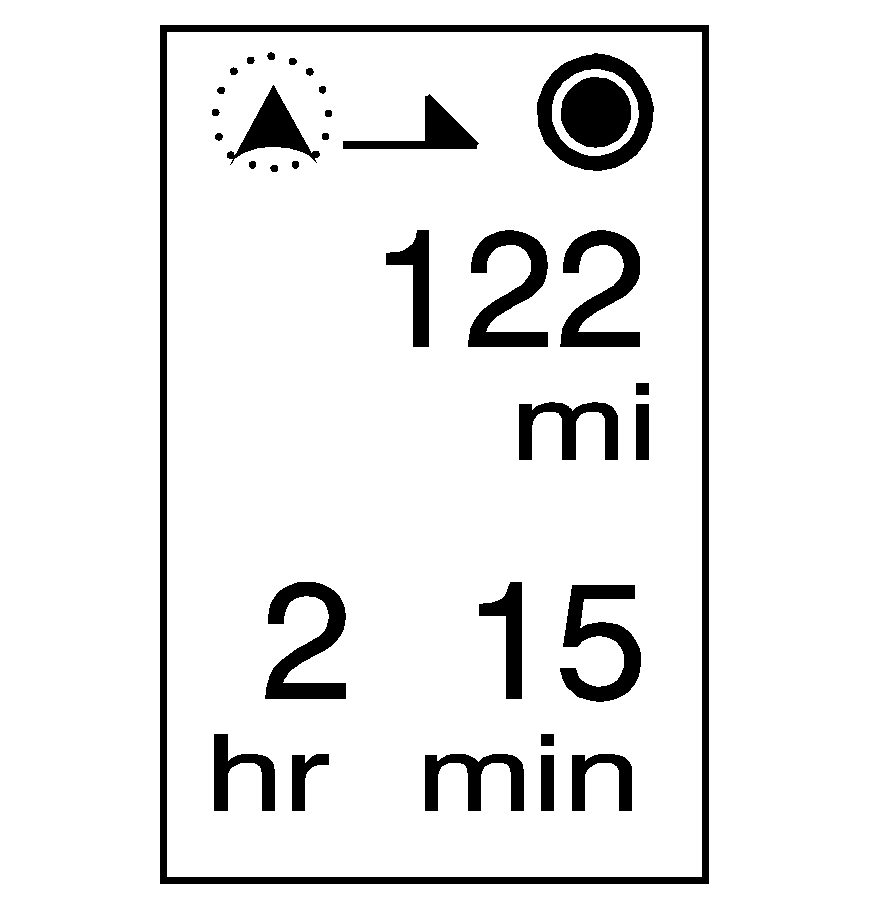
The distance and time to destination symbol indicates the distance and the estimated time remaining to your final destination or arrival time, depending on the option selected. See Configure Menu .
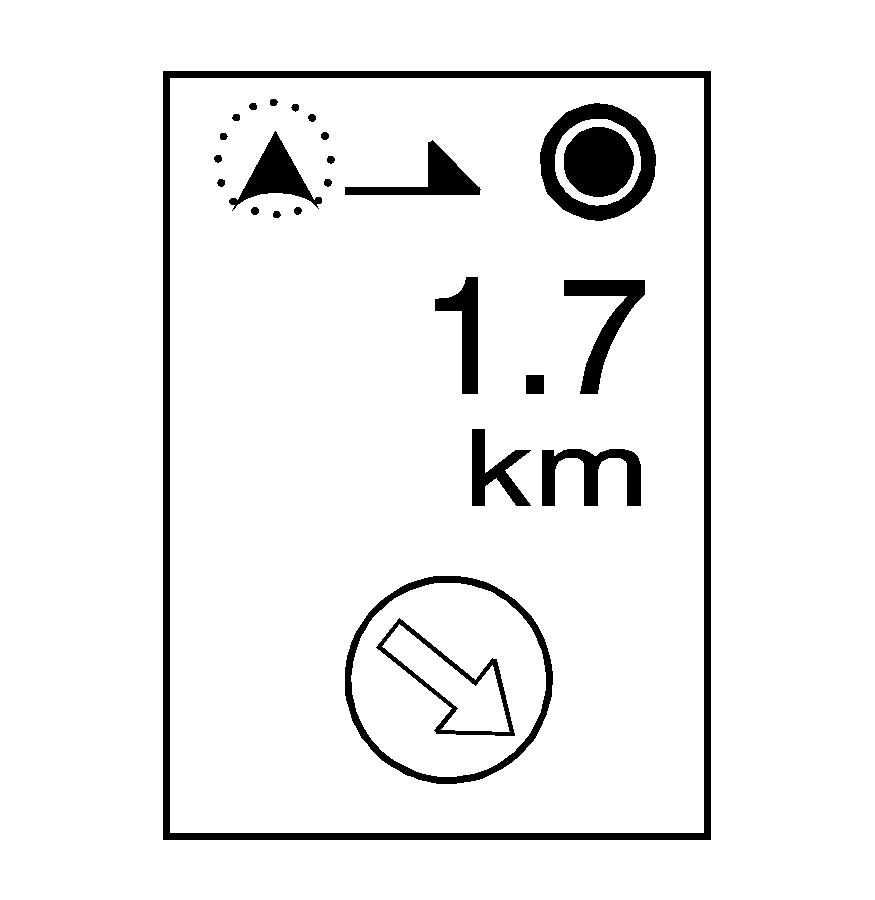
The straight line to distance symbol shows the straight-line distance to your destination.
This symbol will appear before you start driving on the route or if you are on a road where navigation guidance cannot be given.
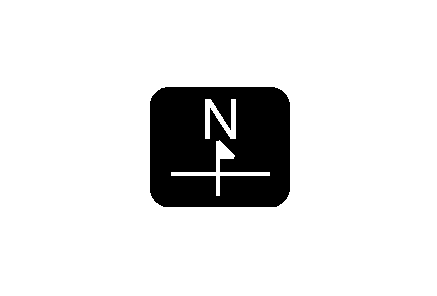
The north up symbol indicates the map with North Up, known as North Up mode.
While in North Up mode, the vehicle icon will follow the north direction on the map regardless of which direction the vehicle is traveling. Select this screen symbol to switch between North Up and Heading Up modes.
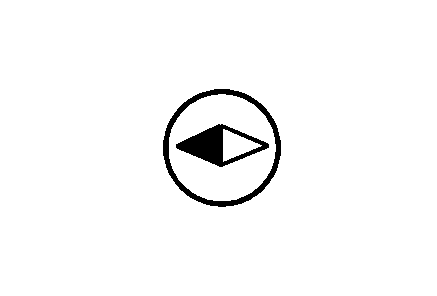
The heading up symbol indicates the map with the vehicle travel direction up, known as Heading Up mode.
The shaded triangle indicates the North direction. While in Heading Up mode, the direction your vehicle is traveling will always be at the top of the map screen. The vehicle icon will always be headed in the direction your vehicle is traveling. Select this screen symbol to switch between Heading Up and North Up modes.
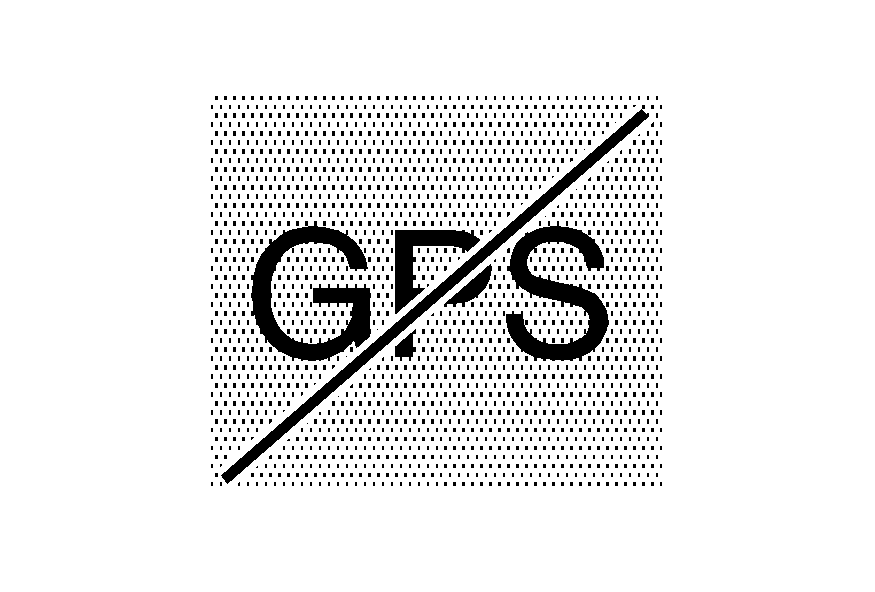
The No GPS symbol will appear, in the upper right corner of the map screen, when your vehicle is not receiving a Global Positioning System (GPS) satellite signal.
See Global Positioning System (GPS) .
When a name is too long to be displayed, an arrow symbol will appear. Select the right or left arrow screen button to scroll through the entire name.

This symbol indicates the position of the next guidance maneuver.
The following symbols can also be found on a map screen:
Select the waypoint symbol to enter a waypoint along the current route. This allows you to have more than one destination planned at a time.
Touch anywhere on the map to display this button. Select the memory point symbol to store the location on the screen as a memory point.
The system will automatically store the memory point in the Marked Point folder/category.

Touch anywhere on the map to display the Point of Interest (POI) screen button on the bottom right corner of the map screen.
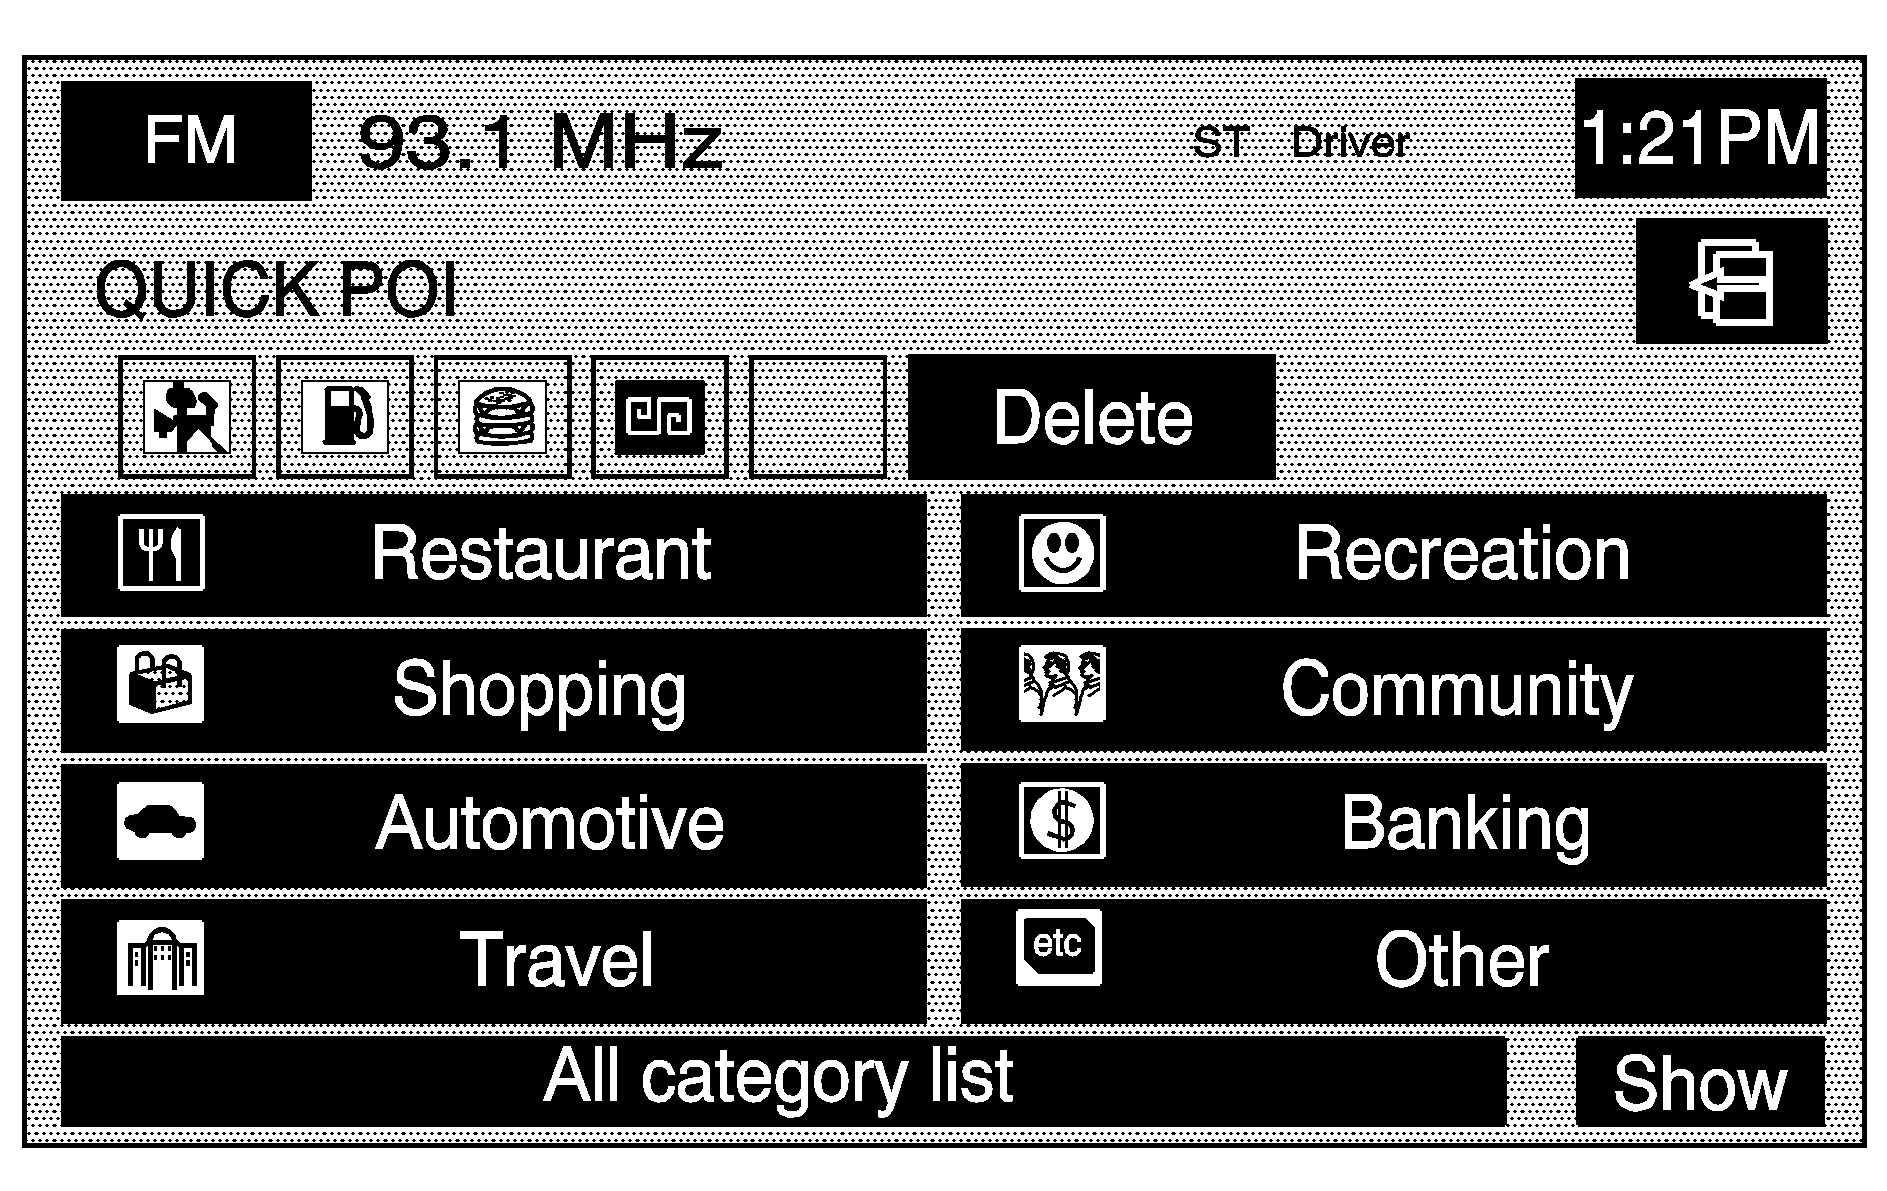
Select the POI screen button to display the following screen:
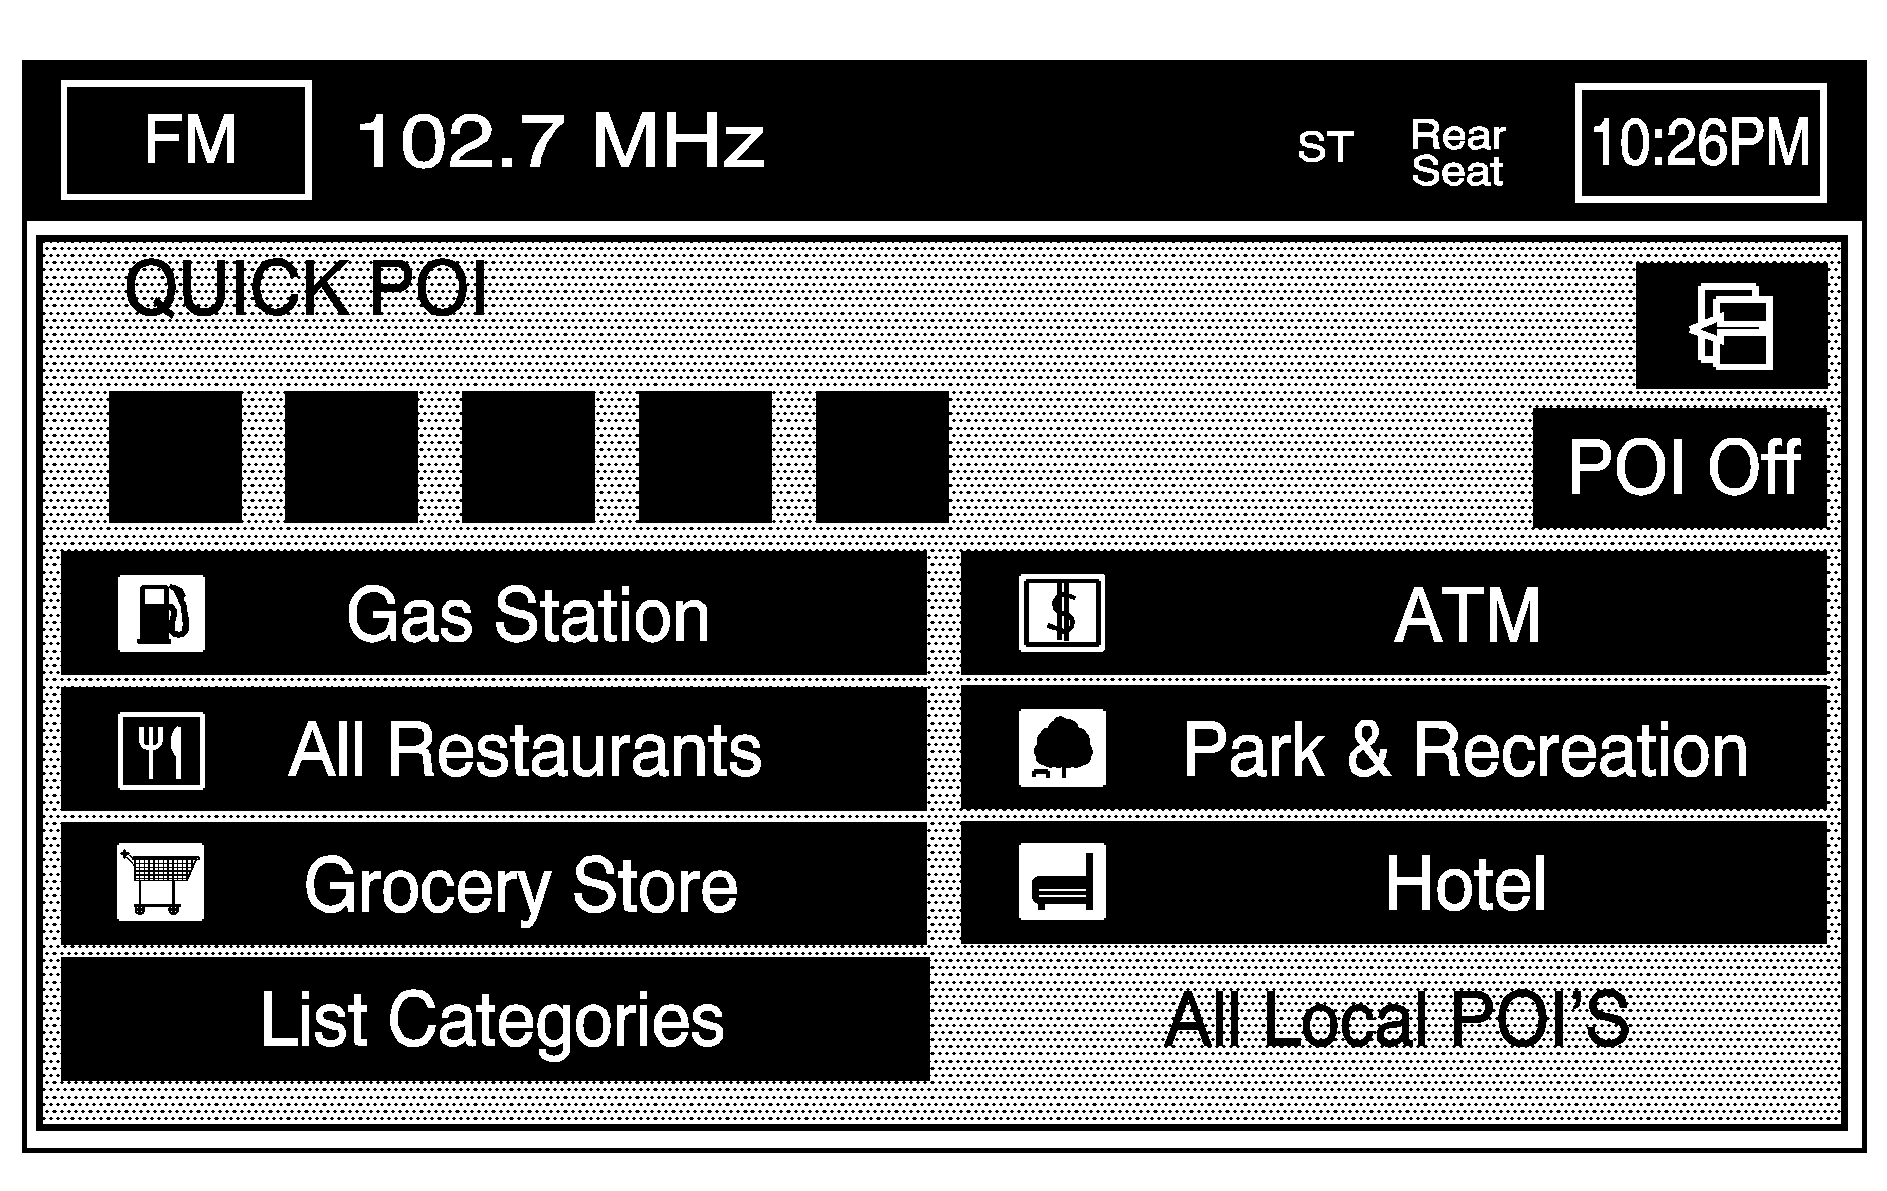
Select one of the categories to display or to delete the POI icons from the map. If the POI icons are currently displayed on the map, the icons will be deleted from the map and vice versa.
POI Off: Select this button to remove all of the POI icons from the map.List Categories: Select this screen button to display more POI categories that are not part of the POI categories listed. The following screen will be displayed after List Categories has been selected. Then, select the category and sub-category from the list. To display the POI type on the map, select the POI or select the Show screen button.
Show: Select this screen button to update the map screen and the list, once a category has been selected.
Delete: To delete a category, do one of the following:
| • | To delete the last added POI category, select the Delete screen button. |
| • | To delete a specific POI category: |
| 1. | Select the category. |
| 2. | Select the subcategory that was added. |
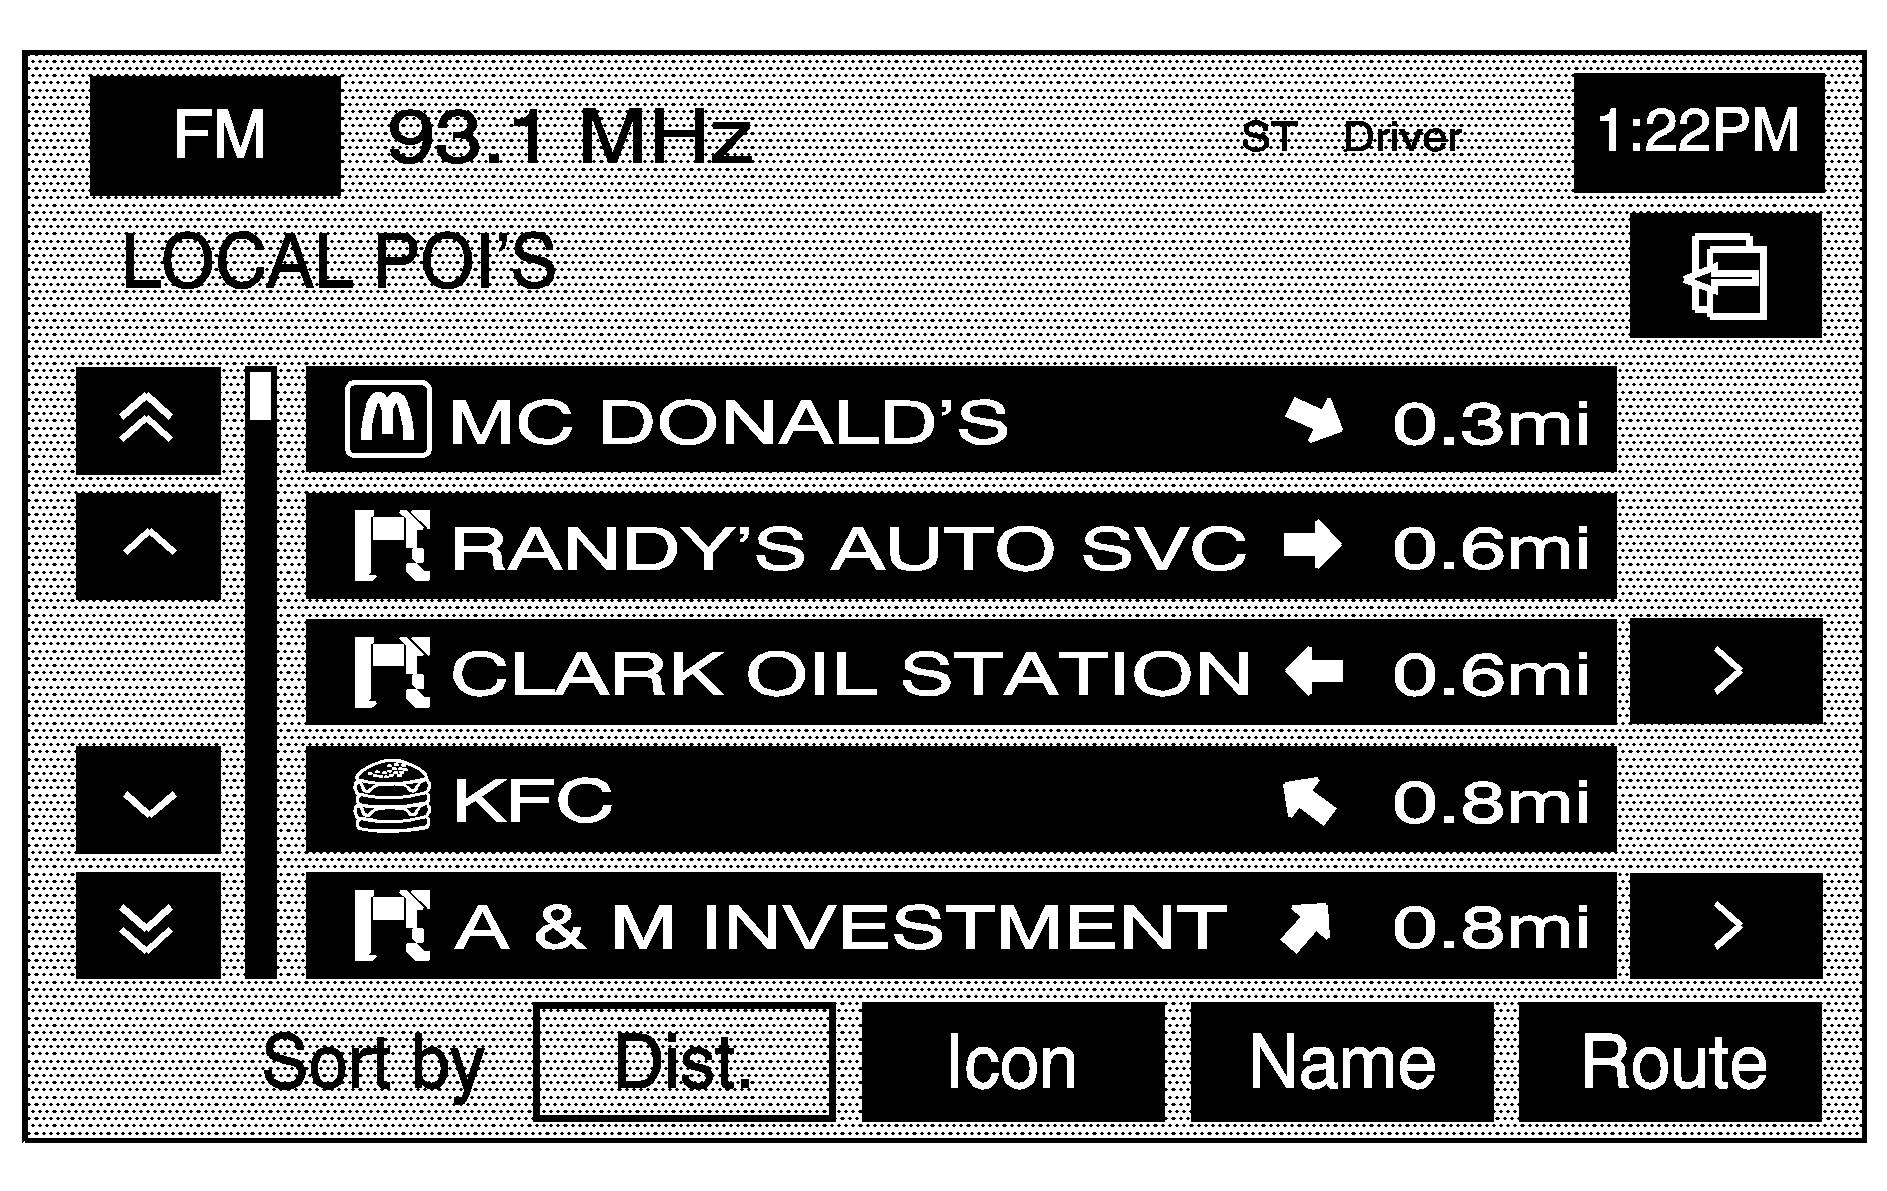
Once a POI icon has been selected, the scroll symbol will appear around the POI icon on the map and the name of the POI will appear on the display. Select the Info screen button to display more available information about the specific point.
Select the back screen button to return to the previous page.

Select the cancel screen button to return to the first menu of the selected option.
Guidance Windows
Select the guidance window symbol, from the map, to display the guidance window options.
Select from one of the following six options that allow you different views and information of the map screen. Availability of these options depends on the current route.
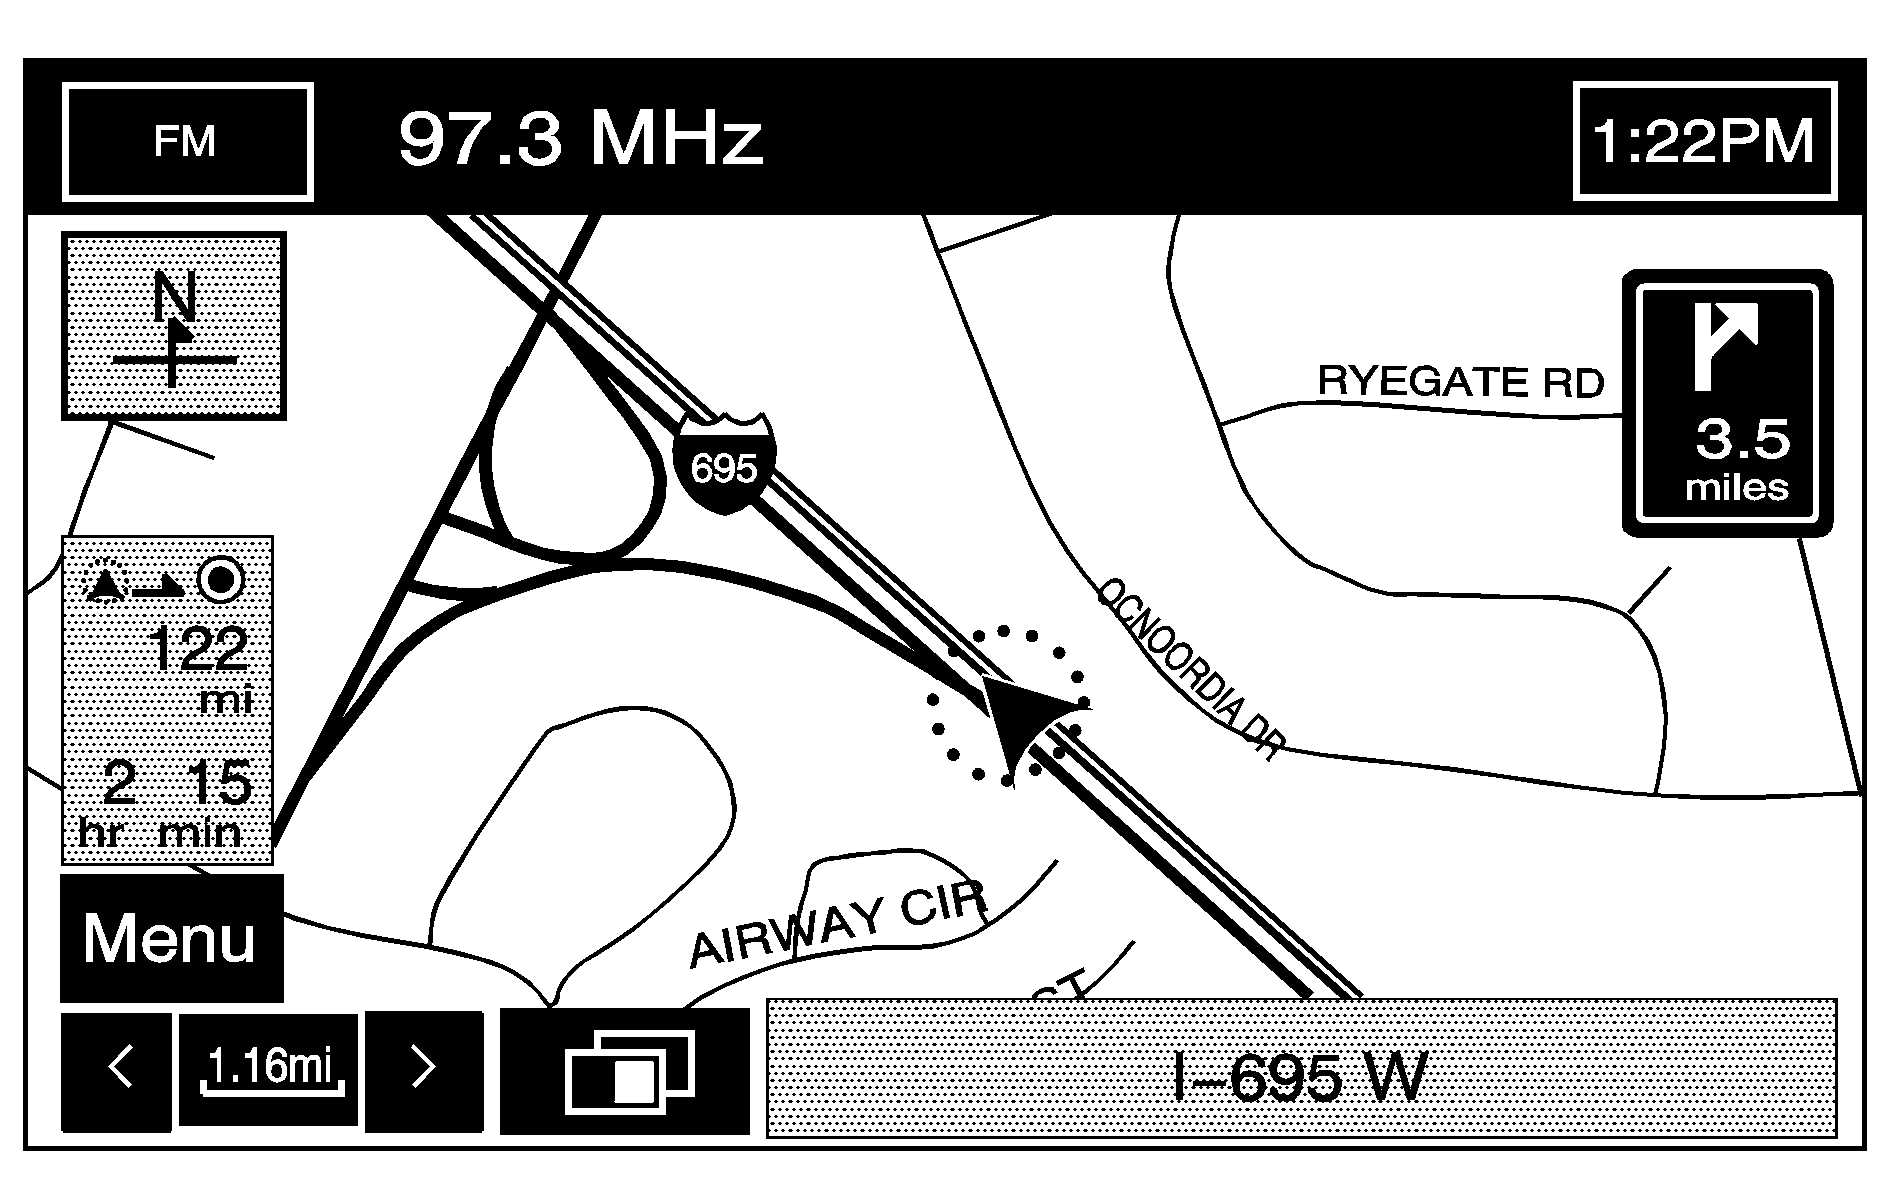
Single Map Mode
Select the map view symbol to display more of the map with a window that gives the direction and distance to the upcoming maneuver.
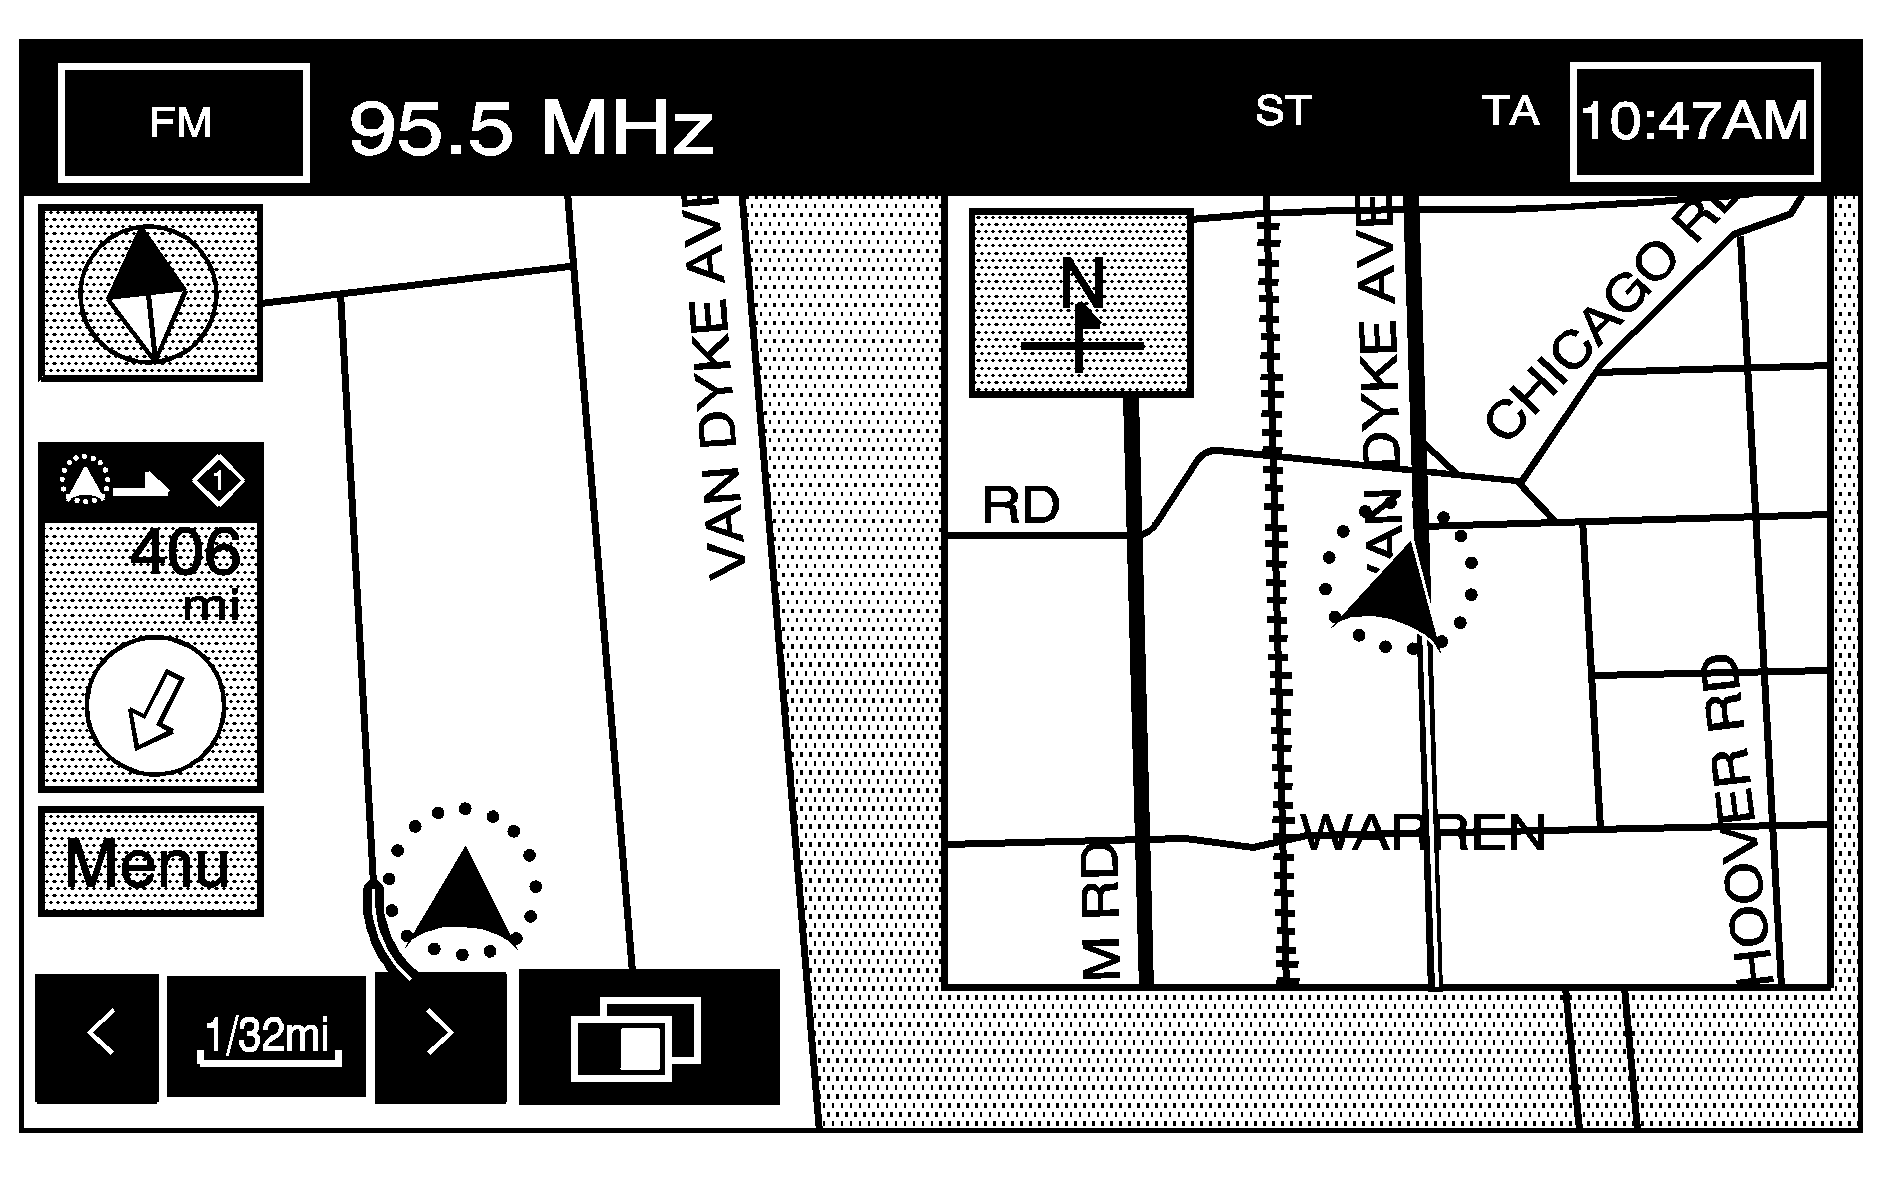
Dual Map Mode
Select the dual view symbol to display two map screens that will allow different scale levels and heading directions for each.
Touch anywhere inside the right map to change the scale level, 2D and 3D view, and to turn the POIs on and off. To change the heading direction in the right map, touch the north up or heading up symbol.
Turn List Mode
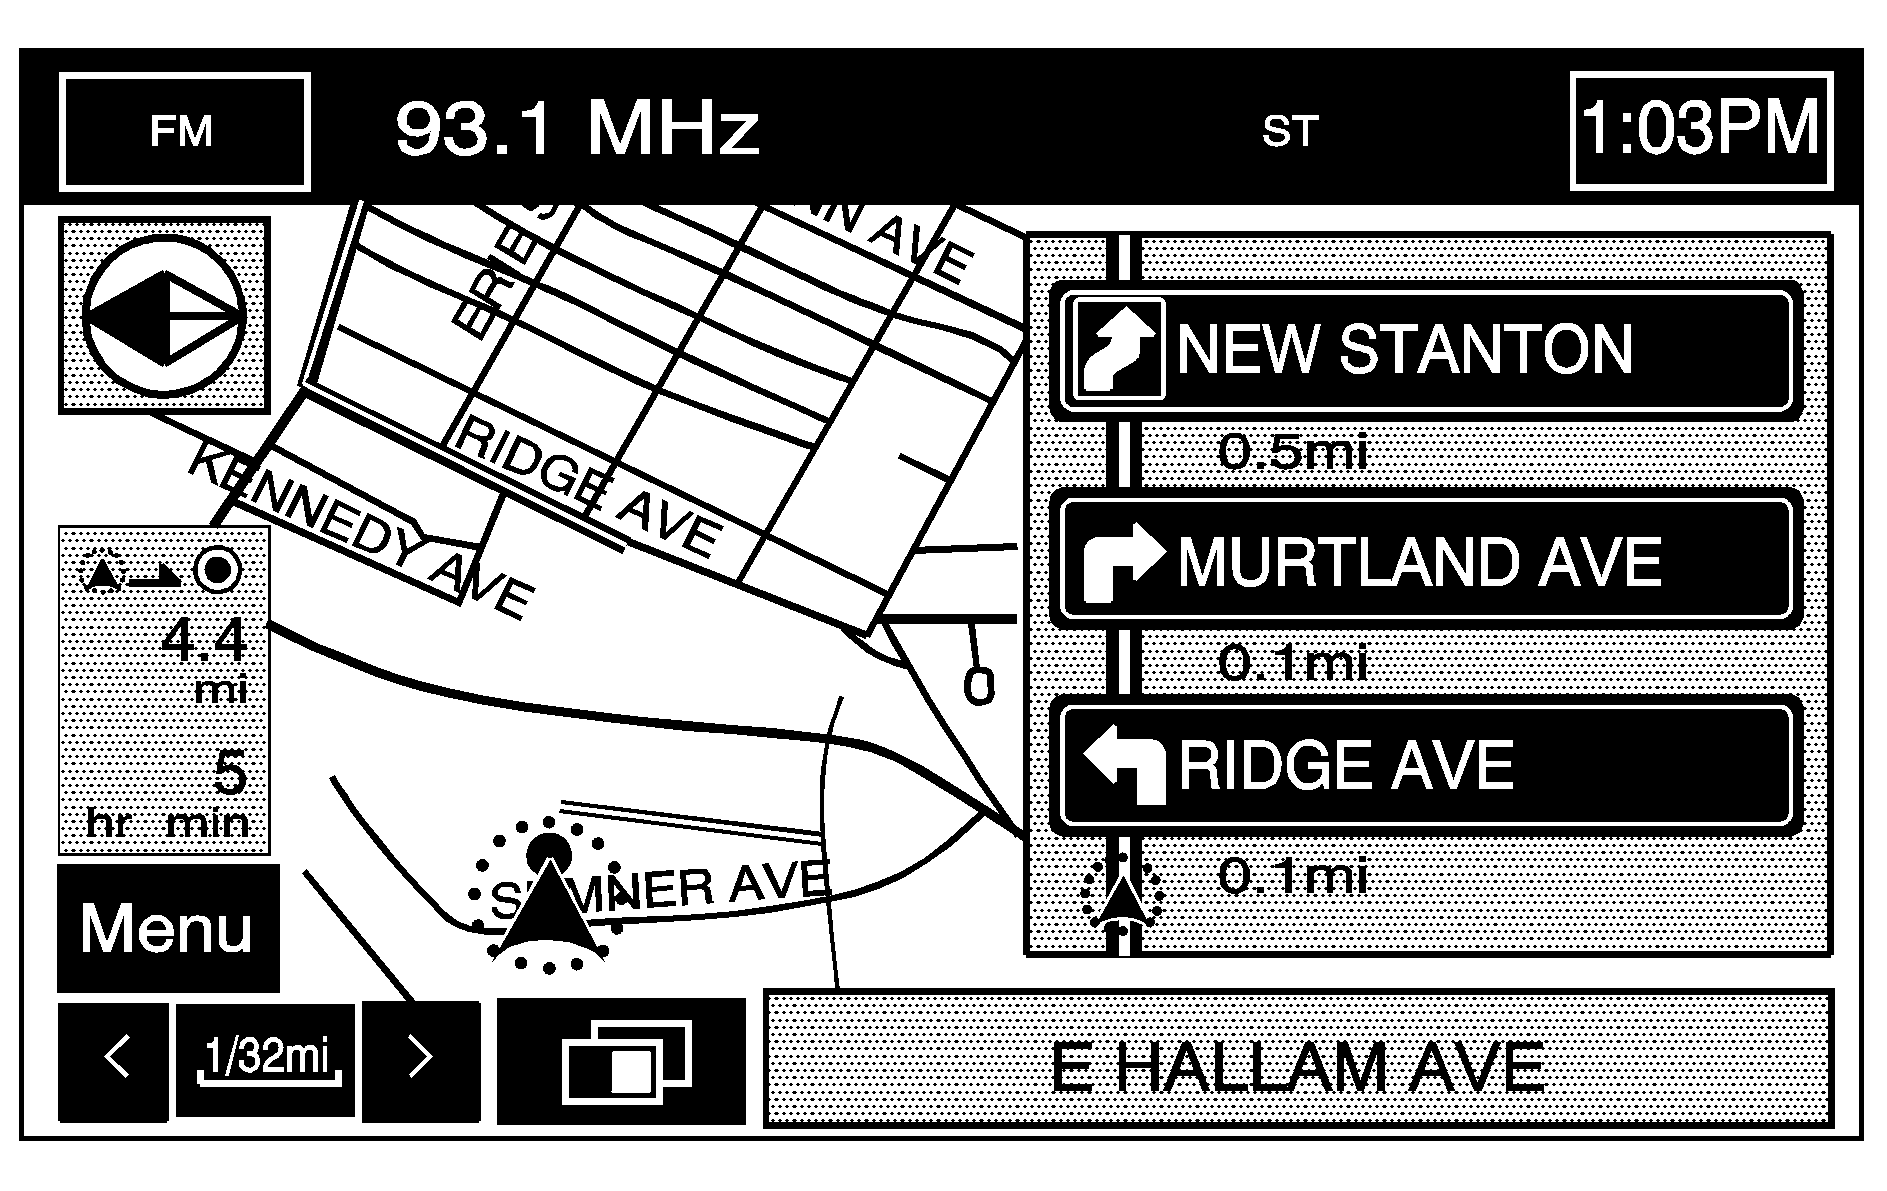
Select the turn list symbol to display the next three upcoming maneuvers.
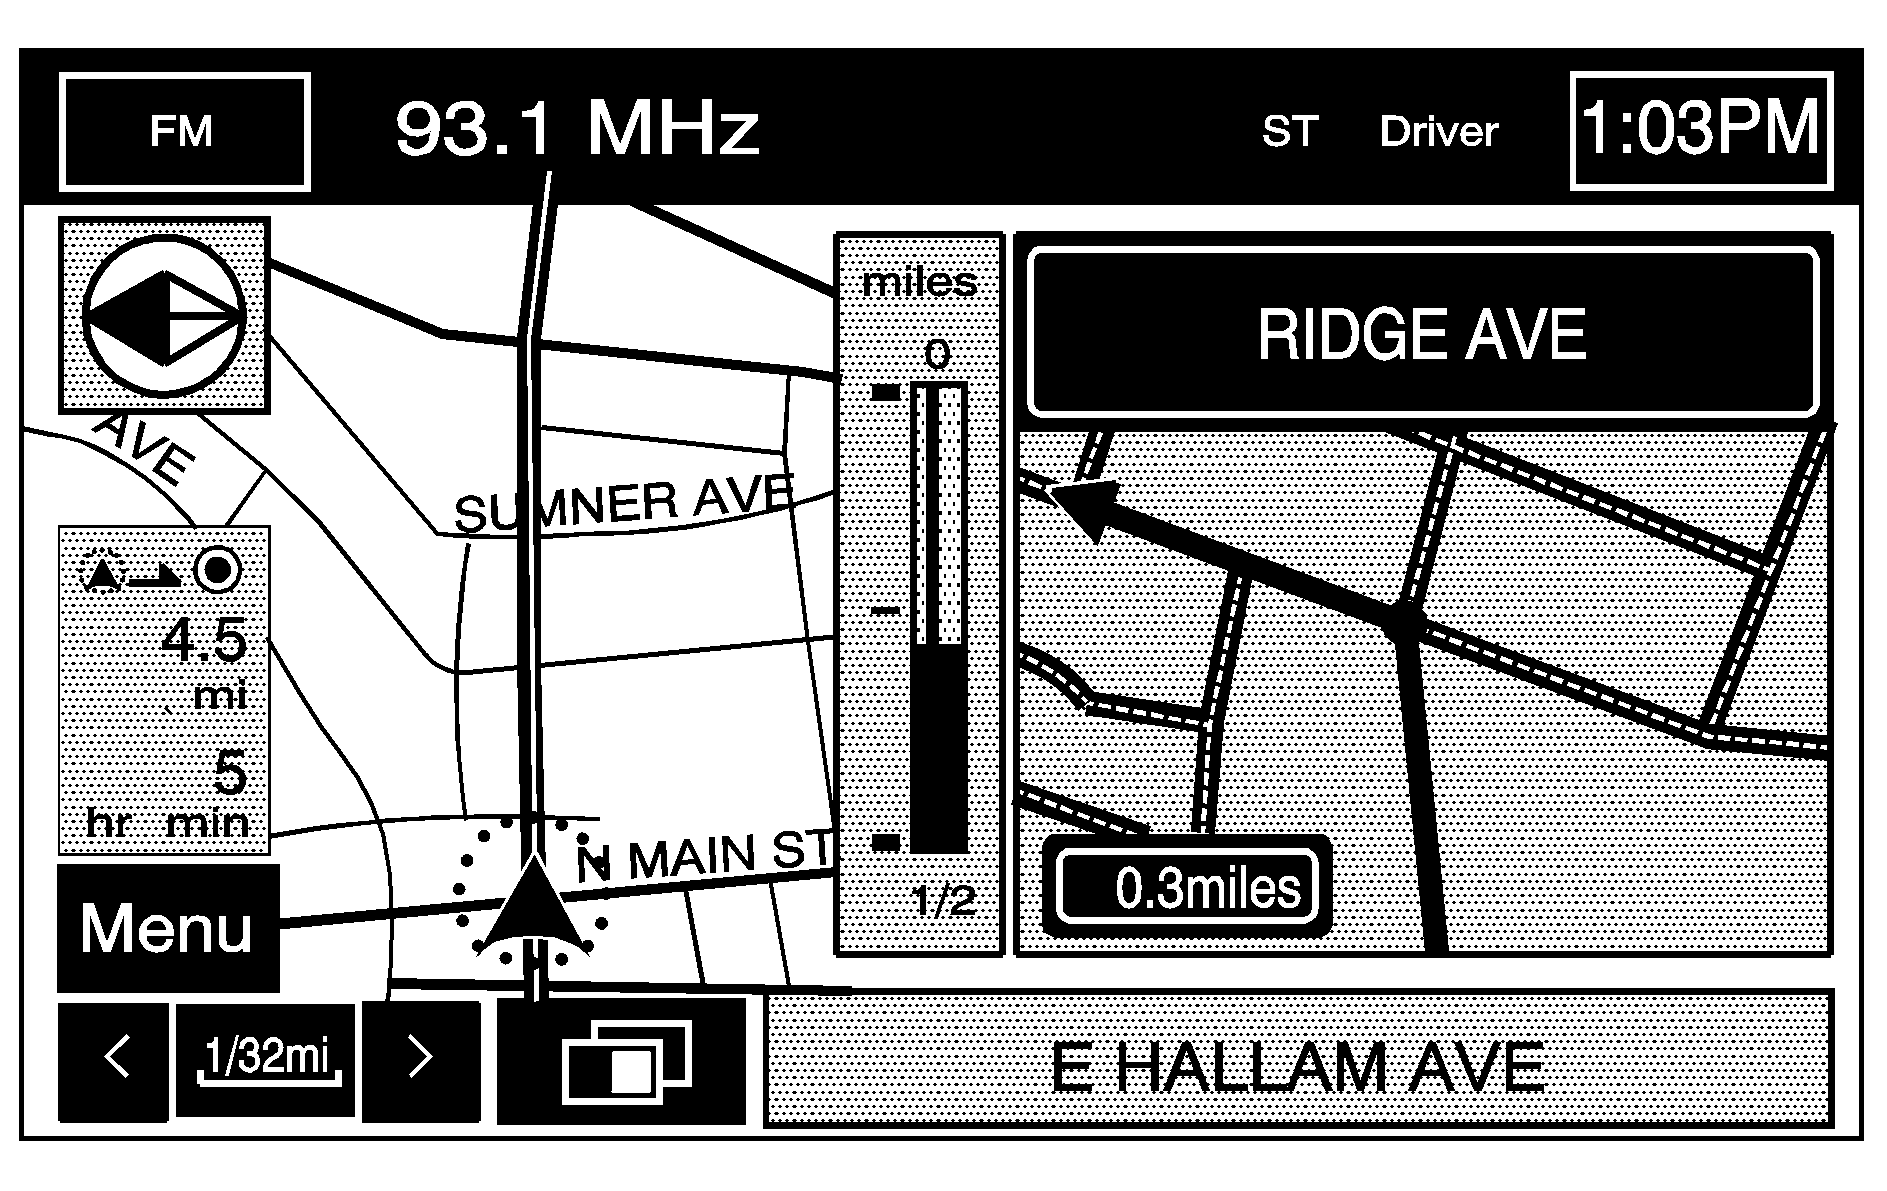
Directional arrows, street name, and distance to the next turn will be displayed. As you approach the next turn, the system will automatically display a zoomed-in view of the upcoming maneuver.
Next Turn Mode
Select the arrow guidance symbol to display the next turn.
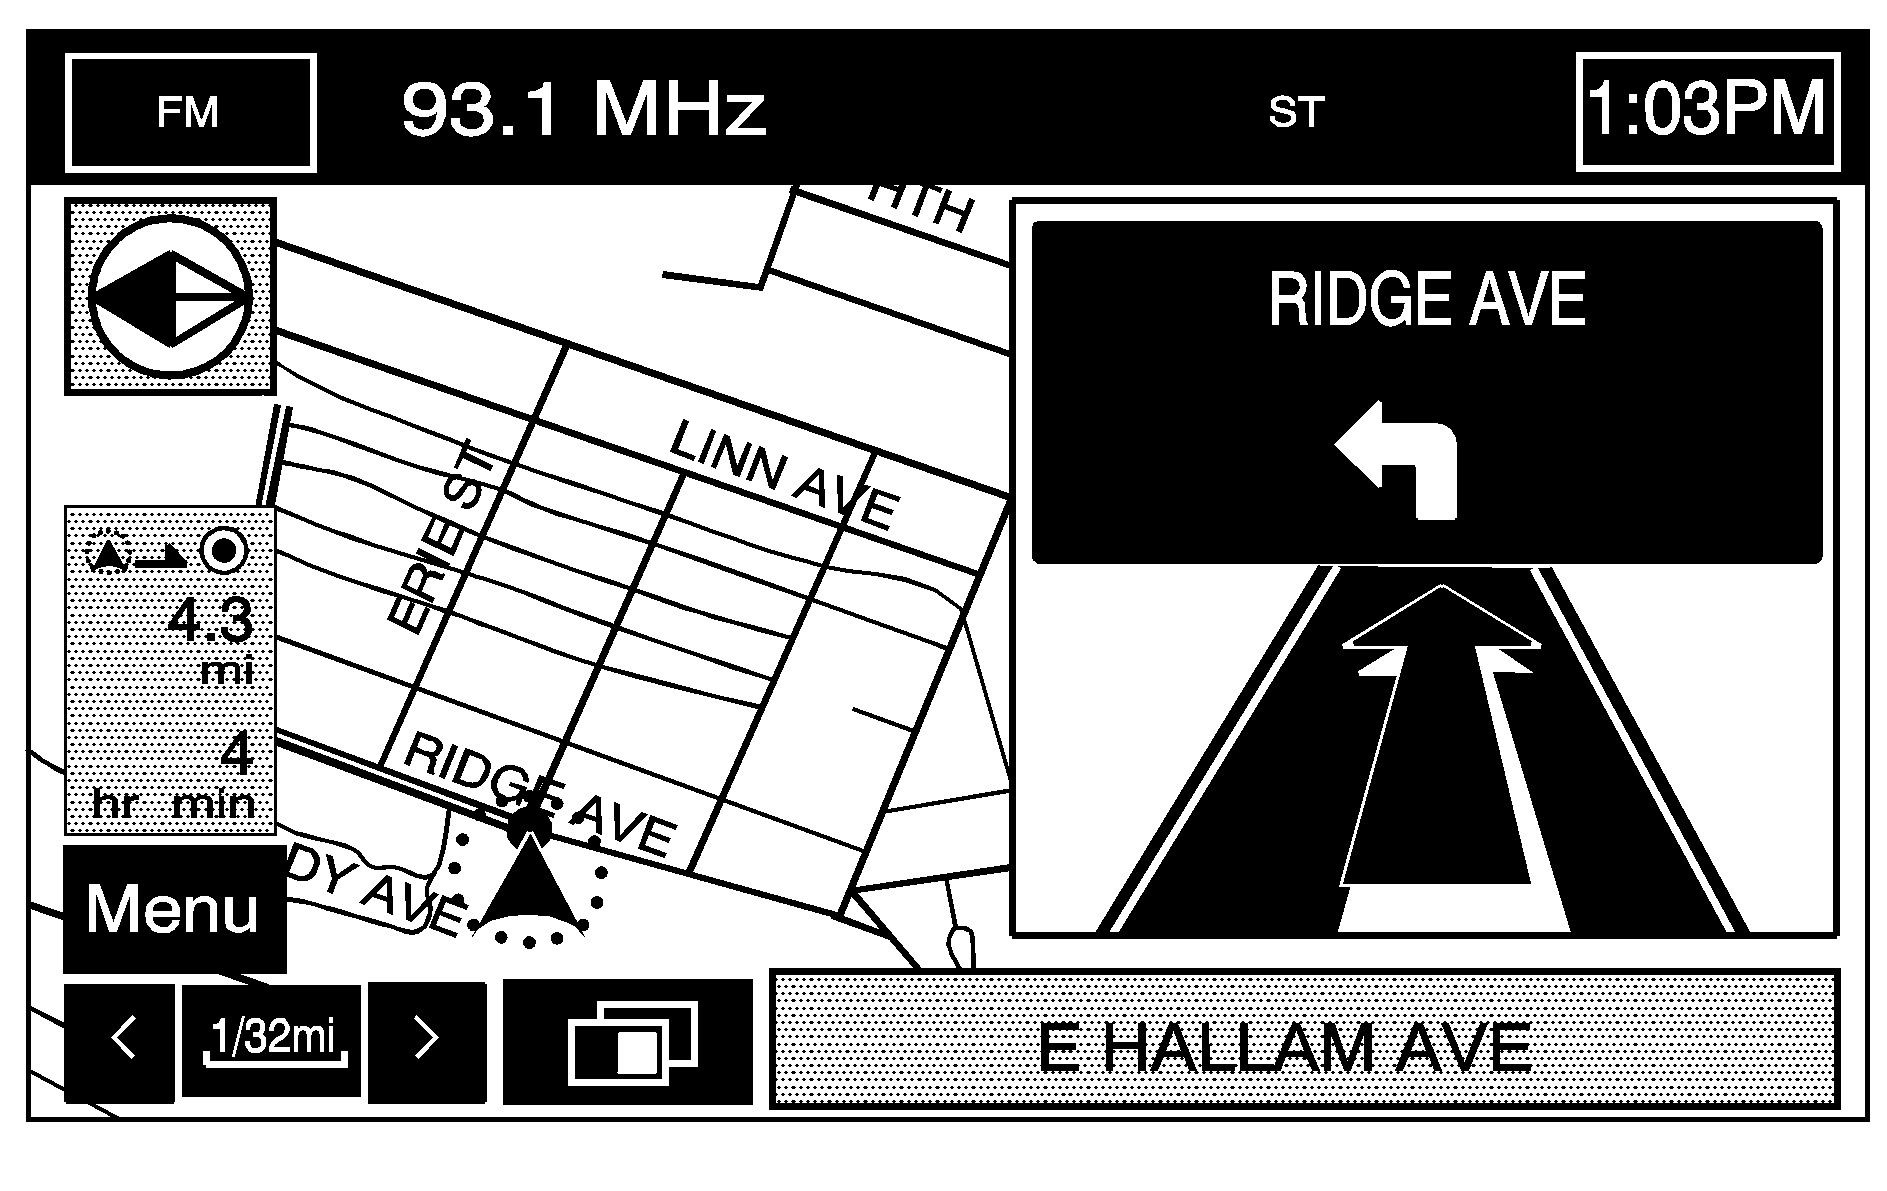
A directional arrow, the street name, and the distance to the next turn will be displayed. As you approach the next turn, the system will automatically display a zoomed-in view of the upcoming maneuver.
Guidance Screen Mode
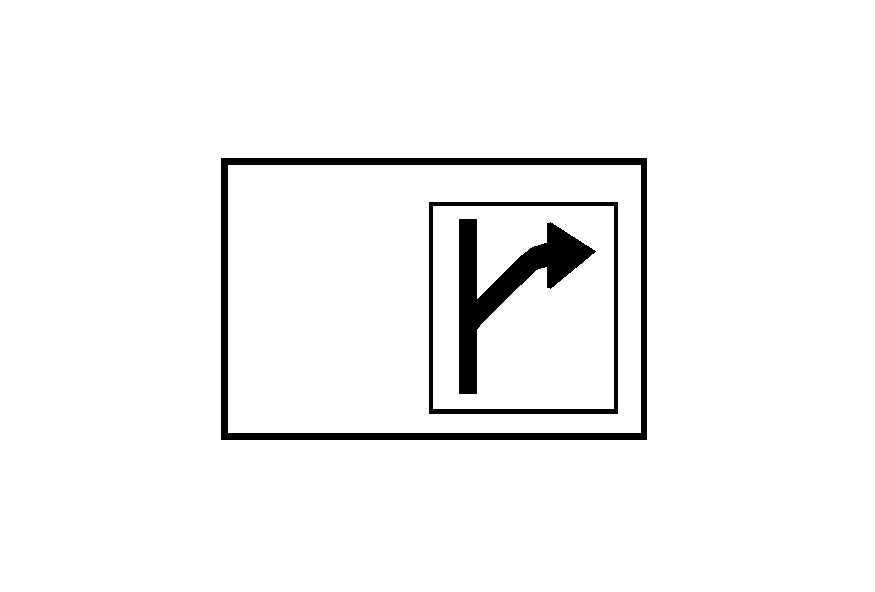
Select the next maneuver symbol to display only the next maneuver.
When approaching the next maneuver, the navigation system will automatically display this guidance window.
Freeway Mode
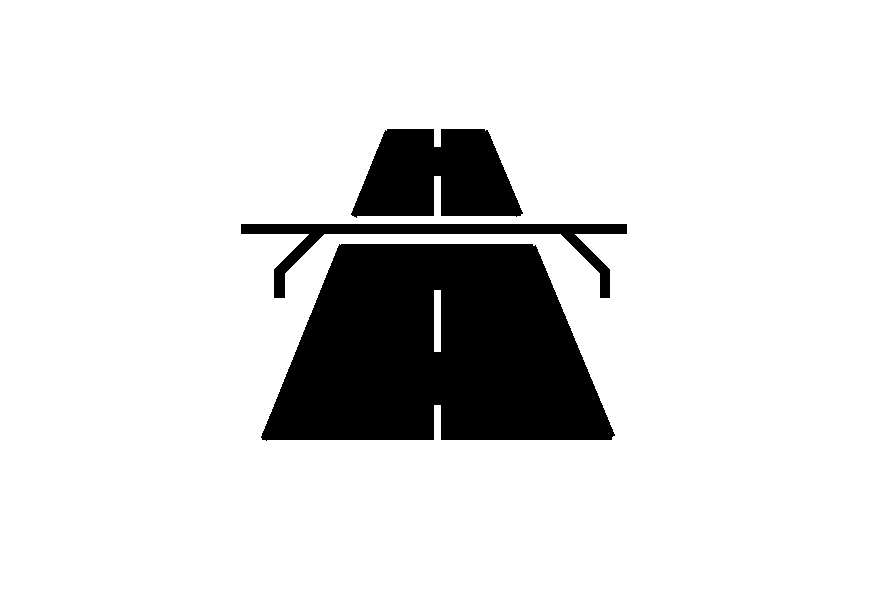
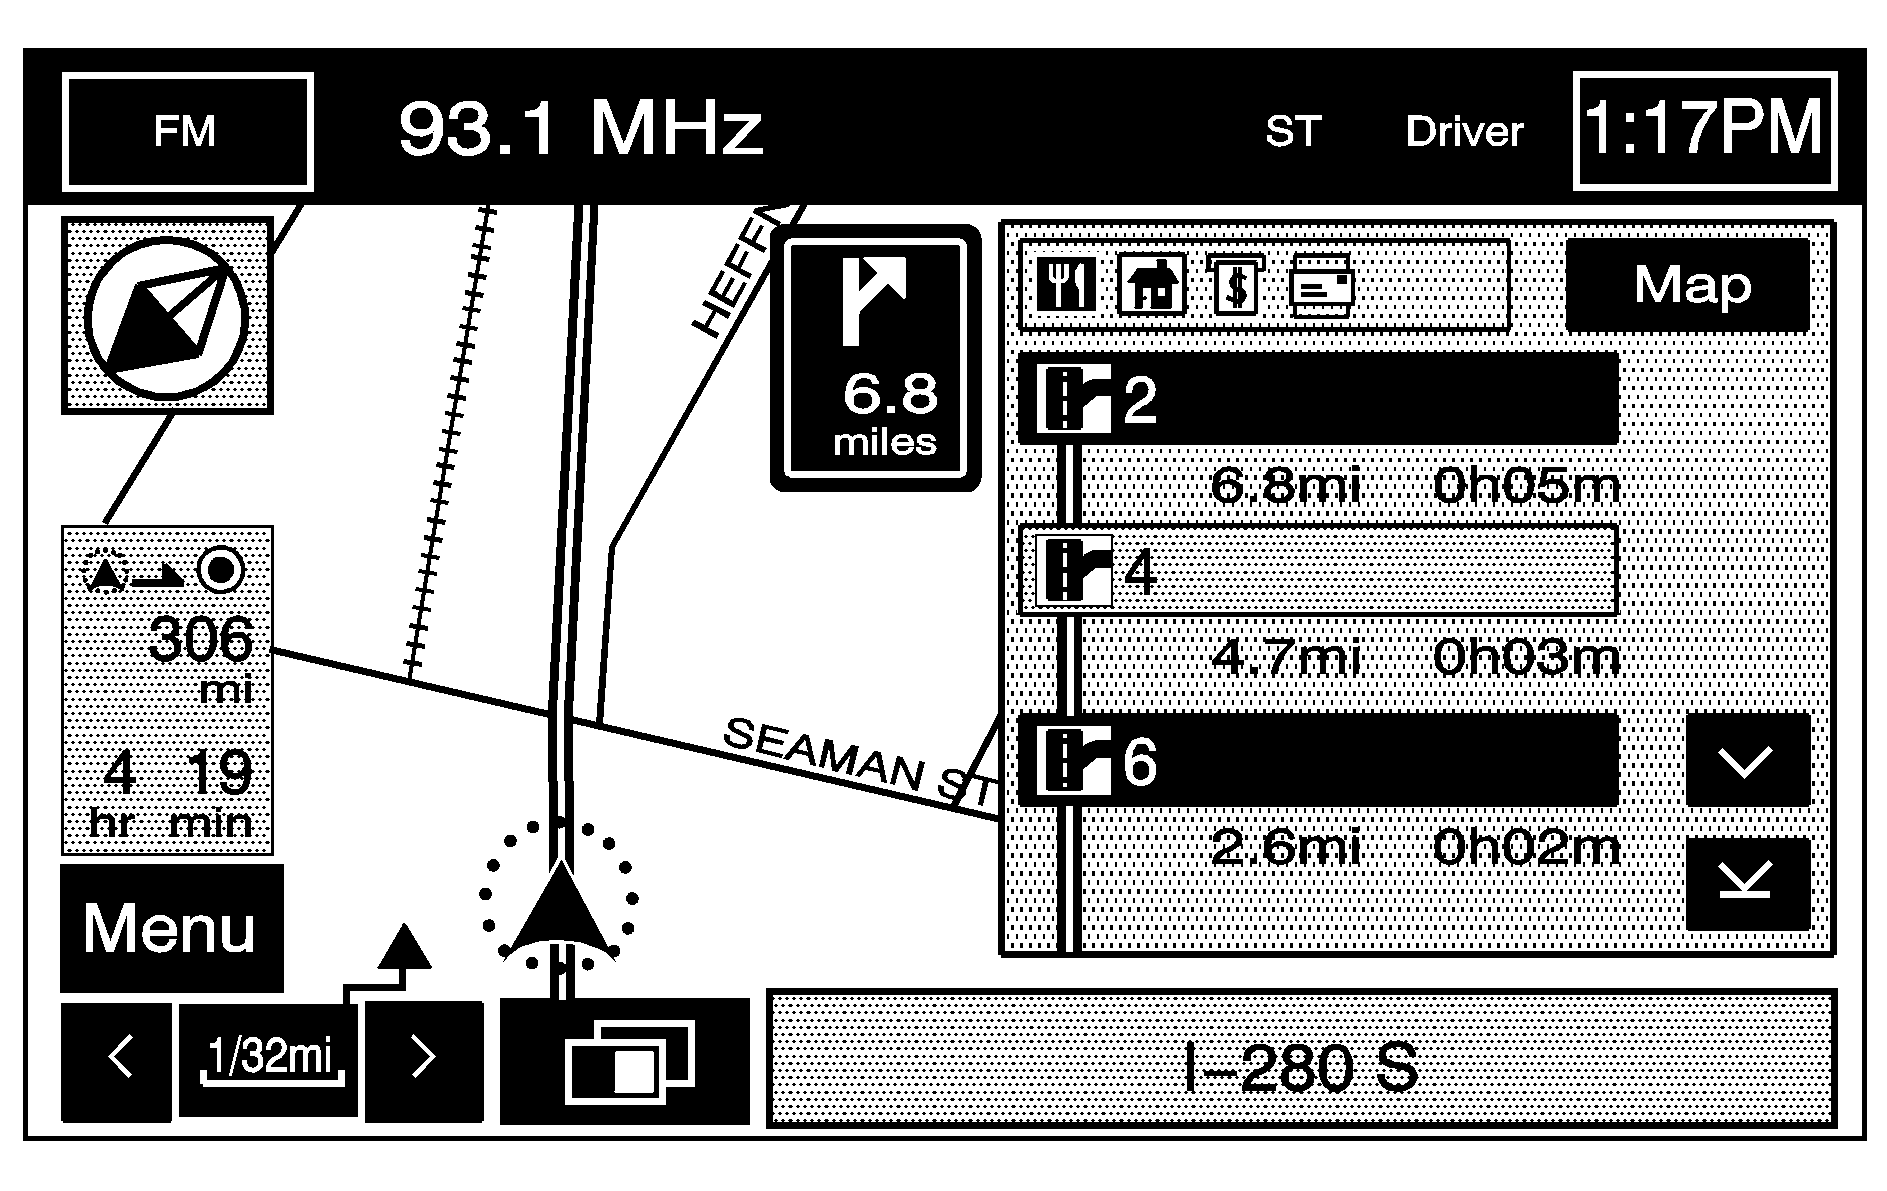
Select the highway guidance symbol to display the upcoming exit number, distance to the exit, available POIs at the exit, and a window with direction and distance to the next maneuver.
Use the up and down arrows to scroll through the displayed list. To view the available POIs for an exit, select the exit, then select the Map screen button. The navigation system will display highway guidance any time you have a route on a highway or freeway or you can select the symbol. To turn this feature off, see "Navigation Set Up" under Configure Menu .
Auto Reroute
When your destination is set and you are off the planned route, the system will automatically plan a new route and begin to reroute. You will see the new route highlighted on the screen.
Traveling Across Regions
If you plan to drive across many states, you may have to change the region selected as you travel to your destination. To do so, do one of the following:
| • | Change the selected region in the search area as you get closer to your destination. See Destination . |
| • | Change the selected region in the search area when entering your destination and route settings. See Destination . |
| For example, if you were traveling from Michigan to Florida, change the region currently selected in the search area to Florida. Enter a destination in Florida under the DESTINATION ENTRY menu. |
